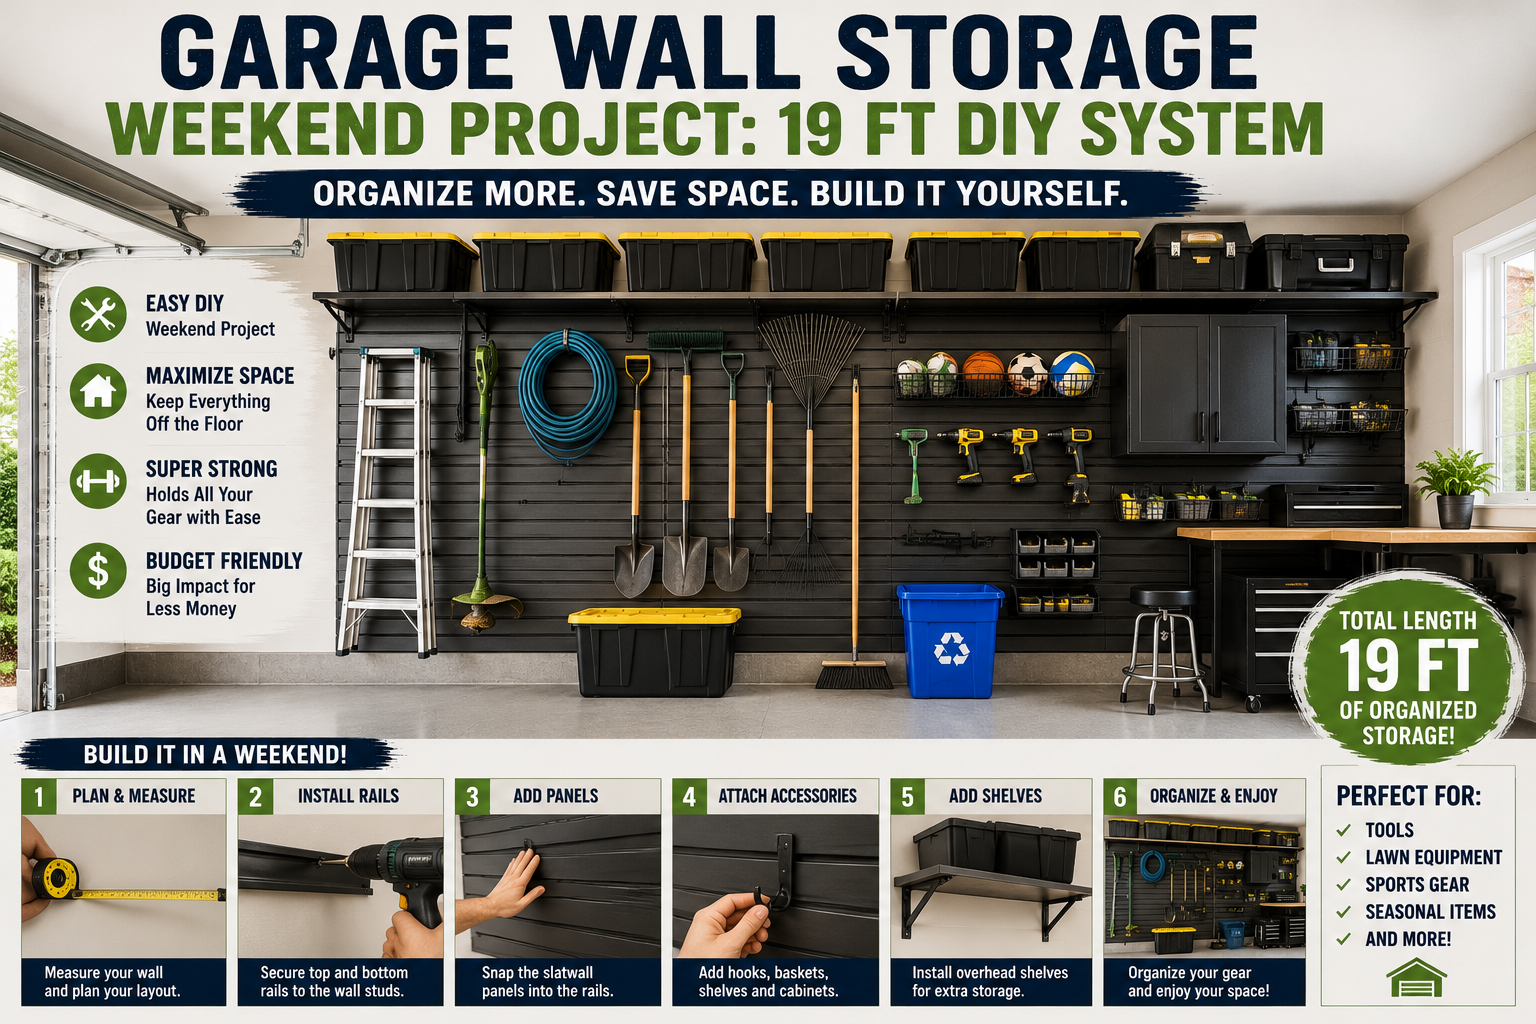
If you’ve spent any time searching for garage storage ideas online, you already know the frustration. Most of what you find is either way too generic, doesn’t fit your specific space, or costs an arm and a leg to buy pre-made. I’ve been there, and that’s exactly why I decided to tackle this garage wall storage weekend project myself — completely from scratch, using basic materials from the big box store and nothing more than portable job site tools.
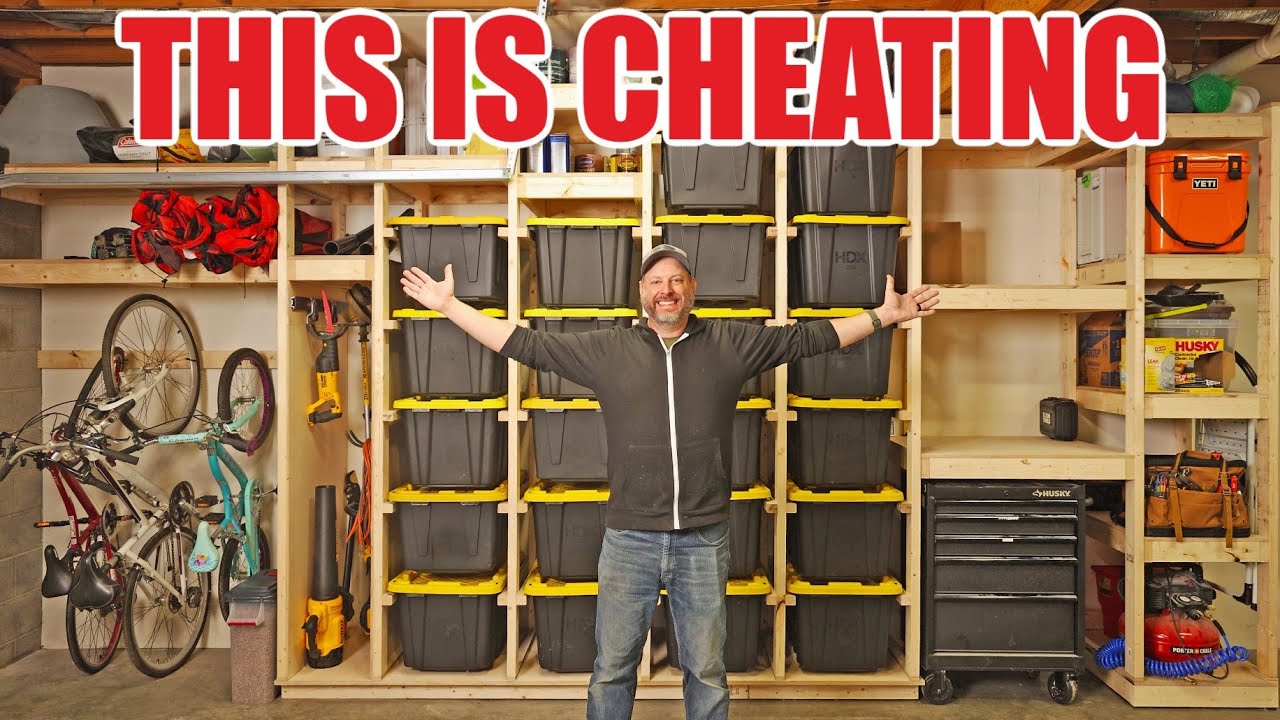
What I ended up with is 19 feet of floor-to-ceiling storage that’s completely tailored to my garage and my needs. The best part? The whole system is built on two incredibly simple building concepts that make it endlessly scalable and customizable. Think of it like adult Legos. If I ever want to change the layout, I just pull four screws and move things around. No demo, no mess, no wasted materials. I want to walk you through every single step of how I built this so you can do the same thing in your own garage — even if you’re working with a tight budget or a challenging space.
I also ran into a few challenges along the way (including one that made me want to throw my table saw out the window), so I’ll be sharing those moments too. If you’re also looking for broader garage organization ideas on a budget, that post pairs perfectly with everything I’m covering here. Now let’s get into it.
Step 1: Building a Solid, Level Platform Base
Every great storage system needs a solid foundation, and this one is no different. To get started, I built a simple platform base out of 2×4s — just a basic rectangular frame roughly 9 feet long and a little over 2 feet deep. I assembled everything using 2½-inch construction screws, which I ended up using almost exclusively throughout this entire build. I did reach for 3½-inch screws for one specific part, but I’ll get to that in a moment. I also added center supports to the frame every 24 to 30 inches, which is a solid rule of thumb for keeping everything rigid under load.
Once the frame was assembled, I used a laser level to set the platform height and make sure everything was perfectly level before fastening it to the wall studs with those 3½-inch screws. To compensate for an uneven floor, I used composite shims — starting with about ⅜ of an inch on one end — and adjusted them as I worked my way down the wall to maintain a consistent level line. One thing I was deliberate about: keeping this base slightly off the ground. Since these 2×4s aren’t pressure treated and this is a garage (where water intrusion is always a possibility), that small gap gives any moisture a safe path to pass underneath without damaging the wood. Smart and cheap insurance.
Step 2: Cutting and Installing the Plywood Platform Surface
With the frame level and secured, I cut strips of plywood 30 inches wide to lay across the top of the base. I chose 30 inches specifically because that’s the distance from my wall to the garage door rails — I wanted to maximize every usable inch of that space. I used a track saw to make these cuts, but if you don’t have one, a circular saw with a straight edge works just as well. What I’d emphasize is: don’t skip the straight edge. Keeping those cuts straight and square makes every step that follows dramatically easier.
One nice design detail I built in here is that the plywood overhangs the front edge of the frame slightly to create a toe kick. It’s an optional touch, but I love it. It keeps your feet from bumping into the base when you’re wrestling something big into place, and it also let me use a bit less material for the frame underneath. Once the plywood was down, its own weight pulled down a slight twist in one board, and a little shimming sorted out the rest. Platform done — time to build upward.
Step 3: Making and Installing the Vertical Partitions
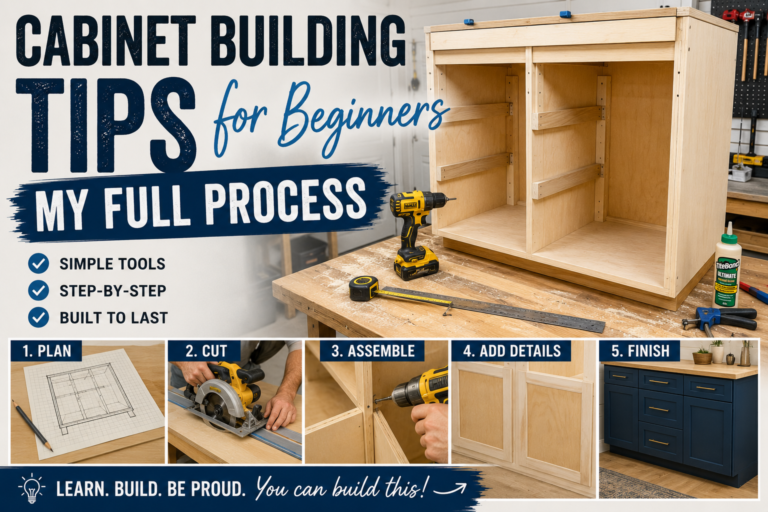
This is where the magic of the whole system really starts to show itself. The partitions are the skeleton that everything else hangs off of, and they’re shockingly simple to build. Each one is just two 2×4s connected together with two narrow strips of ¾-inch plywood — cut to 1½ inches wide to match the 2×4 dimension. I cut those strips on my job site saw, but you could just as easily rip long strips with a track saw or circular saw and chop them to length with a miter saw.
To figure out the exact length for each partition, I stacked two plywood strips on the base and used a laser distance finder to measure up to the ceiling. I also installed a strip of plywood along the ceiling above the base — this gives me a place to attach the top of each partition and lets me mark layout lines so every partition is perfectly spaced. I used a countersink bit on the plywood connectors so screw heads sat flush with the surface, keeping my measurements accurate and preventing the thin strips from splitting. Each partition stands up, gets nudged into place until it’s flush and plumb, and then gets fastened to the base and ceiling with four screws total. That’s it. And if I ever want to move one, those same four screws come out and the whole thing relocates in minutes.
Step 4: Creating Tote Storage Rows
With the partitions up, I turned my attention to the first type of storage: tote storage. To build the tote supports, I took some 2×4 pieces and ripped them in half at the table saw. Technically you don’t have to do this — full 2x4s work fine — but if you have the ability to rip them, you get twice the material out of the same amount of lumber, so it’s hard to argue against it. I used two sets of spacers to position the support rows: one pair at 12¾ inches high for the bottom row of totes, and a second pair at 14 inches high for every row above that, all the way to the top of the partitions.
I did hit a snag here that gave me a good laugh — I tripped the breaker by running the table saw and a shop vac on the same circuit. Classic. If you’re building out a workshop, put in at least a 20-amp dedicated circuit for your power tools. Once I sorted that out, the tote rows went up quickly and the system started looking like something real.
Step 5: Adding Shelf Storage Between Partitions and Wall
Totes are great, but they don’t work for everything. So the next step was adding open shelf storage to the area between the partitions and the wall. This zone couldn’t be the full 30 inches deep because the garage door opener lives up there, so I kept these shelves at 24 inches deep. The clever part of the shelf design is how the supports work: I attached front, back, and center supports directly to the plywood sheet, but left off the side supports. Then I added longer 30-inch side supports to the partition and the opposite wall, letting the shelf simply drop into place from above. No holding it up while you fumble with a drill — it just sits there, and then you drive four screws from the top to lock it in.
One shelf in particular was an absolute puzzle to get into position because of the garage door rail and opener sitting right in the way. It took some creative maneuvering — what I can only describe as caveman ingenuity — but I got it in. The beautiful thing about this shelf system is how easy it is to reconfigure. To move a shelf up or down or add a new one, I just remove four screws, pull the shelf off, reposition the side supports, and drop the shelf back on. Done. I also used a clamp as a spreader on one partition that had a slight bow in it, which the shelf itself then held permanently straight once fastened in place.
Step 6: Converting a Section to Shelf Space Around the Garage Door Rail
The garage door rail presented a real challenge for tote storage in one section because the interference made it impossible to slide totes in and out cleanly. Rather than fight it, I converted that area to open shelf storage instead, which works perfectly in that spot until I eventually get the rail raised up to ceiling height. This is one of those moments that really demonstrates the value of a flexible, modular system like this one. Instead of being stuck with a useless dead zone, I just adapted the design and made it work.
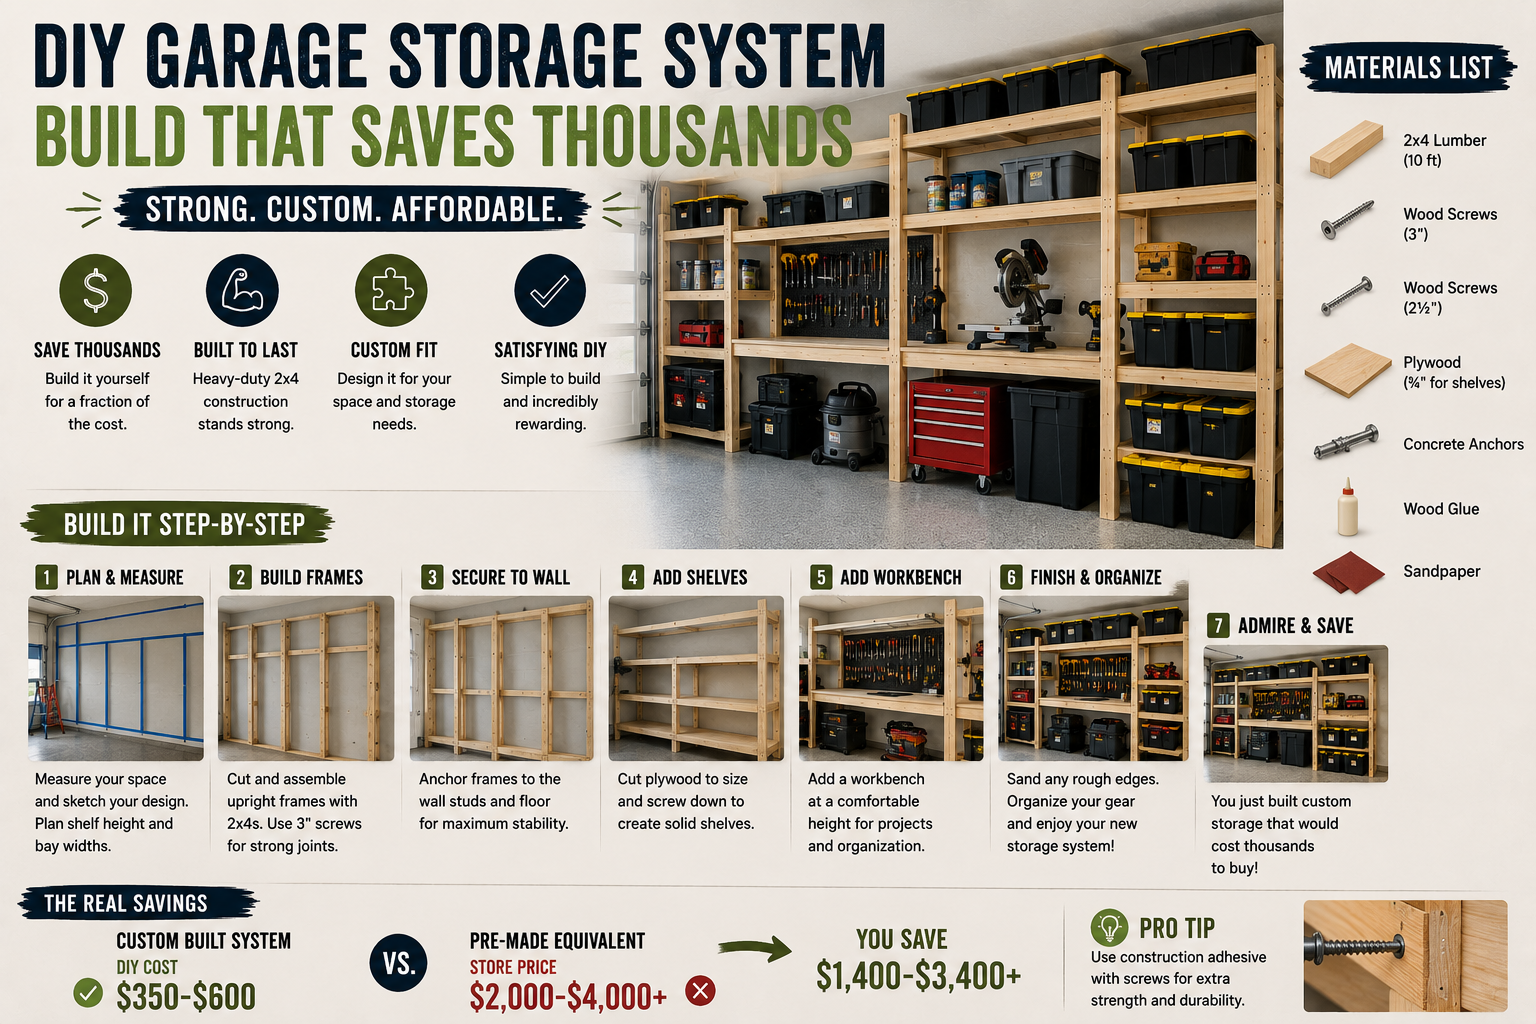
If you’re dealing with similarly awkward obstacles in your garage — pipes, rails, supports — this partition-and-shelf approach gives you the freedom to work around them without compromising the overall usefulness of the storage system. It’s honestly one of my favorite things about this design. You can see a similar approach in action in my guide on DIY garage storage system builds that save thousands.
Step 7: Installing Vertical Bike Storage
Bikes are one of the most awkward things to store in a garage. I’ve seen dozens of solutions on YouTube over the years, and for my situation, hanging them vertically is clearly the winner. Every bike is fully accessible, there’s zero chance of a floor pile-up, and the whole setup takes up very little footprint on the wall. The method I used is a classic: bike hooks threaded into a horizontal 2×4 that’s fastened directly into the wall studs with two screws per stud. That’s what gives it the strength to hold the weight of multiple bikes.
Once the 2×4 is up, the hooks can be positioned anywhere along it, so I just spaced them out to give each bike enough clearance to go on and off without bumping into its neighbor. I got lucky in that my three bikes are all different sizes, so their wheelbases nest together really well and the handlebars don’t interfere with each other — saving me a bit of extra space. Is this a fancy or elegant solution? Not really. But it cost almost nothing and works perfectly, and that’s what I care about.
Step 8: Building a Dedicated Lawn Tool Cubby with FastTrack
I saved one of the last partition bays specifically for a lawn tool cubby — a spot to keep the tools I use every single week separate from the ones I rarely touch. To start, I lined the inside of the partition with plywood to create a solid mounting surface. I didn’t have quite enough full-size plywood pieces to cover the whole area, so I used a couple of smaller strips to fill in the gaps — no problem at all.
The real win in this section was being able to repurpose the FastTrack wall organization system I already had hanging horizontally on the wall. By moving it inside this cubby and doubling it up vertically, I got way more hook capacity in a much smaller footprint — and I freed up wall space in the process. I can still add more FastTrack sections in there in the future as my Yard tools collection grows. This section really highlights how the partition framework opens up creative storage options that you’d never think of with a standard wall-mounted approach.
Step 9: Building an Independent Base and Tower for High-Access Storage
Near the garage door — where I want my most frequently used items within arm’s reach — I built a second, independent base. This one is only 2 feet wide, and it’s constructed exactly the same way as the main platform base. On top of this, I added two more partitions, though these ones don’t run all the way to the ceiling because of plumbing running through that zone above.
Inside the tower, I built three small shelves using the same 2×4 spacer method as everywhere else. This area is intentionally positioned closer to the door so that the things I grab daily — whether that’s a tool, a bag, or a supply — are right there without me having to dig into the deeper storage bays. Good storage design is as much about traffic flow and frequency of use as it is about capacity.
Step 10: Adding a Workbench-Style Connecting Shelf
To connect the new shelf tower to the main tote storage section, I added a 3-foot shelf running between them at a comfortable working height. I’m using this essentially as a small workbench — a flat surface to set things down, stage items, or do light work without needing a dedicated bench elsewhere in the garage. It’s not a full-blown work surface, but for the kind of quick tasks I do near this area, it’s exactly what I needed.
Having a built-in work surface as part of the storage system is one of those things I didn’t know I needed until I had it. If you’re thinking about combining storage and workspace in your own garage, this is a really efficient way to do it without dedicating a large footprint to a standalone workbench.
Step 11: Installing a Large Top Shelf to Tie Everything Together
At the very top of the system, I added one large shelf spanning across the full width to visually and structurally tie everything together. Getting it up there was a bit of an adventure — I ended up using my head (literally) to get it into position, which is definitely not what they mean when they tell you to “use your head to solve problems.” But once it was in place, I fastened it down and it locked the whole upper structure together beautifully.
Because the shorter tower partitions aren’t fastened to the ceiling like the main ones, I made sure to secure everything to the wall studs at both the top and near the base. That anchoring to the studs is what gives this section its rigidity and keeps it rock-solid even when loaded up with heavy items.
Step 12: Adding a Bulk Storage Shelf Above the Workbench and Tucking in the Tool Chest
The finishing touches on this build were all about maximizing every last bit of usable space. Above the connecting workbench shelf, I added one more shelf to handle larger, bulkier items — the kind of stuff that doesn’t fit neatly into totes or on smaller shelves. Think big jugs of fluid, bulk supply boxes, or oversized tools.
Down below, the open space under the workbench area was designed intentionally to fit my tool chest, which slides right in and tucks away cleanly. That’s one of the things I love most about planning a build like this before you start — when you measure and design with your actual stuff in mind, everything ends up fitting like it was meant to be there, because it was. For more inspiration on combining storage with workspace, check out my full guide on garage storage workstation shelving ideas that work.
Tips and Best Practices for Your Garage Wall Storage Weekend Project
After going through this entire build, here are the key takeaways I’d want you to keep in mind before you start your own garage wall storage weekend project:
Use shims generously and don’t skip leveling. An unlevel base will cause problems all the way up the structure. Take the time to get your platform perfectly level from the start — it makes every subsequent step faster and cleaner.
Keep your 2×4s off the floor. Even in a garage that doesn’t flood, moisture can wick up from concrete into untreated lumber. That small gap under your platform base matters.
Use a countersink bit on your plywood connector strips. This prevents splitting and keeps your measurements accurate by ensuring screw heads sit flush. It takes an extra 10 seconds and is absolutely worth it.
Measure ceiling height for every new partition. Even a ¼-inch variation matters. Re-measuring each time ensures a clean, tight fit without needing shims at the top.
Straight cuts are non-negotiable. Whether you use a track saw or a circular saw with a straight edge, don’t freehand these cuts. Accurate plywood pieces make the whole system come together with far less frustration.
Design around your obstacles, not against them. Garage door rails, plumbing, openers — these are just puzzles to solve. The modular nature of this system means you can almost always find a creative solution that makes the obstacle irrelevant.
Dedicate circuits for power tools. Learn from my breaker-tripping mistake and put heavy tools like a table saw on their own 20-amp circuit. It’ll save you a lot of frustration mid-project.
FAQ: Garage Wall Storage Weekend Project
Do I need a track saw to build this storage system?
Not at all. I used a track saw because I have one, but a circular saw with a quality straight edge guide will do everything you need. The key is keeping your cuts straight and square — the tool you use to get there is less important than the accuracy of the result. A good tape measure and careful marking will set you up for success regardless of your saw setup.
What materials do I need to build this system?
The entire system is built with 2×4s, ¾-inch plywood, and construction screws (2½-inch and 3½-inch). That’s genuinely it for the structural components. You’ll also want composite shims for leveling, a laser level, and a countersink drill bit. For the bike storage section, you’ll need bike hooks, and for the tool cubby, whatever wall organization system you prefer — I reused FastTrack hardware I already owned.
How do I attach shelves to a cinder block wall instead of a stud wall?
Cinder block walls require a different approach than standard stud walls. I pre-drilled pilot holes using a hammer drill with a masonry bit, marked hole locations with a Pika pencil (using white lead so it’s visible on dark surfaces), and then used Tapcon screws to fasten the shelf supports directly to the block. Tapcons are specifically designed for masonry and hold extremely well when installed correctly into pre-drilled pilot holes.
Can I customize the shelf heights and spacing after the system is built?
Yes — and this is honestly one of the biggest selling points of the whole design. Because each shelf is held in place by side supports that are independent of the shelf itself, reconfiguring is fast and simple. To move a shelf, remove four screws, lift the shelf off, reposition the side supports to your new height, and drop the shelf back on. The partitions themselves are also removable — four screws at the top and bottom — so you can completely rearrange the layout as your storage needs change over time.
Wrapping It Up: Your 19-Foot Garage Storage System Awaits
This garage wall storage weekend project genuinely transformed how my garage functions. In a single weekend, I went from a chaotic wall to 19 feet of organized, flexible, floor-to-ceiling storage — all using 2×4s, plywood, and basic construction screws. No fancy hardware. No expensive pre-made systems. Just good building fundamentals and a design that’s infinitely adaptable to whatever I need it to be next year, or five years from now.
Whether you’re tackling this exact build or using these ideas as a starting point to design something that fits your own space, I hope this gave you both the confidence and the practical knowledge to get started. If you want even more ideas for squeezing storage out of your garage, my post on garage organization ideas with 2x4s goes deep on this kind of low-cost, high-impact approach. Now get out there and build something — your garage is waiting.