If you’ve ever stepped outside onto your deck and felt like everyone in the neighborhood was watching you, you’re not alone. That’s exactly the problem my sister was dealing with after I built her a brand-new floating deck — every time she and her family tried to relax outside, they felt completely on display. She needed privacy, and she needed it fast.
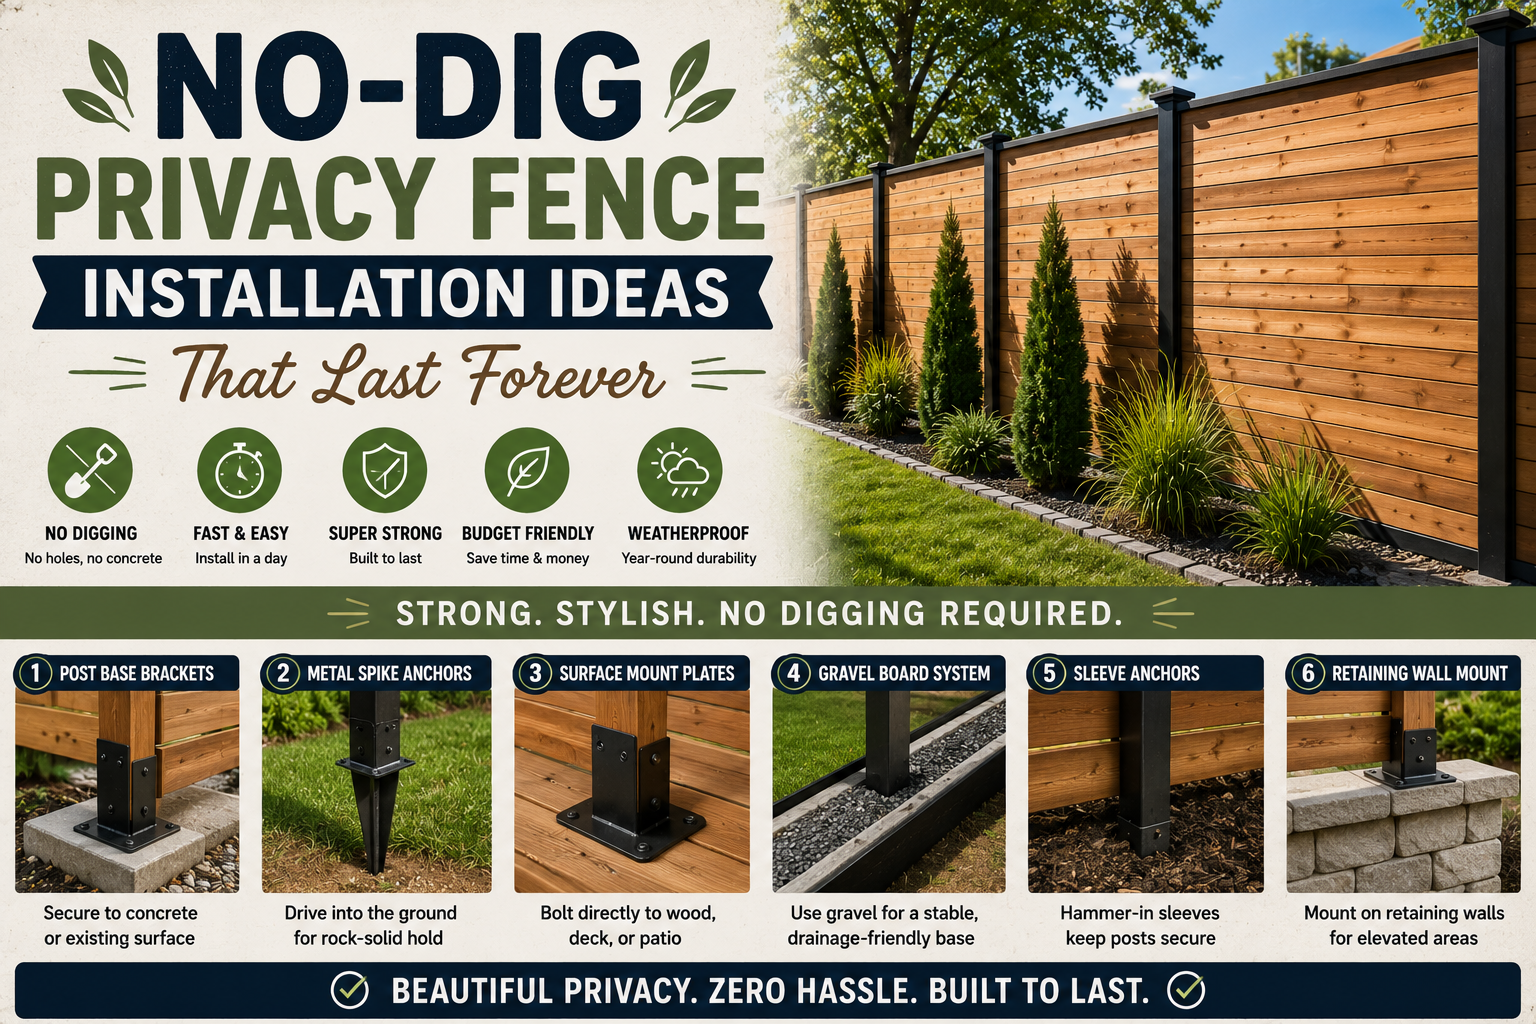
Her original plan? A pallet fence. And while I appreciate the DIY spirit, pallet fences have some real durability issues — you can see right through them, and they won’t hold up over time. So we scrapped that idea and went with something much better: a no-dig metal privacy fence built with galvanized steel posts and corrugated metal roofing panels. No holes. No concrete. No rot. Ever.
In this post, I’m walking you through every step of how we pulled this off in a single day (well, almost — the sun had other plans). Whether you’re looking for budget-friendly privacy fence installation ideas or just want something that’ll actually last, this approach is one of the best you’ll find. And if you love weekend DIY wins like this, check out these 5 DIY outdoor curb appeal projects you can do this weekend for more inspiration.
Skip the Pallet Fence — Here’s Why Metal Wins
When my sister showed me the pallets she’d collected, I had to be honest with her: pallets make great wall art and furniture, but they make a pretty lousy privacy fence. They’re full of gaps, they weather badly, and they won’t give you the solid visual barrier you actually want. If you’ve been considering a pallet fence, use those pallets for something creative indoors and think bigger for your yard.
Metal is the move. You can’t see through it, it doesn’t rot, and when it’s built right, it can handle serious wind. We’re talking 90 mph gusts from Hurricane Helene — and the fence at my house (built the same way) was still standing perfectly straight the next morning. That’s the kind of durability you want from a privacy fence.
Choose Galvanized Steel Posts Instead of Wood
This is probably the single most important lesson I learned from my friend Mark Olson at SWI Fence: wood fence posts are a ticking clock. They will rot. And if you pour concrete around them to “protect” them, they may actually rot faster because moisture gets trapped at the concrete-to-wood interface.
Instead, use galvanized steel fence posts. These are built to last and they won’t rot, period. The ones we used were 9 feet long, designed to go 3 feet into the ground, leaving 6 feet above grade. One major heads-up: always wear gloves when handling these. The edges are sharp enough to cut you, and that’s not how you want your DIY Saturday to end.
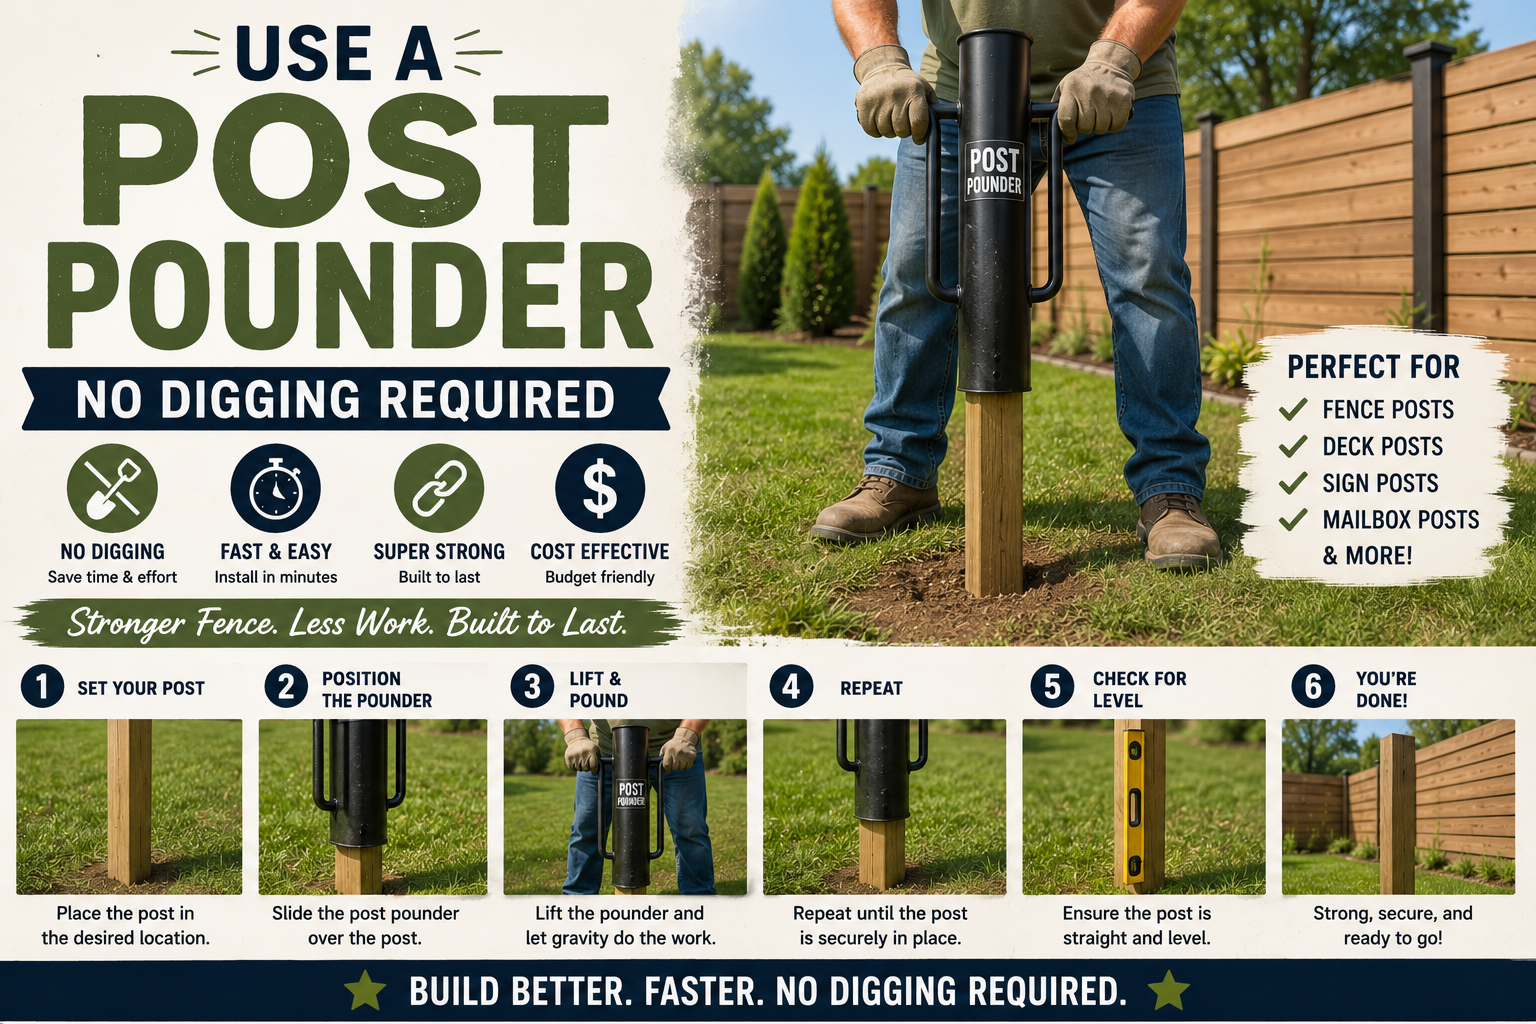
Use a Post Pounder — No Digging Required
Here’s where the “no-dig” magic happens. Instead of renting an auger or spending your afternoon shoveling, you use a tool called a Rhino Post Pounder to drive the steel posts directly into the ground. It’s a weighted sleeve that you slam down over the post repeatedly until it’s set at your desired depth. It’s more work than it sounds, but it’s infinitely faster than digging individual holes.
That said, real talk: sometimes you hit a root. When that happens, you may need to do a little digging after all — just enough to clear the obstruction. We hit one root during this build, and a quick dig solved it. For every other post, the pounder did all the work. If you prefer, you can absolutely dig holes the traditional way and set these galvanized posts in them. Either method works; the post pounder just makes it faster and lazier (that’s a feature, not a bug).
Pull a String Line to Keep Everything Straight and Square
Before you drive a single post, you need a reference line. The method I use is simple: tape a string to the front of the house, pull it taut down the length of your fence run, and adjust until it’s just barely touching the corner of the house. Stake it at both ends, pull it tight, and you’ve got a perfectly straight guide line to work from.
One pro tip here — don’t let your posts touch the string line directly. Leave a small consistent gap between the post and the string. If each post barely nudges the line, that tiny variance compounds over a 70-foot run and your fence ends up noticeably crooked. Wrap a piece of cardboard around the post and run the line around that to maintain that consistent offset. It’s a small detail that makes a huge difference in the final look.
Calculate Your Post Spacing Carefully
Once you’ve got your corner posts set, measure the total distance between them center-to-center, then divide by the number of spaces you want. For our build, we measured 70 feet 11 inches total, and rather than fight with awkward math to create 10 equal spaces, we adjusted to 9 spaces — which came out to about 7 feet 10 and 9/16 inches center to center. That’s close enough to 8 feet to work with standard panel sizes.
Don’t round aggressively here. Losing a little here and there per post means your last section won’t line up, and you’ll end up cutting panels in weird ways to compensate. Take the extra two minutes to be precise on your spacing measurements — your future self will thank you when the panels go up cleanly.
Let the Fence Follow the Natural Grade of the Land
If your yard isn’t perfectly flat (and most aren’t), you have two options: keep the fence level and deal with gaps at the bottom, or let the fence follow the natural contour of the ground. For a privacy fence, following the grade is almost always the better choice. A gap at the bottom of a privacy fence defeats the whole purpose.
The way to manage this is by marking a consistent height on each post — we marked 5 feet 6 inches — and then setting your string line to that mark. As the ground rises and falls, the fence panels rise and fall with it. The result looks intentional and clean, and you don’t have to dig trenches or fill gaps. The fence just flows naturally with the landscape.
Use 26-Gauge Corrugated Metal Roofing for the Panels
For the fence panels themselves, we used 26-gauge corrugated metal roofing in black, sourced from a custom roof supplier rather than a standard hardware store. You can find 29-gauge at most home improvement stores — it’s a bit cheaper and will work fine — but the 26-gauge is heavier duty and has deeper ridges (about 1.25 inches), which adds rigidity and a more substantial look.
One thing to be aware of: the back side of black corrugated metal panels is typically white. If your fence backs up to a neighbor’s yard or a street, you’ll want to plan ahead. You can paint the back before installation, or — like my sister chose — go back after everything is up and paint it from the back side. Either way, it’s an easy fix that makes the fence look finished from both directions.
Create a Screw Template for Consistent Panel Attachment
When it comes time to attach the panels to the posts, don’t try to eyeball the screw placement. The corrugated pattern makes it tempting to just go by feel, but inconsistent screw placement shows up clearly when you step back and look at the finished fence. Make a simple cardboard template that marks exactly where each screw goes on the panel, and use it on every single panel.
We used 1.5-inch black roofing screws for attachment. One important note: don’t over-tighten them. Over-driving roofing screws crushes the rubber gasket under the head, which can lead to water intrusion and rust over time. You want them snug, not cranked down. This is the kind of detail that separates a fence that looks great for 20 years from one that starts showing problems in 5.
Cut Panels to Account for End Caps and Finishing Trim
At the end sections of the fence, you’ll need to account for the trim pieces you plan to add. We ripped down the last panels by about 1.25 inches on one end specifically to leave room for the end cap trim. If you skip this step and run panels all the way to the edge, adding a cap later means either overlapping awkwardly or leaving a gap.
Cutting corrugated metal is straightforward with the right tool — a circular saw with a metal-cutting blade, or even metal snips for shorter cuts. Wear gloves and eye protection every single time you cut. The edges are razor sharp and metal shards go everywhere. Ask me how I know. (Actually, don’t — just wear the gloves.)
Dress the Top of the Fence With 2×6 Cap Boards
Once all the metal panels are up, the top of the fence is going to look a little rough — uneven panel heights, exposed post tops, and raw metal edges. The fix is simple and it makes a massive visual difference: run 2×6 boards along the top of the fence as a cap rail. This hides all the imperfections, gives the fence a finished, intentional look, and adds a nice structural element.
For cleaner joints where two cap boards meet (especially at corners or where two boards butt together), cut the ends at a 45-degree angle rather than a straight butt joint. It’s a small woodworking detail that makes the seam look much more polished. If time allows, adding a 1×4 along the bottom edge and framing out each 8-foot section with vertical 1x4s takes it to the next level — but even without that, the 2×6 cap alone transforms the look significantly.
Add End Caps to Finish the Fence Edges Cleanly
The exposed ends of a fence are often the first thing people notice, and raw metal edges are not a good look. We cut custom end caps to close off both ends of the fence cleanly. This is a simple step — just measure, cut to fit, and secure — but it’s what separates a fence that looks DIY from one that looks like it was professionally installed.
If you’re planning a similar project, cut and fit your end caps before the sun starts going down. (Learn from my mistake on this one.) Working with metal trim pieces in fading light is a recipe for uneven cuts and frustration. Get the panels up first, then handle the finish details while you still have good visibility.
Plan for Wind Resistance From the Start
One of the most common objections to no-dig fence installation is wind. People assume that if you didn’t dig holes and pour concrete, the fence can’t possibly hold up in a storm. I’m here to tell you that’s not the case — but the wind resistance comes from doing the foundational steps correctly: using steel posts, driving them 3 feet deep, keeping posts plumb as you drive them, and maintaining consistent spacing.
After Hurricane Helene came through, I went and checked my own no-dig metal fence — same build method, same materials. Straight as an arrow. The front yard was a mess, but the fence behind it? Perfect. That said, if you’re in a high-wind area, driving posts a full 3 feet deep (not 2.5, not “close enough”) is non-negotiable. Depth is your wind resistance. This is also one of the reasons the DIY backyard patio and fireplace build pairs so well with a privacy fence — once you’ve got both, your outdoor space becomes a real retreat.
Tips and Best Practices for Privacy Fence Installation
Before you order materials and grab your post pounder, here are a few things worth keeping in mind that’ll save you time and headaches on build day:
Check your local codes and HOA rules first. Fence height restrictions, setback requirements, and material rules vary by city and neighborhood. A quick call to your city building department before you start could save you from having to tear it all down. Always wear gloves when handling metal panels and posts — the edges will cut you without warning. Mark every post for height before you start driving so you can maintain a consistent reference as you go. If you’re working alone, a string line and a good level are your best friends for keeping everything plumb and aligned. And finally, don’t let perfect be the enemy of done — a fence that’s mostly finished and functional is infinitely better than a pile of materials waiting for the perfect weekend. For more quick-win projects that deliver big results, the 20 budget home improvement ideas you can do in 30 minutes is a great follow-up read.
Frequently Asked Questions About No-Dig Privacy Fence Installation
Do no-dig fence posts actually hold up in wind and storms?
Yes — when installed correctly, galvanized steel posts driven 3 feet into the ground are extremely stable. The fence shown in this build survived wind gusts up to 90 mph from Hurricane Helene and came out perfectly straight. The key is consistent post depth and keeping posts plumb as you drive them in.
What gauge corrugated metal is best for a privacy fence?
Either 26-gauge or 29-gauge corrugated metal will work. 29-gauge is easier to find at standard hardware stores and is more affordable; 26-gauge is heavier duty with deeper ridges and is more commonly found at specialty metal roofing suppliers. Both will give you a solid, long-lasting privacy fence.
How deep should I drive the fence posts?
A general rule of thumb is to set posts at least one-third of their total length underground. For a 9-foot post with 6 feet of fence height, that means 3 feet in the ground. Don’t cut corners here — post depth is what determines how well your fence holds up to lateral pressure from wind and impact.
Can I build this fence on a slope or uneven ground?
Absolutely, and it actually works better on sloped ground than a traditional level fence. Instead of leveling the fence and leaving gaps at the bottom, mark a consistent height on each post relative to the ground and let the fence panels follow the natural grade. It looks clean, intentional, and eliminates privacy gaps at ground level.
Ready to Build Your Own No-Dig Privacy Fence?
Building a privacy fence doesn’t have to mean renting an auger, mixing concrete, or dealing with wooden posts that’ll rot in a few years. With galvanized steel posts, a post pounder, and corrugated metal panels, you can put up a fence that looks great, holds up to serious weather, and will genuinely last for decades — all without digging a single hole (well, except maybe for that one stubborn root).
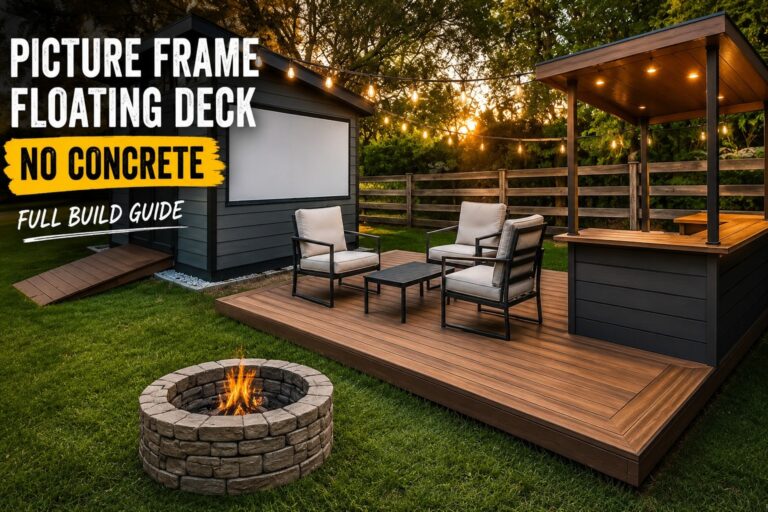
My sister can now sit on her deck by the fire pit without feeling like she’s in a fishbowl, and that’s exactly what a good privacy fence should do. If you’re ready to tackle more outdoor projects, check out how to build a picture frame floating deck with no concrete needed — it pairs perfectly with this fence build. Now grab your gloves, measure twice, and go build something you’re proud of.