If your garage looks anything like mine did before this project — cluttered, disorganized, and impossible to work in — then you’re going to love what I’m about to share. I built the ultimate garage storage and workstation system from scratch, and I’m walking you through every step of how I did it. This isn’t some Pinterest-worthy fantasy build that requires a contractor and a massive budget. This is a real, practical, DIY garage storage workstation shelving setup that any homeowner can tackle over a weekend or two.
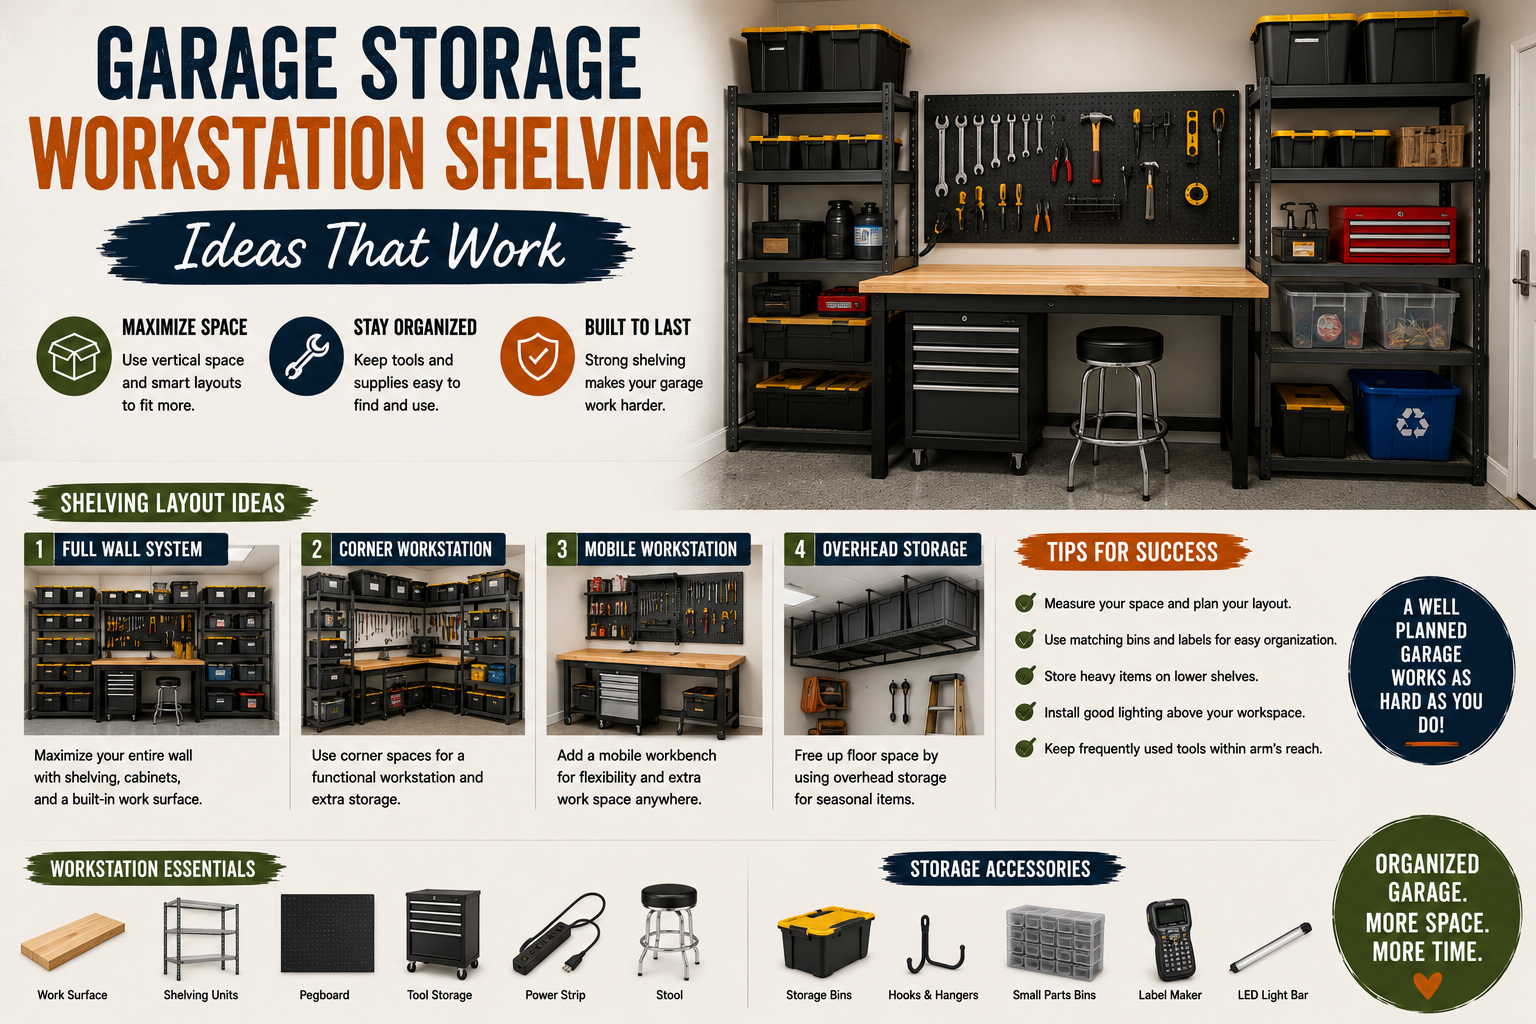
The entire system is built around eight-foot sections that are 30 inches deep — perfectly sized to hold standard plastic storage totes. I used basic materials from Home Depot, kept costs low by repurposing cutoffs, and finished everything off with overhead lighting above the workbench. If you’re serious about getting your garage organized, this is the guide you’ve been looking for. And if you want even more ideas before you dive in, check out my garage organization ideas on a budget post — it pairs perfectly with this build.
Let me walk you through each part of this project, from cutting the first 2×4 to flipping the lights on for the first time. I’ll cover the framing, shelf installation, workbench setup, closet section, and lighting — everything you need to replicate this in your own space.
Step 1: Cutting the 2×4 Framing on the Miter Saw
The first thing I did was cut down a stack of eight-foot 2×4s on my miter saw. To speed things up, I set up a stop block so I could make repeated cuts without measuring every single time. When you’re making a lot of the same-size pieces, that stop block saves a ton of time and keeps everything consistent. Each shelf section is eight feet long and 30 inches deep — that 30-inch depth was chosen specifically to fit standard plastic storage totes, which is what I planned to use for longer-term storage up top.
After drilling holes with an eighth-inch bit, I used two-and-a-half-inch deck screws to attach all the pieces together as I went. I kept a square handy throughout to make sure everything lined up properly. Taking a few extra seconds to check for square at each step saves a lot of headaches down the road. I ended up building four of these shelf frames before moving on to the installation phase.
Step 2: Building and Raising the First Shelf Section
With the frames built, I started attaching legs to the front of the first shelf. Since I wanted the shelves to go all the way up to eight feet, I grabbed standard eight-foot 2×4s for the legs — no cutting needed. I measured the second leg to be 48 inches on center from the first. Before raising anything, I laid out reference lines on the wall, which made the whole solo installation process much more manageable.
The two front legs help hold everything in place while you get the shelf positioned. I also used a couple of temporary braces to keep things steady while drilling and driving screws. I’ve seen this technique used when hanging cabinets, and it works just as well here. For any screws going into the wall, I used full three-inch screws to make sure the connection was solid and could handle real weight.
Step 3: Installing the Second and Third Shelf Sections
Here’s where things got easier as I went. The second shelf was simpler to raise than the first, and the third was easier still. Once the first shelf is up, you can use it as a reference point for everything that follows. After putting in a couple of braces, I was able to tie the next shelf into the previous one, which made alignment straightforward and kept everything safe while I was working alone.
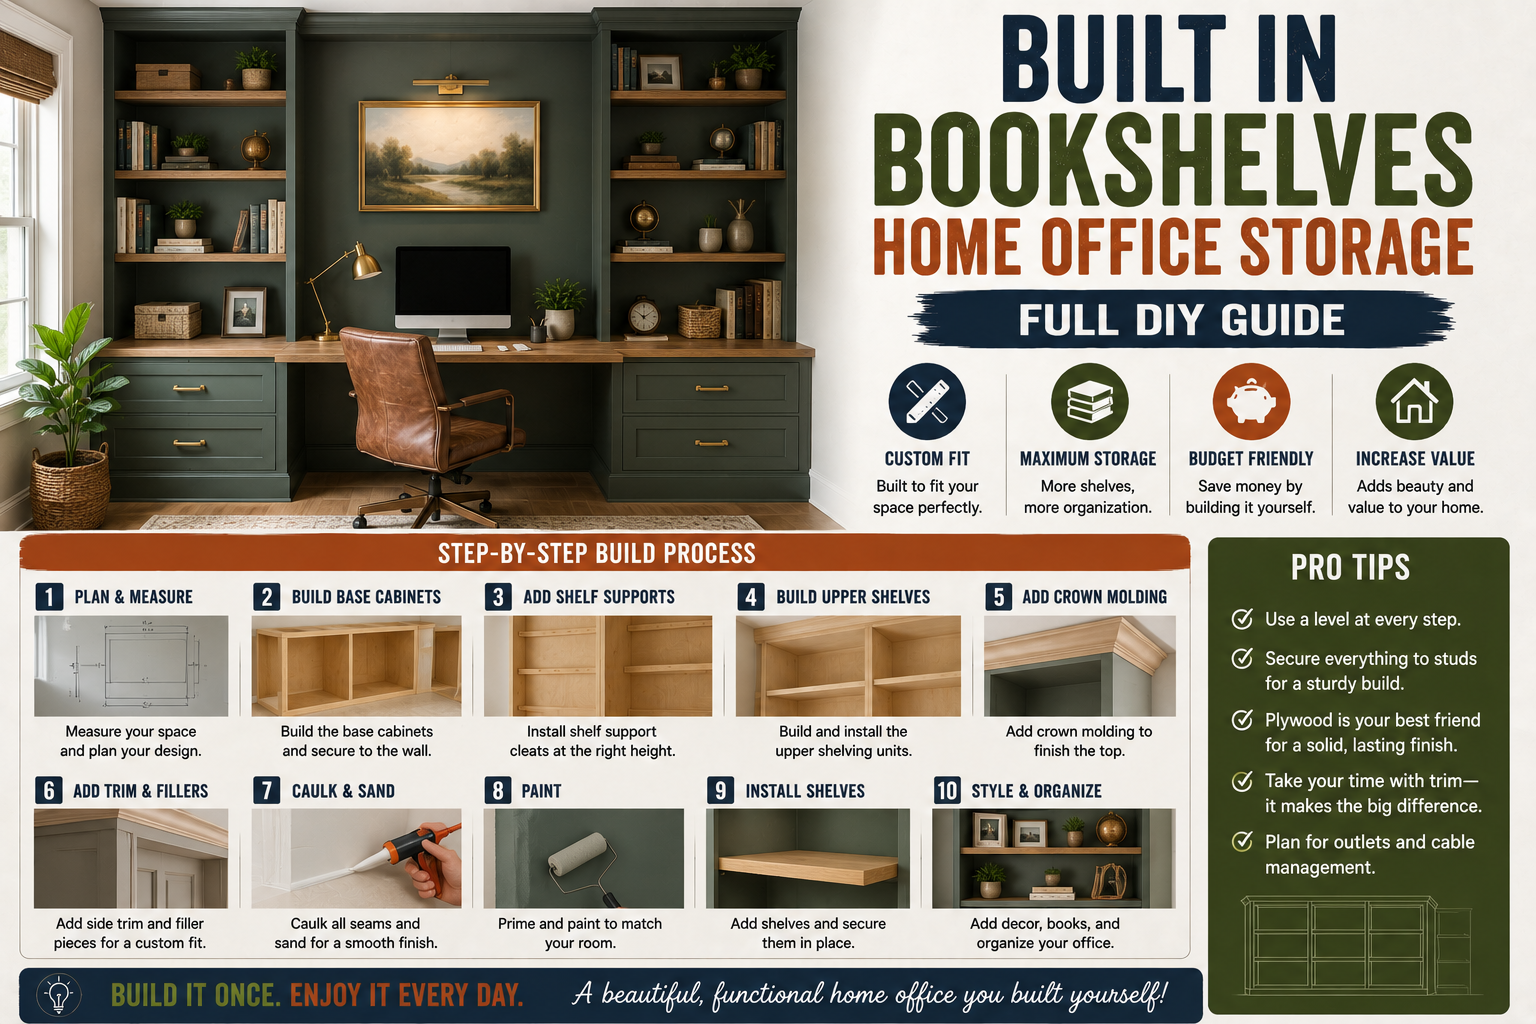
As I worked through each section, I kept trimming my temporary braces down so they’d fit the new shelf heights. This approach essentially gave me an extra set of hands — the braces held things in position while I drilled and drove screws. It’s one of those tricks that makes a huge difference when you’re doing this kind of build solo. If you’re tackling other built-in projects on your own, I’ve got a full guide on built-in bookshelves and home office storage that uses similar techniques.
Step 4: Building the 48-Inch Shelf Sections
Not all of the shelves needed to be a full eight feet long. The next set of shelf sections are 48 inches rather than eight feet, so I cut my 2×4s in half and built these shorter shelves the same way as the longer ones. The construction process is identical — same screws, same technique, same squaring up as I went.
For installation, I used the same brace method: rest the back end of the shelf on a temporary support while I screwed in the front. The braces aren’t there to bear the weight permanently — they’re just there to keep things from shifting while you’re working. It’s a simple trick, but it makes the difference between a frustrating install and a smooth one.
Step 5: Adding the Workbench Section
The workbench section installs just like the other shelves, but I did add an extra brace underneath this section for added support. A workbench takes more abuse than a standard storage shelf, so the extra reinforcement makes sense. I also added a particle board divider on one side of the workbench, which created a natural separation and gave me the idea to close off the other side too — potentially turning that space into dedicated tool storage on the sides of the unit.
The workbench surface itself is made from 5/8-inch particle board, which I’ll cover in more detail in the shelving section. The key thing here is that the workbench sits at a comfortable working height and has solid support underneath thanks to the 2×4 framing structure.
Step 6: Setting Up the Closet Section
One section of this build is dedicated as a closet — perfect for storing motorcycle gear, hunting equipment, or any longer items that need to hang. In this section, I installed a shelf as low as I could go, actually resting it on the existing trim along the wall. I also used a spade bit to drill out a hole and install a wooden dowel, which serves as a coat rack for hanging gear.
I also raised the floor of the closet section slightly. This isn’t just an aesthetic choice — a raised floor makes it harder for mice to get in and nest, which is a real concern in a garage environment. It’s one of those small details that you’ll appreciate later. This closet section wraps up the main 2×4 framing portion of the project and gives the whole system a more intentional, built-in look.
Step 7: Cutting and Installing the Particle Board Shelving
With all the framing done, it was time to install the actual shelf surfaces. I used 5/8-inch particle board for this — it’s affordable and strong enough for garage storage. I had it cut down on the panel saw at Home Depot, which made transporting the sheets much easier. For the eight-foot sections, I was able to drop the panels right in place. For the 48-inch sections, I cut them down to match using my circular saw.
One tip I found really useful: I set my circular saw blade depth to go just slightly past the thickness of the particle board and into a piece of polystyrene foam insulation underneath, which I used as a cutting surface. It costs about ten bucks and works much better than cutting on 2×4 blocks — the foam supports the full panel and keeps the cut clean. Since I was cutting everything down to 30 inches deep, I ended up with a lot of usable cutoffs, which I repurposed to make the upper shelves. Using those scraps was actually cheaper than buying additional lumber, so it was a win on both efficiency and cost.
Step 8: Installing LED Lighting Above the Workbench
The finishing touch on this entire build was adding lighting above the workbench. I went with linkable two-foot-long LED lights — specifically LED shop lights — which are great because you can connect multiple units end to end and run them off a single plug. I found them at Home Depot originally, but found a better deal on Amazon, so that’s where I’d recommend sourcing them.
Good lighting above a workbench isn’t optional — it’s essential. Working in a dim garage is not only frustrating, it’s a safety issue. The LED lights I used are bright, energy-efficient, and easy to install. If you’re building a full garage workspace, don’t skip this step. Lighting transforms the feel of the whole area and makes the space actually usable for detailed work.
Tips and Best Practices for Garage Storage Workstation Shelving
After building this system, here are the most important lessons I took away from the process. First, always use a stop block on your miter saw when making repeated cuts — it saves time and keeps every piece consistent. Second, lay out reference lines on your wall before raising any shelves, especially if you’re working alone. Those lines act as your guide and eliminate a lot of guesswork.
Third, use temporary braces during installation. They don’t need to be fancy — just cut-down scraps of 2×4 that hold the shelf in position while you drive screws. Fourth, use three-inch screws wherever you’re connecting shelves to the wall — anything shorter won’t give you the holding power you need for a loaded shelf. Fifth, repurpose your cutoffs. When you cut panels down to size, save every scrap. Mine became the upper shelves and saved me a meaningful amount of money on materials. And finally, don’t skip the lighting. A well-lit workbench is a functional one. I used LED shop lights and the difference was night and day — literally.
If you enjoy budget-friendly builds like this one, you might also want to read my post on cheap shed organization ideas — a lot of the same shelving principles apply there too.
Frequently Asked Questions
What size lumber do I need for a DIY garage storage shelf system?
For a build like this one, 2×4s are the go-to choice for framing. They’re strong, affordable, and easy to work with. For the shelf surfaces themselves, 5/8-inch particle board hits the sweet spot between cost and strength. Have the big-box store cut your full sheets down to rough size so they’re easier to transport and handle in the garage.
How deep should garage storage shelves be?
I built mine at 30 inches deep, which was specifically chosen to fit standard plastic storage totes. That’s a common and practical depth for garage storage. If you’re storing smaller items or want to maximize floor space, 24 inches is another popular option. Just measure your totes or bins before you finalize your depth.
Can I build this garage storage system by myself?
Yes — and I did exactly that. The key is using temporary braces to hold sections in position while you drill and drive screws. Laying out reference lines on the wall before you start also makes solo installation much more manageable. It takes a little more time than having a helper, but it’s completely doable on your own.
What’s the best lighting for a garage workbench area?
Linkable LED shop lights are the best option I’ve found. They’re bright, energy-efficient, easy to install, and you can chain multiple units together off a single outlet. Look for linkable two-foot or four-foot versions — both work great above a workbench. I found mine at Home Depot but got a better price on Amazon.
Final Thoughts on Building Your Garage Storage Workstation
This garage storage workstation shelving system genuinely changed how I use my garage. What used to be a cluttered, unusable space is now organized, functional, and actually enjoyable to work in. The combination of deep storage shelves, a solid workbench, a dedicated closet section, and good LED shop lights overhead covers every need a serious DIYer has in a garage. And the best part? The materials are affordable, the tools required are basic, and the whole build is absolutely something you can do yourself over a weekend.
If you’re ready to take on more projects like this, check out my post on budget home improvement DIY ideas that save thousands — there’s a lot in there that pairs well with a freshly organized garage. And if you have any questions about this build, drop them in the comments below. I read every single one and I’m happy to help you work through any part of the process.