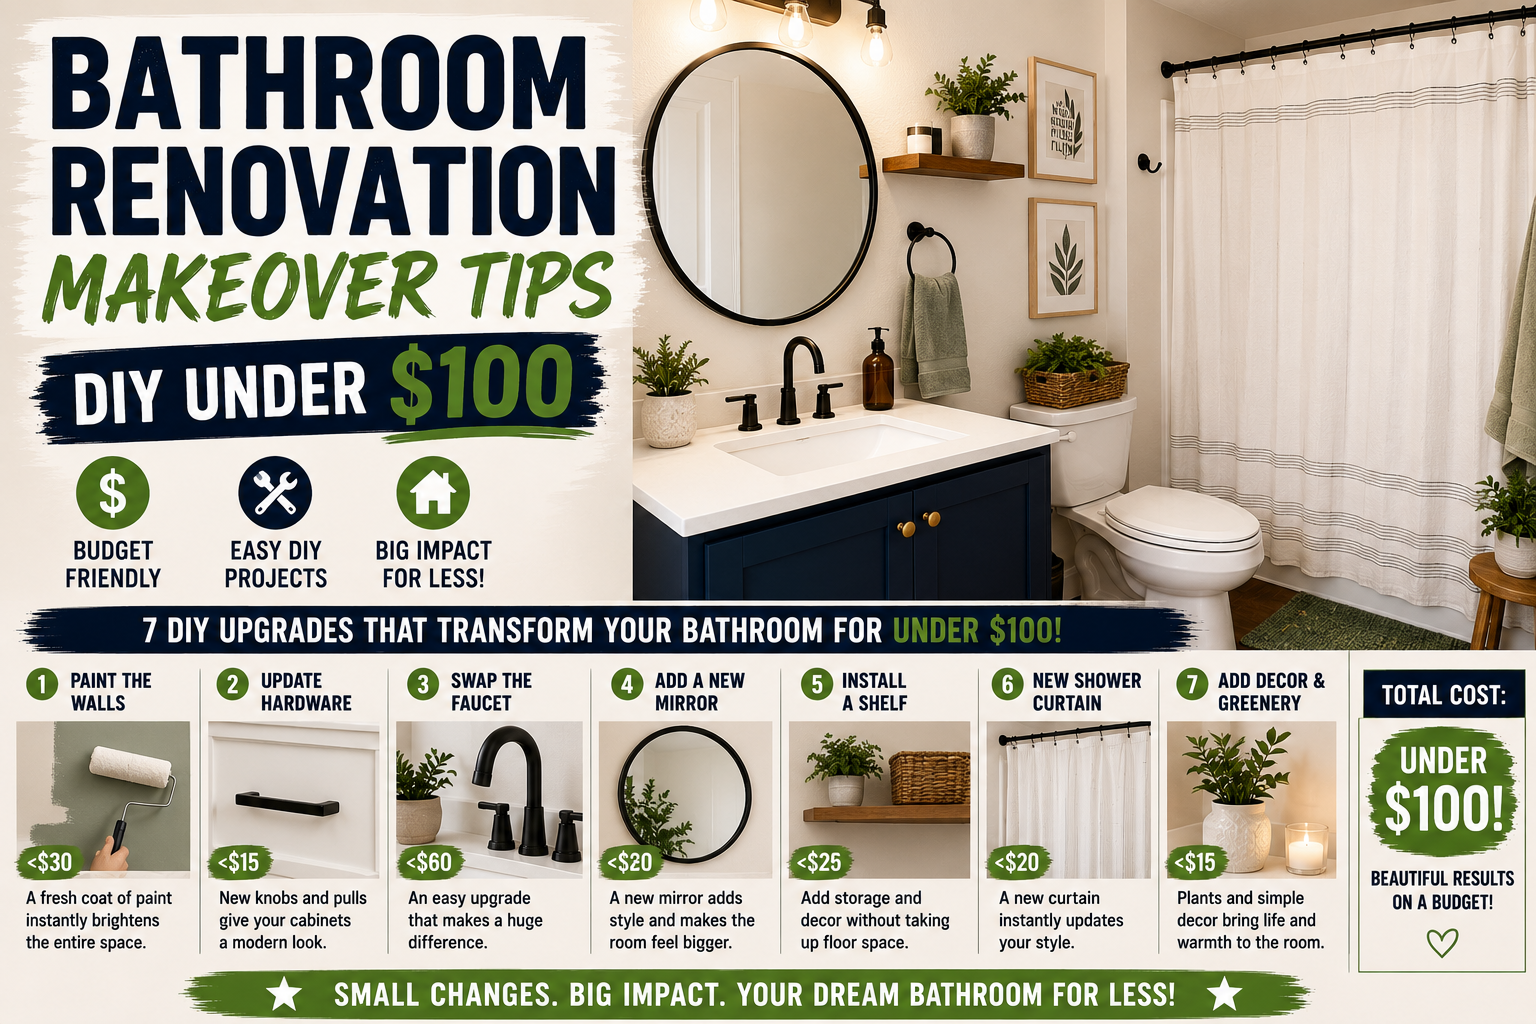
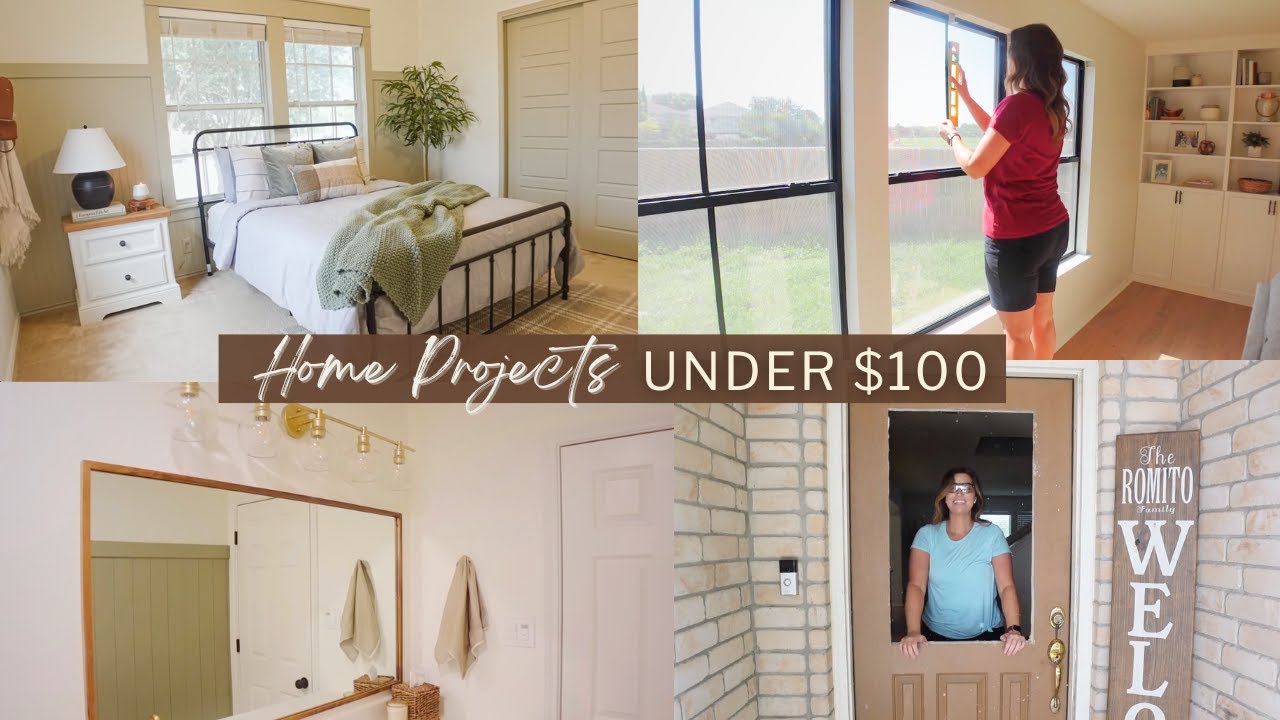
If you’ve been following along with my DIY journey for a while, you already know I’ve been slowly working my way through my entire house — kitchen, outdoor spaces, bedrooms, and now I’m gearing up for what’s going to be my biggest project yet: a full bathroom renovation makeover. I’m ordering supplies, making plans, and getting really excited about it. But before I dive into that big project, I wanted to share some of the smaller, budget-friendly upgrades I’ve done around my home that have made an absolutely huge impact — most of them for under $100.
That’s the thing I love most about DIY home improvement: you don’t have to spend a fortune to make a space feel completely transformed. Whether you’re looking for bathroom renovation ideas without replacing fixtures or just want to refresh a tired room on the cheap, these tips are exactly what you need. I’ve tested every single one of these in my own home, so I can tell you firsthand — they work. Let me walk you through all six of them.
And if you’re the type who loves quick wins, you might also want to check out my post on 20 budget home improvement ideas you can do in 30 minutes — there’s a lot of overlap with the mindset behind these projects. Now, let’s get into it.
1. Paint Is Still the #1 Budget Home Upgrade (And Here’s How I Use It)
I’ve said it before and I’ll say it again: the number one least expensive way to make the biggest impact in your home is with paint. It’s not glamorous advice, but it’s true every single time. I had three windows in my living room that were in perfectly good shape — no reason to replace them — but they looked really dated. So I decided to spray paint them in a farmhouse black color instead.
Prep is everything with this kind of project. I used painters tape and paper to protect the surrounding areas, then applied very light coats of spray paint in farmhouse black — two coats total. Light coats are key because you don’t want runs and you definitely don’t want to paint your windows shut. Once the tape came off, the contrast against the white walls was incredible. I also took it a step further and used black electrical tape to create a faux grid pattern on the glass for extra character. I did the same thing in my half bath and it added so much to that space too. Total cost? Almost nothing.
2. Paint Your Interior Doors a Contrasting Color
This is another paint project that I’ve done multiple times throughout my house and it never gets old. Painting interior doors a contrasting color — instead of just leaving them the standard white — is one of the easiest ways to add personality to a space that might otherwise feel really flat and boring. The hallway I did this in went from completely forgettable to one of my favorite spots in the house.
The key here is prep. Because the doors were painted with a semi-gloss finish, I used a liquid deglosser first so the new paint would actually adhere properly. Then I applied a coat of primer before going in with my main color — Sherwin Williams Jogging Path, which I’ve completely fallen in love with. I used a paintbrush to cut in the panel details first, then rolled the flat areas for a smoother finish. I also painted the doors in my dining room black and the contrast against the white trim is stunning. This is one of those projects where the before and after photos genuinely shock people.
3. Add a Window Insert to Your Front Door
Okay, this one is a little more involved but still absolutely falls under the under-$100 category — if you’re smart about where you source your materials. My front door had a tiny little window that barely let in any light. I wanted to add a much larger one, and while those inserts can run close to $300 new, I found mine for free on Facebook Marketplace. I’d also recommend checking used building supply stores — you can find great stuff there.
The process involved removing the old window insert (there are usually little screw covers you pop out, then unscrew to separate the two-piece frame), then cutting a larger hole in the door using a jigsaw. I drilled pilot holes in each corner first so I had a starting point for the jigsaw blade — yes, it was a little nerve-wracking doing this with the door still on its hinges, but it worked out perfectly. Once the new frame was popped in and screwed together, I added a fresh coat of paint and the transformation was unbelievable. The amount of natural light that now comes through the entryway completely changed the feel of my home. This is honestly one of my favorite projects I’ve ever done.
4. Swap Out Hardware and Faucets
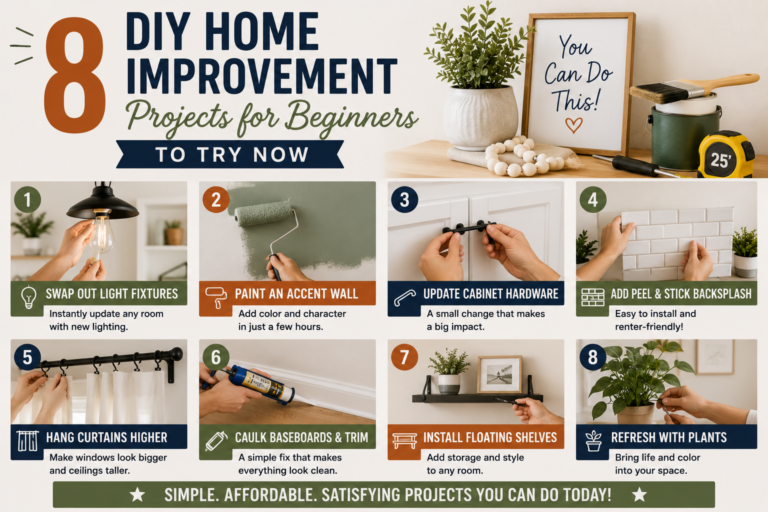
This one gets overlooked constantly, but updating the hardware in your home is one of the most cost-effective changes you can make. Whether it’s cabinet pulls, drawer handles, or bathroom fixtures, swapping dated hardware for something more modern makes a space look completely refreshed without touching anything structural. It also applies to faucet upgrades in bathrooms and kitchens — something more stylish and on-trend makes a huge difference for not a lot of money.
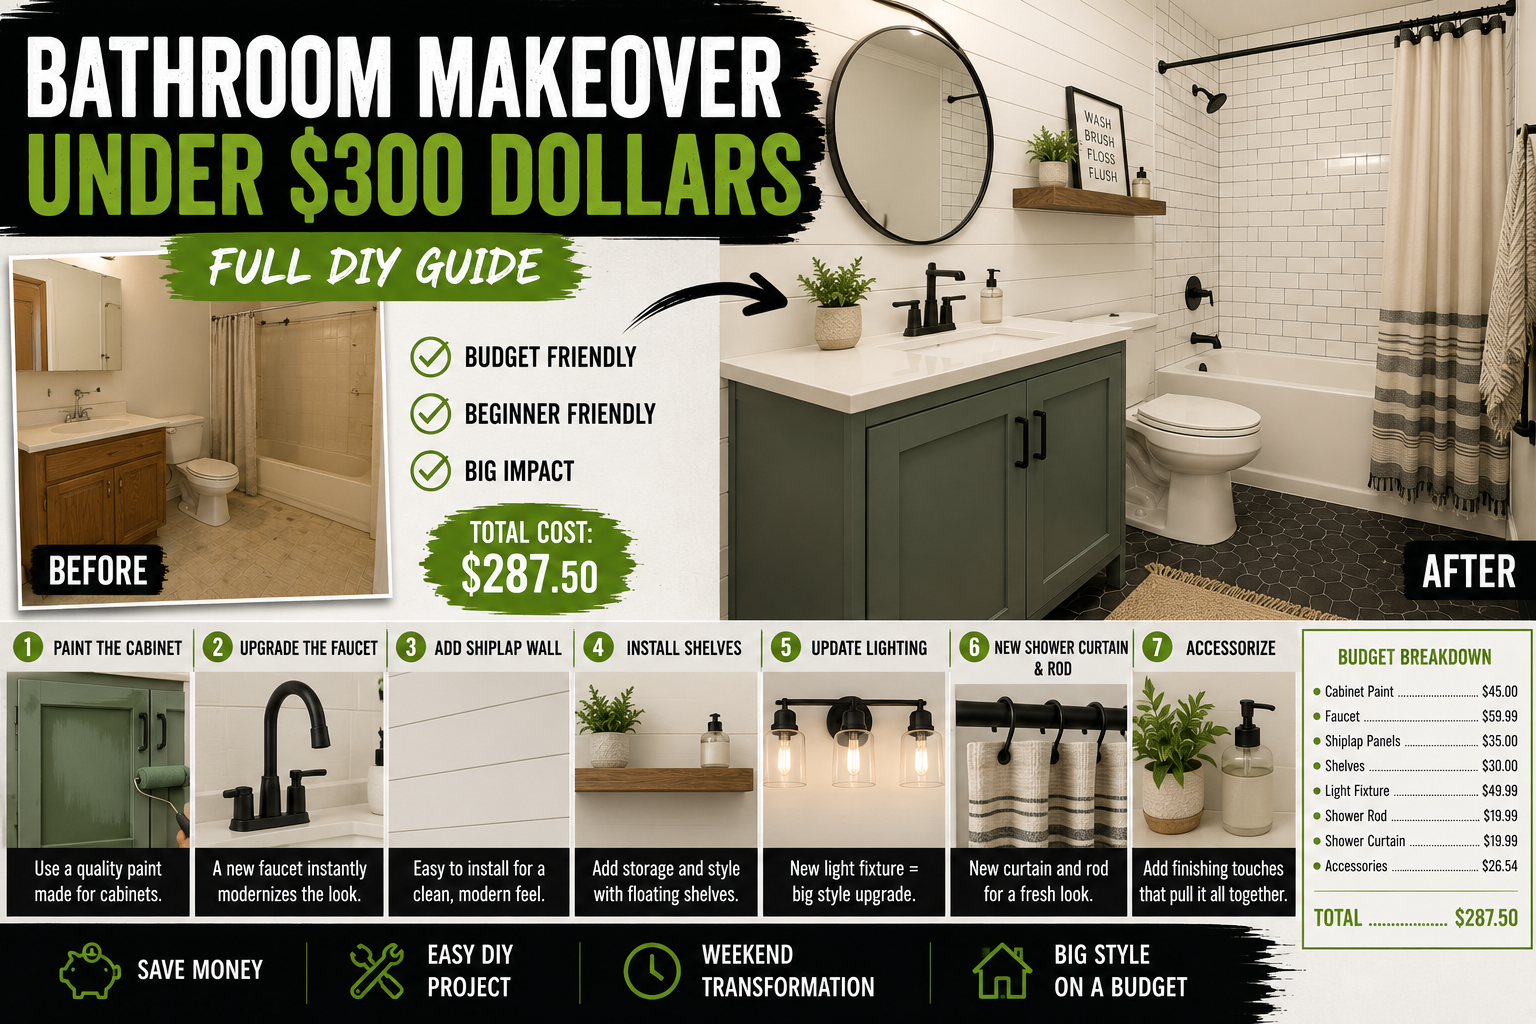
In my half bath makeover, I’d found a vanity on Facebook Marketplace for about $40, painted it green, and used the original hardware. It looked nice, but I had a feeling that brass door hardware would look even better against the green. So I swapped it out, and I was right — it looked so much more custom and intentional. I also replaced the original faucet with a gold one even though the original still worked fine, and that small change elevated the whole vanity from “functional” to “designed.” For a related deep-dive, check out my post on a bathroom makeover for under $300 where I go into even more detail on budget fixture swaps.
5. DIY Accent Walls (So Many Options!)
Accent walls are one of the biggest bang-for-your-buck upgrades you can do in a home. Almost every accent wall I’ve done has come in under $100 — the exception being larger statement walls, but for a standard-sized wall in a bedroom, hallway, or bathroom, you can absolutely make it work on a tight budget. The options are almost limitless, which can feel overwhelming, so let me break down what I’ve actually done in my own home.
In my dining room I did a batten wall, which I love. In my daughter’s room I did the same thing halfway up with wallpaper above it. My guest bedroom got beadboard paneling topped with a 1×4 cap. My bedroom and entryway both got box molding to give the main floor some visual continuity. I’ve done shiplap (vertical, because it looks more modern), paneling that honestly looks identical to shiplap in a kid’s bathroom, a custom trim accent wall I kind of made up on the spot, and even a brick wall. The point is — pick a style that speaks to you and go for it. These projects are forgiving, affordable, and the payoff is massive. I use brad nails and liquid nail adhesive on most of these builds to keep things tight and secure.
6. Upgrade or Refresh Your Light Fixtures
Light fixtures are something a lot of people don’t think about until they move into a space and realize how much dated lighting is dragging down the whole aesthetic. Swapping out a light fixture is genuinely one of the simpler DIY electrical tasks you can do, and the impact is enormous. Not every fixture upgrade will fall under $100 — big chandeliers obviously cost more — but hallway lights, accent fixtures, and bathroom lights absolutely can. I also always recommend checking online marketplaces for used fixtures in great condition.
Some of my favorite fixture swaps: in a dark, dated hallway I replaced the old lights with inexpensive but stylish ones from Amazon and the space looks completely different now. In my front entryway, I swapped out a fixture I genuinely hated for a more modern updated version. The most impactful change was removing a fluorescent ceiling light entirely and replacing it with recessed LED lights — that one change made the room feel bigger and cleaner instantly. On the exterior, I removed a dated fixture and installed a sleek black replacement. And here’s my favorite budget trick: if new lights just aren’t in the budget right now, spray paint the ones you have. I took a chrome bathroom fixture I didn’t love and hit it with brass spray paint and it looks like a completely different — and much more expensive — piece.
7. Frame a Builder-Grade Bathroom Mirror
Almost every bathroom has one of those big, plain builder-grade mirrors above the vanity — either glued or clipped to the wall. They do their job, but they look generic and unfinished. The good news is you can add a frame to dress them up without replacing the mirror entirely. I’ve seen people glue or nail a frame right over the existing mirror without removing it, which is the easier route. But in my kid’s bathroom, I wanted something really sleek and custom-looking, so I took a different approach.
I took the mirror down and brought it to a local glass-cutting shop where they trimmed it down for just $10. Then I adhered it back to the wall and built a custom frame using wood trim on my table saw — I notched a small L-shape into each corner piece so the frame would sit flush against the mirror edge. I held the frame together with glue and a few brad nails while the glue dried, then conditioned and stained the whole thing in Minwax Early American (my favorite stain color). Once it was dry, I fitted it over the mirror — it was a snug fit, which is exactly what I wanted — and secured it with a few brad nails into the drywall to make sure it wasn’t going anywhere. The whole project cost me around $30. The inspiration photo I was working from? The framed mirror in that photo retailed for $800. I’ll take the $30 version every single time.
Tips and Best Practices for Budget Bathroom Renovation Makeovers
After doing all of these projects, here are the lessons that have saved me the most time, money, and frustration along the way:
Always prep before you paint. Whether it’s a door, window frame, or light fixture, skipping prep (cleaning, deglossing, priming) is the fastest way to get a result that peels or looks unprofessional within months. Use a liquid deglosser on any semi-gloss surfaces before painting. Use primer before your topcoat whenever switching colors dramatically.
Facebook Marketplace and used building supply stores are your best friends. I’ve saved hundreds of dollars finding vanities, window inserts, mirrors, and fixtures for free or nearly free. Before you buy anything new, check used sources first. The only thing you’re usually sacrificing is a little time and a coat of paint.
Use spray paint to refresh fixtures instead of replacing them. Brass, matte black, oil-rubbed bronze — you can get any finish with spray paint for about $6. This works on light fixtures, cabinet hardware, faucets (temporarily), and more. Use light coats and let each coat dry fully.
Small hardware swaps create a cohesive, custom look. Matching your door hardware, faucet finish, and light fixtures across a room ties everything together in a way that feels intentional and designer-level — even when you’ve spent next to nothing on each individual piece.
Use a laser level for accent wall trim work. Nothing ruins a clean accent wall like slightly crooked trim. A laser level takes the guesswork out completely and speeds up the process significantly.
Frequently Asked Questions
What is the cheapest way to renovate a bathroom on a DIY budget?
The cheapest impactful changes are paint, hardware swaps, and light fixture upgrades. Painting doors and walls a contrasting color, swapping dated cabinet pulls for modern ones, and replacing an old fixture with a new one can completely transform a bathroom for well under $100. If you’re renting or want zero-commitment options, also check out my thoughts on rental bathroom makeovers on a budget.
Can I frame a builder-grade bathroom mirror myself?
Absolutely — and it’s one of my favorite budget upgrades. You can either glue or nail a frame over the existing mirror without removing it, or do what I did: have a glass shop cut the mirror down for a few dollars and build a custom stained wood frame around it. My version cost about $30 and looked like an $800 custom mirror.
What accent wall ideas work best in a small bathroom?
For small bathrooms, I love beadboard paneling, a simple batten wall, or vertical shiplap — all of which add texture and character without overwhelming a tight space. Even a half-wall treatment (paneling on the bottom half, paint on the top) works beautifully and keeps costs low since you’re covering less surface area.
How do I update bathroom light fixtures without an electrician?
Swapping a standard bathroom light fixture is one of the more beginner-friendly electrical tasks out there — just make sure you turn off the breaker first. The wiring is usually straightforward (matching black to black, white to white, and grounding the green or bare copper wire). If you’re not comfortable with electrical work at all, even just spray painting your existing fixture with brass or matte black spray paint makes a huge difference for almost no money.
Final Thoughts: Big Impact, Small Budget
If there’s one thing I want you to take away from this post, it’s that a beautiful home doesn’t require a massive renovation budget. Paint, hardware, accent walls, lighting, and a framed mirror — these are all projects I’ve done myself, in my own home, for under $100 each. And every single one of them made me love my space more. That’s what DIY is all about for me.
I’m also getting really close to kicking off my big bathroom renovation makeover and I cannot wait to bring you along for the full process. If you want to see every step of that project — and get notified every time I publish new DIY content — make sure you’re subscribed. And if you want even more budget renovation inspiration right now, check out my full guide on affordable home improvement projects under $100 — it pairs perfectly with everything I covered here. Let’s keep building something great together, one project at a time.