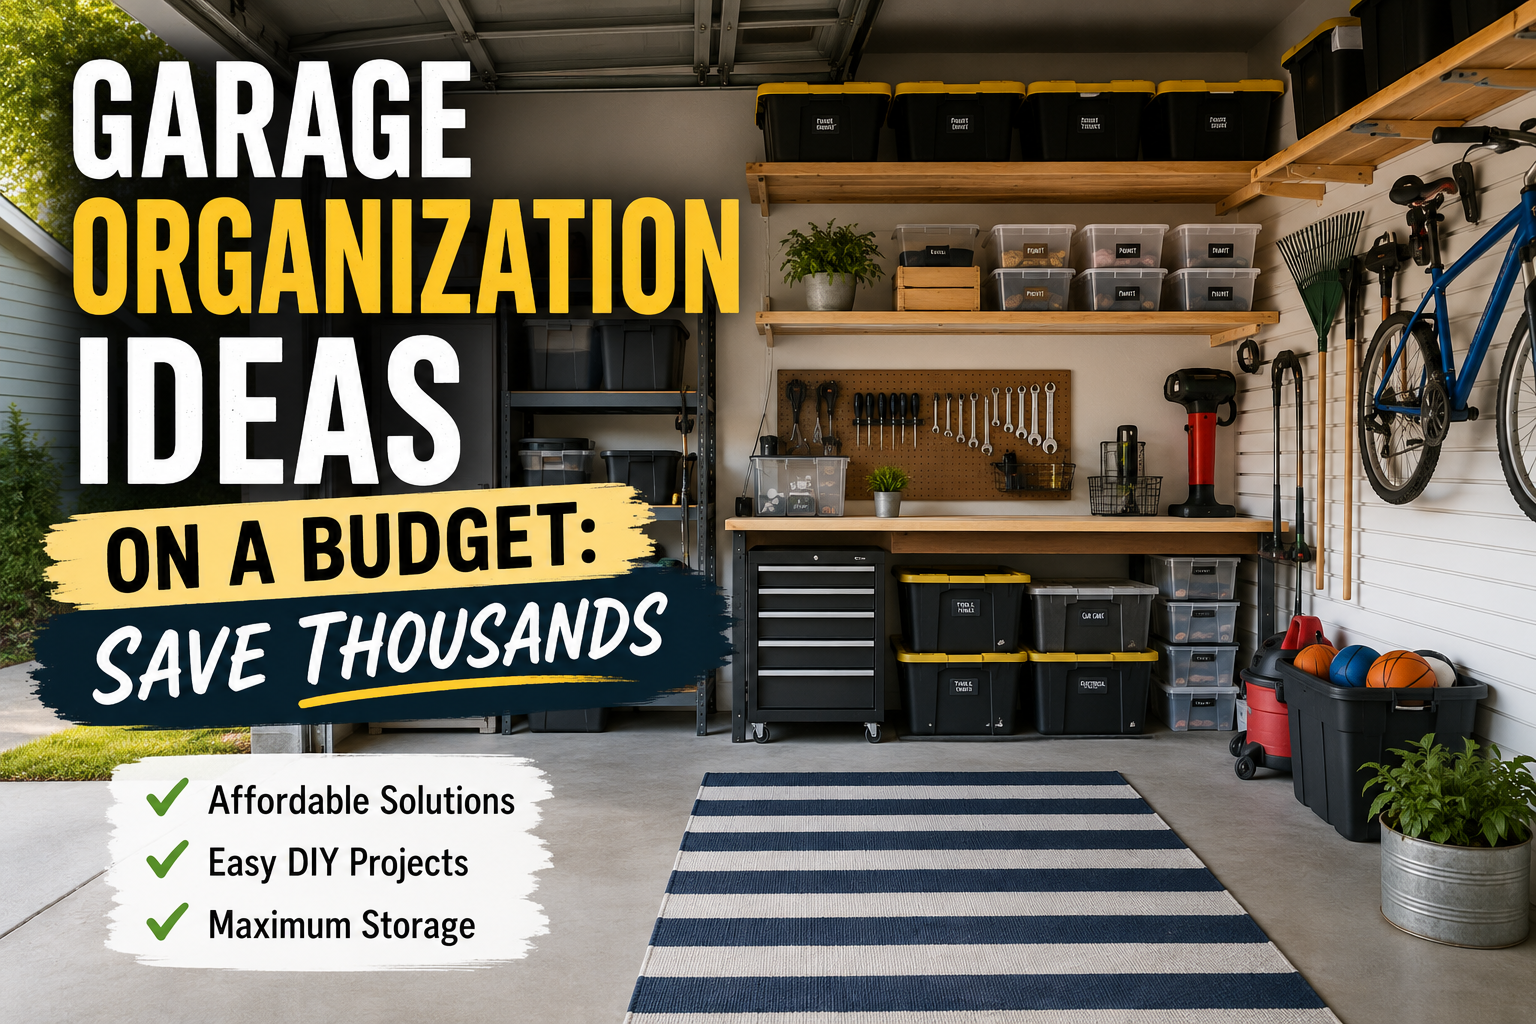
Let’s be real — most garages are a disaster zone. Tools piled in corners, mystery boxes everywhere, and no system whatsoever. Sound familiar? You’re not alone, and the good news is you don’t need a massive budget to fix it. With some creativity, a willingness to repurpose what you already have, and a few smart purchases, you can completely transform your garage into a functional, good-looking workspace.
That’s exactly what this project is all about. From building custom cabinetry and installing showstopping lighting to tackling the dreaded garage floor, every step here was done with one goal in mind: maximum impact for minimum cost. Whether you’re a seasoned DIYer or just getting started, these garage organization ideas on a budget will give you a real roadmap to follow.
Ready to stop dreading your garage and start loving it? Let’s dig in.
Use a Free Cut Sheet App to Plan Your MDF Cabinetry
One of the first moves in this garage overhaul was building out a custom storage cabinet using MDF sheets. Before making a single cut, a free online cut sheet planning app was used to map out every piece needed. This one step alone saved the cost of buying extra sheets of MDF that would have just ended up sitting around after the project was done.
MDF is heavy, but it’s incredibly easy to work with and takes paint beautifully — which matters a lot when you’re going for a cohesive, finished look. If you’re building on top of an existing table or workbench, putting it on casters is a game-changer. You get the weight-bearing capacity you need while still being able to move things around as your layout evolves.
The lesson here is simple: plan your cuts before you buy your materials. A free app does the math for you, and that math translates directly into money saved at the hardware store.
Having the right tools makes every cut cleaner and faster — see our full guide to the coolest DeWalt tools available right now!
Repurpose and Upgrade Your Existing Workbench
Got an old workbench that’s seen better days? Don’t toss it — transform it. In this project, an existing workbench that once housed a vacuum system (no longer in use) got a full refresh. The old vacuum components were removed, screw holes and drill marks were filled with Bondo, and new cabinet doors were cut and added to the front.
A Kreg hinge jig made drilling for the hinges fast and precise — no guesswork, no crooked doors. The doors were rounded over for a cleaner look, and the whole thing was painted to match the rest of the space. What was once a beat-up, cluttered workbench became a polished storage station with real cabinet doors.
The takeaway? Your existing furniture has more life in it than you think. A little Bondo, some paint, and the right jig can make something old look completely custom-built.
Use Adjustable Shelf Hole Jigs for Flexible Storage
When building out the interior of the cabinets, a shelf hole jig was used to drill evenly spaced holes for adjustable shelving. This is one of those small details that makes a huge difference in long-term usability. Fixed shelves are great until you buy something that doesn’t fit — adjustable shelves solve that problem permanently.
The end cabinet section was intentionally built shallower than the rest to leave clearance for a router stored behind it. That kind of thoughtful planning — accounting for the tools you already own — is what separates a frustrating build from one that actually works in real life.
If you’re building any kind of shop cabinetry, invest in a shelf hole jig. It’s inexpensive, reusable, and ensures your shelves are always level and evenly spaced.
Paint Old Cabinets Instead of Replacing Them
Here’s one of the best garage organization ideas on a budget you’ll ever hear: don’t buy new cabinets, paint the ones you have. In this garage, there was a mismatched hodgepodge of old cabinets in different colors — including a cabinet from a previous garage makeover and a set of older Gladiator cabinets that were about a decade old. Instead of replacing any of them, every single one got painted black.
The key detail here is using a paint specifically designed to go over metal. Regular wall paint won’t adhere properly to metal cabinet surfaces and will chip or peel over time. Using the right product means your painted cabinets will actually hold up. Walls were painted flat, and doors were done in semi-gloss for a subtle contrast that looks intentional and polished.
Unifying all your cabinetry with one color is one of the fastest ways to make a garage look like a professionally designed space rather than a collection of random stuff. Black is a particularly great choice — it hides scuffs, looks sharp, and pairs well with almost any accent color.
Add a Fresh Coat of Paint to the Ceiling
Dark ceilings absorb light and make any space feel smaller and gloomier than it needs to be. In this project, the ceiling got a fresh coat of white paint specifically to help brighten up the garage and reduce the need for extra portable lighting. Those filming lights that were taking up valuable floor space? Gone — replaced by a brighter, cleaner environment.
This is one of those garage organization ideas on a budget that costs almost nothing (a can of ceiling paint is cheap) but delivers a surprisingly big visual return. A bright ceiling reflects light back into the space and makes everything feel more open and energized.
While you’re up there, it’s also a great time to wire any additional outlets you might need for future lighting or tools — exactly what was done here to prepare for the big lighting upgrade coming next.
Upgrade to High-Output Hex Lighting
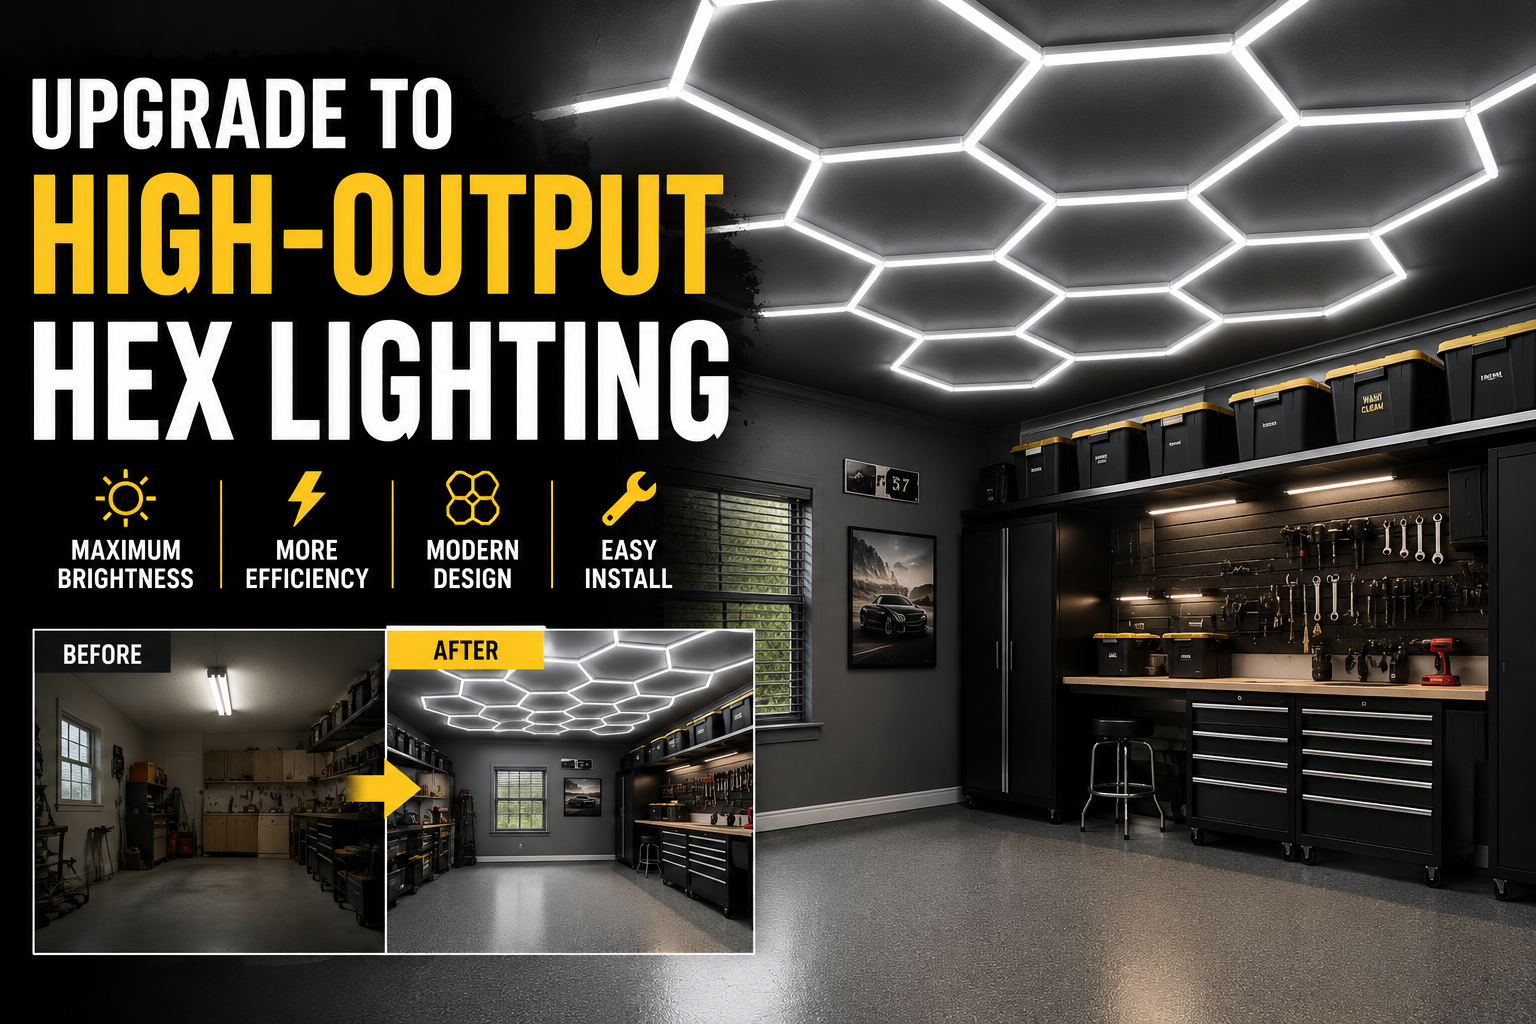
If there’s one upgrade that completely changed the feel of this garage, it’s the lighting. A Hex Light kit putting out around 66,000 lumens was installed across the ceiling, and the difference was genuinely jaw-dropping. The perimeter lights stay on all the time, while the hex section runs on a dedicated light switch.
The trick to hanging a large, flexible light system like this is pre-planning on the ground first. The entire layout was mapped out on the garage floor, then a laser level was used to transfer those marks to the ceiling, and tape was applied so there was a clear visual guide before a single screw went in. This is the kind of step that saves you from having to redo everything halfway through.
The whole hex lighting setup came in around $400 after catching a sale — a savings of about $200 off retail. Patience pays off. If you’ve been eyeing a big-ticket item, set a price alert and wait for a sale. It’s one of the easiest ways to save real money on a garage makeover.
Install Stick-On Wood Paneling for Style on the Walls
Want your garage to look like more than just a utility space? Wall treatments make a massive difference. In this project, stick-on faux wood panels were applied to one wall to add texture and warmth. The important lesson learned here: make sure your walls are completely clean before you apply them. Any dust, grease, or debris will prevent them from adhering properly and you’ll be peeling them off and redoing the work later.
When it came to attaching the panels, a pin nailer was tried first to keep things subtle, but eventually a stapler was used to get the job done faster and more securely. Sometimes you just have to go with what works. Painted to match the surrounding walls, these panels add a finished, stylish touch that looks way more expensive than it actually is.
Check out this post we did for Makeover Ideas Using Peel & Stick.
Build a DIY Plywood Storage Cart
Storing sheet goods like plywood is one of the most frustrating parts of any shop setup. When they’re stacked flat or leaned against a wall, you can never get to the piece you actually need without moving everything else. The solution here was a hinged plywood cart built from OSB — painted black to match the rest of the shop — that swings out from the corner to give you full access to your sheet goods.
The cart was framed with 2x4s and assembled with pocket holes, which made the build fast and solid. A 1×2 strip of pine was attached along the edge to keep sheets from sliding off when the cart is angled. Orange casters (the accent color of the whole garage) were added for mobility. Total cost? Under $100, and most of the materials — the OSB, the pine strip — came from what was already on hand in the shed.
Before you buy anything for a project like this, check your own storage first. You might be surprised what’s already out there waiting to be used.
Choose a Budget-Friendly Miter Saw Stand Over a Premium Brand
When it came time to replace a janky old cabinet being used as a miter saw station, there was a temptation to go with the brand-name Bosch miter saw stand. But at more than double the price of the RIDGID stand — which looks and functions nearly identically — the choice was easy. RIDGID won.
This is a principle worth applying across your entire garage build: compare before you commit. Brand loyalty is great, but when two products perform the same and one costs half as much, the savings go right back into the next part of the project. The same logic applied to adding a mobile base to a drill press — making tools mobile and accessible doesn’t have to cost a fortune.
Install Carpet Tiles on the Garage Floor
The garage floor was in rough shape, and the usual options — epoxy coating, garage floor tiles — were either too expensive, too labor-intensive, or both. The unexpected solution? Budget carpet tiles at just $0.79 per square foot. Yes, really.
Fair warning: cheap carpet tiles can come with quality control issues — uneven cuts, color variations between boxes, adhesive that barely sticks. This project hit all of those problems head-on. But with some patience and a willingness to finesse each tile a bit (stretching, trimming, and adjusting as needed), the result came together. The carpet was stopped about 6 inches short of the garage door to prevent water damage, and a rubber edging strip was added at the border for durability and a clean finish.
Is it perfect? No. Is it a massive improvement over bare, stained concrete for a fraction of the cost of other options? Absolutely. And for a garage that doubles as a YouTube studio and creative workspace, it adds a warmth and comfort that no epoxy coating can match.
Mount a TV to Make the Space Multi-Purpose
A garage doesn’t have to be just a place to store stuff — it can be a real living and working space. In this project, a 65-inch TV (bought on sale, naturally) was wall-mounted in the garage to serve both as entertainment while working and as a functional part of a YouTube studio setup. Getting a TV this size up on the wall solo is a challenge, but it’s doable with the right mount and a lot of determination.
Think about how you actually want to use your garage. If it’s a creative space, a workshop, or somewhere you spend real time, investments like a TV make it a place you actually want to be — and that mindset shift is what turns a garage makeover from a chore into something you’re genuinely excited about.
Use 3D Printing for Custom Finishing Details
If you have access to a 3D printer, don’t overlook it as a tool for your garage makeover. In this project, a Prusa Mark 4 3D printer was used mid-build to print out custom finishing details that tied the whole space together. These small custom touches — brackets, holders, label frames, accent pieces — are exactly the kind of thing that makes a garage feel intentional and personalized rather than just functional.
You don’t need a 3D printer to get this effect. Custom spray-painted hardware, handmade labels, or even color-coordinated hooks and bins can serve the same purpose. The point is to think about the finishing details, because they’re what take a space from “organized” to “impressive.”
Tips and Best Practices for Your Garage Makeover
Before you dive into your own garage transformation, here are a few principles that made this project work on a budget. First, always shop your own shed and storage before buying anything new — you’ll be amazed what you already have. Second, set price alerts on big-ticket items and wait for sales; patience saved hundreds of dollars on lighting alone. Third, use the right paint for the right surface — metal cabinets need metal-appropriate paint, period. Fourth, plan your cuts before you buy materials; a free cut sheet app can save you from buying a whole extra sheet of MDF. And finally, don’t let perfect be the enemy of done — cheap carpet tiles with imperfect cuts are still a better floor than bare stained concrete, and a repainted old cabinet still gives you the storage you need.
Frequently Asked Questions
What is the cheapest way to organize a garage?
The cheapest approach is to start with what you already have. Repaint old cabinets instead of buying new ones, repurpose existing furniture with added shelving or doors, and use free planning tools to minimize material waste. Tackling one zone at a time also keeps costs manageable and lets you spread spending out over time.
Is MDF a good material for garage cabinets?
MDF works well for garage cabinets in climate-controlled or semi-controlled environments. It’s easy to cut, takes paint beautifully, and is relatively affordable. The main drawback is weight — MDF is heavy — but mounting your cabinet on casters solves the mobility issue. Avoid using MDF in extremely humid or wet environments, as it can swell and warp with prolonged moisture exposure.
How do I brighten up a dark garage without spending a lot?
Two of the most impactful and affordable things you can do are painting the ceiling white and upgrading your lighting. A bright white ceiling reflects light throughout the space and makes a noticeable difference even before you change a single bulb. If you’re ready to invest more, a high-output LED panel or hex light system is worth every penny — especially if you can catch one on sale.
Are carpet tiles a good idea for a garage floor?
Carpet tiles can be a great budget option for a garage floor, especially if you use the space as a workshop or studio rather than primarily for parking vehicles. At under a dollar per square foot, they’re dramatically cheaper than epoxy or interlocking plastic tiles. Just be prepared for some quality variation with cheaper brands, and leave a gap near the garage door to protect against water intrusion.
How do I store plywood and sheet goods in a small garage?
A DIY plywood cart is one of the best solutions for small garages. Built from OSB and 2x4s with pocket hole joinery, a hinged cart that swings out from a corner gives you full access to your sheet goods without eating up floor space permanently. Add casters for mobility and a lip along the edge to keep sheets from sliding off. Total material cost can come in well under $100 if you use what you already have on hand.
Your Dream Garage Is Closer Than You Think
The biggest myth about garage makeovers is that they require a big budget. This project proves otherwise. By repainting instead of replacing, using free planning tools, shopping sales, repurposing existing materials, and thinking creatively about solutions (carpet tiles, anyone?), you can save thousands and end up with a space that looks and feels completely transformed.
Start with one area — maybe a single cabinet refresh or a ceiling paint job — and build momentum from there. Every small win adds up, and before you know it, you’ll have a garage you actually want to spend time in. Now grab your paint brush, fire up that cut sheet app, and let’s get to work. Your dream garage is waiting.