If your garage looks like a disaster zone, you’re not alone. A year ago, mine was completely out of control — tools everywhere, sheet goods piled in corners I couldn’t reach, and zero system keeping anything organized. I kept buying new plywood because I couldn’t get to the sheet I already had buried in the back. That’s when I knew something had to change.
So I set four clear goals for my garage makeover: maximize storage, improve lighting, get new flooring, and add some real style. What I ended up building — a custom sliding cabinet system inspired by $5,000–$7,000 commercial storage units — cost me a fraction of that price. I’m going to walk you through every single step, including one big, expensive mistake I made along the way that I want to save you from repeating.
Whether you’re working with a one-car garage or a full three-bay setup, this garage storage system DIY build can be scaled to fit your space. I’ve also covered some garage organization ideas on a budget in another post that pairs well with this one. Let’s get into it.
Step 1: Clear Everything Out and Make a Plan
Before I touched a single tool, I cleared my entire garage out so I could see what I was actually working with. This sounds obvious, but it’s the step most people skip — and it’s the reason most garage makeovers fall flat. You can’t design a storage system around clutter. You need a blank canvas.
Once everything was out, I mapped out my four goals: more storage, better lighting, new flooring, and improved style. Having those goals written down kept me focused every time I wanted to take a shortcut. If you’re starting from scratch like I was, resist the urge to dive straight into building. Plan first, build second.
Step 2: Build a Mobile Plywood Cart
The first thing I built was a mobile plywood cart, and honestly it might be the most useful thing in my entire garage now. My old system was just leaning sheet goods against the back wall — which meant I could never get to whatever piece was in the back without moving everything else. So I’d end up buying a whole new sheet of plywood instead. That stops now.
I cut a sheet of OSB down to 3 feet by 6 feet for the platform. The frame is built from 2×4s, joined together using Pocket hole joinery — nothing beats a pocket hole jig for speed on utility builds like this. I added a 1×2 strip along the edge to create a lip that keeps sheet goods from sliding off, then attached lockable casters to the bottom so the whole thing rolls out to the truck when I’m unloading. Now I can wheel the cart right out to the driveway, load it up, and roll it back in. Total game changer for anyone who hauls sheet goods regularly.
For paint, I used Benjamin Moore Coronado Multiply in black. This stuff sticks to wood, metal, and plastic without primer — I use it on almost everything in the shop.
Step 3: Add Cabinetry to the Workbench
My workbench had a ton of wasted space underneath it. I stripped out some old vacuum lines I hadn’t used in years and built custom MDF cabinets to go underneath. MDF is easy to work with and takes paint beautifully — just keep it away from moisture. I drilled adjustable shelf holes in the dividers, attached the backs, and cut matching doors from the same sheet.
For the hinges, I used a cabinet hinge jig to drill out the cup holes cleanly — the kind of tool that makes you look like a pro even when you’re winging it. I painted the cabinet bodies black to match the plywood cart and painted the doors green (my second-favorite color after orange). Once the workbench cabinets were done, I went ahead and repainted all my existing cabinets and toolboxes to match. Having a consistent color scheme in the garage makes the whole space feel intentional instead of cobbled together.
Step 4: Paint the Ceiling and Walls
Before tackling the lighting, I put a fresh coat of paint on the ceiling. A white or light-colored ceiling reflects light back into the space and makes a huge difference — especially in a garage that tends to be dim. I painted one wall as an accent to match the ceiling tone, then painted the remaining walls a light gray. For the garage doors themselves, I went with the same gray as the walls so they’d visually disappear into the background rather than compete with everything else.
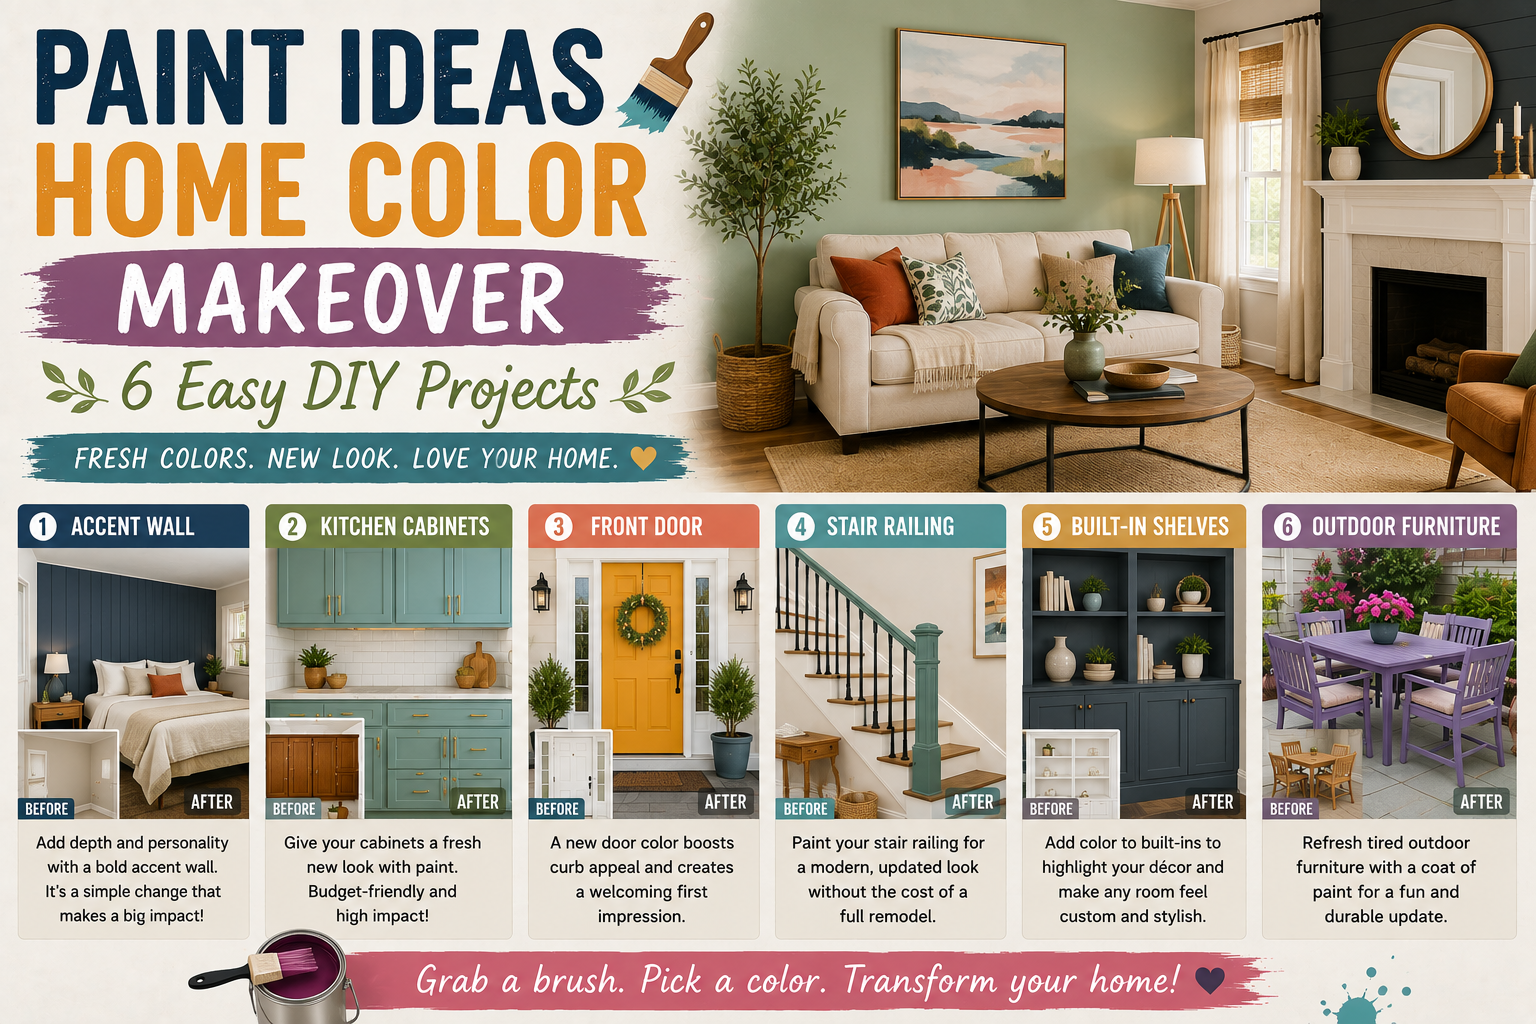
This is one of those steps that feels like you’re just “painting” but it’s actually part of the lighting strategy. Don’t skip it. If you want more ideas for making a dated space feel fresh with paint alone, check out my post on paint ideas for a home color makeover.
Step 5: Install Hex LED Shop Lights
This was the upgrade I didn’t know I needed until I had it. I’d been using a couple of big filming lights on stands to brighten up the garage, but they ate up floor space and were always in the way. I wanted dedicated ceiling lighting that freed up the floor completely.
I went with a hex-panel LED shop lights kit that puts out around 66,000 lumens total. The setup cost about $400, and I caught it on sale and saved around $200 off the regular price. Installation takes planning — I laid the whole panel configuration out on the garage floor first, then used a laser level to transfer those marks to the ceiling and taped them out before I put a single screw in. The perimeter lights run continuously on their own circuit, while the hex center section runs on a separate switches so I can toggle it independently. Hanging a rig this size is definitely a two-person (or more) job — have help ready before you start.
Step 6: Install Carpet Tiles for Flooring (And What I’d Do Differently)
Here’s where I made my big mistake — and I’m sharing it so you don’t repeat it. I went with the absolute cheapest carpet tiles I could find online at $0.79 per square foot. The reviews were… mixed. One reviewer said her contractor asked if the tiles were a joke. Another said they were paper-thin. A third noted that at least a third of the tiles weren’t cut square. I read all of this and bought them anyway.
The installation was a nightmare. So many tiles were out of square that I had to trim tiny slivers off some and larger pieces off others just to get them to fit. The adhesive backing wanted to peel up constantly. I had to stretch, pull, and reshape tiles as I went. I stopped the carpet about six inches from the garage door and put a rubber edge strip over the end to protect it. Honestly, the finished result looked decent once it was all down — but the process was miserable and I wouldn’t recommend going this cheap on flooring. If I were doing it again, I’d spend a bit more on luxury vinyl plank or higher-quality carpet tiles. Learn from my wallet, not your own.
Step 7: Mount a TV on the Garage Wall
Yes, I hung a TV in the garage. No, I don’t regret it. My garage doubles as my workshop and studio, so having a screen on the wall keeps me entertained and connected while I’m working. Getting the TV onto the wall mount solo was a bit of a wrestling match, but it’s doable if you’re patient. Use a stud finder, make sure your mount is rated for the TV weight, and have a helper if at all possible.
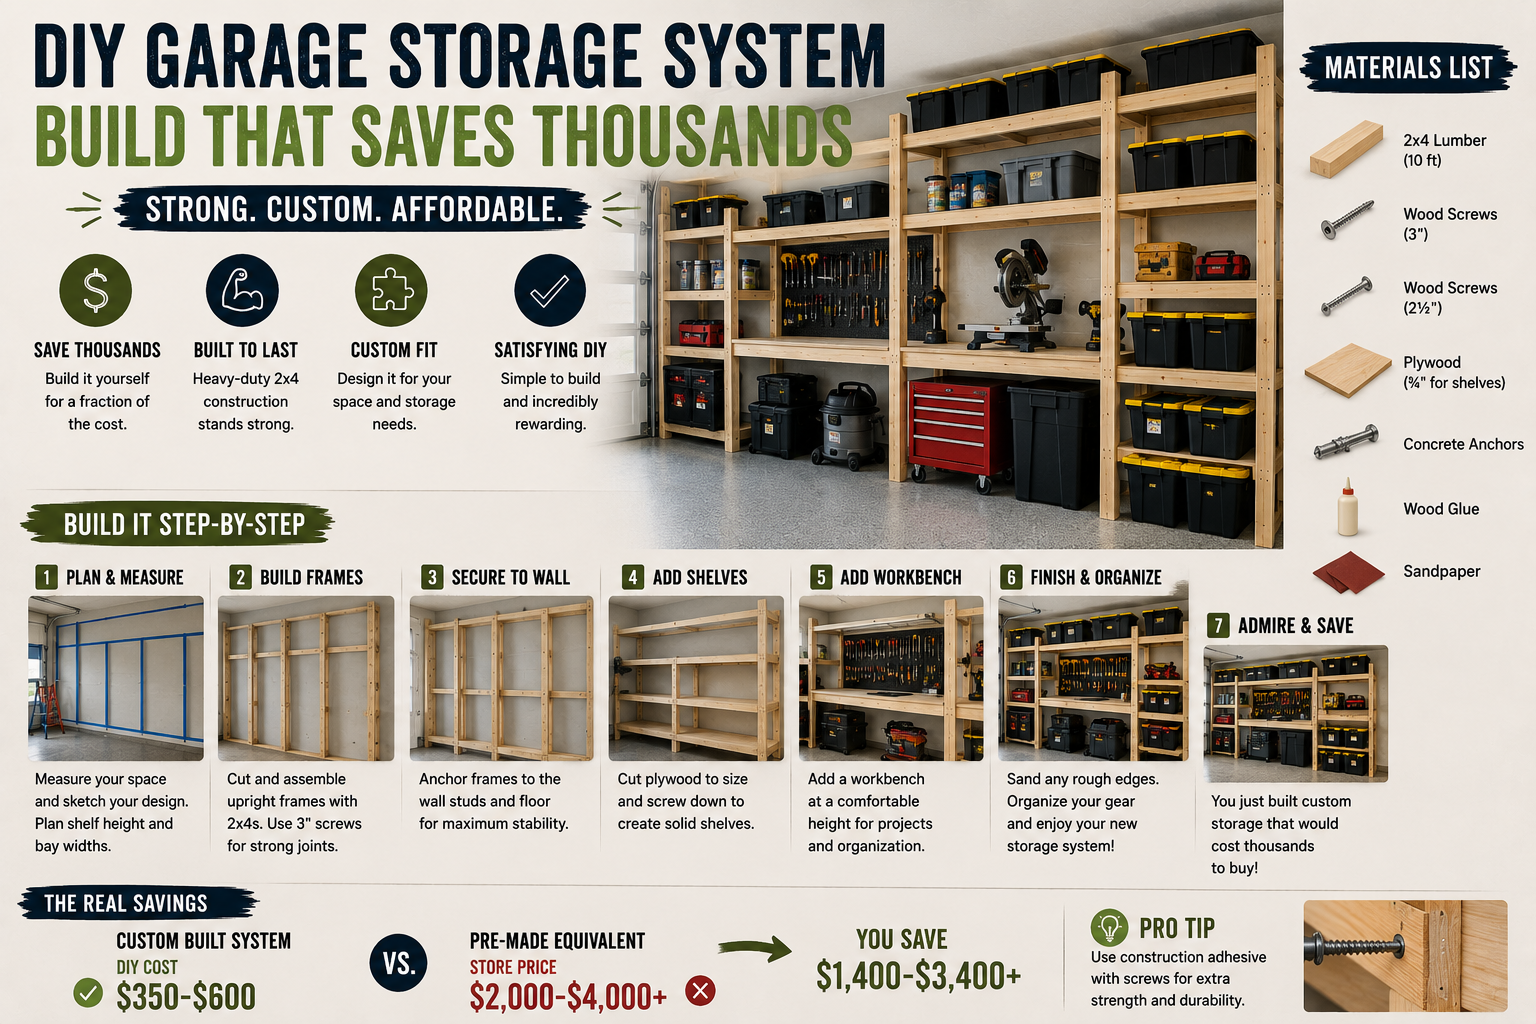
Step 8: Design and Build the Sliding Cabinet Storage System
This is the centerpiece of the whole build — a custom sliding cabinet system inspired by commercial units that sell for $5,000 to $7,000. My version cost a small fraction of that. The concept: multiple tall storage cabinets that slide side to side on overhead tracks so you can walk between them like a hallway, accessing any cabinet without having to pull everything out front.
I spent weeks figuring out how to make this work without welding. Pantry slides were too expensive and required three feet of clearance in front of each cabinet. Regular casters would let cabinets swing and wobble. Then I found the solution: strut channel and trolleys. Strut channel is the slotted metal channel used in electrical, HVAC, and plumbing work — and in factories, it’s mounted overhead with trolleys to move heavy loads across the ceiling. Each trolley is rated for 300–600 pounds. The strut channel itself is rated for 3,000 pounds per run. I used two runs of 12-gauge strut channel and four trolleys per cabinet, so weight is essentially a non-issue. You can find strut channel at Home Depot or Lowe’s — just make sure you get 12-gauge so it handles the load.
For the overhead support beams, I used 2×6 steel tubing welded together for maximum strength and zero sag. If welding isn’t in your skill set, you can achieve similar results by sistering together 2×10 lumber with appropriate joist hangers. I painted the steel beams with the same Benjamin Moore Coronado Multiply paint I used everywhere else, then drilled into the concrete floor to anchor the vertical 4×4 frames. I used lag screws and timber screws at the top connection points for extra security. For the cabinet boxes themselves, I used 3/4-inch radial pine plywood — about $50 a sheet — cut down with a track saw and then a table saw to final dimensions.
Step 9: Build the Cabinet Box Frames from 4x4s
The vertical uprights for each cabinet frame are 4×4 lumber — I picked up four of them for about $60 total, versus the $1,000+ it would have cost to order a commercial pallet rack system with shipping. I cut dado joints (lap joints) into the 4x4s using a radial arm saw, though a circular saw with a dado stack or even a router table would work just as well and be safer for most DIYers.
The horizontal cross members are 2×4s cut to your desired cabinet width — I went with 3 feet, but you could go up to 4 feet depending on your space. I connected everything with lag screws, using the correct pilot bit sized to the inner diameter of the screw so I wasn’t splitting wood or snapping fasteners. Once the frames were assembled, I painted them black with the same paint used on everything else in the shop to keep the look cohesive.
Tips and Best Practices for Your Garage Storage System DIY Build
Plan before you build. Clearing the space and mapping your goals first saves you from making expensive mid-project changes. Know how many cabinets you need and where they’ll live before you buy lumber.
Use a laser level for ceiling installations. Whether you’re hanging lights or strut channel, transferring floor measurements to the ceiling with a laser is far more accurate than measuring by hand — and mistakes on the ceiling are hard to fix.
Don’t cheap out on flooring. I learned this the hard way with $0.79 carpet tiles. For a garage, luxury vinyl plank or quality interlocking tiles will save you installation headaches and last much longer.
Match your paint across everything. Painting cabinets, toolboxes, frames, and walls in a consistent palette makes the garage feel like a purposeful workspace rather than a storage dump. I used Benjamin Moore Coronado Multiply throughout — it sticks without primer and covers in one coat.
Use strut channel for overhead sliding systems. It’s the same industrial hardware used in factories, it requires zero welding, and it’s available at your local home improvement store. Make sure you grab 12-gauge channel for heavy cabinet loads.
Upgrade your lighting before anything else. Good lighting changes how you feel about a workspace instantly. The hex LED shop lights I installed were the single biggest quality-of-life improvement in the whole project.
Add a mobile plywood cart early. If you work with sheet goods at all, a rolling cart with lockable casters will pay for itself in time and frustration savings within the first week.
For more ideas on making a garage or utility space work harder, check out my full guide on garage storage workstation shelving ideas and my post on garage organization ideas with 2x4s.
Frequently Asked Questions
How much does a DIY garage storage system like this cost?
My full build — including the sliding cabinet system, lighting, flooring, paint, mobile plywood cart, and workbench cabinetry — came in at a fraction of the $5,000–$7,000 commercial alternatives. The 4×4 uprights ran about $60 for four, plywood sheets were roughly $50 each, and the hex LED shop lights were around $400 (on sale from a higher retail price). Your total will depend on how many cabinets you build and what materials you already have on hand, but a solid sliding cabinet system for a two-car garage can realistically come in under $1,000 if you shop smart.
What is strut channel and where do I buy it?
Strut channel (also called Unistrut or slotted channel) is a metal framing system used by electricians, plumbers, and HVAC contractors to mount conduit and ductwork. For this project, it serves as the overhead rail that the cabinet trolleys slide along. You can find it at Home Depot or Lowe’s in the electrical or mechanical section. Make sure you buy 12-gauge channel — not the lighter 14-gauge — for heavy cabinet loads. Each run is rated for 3,000 pounds, and each trolley is rated for 300–600 pounds depending on speed of travel.
Do I need to weld to build a sliding garage cabinet system?
No — welding is optional. I used welded steel beams for my overhead support because I wanted zero sag over a 9-foot span, but you can achieve comparable results by sistering 2×10 lumber together and using joist hangers to support the load. The strut channel and trolley system itself requires no welding at all — it bolts together with standard hardware using clamps designed specifically for the channel.
What’s the best flooring for a DIY garage makeover?
Based on my own experience, I’d steer you away from ultra-cheap carpet tiles — they’re out of square, the adhesive fails, and installation is a nightmare. For most garages, luxury vinyl plank is a great balance of durability, cost, and ease of installation. Epoxy coatings look incredible but require significant surface prep. Interlocking rubber or foam tiles work well for workshop areas where you’ll be standing for long periods. Match your flooring choice to how you actually use the space.
Ready to Build Your Own Garage Storage System?
This was one of the most satisfying projects I’ve tackled — not just because of how it looks, but because of how much better my garage actually functions now. The sliding cabinet system alone transformed the space from chaotic to genuinely usable. If you’ve been staring at a disorganized garage for years telling yourself you’ll get to it eventually, this is your sign to start.
Pick one piece — maybe the mobile plywood cart or the lighting upgrade — and start there. You don’t have to do the whole thing at once. Build it in stages, use what you have, and scale up over time. That’s exactly what I did, and the result speaks for itself.
Drop a comment below with your biggest garage storage challenge — I read every one. And if you found this guide useful, share it with a friend who’s got a garage that could use some love.