If you’ve ever caught the DIY bug out of nowhere, you know exactly what I mean when I say it hit me like a freight train. One day I woke up and decided woodworking was my thing. No warning, no plan — just pure excitement. And then reality came knocking almost immediately. Finding a small, affordable space near home to set up a workshop turned out to be way harder than I ever imagined.
Renting a large commercial workshop felt risky and wildly overconfident for someone just starting out. It was also way beyond my budget. That’s when a local friend stepped in and changed everything. He had a piece of land in the mountains with plenty of space, and he offered to let me drop a shipping container there and set it up as my own workshop. I was skeptical at first — but after visiting the site, I realized it was actually a solid option. And honestly? Building my own workspace sounded a lot more satisfying than paying rent forever.
What followed was one of the most rewarding — and humbling — projects I’ve ever taken on. There was mud, sweat, genuine tears of frustration, and more welding disasters than I care to admit. But I came out the other side with a functional, comfortable, surprisingly practical small workshop. Here’s everything I learned along the way, broken down into the real decisions, mistakes, and wins that shaped this build. If you’re exploring small home workshop setup ideas, this is the honest version of how it goes.
Choosing the Right Container and Open-Side Layout
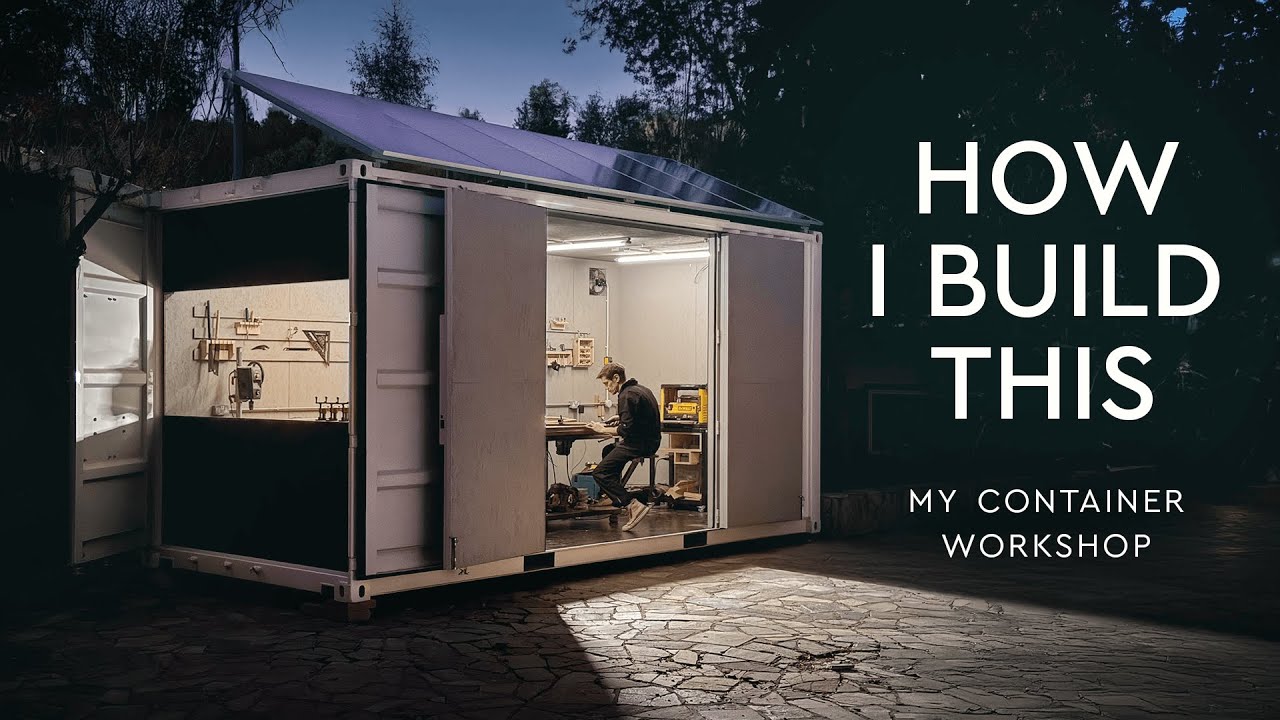
The very first decision I had to make was what kind of container to use and how to configure it. For me, an open-side version was the only option I was willing to seriously consider. The idea of being sealed inside a metal box all day while working just didn’t appeal to me at all — not practically, not mentally. Beyond comfort, having the entrance on the long side of the container genuinely improves the entire layout. You get better flow, better access to tools, and a much more usable floor plan.
I also made the deliberate choice to buy an almost-new container rather than a beat-up used one. The price difference felt significant at first, but I didn’t want to spend weeks dealing with dented walls, uneven surfaces, peeling factory paint, and rust that needed grinding off before I could even start. A cleaner starting point meant I could focus on the actual build rather than endless prep work. Think of it as an investment in your own time and sanity — and if you don’t completely mess it up, the container holds its value reasonably well too.
Cutting the Wall Opening and Managing Battery-Powered Tools
Here’s my first big honest mistake: I started the entire project relying on battery-powered tools. That sounds fine until you’re cutting through 1.5mm thick metal and your batteries die after fifteen minutes. I spent hours cutting the wall opening, cleaning edges, and grinding — and most of that time was actually spent waiting for batteries to recharge. It was genuinely painful.
The reason I was stuck with batteries at first is that there was no electricity on site for the first few days. Eventually I ran an extension cord from a neighbor’s place, and the difference was night and day. If you’re planning any kind of container or shed workshop build in a remote location, sort out your power source before you start cutting anything. Even a temporary solution beats fighting dead batteries on a hot day. If grid power isn’t an option at all, jump straight to solar — which I’ll get to later.
Building and Hanging the Doors
I decided to use the metal I cut from the wall opening to fill in the doors themselves, which saved me a meaningful chunk of money and actually looks great. It’s a genuine win-win — you’re not paying for new sheet metal and the aesthetic is clean and intentional. That said, each door panel came in at around 60 kilos, and assembling and hanging them alone as a skinny guy was genuinely one of the harder physical challenges of the whole project.
Ideally, you’d assemble the frame and doors together on a flat surface for accuracy and efficiency — but the container’s tight interior and the uneven outdoor ground made that impossible for me. I used four hinges on each side, which might sound like overkill, but I wasn’t overthinking load distribution — I just went with what felt solid. I’d also strongly recommend having at least one other person around for this stage. I set those panels up over and over again, something was always slightly off, and there were moments I genuinely worried I’d end up pinned under one overnight. Everything worked out in the end, but it tested my patience more than almost anything else in the build.
Learning to Weld (The Hard Way)
Welding was probably the toughest single challenge of my entire life — and I went into it completely overconfident. I had never welded before and somehow convinced myself that if I just focused on making high-quality seams, everything would be fine. After countless hours of practice, I eventually got to something I’d call a decent result. But I had absolutely no idea about thermal deformation — the way metal warps and twists from heat if you’re not careful about your technique and sequencing.
I ended up spending an insane amount of time trying to fix pipes that had warped from overheating. I welded, it warped, I fixed it, welded again, it warped again. This cycle repeated more times than I want to admit. I picked up a portable welding machine for around €50 that handled everything I needed, and I’m still using it today. By the time I finished the solar panel frame later in the build, I’d worked through about 5 kilos of electrodes. I wouldn’t say I’m a great welder now, but I can weld — and that’s something I genuinely didn’t expect to be able to say when I started. The big lesson: read the theory before you strike your first arc, especially anything about heat management and deformation.
Insulating the Container for Extreme Heat
Insulation is not optional in a metal container workshop — it’s everything. When the temperature outside hits 40°C and the sun is hammering a dark metal roof, the interior becomes basically uninhabitable without serious thermal protection. My ideal choice would have been spray foam insulation for the walls, but in my area it’s extremely expensive and not really a practical option on my budget.
Instead, I went with high-density expanded polystyrene (EPS), and I even built a small cutting machine myself to make shaping it easier and more precise. I used a special EPS adhesive to bond everything together, ended up with around 5 to 8 cm of polystyrene in the walls and 8 cm in the ceiling, and the result is genuinely impressive. The insulation cost me roughly four times less than spray foam would have. A few important notes if you go this route: don’t do the cutting in a tight enclosed space, and always wear a respirator mask — the fumes from cutting polystyrene are no joke. I’m pretty confident they’re toxic enough to cause real damage with prolonged exposure. For the worst days, a small portable air conditioning unit is on my radar as a future upgrade.
Choosing and Installing OSB Interior Panels
For the interior wall finish, I went with OSB — and as someone who worked as an interior designer for years, I want to be honest: it was painful. Plywood, especially birch plywood, would have been so much better aesthetically. But the budget said OSB, and OSB it was. It’s a genuinely good structural material, but being enclosed in a small space with raw OSB as your finished wall is not exactly a beautiful experience.
To avoid sacrificing any of my already limited floor space on interior framing, I skipped the wall studs entirely and instead glued the OSB panels directly to the insulation and secured them with screws around the edges. This approach saved me both space and money, and it held up perfectly well. The one major complication was timing — the EPS adhesive doesn’t work properly above 30°C, and it was the middle of summer. I ended up doing almost all of my gluing after sunset when the temperature dropped to something manageable. Not ideal, but it worked.
Painting the Exterior: Choosing the Right Paint for Metal
Painting a shipping container sounds straightforward until you realize almost nobody can tell you what paint the factory originally used. I spent a couple of weeks just researching, visited every paint store I could find, and got completely different advice from each one. Most people assumed it was some kind of oil-based coating, which would have affected my choices significantly.
Eventually I tracked down the answer: my container had been painted with marine-grade, direct-to-metal waterborne paint. That eliminated all the oil-based options I’d been considering — which was honestly a relief. I ended up using a white overcoat as a primer and a decent acrylic paint for the top layer, slightly tinted. I also invested in an airless sprayer rather than rolling everything by hand, and it was absolutely worth it. One hard-learned tip: never paint a flat metal roof in the evening. Condensation accumulates overnight and the paint won’t cure properly. I made this mistake and had to sand everything down and start over from scratch. Paint the roof in the morning and let it dry in full daylight.
Painting the Interior and Picking a Color
Once the OSB panels were all up and the exterior was sorted, I went back and forth on whether to bother painting the interior. It felt like an unnecessary expense at first. But staring at raw OSB texture all day while trying to work would genuinely have driven me to distraction — so I painted. And even with the added cost of paint, OSB is still significantly cheaper than plywood would have been, so I was still ahead on budget.
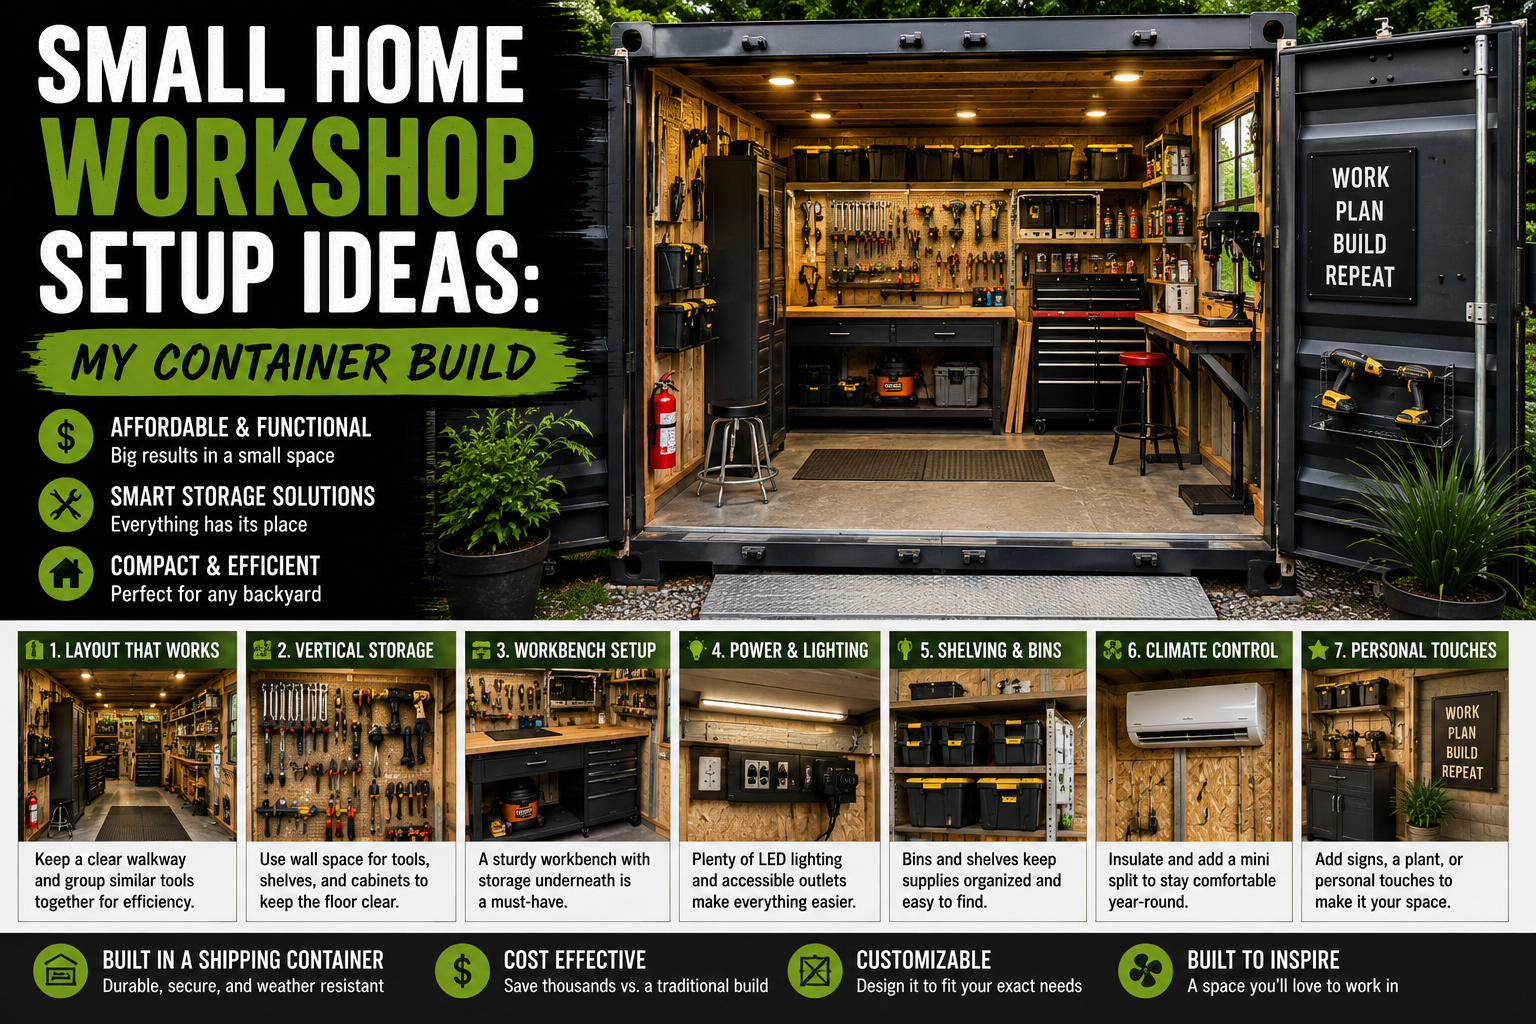
I went with a warm gray color, partly because it’s a nice neutral that doesn’t feel oppressive in a small space, and partly because I had plans to potentially film inside the workshop. A neutral background gives you a lot of flexibility. The wiring and ventilation sockets came next — I went with exposed wiring deliberately so I can easily make changes or additions later without tearing into walls. For a working shop, that kind of flexibility is genuinely valuable. If you’re planning your own small workshop setup, I’d seriously recommend thinking about your electrical layout before you close up any walls.
Adding a Sliding Window for Ventilation and Light
Even with good insulation and a light-colored interior, there’s always going to be that stretch of the year — about a month in my case — when the heat is simply extreme and passive solutions aren’t enough. My plan was to install a large sliding window on one wall to give me more options: natural daylight when I want it, airflow on cooler days, and a future mounting point for an AC unit when my budget eventually allows for one.
At the time of this writing, the window still isn’t in — there’s always something more urgent to spend money on when you’re building on a tight budget. But it’s firmly on the list. If you’re in a similar situation and heat is a real concern, I’d prioritize the window earlier in your build than I did. The combination of good insulation, light-colored paint, and a window for cross-ventilation handles most conditions really well. For the worst days, a small portable air conditioning unit is on my radar as a future upgrade.
Setting Up Solar Power Off the Grid
There was no power grid connection available at my original mountain site — plenty of sun, but no infrastructure. Borrowing an extension cord from the neighbor was never going to be a long-term solution. So solar power was a non-negotiable part of this build from fairly early on. I designed and welded a mounting frame for the solar panels, which — no surprise by this point — involved its fair share of welding mistakes.
The frame is hinged so I can adjust the panel angle for different seasons, which I saw done on YouTube and adapted for my setup. As it turned out, the angle I set works well enough for winter too, so I haven’t needed to adjust it. The hinges also make the whole structure easier to deal with if I ever need to transport the container again. When I eventually relocated the workshop closer to home — our family moved to a new house and the landlord generously offered space on the property — the solar setup came with it. Having your own power generation in a small workshop is genuinely liberating, especially for anyone building in a rural or semi-remote location.
Building the Workbenches and Interior Setup
All those hours of frustrating welding practice turned out to be genuinely useful when it came time to build the actual workshop furniture. I welded the bases for all my workbenches myself, and having that skill in-house meant I could build exactly what I needed for the space rather than trying to fit off-the-shelf options into a non-standard layout. For a tight container workshop, custom dimensions matter a lot.
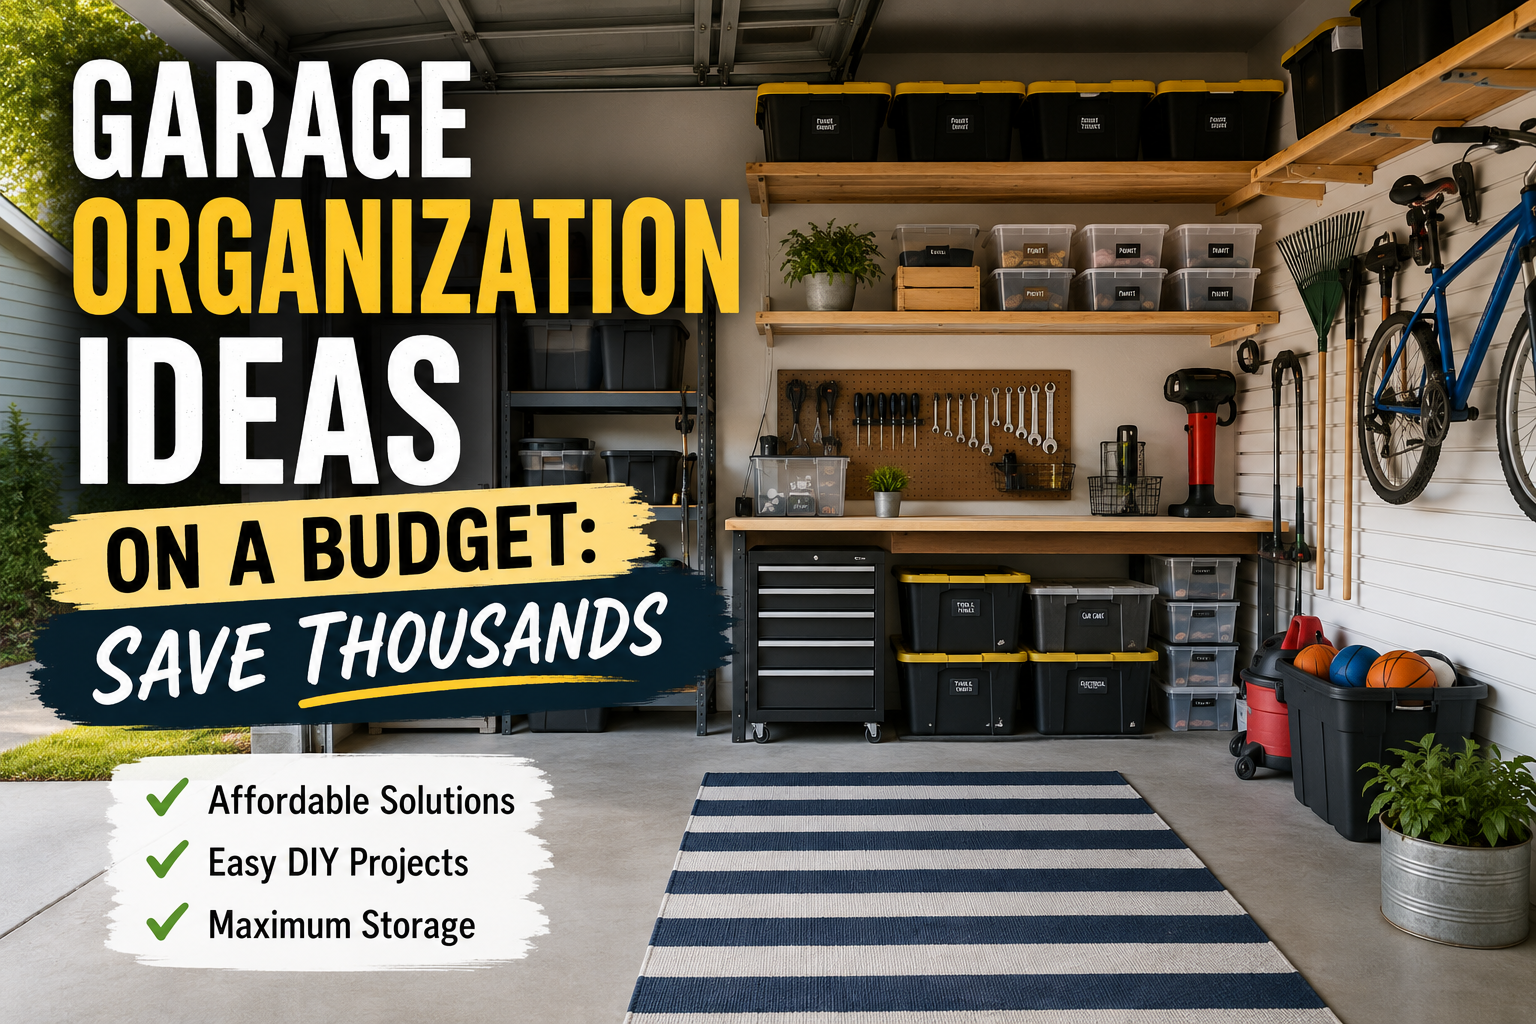
I’m not going to go deep into every interior detail here — that probably deserves its own dedicated post, especially since I’m genuinely not done yet. A small workshop like this is an ongoing project. Everything I add or change is driven by actual tasks I’m trying to accomplish, which means the space keeps evolving in ways that are actually useful rather than just decorative. If you want ideas for organizing a compact workspace, check out my post on garage organization ideas on a budget — a lot of those principles translate directly to a small shop setup.
Relocating the Entire Workshop
One thing I didn’t anticipate when I started this project was having to move the nearly-finished container workshop to a completely different location. When my family relocated to a new house, the opportunity came up to set the workshop up right on the property instead of keeping it on a remote mountain site. The landlord was incredibly generous in agreeing to it without hesitation.
Unloading a large iron box in a relatively small yard with a crane truck is one of those experiences that sounds terrifying but somehow goes smoothly if you stay calm and plan it well. I filmed the whole thing — mostly to have evidence of my composure if anyone ever questioned it. The point is: don’t let the size or weight of a shipping container put you off this approach. They’re designed to be moved, stacked, and transported, and the right equipment makes relocation straightforward. If you’re considering a container workshop and worried about flexibility, the mobility is actually one of the format’s biggest advantages over a permanent structure.
Tips and Best Practices for Small Home Workshop Setup Ideas
After everything I went through building this container workshop from scratch, here are the practical takeaways I’d pass on to anyone working through their own small home workshop setup ideas:
Sort out your power before you start cutting. Whether that’s a temporary extension cord, a home generator, or a solar setup, don’t rely on batteries for heavy metal work. Buy the best starting material you can afford. Spending a little more on a cleaner container saved me enormous amounts of prep time. Learn the theory before you try the technique. Welding, painting on metal, adhesive temperature ranges — understanding the why prevents expensive do-overs. Design for ventilation from day one. Heat management in a metal structure isn’t an afterthought; it shapes every other decision. Use exposed wiring in a workshop. You’ll thank yourself later when you need to add an outlet or move a circuit. Maximize insulation thickness. Every centimeter you add to the ceiling and walls pays back in comfort all year long. And finally, don’t underestimate the value of good people. This project only happened because of a friend with land, a neighbor with a power outlet, a wife who helped hold panels, and a landlord who said yes without hesitation. Build your community alongside your workshop.
For more inspiration on making the most of compact spaces, take a look at my guide on cheap shed organization ideas that actually work and my full breakdown of how I saved $6,000 on a shed studio build — both packed with ideas that translate well to a container workshop context.
Frequently Asked Questions
Is a shipping container a good base for a small home workshop?
Yes, especially if you’re working with a limited budget and need a durable, weather-resistant structure. Containers are structurally sound, relatively affordable (particularly used ones), and can be customized extensively. The main challenges are heat management and insulation — both of which are very solvable with the right materials and approach. An open-side configuration dramatically improves usability and airflow compared to a standard end-door setup.
What’s the best insulation for a metal container workshop?
Spray foam is often recommended because it fills cavities completely and has excellent thermal performance, but it’s expensive in many areas. High-density expanded polystyrene (EPS) is a strong budget alternative — I got comparable heat resistance at roughly one-quarter the cost of spray foam. Aim for at least 5–8 cm in the walls and 8 cm or more in the ceiling. Whatever you use, prioritize the ceiling since heat rises and the roof takes the most direct sun exposure.
Do I need welding skills to build a container workshop?
You don’t need to be a professional welder, but having at least basic welding ability makes a huge difference for custom door frames, solar panel mounts, and workbench bases. I learned from scratch during this build and it was one of the hardest parts. If you’re new to it, please spend time on the theory first — especially anything about thermal deformation — before you start on structural components. A budget portable welder around the €50 mark is more than capable for this kind of work.
How do I power a workshop in a remote location without grid access?
Solar is the most practical long-term solution for off-grid workshop power, especially in sunny climates. A basic solar panel array with battery storage can handle lighting, power tools, and phone charging comfortably. In the short term, a temporary extension cord from a nearby building or a home generator can bridge the gap while you get your permanent system set up. Just don’t start with battery-powered tools on heavy metal cutting — you’ll lose half your day to recharging.
Wrapping It Up
I don’t regret a single moment of this build — even the welding disasters, the panels I set up five times over, and the nights I spent gluing insulation in the dark to beat the heat. The result is a genuinely comfortable, practical workspace that fits my needs and my budget, and it’s mine in a way that renting a space never could be. Every improvement I make to it now is driven by real work I’m doing inside, which means the space keeps getting better in ways that actually matter.
If you’re sitting on your own small home workshop setup ideas and wondering whether it’s worth the effort, my honest answer is: absolutely yes. Start with a clear-eyed plan, expect to make mistakes, learn what you don’t know before you need to know it, and lean on the people around you. The workshop will come together. And when it does, that first morning you walk in and get to work in a space you built yourself — that’s a feeling that’s genuinely hard to beat.
Have questions about the build or your own container workshop project? Drop them in the comments below — I’d love to help. And if this post was useful, consider sharing it with someone else who’s been dreaming about setting up their own shop.