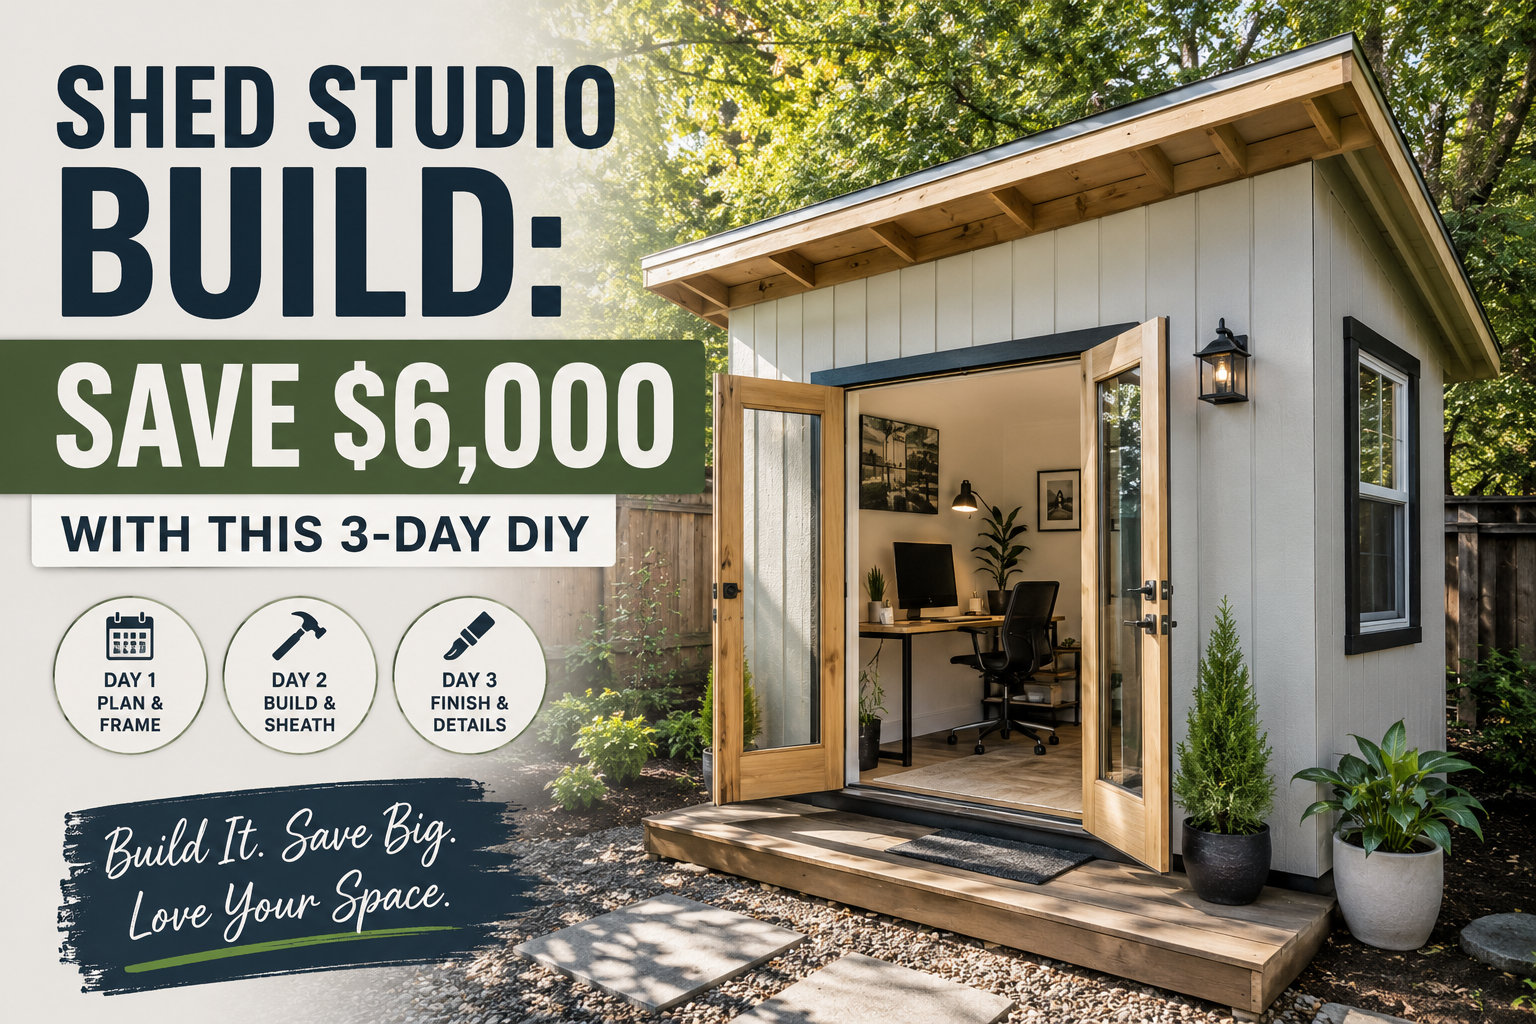
I built a complete 10×12 shed studio in just three days and saved $6,000 doing it myself — and here’s the twist: I didn’t build it for myself. I built it as a total surprise for a man named Wayne Green, an Air Force veteran who spent 35 years serving his country and still volunteers nearly every free hour he has mentoring youth in STEM, leading church ministries, co-founding a Trail Life troop, and volunteering as a firefighter. Wayne wanted a proper office and studio space so he could move his work out of the house, but his demanding schedule kept getting in the way. So I decided to make it happen for him.
I had four days to order all the materials and three days to actually build the thing — all before Wayne left town again for several weeks. Between thunderstorms, wrong material orders, and working in 86-degree heat with what felt like 200% humidity, this build was a serious challenge. But I’m going to walk you through every single step so you can do something similar and save thousands on your own shed studio build. If you’re looking for more budget-friendly project inspiration, check out my post on budget home improvement DIY ideas that save thousands — it pairs perfectly with this one.
Here’s everything I did, from foundation to finished exterior, broken down into every phase of the build.
Step 1: Planning the Layout and Getting Everything Square
The first thing I did when I arrived on site was lay out the rim joist to figure out exactly where the shed would sit. Getting everything square before you start is critical — if your foundation is off, everything else compounds that error. The easiest way to check for square is to measure diagonally from corner to corner. If both diagonal measurements match, you’re square. You can also use the Pythagorean theorem if you want to be precise about it — yes, that stuff you learned in school actually comes in handy here.
I marked all my layout points ahead of time to speed things up on build day. Once I had the corners established and confirmed the diagonals were close enough to proceed, I was ready to move on to the foundation. Getting this step right saved me a ton of headaches down the road.
Step 2: Choosing the Right Foundation — Skipping the Concrete
You have a few options for a shed foundation: pour a concrete slab, build a gravel pad, or dig and pour concrete piers. All of those work, but they take time, money, and a lot of sweat. Since I had three days and a tight budget, I skipped all of that and used TuffBlocks instead. These plastic foundation blocks are rated for 1,700 pounds each and brake-tested up to 11,000 pounds. They’re made from 100% recycled material, UV stabilized, and incredibly versatile — you can seat a 4×4 post in them or drop a floor joist directly in. I’ve actually used these before to build a deck for my sister, and they worked perfectly there too.
At each corner, I used a shovel to mark out an 18-inch square and removed about two inches of grass. Then I tamped the dirt firm, added paver base to bring the level back up, set the TuffBlock, and used a torpedo level to make sure each block was individually level. They don’t need to be level with each other — that gets handled when you level the rim joist. I later added three more TuffBlocks down the center of the floor for extra support.
Step 3: Installing Hurricane Anchors for Wind Protection
If you live anywhere with high winds, tornadoes, or hurricanes, this step is not optional — it’s essential. I installed hurricane ties anchored into the ground using a carriage bolt system with arrowhead anchors that flip underground once driven in, locking the foundation in place. Each anchor has about 1,800 pounds of load capacity, and I installed six of them around the perimeter of the shed.
The process is simpler than it sounds: drive the anchor into the ground, then use a rod to pull it back up slightly, which flips the arrowhead and locks it in. Combined with the TuffBlocks, this foundation setup is solid, fast, and doesn’t require a single bag of concrete. Given that we ended up getting hit by multiple thunderstorms during this build, I was really glad these were already in the ground.
Step 4: Building the Floor Frame With Insulation Built In
For the floor framing, I used 2×8 pressure-treated lumber spaced 16 inches on center. Before I even brought the boards to the site, I pre-attached 2×2 strips to the joists so I could drop the foam insulation in quickly without having to do it in the field. That kind of pre-planning is what makes a three-day build actually possible.
I used 1-inch styrofoam insulation sheets doubled up (since 2-inch sheets weren’t available locally), staggering the seams as I layered them. Then I went back and sealed all the edges with spray foam to close any gaps. After about 30 minutes of cure time, I used a pull saw to trim any foam that had risen above the joists. The floor sheathing is 3/4-inch OSB, and I staggered those sheets so no seam lines up from one row to the next — that’s standard practice for strength and stability.
Step 5: Framing the Walls With 2x4s at 16 Inches on Center
All four walls are framed with 2x4s, 16 inches on center — standard framing that gives you solid structure without overbuilding. I built the walls on the ground and stood them up one at a time. One important lesson I learned the hard way: double-check your door and window placement before you stand the wall up. I framed one wall with the door on the right and the window on the left when it should have been the opposite. Fortunately it was an easy fix before anything was permanently secured.
Once each wall was up, I checked it for plumb and braced it with a 2×4 at an angle to hold it in place until the remaining walls were up and everything could tie together. I wrapped up wall framing at around 7:30 in the evening on day one — right about when the first real storm rolled in. Once all four walls were standing, I cut out the door threshold opening and moved on to the roof.
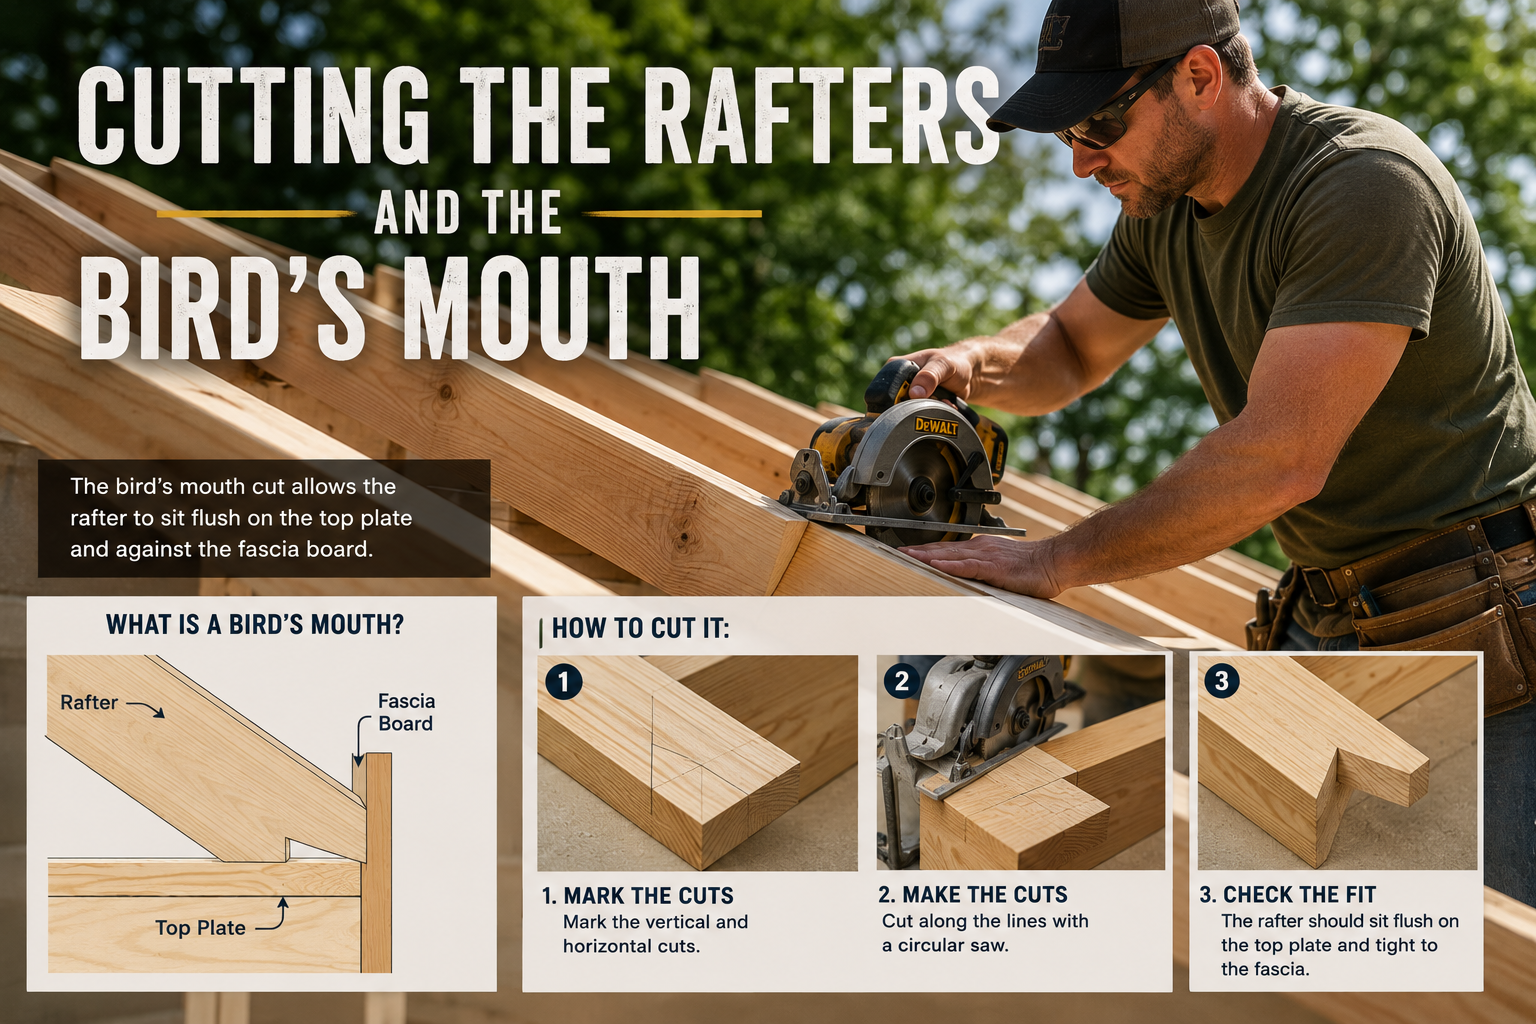
Step 6: Cutting the Rafters and the Bird’s Mouth
The roof framing uses 2×6 rafters. Before cutting anything, I figured out my overhang dimensions and then cut the bird’s mouth — the notch at the base of each rafter that lets it sit flat on the top plate of the wall. Rather than doing a bunch of math, I cut a piece of plywood to use as a guide template for marking the angle. Once I had the first rafter cut and test-fit, I used it as a template for all the remaining rafters.
Once all the rafters were in place, I went back and attached hurricane straps to every single one of them. After that I installed the fascia board and moved on to the soffit and trim work. Pro tip: if you’re cutting the OSB floor sheathing overhang, use a circular saw instead of a router. I used a router and ended up losing a half-inch of material per cut, which forced me to add some awkward filler pieces. Circular saw would have been faster and cleaner.
Step 7: Wrapping the Shed — the Middle-Ground Approach
There are three ways to side a shed. The basic approach is just siding straight on the frame. A full tiny-house build adds sheathing, house wrap, and then siding. I went with the middle option: no sheathing, but I did wrap the entire shed in house wrap (Tyvec) before putting the siding on. This gives you a waterproof barrier that keeps moisture and pests from getting behind your siding without the added cost and time of full sheathing.
I used Tyvec tape over all the seams and flashing tape around the door and window openings. The key rule with flashing tape — same as with plumbing — is to work from the bottom up, overlapping as you go so water can’t work its way underneath. I also attached a 2×6 to the bottom of the shed as a ledger to keep the siding level and consistent as I installed the sheets.
Step 8: Installing LP Smart Siding and Z-Flashing
For the siding, I used LP Smart Side panels — engineered wood siding that’s durable, dimensionally stable, and looks great. The panels are 8 feet tall, but the shed walls are taller than 8 feet, so I had to stack a second layer on top. Any time you do that, you need to install Z-flashing at the seam before the upper layer goes on. The Z-flashing acts as a diverter so any water that gets behind the siding at the upper layer can’t work its way behind the lower layer. It’s a small detail that makes a big difference in long-term weatherproofing.
We also hit a snag when I lost the bearing off the router bit mid-install. Rather than stopping, I grabbed a reciprocating saw and kept moving. Adaptability is everything on a tight timeline like this. The siding install went well once we got into a rhythm, even with a couple of weather delays interrupting the work.
Step 9: Painting the Exterior Walls
While Brian and I were putting sheathing on the roof on day three, the rest of the crew started painting the exterior walls in a shade called Shaker Gray. Getting the painting started in parallel with the roof work was a big time saver. I also had the soffits cut and sent them to the painters to get painted before installation, so I wouldn’t have to paint them in place later. Every bit of parallel workflow you can create on a compressed timeline like this pays off.
For the exterior, using a quality paint like Sherwin Williams paint is worth the investment — it covers better, holds up to weather longer, and you’re less likely to need a second coat. Having an extendable roller stick on hand makes painting the upper sections of the walls much easier without constantly moving a ladder.
Step 10: Installing Trim With Hardie Fiber Cement Boards
For the trim, I used Hardie trim boards — fiber cement boards that are incredibly durable and weather-resistant. These should last for decades without rotting or warping, which makes them worth the extra cost compared to standard wood trim. I put trim on the roofline, corners, and around the window and door openings to give the whole exterior a clean, finished look.
Getting the trim painted ahead of time, just like the soffits, saves a lot of awkward masking and touch-up work later. If you can paint trim components on sawhorses before installation, do it — you’ll get better coverage and a much cleaner result.
Step 11: Weatherproofing the Window and Door Openings
Before setting the window, I applied Lexel water sealant around the opening, then shimmed it into place and leveled it carefully before nailing it in. For the flashing tape on the sides, I had 6-inch tape on hand but needed 3-inch, so I just cut it in half lengthwise. I worked from the bottom up on each side, then sealed the top with a final layer of flashing tape. The idea is the same as with the house wrap — layer everything so water always sheds outward and downward, never behind.
For the door, I applied a thick bead of sealant before setting it in place. These details around openings are where a lot of DIY sheds fail long-term. Water infiltration around windows and doors causes rot, mold, and structural damage over time. Taking an extra 20 minutes to do this right is absolutely worth it. You might also want to upgrade the door hardware to something that matches the finished studio look you’re going for.
Step 12: Roof Sheathing and Shingling
With the rafters strapped and the fascia in place, I moved on to sheathing the roof with OSB before getting the shingles down. Working on day three with less than six hours left before my absolute deadline, this was the most stressful part of the build. I’ll be honest — I’m not great with heights, so the roof work was mentally tough on top of being physically demanding in the heat.
The key here is to get your sheathing tight, start your shingles at the bottom and work up overlapping each row, and make sure your ridge cap is properly sealed. If you’re in a high-wind area, use roofing nails at the recommended spacing for your wind zone — don’t cut corners on fastener count when it comes to the roof. Alternatively, if you want a lower-maintenance roofing option, 26-gauge corrugated metal roofing paired with roofing screws is a solid choice that can last 40+ years with almost no maintenance. You’ll need a metal cutting blade to trim panels to length.
Tips and Best Practices for Your Own Shed Studio Build
Pre-mark everything before you start. I marked every joist location, every TuffBlock position, and every cut measurement before build day. This alone saved hours of measuring and decision-making in the field. Preparation is where time is really made or lost on a build like this.
Build in parallel whenever possible. While one person works on the roof, another can be painting walls. While trim is being cut, others can be painting the pieces. Parallel workflows are how you compress a week of work into three days. If you’re doing this solo, plan your sequence so no step forces another to stop.
Don’t skip the weatherproofing details. House wrap, flashing tape, Z-flashing, window sealant, and door sealant are all cheap relative to the cost of water damage repair. Do every single one of them, even if it feels like overkill in the moment.
Use quality materials for the envelope. The foundation, framing, siding, and roofing are not the places to cheap out. Everything inside can be upgraded later, but structural and weatherproofing failures are expensive and disruptive to fix after the fact.
Insulate the floor from the start. Adding floor insulation after the fact is much harder. Since I knew this studio would eventually be air conditioned, I built the insulation into the floor frame from day one using doubled-up styrofoam sheets sealed with spray foam. Plan ahead for the finished use of the space.
Have backup tools ready. I lost a router bearing mid-build and switched to a reciprocating saw without missing a beat. On a tight deadline, tool failures happen — have a backup plan for every critical tool.
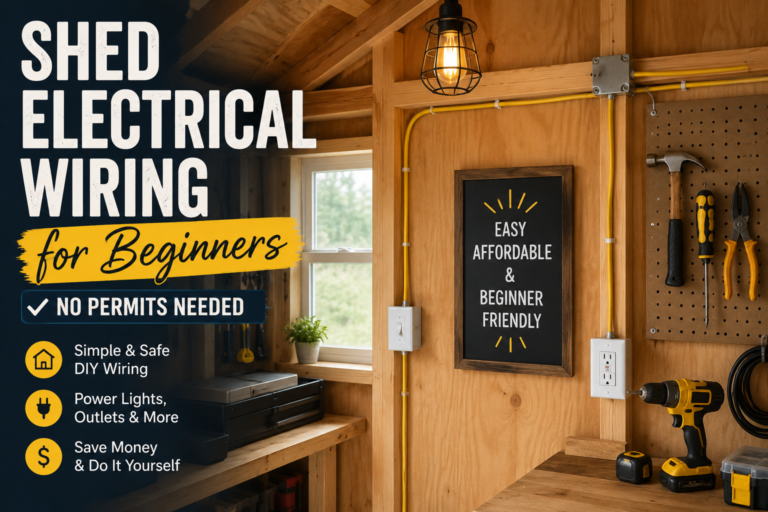
If you’re thinking about wiring your shed for electricity once it’s done, my guide on shed electrical wiring for beginners walks through the whole process. And if you want ideas for organizing the space efficiently once it’s built, check out these cheap shed organization ideas that actually work — great for keeping a studio space functional without spending a fortune.
Frequently Asked Questions
How much does it cost to build a 10×12 shed studio yourself?
The total cost for this build came in around $6,000 less than hiring it out, according to the quotes I got beforehand. Actual material costs vary by region, lumber prices, and finish level, but a basic 10×12 shed studio can typically be built for $3,000–$6,000 in materials if you do the labor yourself. The foundation approach using TuffBlocks instead of concrete saves several hundred dollars right off the top.
Do I need a permit to build a shed studio?
Permit requirements vary widely by location. Many municipalities allow accessory structures under a certain square footage (often 120–200 square feet) without a permit, but you should always check with your local building department before you start. Adding electrical, plumbing, or HVAC to the structure may trigger permit requirements even if the structure itself doesn’t need one.
Can I build this shed myself without a crew?
Yes, though having at least one helper for wall-raising and roof work makes it significantly safer and faster. Some of the most time-sensitive steps — like standing walls, holding siding panels level, and roof sheathing — are really two-person jobs. If you’re working solo, give yourself more time and use temporary bracing generously.
What’s the best foundation for a shed studio?
For most DIYers, a TuffBlock or similar precast plastic foundation block system is the best balance of speed, cost, and performance. It requires no concrete, no digging beyond a few inches for leveling, and no special equipment. For a permanent, conditioned studio space, you might eventually want to add hurricane anchors and consider a vapor barrier under the structure if your site has moisture concerns. Add a moisture barrier under or around the foundation if you’re in a humid climate.
Conclusion
Building this shed studio in three days for Wayne was one of the most challenging and rewarding projects I’ve ever taken on. Between the weather delays, the material miscalculations, and the brutal heat, there were plenty of moments where I wasn’t sure we’d pull it off. But the look on Wayne’s face when he saw it made every bit of it worth it. And the fact that I was able to do it for $6,000 less than a contractor quote proves that with the right plan, the right materials, and a willingness to push through the hard parts, you can build something incredible yourself.
Whether you’re building a studio, a home office, a workshop, or just extra storage, the principles in this build apply across the board. Start with a solid foundation, frame it right, weatherproof every detail, and don’t be afraid to adapt when things go sideways. That’s what DIY is all about. If this inspired you, drop a comment below and tell me what kind of shed studio you’re planning to build — I’d love to hear about it.