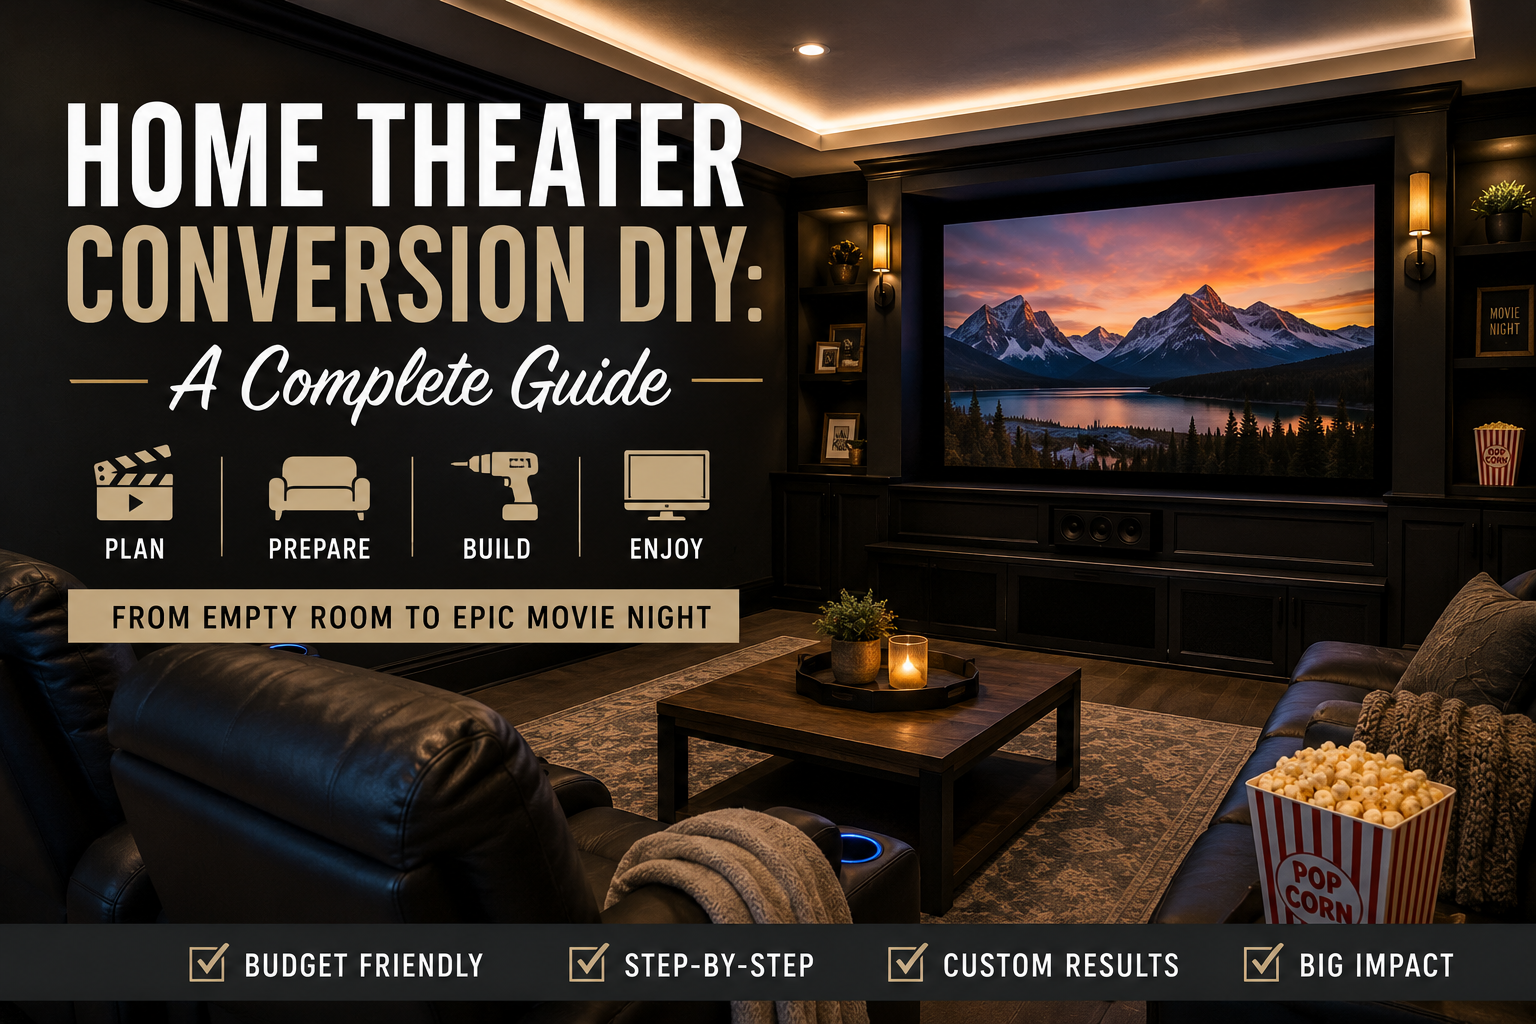
If you’ve got a dusty, underused attic sitting above your head right now, you might be sleeping on one of the best home improvement opportunities in your house. An attic home theater conversion DIY project is exactly the kind of weekend-warrior challenge that delivers a massive payoff — turning what’s essentially a storage room into a space your whole family will fight over on movie night.
A DIY builder transformed an attic that had been sitting untouched for 15 years into a stunning home theater — and documented every step so you can follow the same process. The attic had been sitting untouched for over 15 years, but with the right plan, some professional help where it made sense, and a lot of elbow grease, he turned a rough attic space into a stunning home theater complete with a 4K laser projector wall. And the best part? You can follow the same process step by step.
In this guide, we’re breaking down every phase of the build — from roughing in the electrical to skim coating the perfect projector wall to adding decorative faceboards on the risers. Let’s get into it.
Understanding Your Attic Space Before You Start
Before a single nail goes in, take time to really understand the layout of your attic. Mike’s space was about 24 feet long and 14 feet wide, built into the roofline of the house. That meant a half wall running the full length of the space and a pitched ceiling — pretty common in residential attics. The floor was divided into three platforms that gradually stepped down, which actually ended up being a huge asset for theater-style seating.
Attics come in all shapes and sizes, so don’t get discouraged if yours looks different. The key questions to ask yourself are: How much headroom do you have at the peak? Is the floor framing strong enough to support furniture and foot traffic? And where are your electrical panels in relation to the space? Answering these upfront saves you a ton of headaches mid-project.
Roughing In the Electrical: Outlets, Circuits, and Recessed Lighting
Electrical work is the foundation of any livable room, and for a home theater it’s especially important to get right. Mike worked alongside a certified electrician named Andy to rough in all the wiring before any drywall went up. They ran two separate circuits — one dedicated entirely to outlets and another dedicated to all the lighting. This kind of dedicated circuitry is smart planning for a theater room where you’ll be running a projector, sound system, and other electronics simultaneously.
The process started by nailing electrical boxes to the sides of studs wherever an outlet or switch was needed, then drilling holes through the studs to feed the Romex wire between boxes. Andy made sure to leave 12–18 inches of wire lead sticking out of each box — plenty of slack to work with when it comes time to wire everything up. For the recessed lighting, Mike used IC-rated, airtight cans that can safely make direct contact with insulation without becoming a fire hazard. They’re also adjustable so you can slide them to center perfectly between rafters, which is a small detail that makes a big visual difference once the ceiling is finished.
Hiring Out the Drywall: Knowing When to Call the Pros
Here’s a refreshingly honest moment in this build: Mike decided to hire professional drywallers rather than tackle it himself. The attic had a lot of angles, pitches, and corners, and he knew that trying to DIY it on a tight timeline would mean slow work and a mediocre finish. His take? Know your limits, and know when the investment in a pro is worth it. For a room you’re going to watch movies in — where the walls are literally the backdrop — quality matters.
The crew hung the drywall using a surprisingly low-tech method: they used their heads to hold panels up against the ceiling while nailing them in place. After all the panels were up, they reinforced every corner with corner bead (pin-nailed in place), then mixed up joint compound and taped and mudded all the seams. One detail worth noting is the use of a bull nose profile on the inside corners, which rounds them over for a softer, more polished look. The whole job took the crew three days — work that would have taken Mike weeks on his own.
If you don’t hire a pro, you are going to need to refer to our 20 Must-Have DeWalt Tools to get the right tools to get the job done.
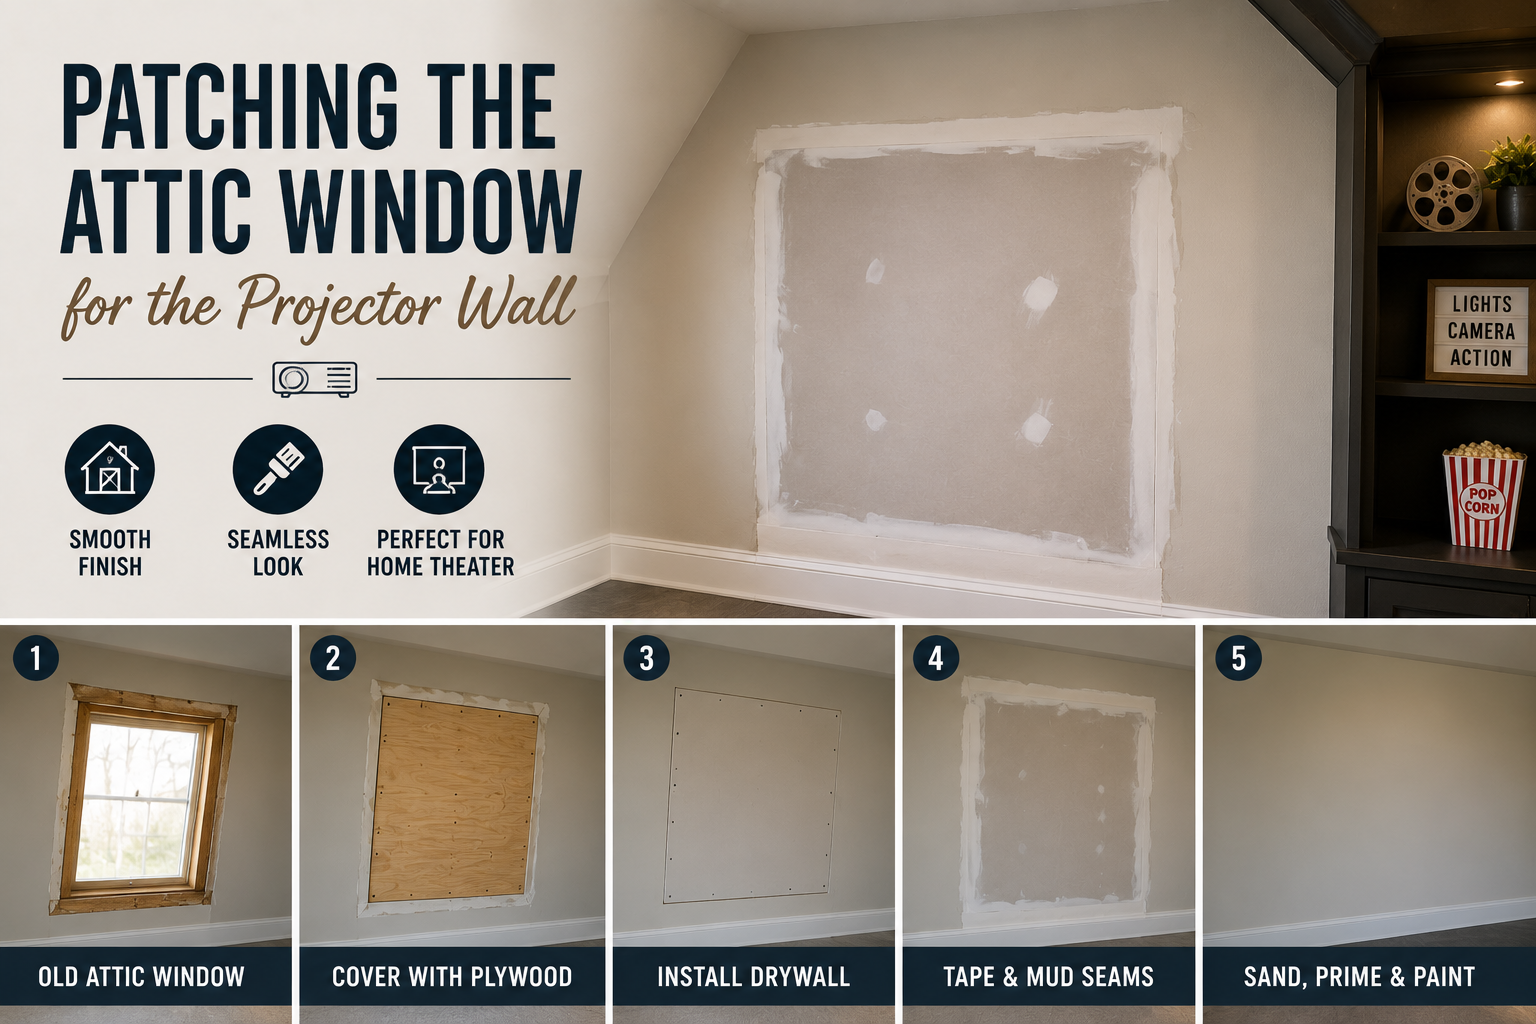
Patching the Attic Window for the Projector Wall
Here’s a decision point that came up mid-project: the attic had a window on the wall that Mike wanted to use as the projector surface. Initially, the team wasn’t sure whether to project directly onto the wall or install a pull-down screen. After browsing Pinterest and looking at a ton of reference images, projecting directly onto a painted wall won out — it looks cleaner, more built-in, and honestly just cooler.
That meant the window had to go. Mike hung a piece of drywall over it, then taped and mudded the patch to blend it seamlessly into the surrounding wall. He applied a generous first coat of joint compound to fill all the voids, pressed tape into the wet mud with a putty knife to reinforce the seam, and worked the surface smooth to minimize sanding between coats. It’s a straightforward patch job, but doing it carefully here pays off big when it’s time to project a 100″+ image onto that wall.
Skim Coating the Projector Wall for a Flawless Surface
This is arguably the most detail-oriented step in the whole build, and it’s one that makes a huge difference in your final picture quality. The drywallers had applied texture to the walls (totally normal), but a textured surface is terrible for projection — every bump and ridge casts a shadow and kills image clarity. So Mike did a full skim coat on the projector wall to get it silky smooth.
He started by knocking down the existing texture with a 9-inch drywall sander loaded with 120-grit paper, just enough to take care of the high points without going crazy. Then he thinned out some joint compound with water — going from a peanut butter consistency down to something more like yogurt — and applied it with a high-nap roller to get good volume on the first coat. Working in sections of about a quarter of the wall at a time, he’d roll on the mud and then immediately come back with a drywall knife to smooth it out, knocking down raised areas with a very light floating touch. He repeated this across the entire wall. After it dried, he switched to 150-grit paper for the final sand, spot-checked any remaining voids with his large drywall knife, filled them in, and sanded one last time. The result was a wall smooth enough to project onto with confidence.
Painting the Room — Including a Dedicated Projector Wall Paint
You might expect a home theater to be painted all black or charcoal, and that’s a completely valid choice. Mike went a different direction and painted the room white — and he’s upfront about why: he likes how it looks and it photographs well. That’s a totally legitimate reason when it’s your space! Don’t let anyone tell you there’s only one right answer for a home theater color scheme.
The projector wall, however, got special treatment. After doing some research on home theater and AV forums, Mike landed on Behr Silver Screen paint, a go-to recommendation among projector enthusiasts for its light-reflective properties. He applied three coats with a high-density foam roller to build up a smooth, even finish. The foam roller is key here — it leaves far less texture than a standard nap roller, which keeps that beautifully prepped surface intact. Once it dried, the test projection looked incredible — better, in his opinion, than any pull-down screen.
Building Decorative Faceboards for the Tiered Risers
The attic’s natural step-down platforms were a built-in advantage for theater-style seating — each level sits a bit lower, giving everyone a clear sightline to the screen. To finish off these risers and make them look intentional rather than structural, Mike built decorative faceboards for the front of each step. The first riser was about 6 inches tall and the second closer to 12 inches, both running the full 14-foot width of the room and spliced at the center.
The real design detail here is the relief cut pattern he cut into each faceboard using a track saw set to about 1/8-inch depth — just deep enough to create texture without cutting through the board. He used a speed square to mark out the intervals, spacing the cuts about 1/4 inch apart near the base and gradually widening the spacing toward the top for a sunburst effect. It’s a subtle woodworking touch that elevates the whole room from “finished basement” to “designed space,” and it’s inspired by a DIY coffee table build he’d done previously. The relief cuts catch light beautifully and add visual interest to what would otherwise be plain flat boards.
You can always refer to our Peel & Stick Budget Makeover Ideas for inspiration!
Tips and Best Practices for Your Attic Home Theater Conversion DIY
Before you dive in, here are some key takeaways to carry with you through your own build. Always run dedicated circuits for your entertainment electronics — a theater setup draws a lot of power and you don’t want tripped breakers killing movie night. Use IC-rated, airtight recessed lights if your attic has insulation; it’s a safety requirement, not just a suggestion.
When it comes to drywall, be honest with yourself about your skill level and timeline. Hiring out complex drywall work is one of the smartest things you can do on a project like this. For the projector wall specifically, don’t skip the skim coat — it’s tedious, but the image quality difference is night and day. And if you’re going to project directly onto the wall (highly recommended), Behr Silver Screen is worth every penny compared to regular white paint. Finally, lean into your attic’s natural architecture. Those stepped platforms, that pitched ceiling, those half walls — they’re not obstacles, they’re character.
Frequently Asked Questions
Can I really convert an attic into a home theater myself?
Absolutely — with some planning and the right help where needed. The electrical work should involve a licensed electrician, and complex drywall (especially with lots of angles) might be worth hiring out. But tasks like patching, skim coating, painting, and building decorative elements are very DIY-friendly.
Do I need a special projector for a home theater room?
You don’t need the most expensive projector on the market, but brightness and resolution matter a lot in a dedicated theater room. A 4K laser projector gives you excellent picture quality and longevity. The key is matching your projector’s throw distance to your room size so you get the screen size you want.
Is it better to project onto a wall or use a pull-down screen?
Both work well, but projecting onto a properly prepped and painted wall (using a paint like Behr Silver Screen) gives a very clean, built-in look that many people prefer. Pull-down screens are more flexible if you use the room for multiple purposes.
What is a skim coat and why does it matter for a projector wall?
A skim coat is a thin layer of watered-down joint compound applied over drywall to create an ultra-smooth surface. It matters enormously for a projector wall because any texture on the surface will show up as visual noise in your projected image, especially on a large screen. Sanding and skim coating before painting is the step that separates a great projector wall from a mediocre one.
How do I handle insulation when installing recessed lighting in an attic?
Use IC-rated (Insulation Contact) and airtight recessed light cans. These are specifically designed to be in direct contact with insulation without creating a fire hazard. Standard recessed lights require a clearance gap from insulation, which is nearly impossible to maintain in an attic setting.
Ready to Start Your Attic Home Theater Conversion?
Turning a neglected attic into a home theater is one of the most rewarding DIY projects you can take on. It adds real functional living space to your home, it’s a project the whole family benefits from, and — as Mike proved — it can be done on a realistic timeline when you plan carefully and know which parts to tackle yourself versus bring in help for.
Start by assessing your attic’s layout and structural condition, get your electrical planned out with a licensed pro, and work your way through the build phase by phase. Take your time on the projector wall prep — that’s the heart of the whole room. And don’t forget the finishing details like those decorative faceboards, because it’s the small touches that make a space feel truly finished.
Have questions about your own attic home theater conversion DIY project? Drop them in the comments below — we’d love to help you plan your build and see your finished results!