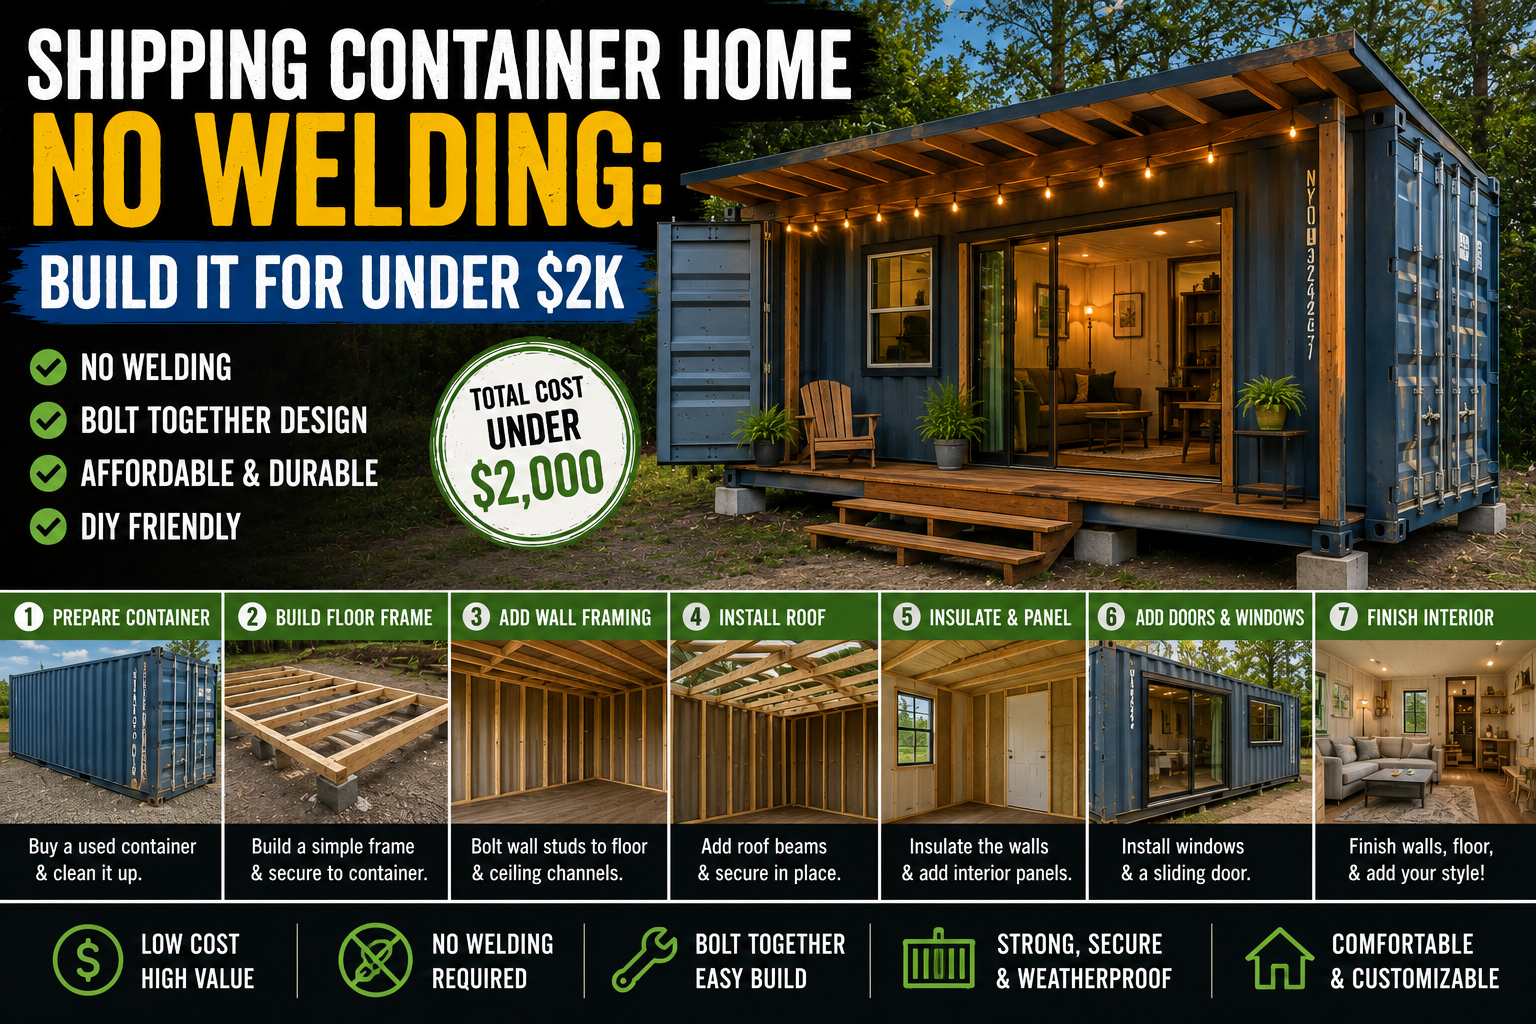
If you’ve ever thought about building a shipping container home, you’ve probably run into all the intimidating stuff — cutting through steel walls, welding frames, reinforcing structural openings. It sounds expensive, complicated, and frankly, a little terrifying. But here’s what I found after researching and testing this approach myself: you don’t have to do any of that. I’m talking a shipping container home with no welding, no cutting, and no modifications to the container itself. And the total interior build cost? I came in under what most people pay for a single month of rent.
The concept is simple — and that’s exactly the point. By working within the container instead of modifying it, I kept the build reversible, movable, and honestly easier than most shed builds I’ve tackled. If you’ve followed along with my backyard tiny home build or my shed-to-tiny-home conversion, this approach will feel very familiar — and very doable. Let me walk you through everything I did, every decision I made, and what I’d do differently next time.
I’m going to cover the container choice, the no-modification framing strategy, insulation options, natural light solutions, fire resistance, cost breakdown, and the two-container layout I’m planning next. There’s a lot to unpack here, so let’s get into it.
Why I Chose a Double Door 20-Foot Container
The first big decision in any shipping container build is which container to buy. I went with a 20-foot double door container, and that choice shaped everything else about this build. A double door container has doors on both ends — not just the standard rear doors. That means I get two large openings, one on each end, which solves the biggest complaint people have about container living: the feeling of being in a dark steel box.
The 20-foot size is smaller than a 40-footer, and yes, that’s a trade-off. But the 20-foot container is easier to move — I can load it onto a flatbed trailer and relocate it to another part of my property or a different property entirely if I need to. That flexibility matters a lot to me. My local container supplier had these double door 20s in stock and priced a new one (used only once) at around $4,300. You pay a premium for a new container versus a used one, but you get a cleaner, tighter unit that’s worth the extra cost in my opinion.
The No-Welding, No-Cutting Philosophy — and Why It’s Smart
This is the core idea of the entire build, so I want to spend some time on it. The traditional approach to converting a shipping container into a home involves cutting windows and doors into the corrugated steel walls. The problem is that a huge portion of a container’s structural strength comes from those corrugated steel sides. Once you cut into them, you’ve compromised that strength and you have to build reinforcement framing to compensate — which means more cost, more labor, and a more complicated build.
My approach avoids all of that. I made zero cuts to the container itself. No welding, no grinding, no plasma cutting. The framing I built inside is entirely self-supporting — it’s jammed snugly against the container walls so it can’t shift, but it’s not attached to the steel at all. Because I used 2×4 framing with 24-inch on-center studs instead of the standard 16-inch spacing, I used fewer studs, which actually leaves more room for insulation. The studs in this build aren’t structural — they’re just there to hold insulation and support the interior paneling.
The biggest benefit of this approach that most people overlook: everything is reversible. Every piece of framing is screwed together, not nailed or welded. If I decide I want to reconfigure the layout, change an end wall, or pull everything out entirely, I can unscrew it and do exactly that. I could sell this container as a fully intact, unmodified unit — something you absolutely cannot do once you’ve cut windows into the sides. That resale value and flexibility is huge.
Using the Container Doors as Windows
This is probably the cleverest part of the whole build. Instead of cutting holes in the steel walls for windows, I used the container’s existing door openings as my window and door locations. On one end, I installed a large sliding glass door — nearly the full width of the container opening. On the other end (the double door end), I did the same thing with another sliding glass door.
The result is that from the outside, this looks like a completely standard shipping container. There are no visible windows, no obvious modifications. But open those container doors, and you’ve got two large glass openings flooding the interior with natural light. I’m planning to orient the larger window opening facing south once I move the container to its final location, which should give me excellent passive solar light throughout the day. I’ve found that even on camera — which tends to make interiors look darker than they are — the light coming through those two openings is genuinely impressive for such a small space.
Framing the End Walls
With the sliding glass doors as my “windows,” I needed to frame around them on both end walls to close up the gaps and create a finished, weathertight surface. I built simple stud walls using 2×4s at 24 inches on center, as I mentioned. These walls sit inside the container opening and are self-supporting — no fasteners into the container steel required.
One end wall includes what I’m calling a utility panel — a section that will house electrical connections and other utility hookups. Once both end walls are sheathed, insulated, and paneled on the inside, they’ll look like standard interior walls. I’m still deciding on the exact interior finish — whether I go with painted paneling, wood tongue-and-groove, or something else — but the framing is done and ready. I also plan to add some kind of metal siding or roofing material on the exterior-facing portions of the end walls, then caulk all the seams to make everything bug-proof and waterproof while still allowing screened venting for air circulation.
Insulation: Mineral Wool Batt vs. Spray Foam
Insulation in a shipping container is a topic I’ve gone deep on, and I want to share my thinking here. For this particular container — which I’m designating as the “quiet” sleeping container — I went with mineral wool batt insulation rather than spray foam. There are a few reasons for this choice.
Mineral wool does a better job with sound control than spray foam, which matters a lot in a bedroom situation. It also performs well acoustically when rain hits the metal roof — anyone who’s slept in a container during a rainstorm knows exactly what I’m talking about. Mineral wool also doesn’t support mold growth, which is a real consideration in an enclosed metal space. I’m keeping an access panel in the wall so I can periodically check behind it and see if any moisture issues are developing. If I find problems down the road, the whole thing is screwed together and can be removed and replaced with spray foam without too much drama. Think of it as a long-term experiment — and I’m documenting everything.
The Two-Container Layout Plan
One of the real limitations of a 20-foot container is the square footage. At roughly 160 square feet of interior space, it’s livable but tight. My solution is to use two containers together. I’ve acquired a second container that was already spray foam insulated and framed on the interior — meaning I only need to finish the two end walls on that one, which makes it an even faster build than the first.
My plan is to designate the containers by function. The second container will be the noisier, more utility-focused one — kitchen, refrigerator, solar electrical components, and possibly a bathroom. The first container (the one I’ve been building out) will be the quiet zone: bedroom, possibly a small office or workspace. I’m still working out exactly how the two containers will be connected or arranged relative to each other, but having two dedicated-function spaces is a smart way to make container living genuinely comfortable rather than cramped.
Fire Resistance: A Key Reason to Choose a Container
This is a benefit of shipping container homes that doesn’t get talked about enough. A steel container is significantly more fire-resistant than a wood-framed structure. This isn’t a small detail for me — I spend time in an area with real wildfire risk, and having a structure I can button up tight and leave during fire season is genuinely valuable.
When I close the container doors — both sets — I’ve got a largely steel-enclosed space with minimal exposed combustible material on the exterior. Combined with maintaining good defensible space around the container (clearing flammable material, keeping leaves off the roof), this setup gives me a level of peace of mind that a wood cabin or shed simply couldn’t provide. It’s not fireproof — nothing truly is — but it’s meaningfully more fire-resistant than the alternatives. If you’re in a region with wildfire risk and considering a secondary structure or getaway space, this is a serious point in the container’s favor.
Portability and Reversibility: The Hidden Value
I keep coming back to this because I think it’s the most underappreciated aspect of building inside a container without modifying it. Because I haven’t cut or welded anything, this container retains its full original structural integrity. That means it can still be transported by standard container-moving equipment — loaded onto a flatbed trailer, picked up by a crane, moved to a new location.
Compare that to a stick-built cabin or shed, which is essentially permanent once it’s built. If I decide to develop this property differently, or if I buy a new piece of land and want to bring my container home with me, I can do that. If I decide container living isn’t for me, I can pull out all the interior work (since it’s all screwed together), restore the container to its original empty state, and sell it. Try doing that with a cabin you built on a slab. This flexibility also means I’m not locked into any single design decision — I can change wall finishes, reconfigure the utility panel, swap out the sliding glass doors, all without any of it being a permanent commitment. If you’re someone who likes to iterate and improve — and if you’re reading this blog, I’m guessing you are — that’s a really freeing way to build.
Cost Breakdown: What I Actually Spent
Let me be straightforward about the numbers. The container itself was approximately $4,300 for a new, once-used double door 20-foot unit. For all the interior materials — the 2×4 framing lumber, OSB sheathing, insulation, sliding glass doors — I kept it well under $2,000. If you factor in that I milled some of my own lumber, your cost for the studs might be slightly higher, but even buying everything from Home Depot or Lowe’s, this is still an extremely affordable build.
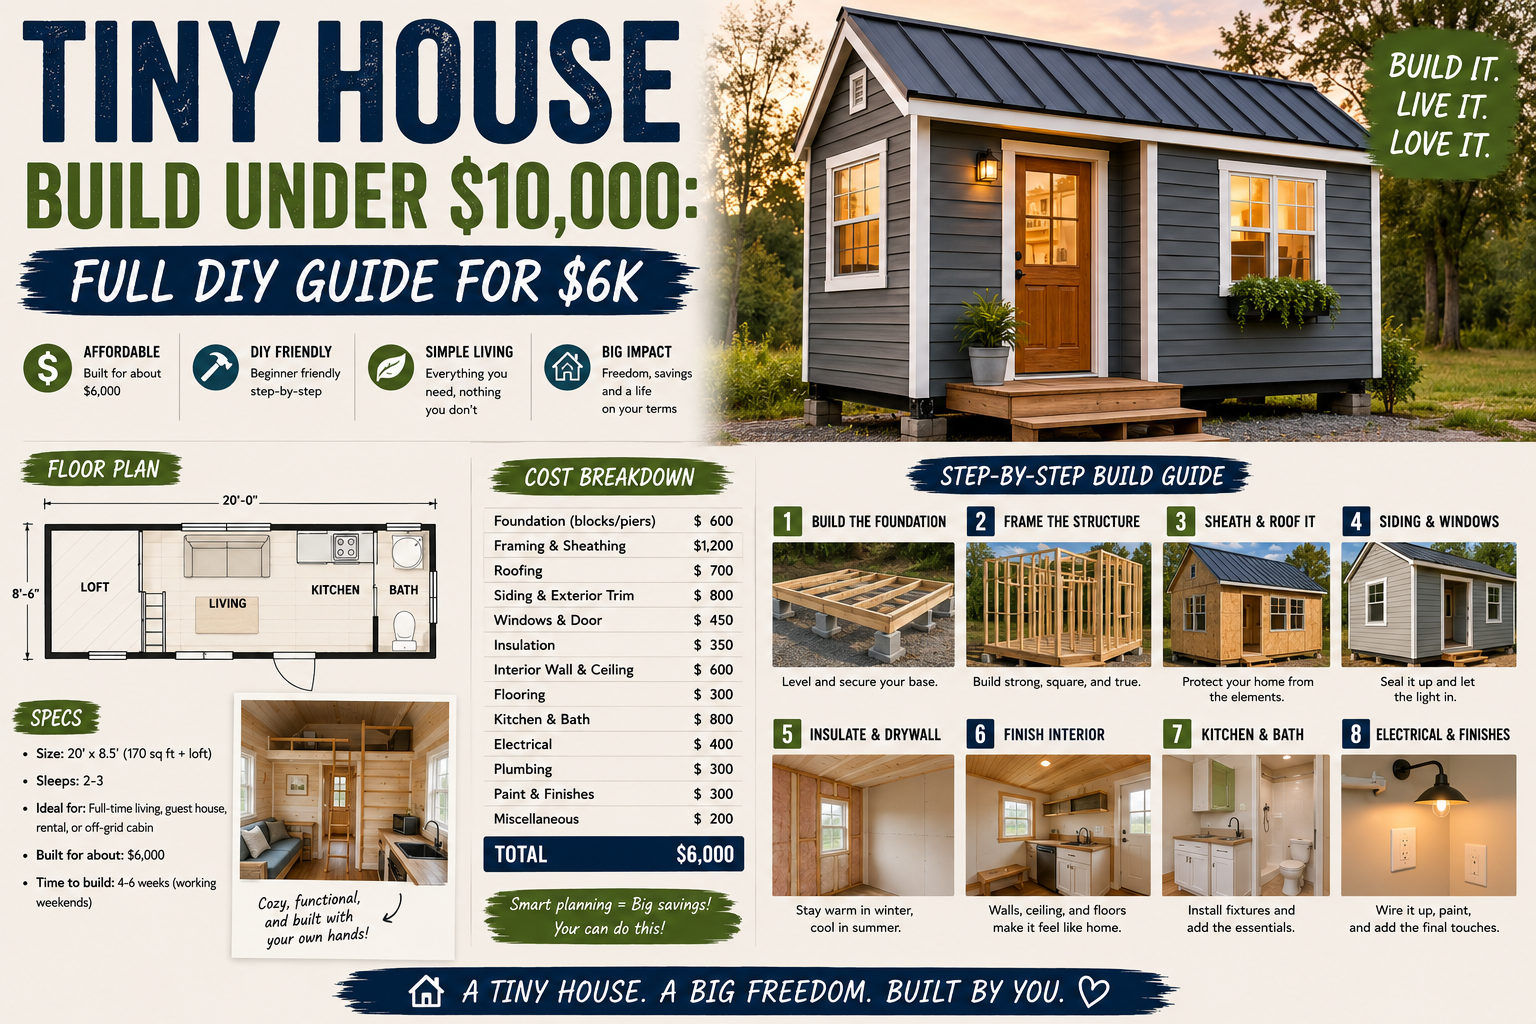
To put that in perspective: in many US markets right now, renting a house or apartment runs $2,000 a month or more. I’ve put together a livable, portable, fire-resistant shelter for an amount that’s competitive with just one or two months of rent in a lot of cities. The second container build will cost even less on a per-hour basis since most of the learning curve is already behind me. This isn’t meant to be a permanent luxury home — but as a getaway, a guest space, an off-grid retreat, or a budget-friendly alternative housing option, the value proposition is genuinely hard to argue with. For more budget-conscious build inspiration, check out my tiny house build under $10,000 guide.
Tips and Best Practices for Your Own Container Build
After going through this entire process, here’s what I’d tell anyone starting their own shipping container home no welding build:
Choose a double door container if you can find one. The second set of doors gives you a huge natural light and ventilation advantage without cutting a single hole. Check with your local container supplier — availability varies by region. Go with a new or one-trip container if your budget allows. You’ll get a cleaner, tighter unit with less rust and better door seals, which matters for both weatherproofing and aesthetics.
Use 24-inch on-center framing instead of 16-inch when the studs are non-structural. Fewer studs means more continuous insulation depth, which improves your thermal performance. Screw everything — don’t nail it. The whole point of this build philosophy is reversibility, and nails make that much harder. A screw gun and hammer are your best friends here. Use caulk generously on all exterior seams to seal against bugs and moisture, but don’t make the interior airtight — you need airflow to prevent condensation on the steel walls, which is the number one moisture problem in container builds. Plan your container orientation before you set it down permanently. Orienting your main glass opening to face south maximizes passive solar light and warmth in the winter, which can meaningfully reduce your heating load.
Frequently Asked Questions
Do I need a permit to build a shipping container home?
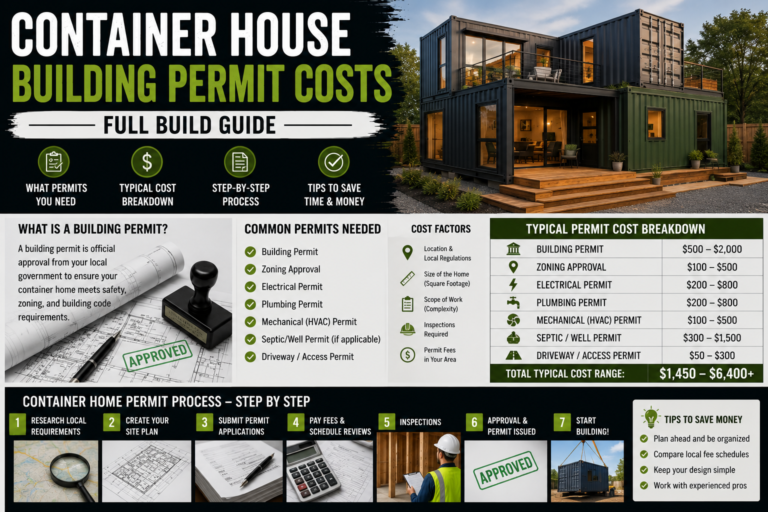
Permit requirements vary significantly by state, county, and municipality in the US. In rural areas and agricultural zones, there’s often more flexibility — especially for structures under a certain square footage or not connected to utilities. That said, I always recommend checking with your local building department before you start any build. If you’re planning to live in it full-time or connect to utilities, you’re more likely to need permits than if it’s used as an occasional retreat structure. Don’t skip this step — the last thing you want is to finish a build and then have a code issue.
Is spray foam or batt insulation better for a shipping container?
Spray foam is generally considered the gold standard for container insulation because it seals directly to the steel walls and prevents the condensation that can occur when warm interior air hits the cold metal. However, mineral wool batt insulation has real advantages for sound control and is significantly cheaper. My approach is to use batt insulation in the “quiet” sleeping container and reserve spray foam (or pre-sprayed containers) for the utility and kitchen container where moisture from cooking and plumbing is more of a concern. Keep an access panel so you can monitor what’s happening behind the walls.
How do I handle electrical and plumbing in a no-modification container build?
Since I’m not cutting into the container walls, all electrical runs through the interior framing — just like a standard stud wall. I’m planning a dedicated utility panel on one end wall for solar components and electrical hookups. For plumbing, my preference is to keep wet areas (kitchen, bathroom) in one container so all the plumbing is consolidated. Running lines through the floor is possible since you’re working with a wood floor deck inside the container. For a deeper look at off-grid electrical options, my off-grid shed build guide covers a lot of the same principles.
Can a shipping container home really withstand wildfires?
A steel shipping container is meaningfully more fire-resistant than wood-framed structures, but it’s not fireproof. The key factors that improve fire resistance are: keeping the exterior clear of combustible debris (leaves, wood piles, brush), maintaining adequate defensible space around the structure, and choosing non-combustible exterior finish materials for your end walls. When the container doors are closed, the structure is primarily steel with very little exposed combustible material on the exterior. Combined with proper site management, it offers a real advantage over a wood shed or cabin in fire-prone areas.
Final Thoughts
Building a shipping container home with no welding isn’t just a clever workaround — it’s actually a smarter way to build in a lot of situations. You preserve the container’s structural integrity, keep the build reversible and portable, avoid the most expensive and technically demanding parts of a container conversion, and come in at a cost that’s genuinely hard to beat. My total interior build on the first container came in well under $2,000, and with a $4,300 container as the starting point, that’s an all-in number that compares favorably to almost any other form of alternative housing.
If you’re thinking about tackling a build like this, start simple. Get the container oriented right, frame the end walls, add your sliding glass doors to the existing openings, insulate, and then finish the interior at whatever pace makes sense for your budget. Don’t cut into the walls. Don’t weld. Keep everything screwed together so you can change your mind. That’s the whole philosophy — and it works. Drop your questions in the comments below, and if you want more budget build inspiration, check out my complete barndominium cost breakdown for another take on affordable alternative housing.