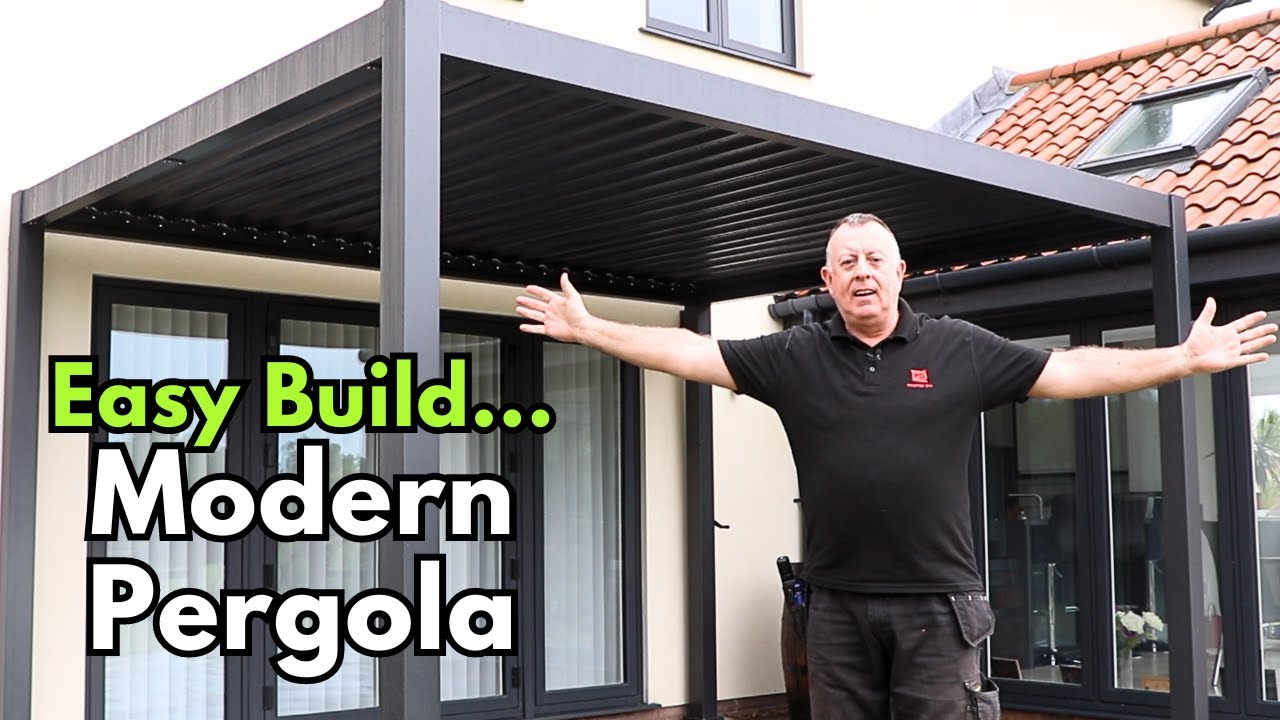
I’ve been wanting a pergola at the back of my house for a long time. Something to give real shelter in the summer, break up the flat roofline profile, and replace the flimsy popup gazebo I’d been dragging out every year. This spring, I finally stopped putting it off and just went ahead and bought one — a 4m by 3m aluminium pergola in powder-coated anthracite to match my existing windows. And honestly? The whole process taught me a lot more than I expected.
Even though this is technically an aluminium pergola rather than a traditional timber one, everything I cover in this wooden pergola kit installation guide applies directly — the site prep, the leveling, the anchoring strategy, and the assembly logic are all the same regardless of material. If you’re planning a pergola build of any kind, this post will walk you through every single step I took, including the problems I hit along the way and how I solved them.
I’m going to cover everything from extending my paving before I could even start, all the way through to bolting the finished structure to both the patio and the house wall. Let’s get into it.
Step 1: Planning the Layout and Finding the First Problem
The first thing I did was set out exactly where the four legs were going to sit. I wanted to center the pergola on my patio doors so you get a clean, symmetrical look from inside the dining room. Two legs would sit right next to the house, and the other two would sit 3m out from it — straightforward enough in theory.
But almost immediately I hit my first challenge: one of the front legs landed on the grass, not the paving. That’s a non-starter. You can’t bolt a pergola leg to lawn, so before I could even think about assembly, I needed to extend the patio. I also noticed that the entry point on the left side of the pergola looked pinched and tight — not ideal when people are actually walking through it. So the paving extension needed to solve both problems at once.
Step 2: Planning the Paving Extension the Right Way
My patio uses Indian Sandstone with random-shaped slabs and staggered joints — the kind of layout that’s designed to avoid straight lines running across it. My first instinct was to just add a few slabs along the front edge, but that would have created an obvious straight joint line that would look completely out of place. I needed to be more creative.
What I ended up doing was removing some of the existing slabs so I could rearrange them into a more random pattern before adding the new ones. Yes, it was more work. But the alternative was a patio that looked bodged, and I wasn’t willing to live with that. If you’re in a similar situation, I’d say the same: take the time to do it properly. Paving is one of those things where a shortcut is immediately obvious every single day.
Step 3: Digging Out the Turf and Preparing the Formation
Once I had a solid plan, I removed only the grass I actually needed to get the new paving in — no more, no less. One tip here: if you’re digging up lawn, have a clear plan for where the material is going before you start. Turf and soil bulk up massively once it’s lifted, and it always ends up being far more than you expect. I learned this the hard way.
While removing the turf I actually found a little present left by the builders — some buried material I’m sure I’ll find a use for eventually. Once I was down to formation level (the deepest point of the dig), I could also see the side of the existing paving clearly for the first time. What I found wasn’t great: roughly 30–40mm of mortar with barely a sprinkling of Type 1 hardcore underneath. Not exactly confidence-inspiring work from the “professionals” who originally laid it.
Step 4: Laying the Sub-Base and Compacting It Properly
For the sub-base, I used standard Type 1 because I had a bulk bag available. I compacted it in multiple passes with my whacker plate. If you’re working on a small area like this and don’t have access to a whacker plate, a hand tamper will absolutely do the job — I also used one in the corners to make sure I got good compaction right to the edges where the plate couldn’t reach.
Getting this sub-base layer right is genuinely one of the most important parts of any paving job. It’s also the part that’s easiest to skip when you’re eager to get to the visible work. Don’t skip it. A properly compacted sub-base is what stops your slabs from sinking, rocking, or cracking a year down the line.
Step 5: Re-laying the Slabs With a Proper Mortar Bed
I carefully removed the existing slabs I needed to reposition. Fortunately, they came up fairly easily — none of them had been sealed on the back, so they weren’t particularly well bonded to the mortar below. Any old mortar that I thought would interfere with the new bed, I broke out with my SDS drill.
For the mortar bed, I aimed for a 5:1 mix. Before laying each slab, I sealed the back with a cement slurry — this is a really effective trick for improving adhesion between the slab and the mortar bed below, especially with dense stone like Indian Sandstone. Once the new paving was laid, I left it a couple of days to cure before putting any load on it. I didn’t joint it immediately — I wanted to get on with the pergola while the weather was good, and pointing can wait. I also cover a lot of the anchoring principles in my pergola cost: build vs buy breakdown if you’re still deciding which route to take.
Step 6: Unboxing and Inspecting the Pergola Kit
The pergola came in three large boxes, the biggest of which was just over 4m long. Because I hadn’t had room to keep it inside, it had been sitting outside for a couple of weeks — not ideal, but that’s the reality of project sequencing sometimes. This particular aluminium pergola came from The Range and cost just under £2,000.
I was genuinely impressed with how well everything was packaged. All the parts were individually wrapped, the fixings were clearly labeled, and the instruction manual was reasonably detailed — think Ikea-style assembly instructions, but for something with a bit more structural substance. Since everything was nicely powder-coated, I kept the protective wrapping on every component for as long as possible during assembly to avoid scratches or dings.
Step 7: Assembling the Two Main Frames
The assembly itself wasn’t particularly difficult — but like Ikea furniture, there are parts that look nearly identical but aren’t. I’d strongly recommend reading the instructions carefully before you start and laying everything out so you can visually identify each component. If you grab the wrong piece and get three steps in before realising, you’re going backwards and potentially scratching things in the process.
Because I was working alone, moving the first assembled frame without damaging it was a real challenge. My solution was to re-box one end of it temporarily, which let me drag it into position without knocking the powder coat. It’s one of those small workarounds that saves you a lot of grief. If you’ve got someone to help, bring them in for this part — it makes a big difference.
Step 8: Fitting the Cross Members and Squaring the Frame
With the two main frames assembled, I stood the second one upright by bracing it with a clamp and some timber — a bit awkward, but it held. Getting the two frames spaced accurately apart so the cross members would slot in cleanly was probably the hardest part of the whole assembly. You need both frames perfectly positioned before you can connect them, and they want to move every time you reach for the next piece.
But once those cross members were in and tightened up, the whole structure became progressively more rigid with each one. By the time I had all of them in, the frame was solid. Four corner capping plates screwed into the tops locked everything into its final position permanently.
Step 9: Understanding the Louvre Mechanism
One of the features I wanted in a pergola was adjustable louvres — the ability to open and close the roof depending on the weather. The mechanism on this one works via a handle that winds the louvres open and closed, but what I found clever is that it doesn’t just try to bend each louvre open from one side. Instead, it uses what I’d call a torsion bar: as you turn the handle, the bar twists and transfers that motion to both sides simultaneously, so all the louvres open evenly without putting stress on any single point.
In theory at least — the proof is in the long-term use. But the engineering logic is sound and it felt solid to operate.
Step 10: Installing All 25 Louvres
Here’s where solo working really started to test my patience. Each louvre had to be climbed up to the top of the frame to screw one end in, then back down and up the other side to fix the other end. Times 25. The first one took me a while to figure out the process — if that pace had continued I’d have been there for days. Fortunately I found a rhythm and got faster, but this is absolutely a section where a second pair of hands would cut the time in half.
If you’re planning to install a similar kit on your own, just mentally prepare for the louvre installation being the most repetitive and time-consuming part. It’s not hard — it’s just a lot of up and down on the Ladders.
Step 11: Solving the Base Plate Problem Near the House
Now came another challenge I hadn’t fully thought through at the start. Because I wanted the pergola close to the house, the base plates of the two rear legs were going to straddle the paved area and a 6-inch strip of decorative gravel I have running around the perimeter of the house. Bolting a base plate into loose gravel isn’t going to work.
My solution was to dig out that gravel strip down to about 3–4 inches and pour concrete pads into those voids, so each base plate would sit half on the paving and half on a solid concrete block. That way I’d have a proper anchoring surface for both sides of the plate, and I could put the gravel back around it afterwards so it still looked tidy.
Step 12: Running Conduit Through the Concrete Pads
While I was pouring those concrete pads, I had a forward-thinking moment that I’m really glad I acted on. That gravel strip around the house is actually useful for hiding cables — I’ve already got an internet cable running from one room to another buried in it at the front of the house. At some point I’d like to run low-voltage lighting around the back too.
If I’d just poured solid concrete pads without thinking about this, I’d have blocked that cable route permanently. So before the concrete went in, I set a length of 25mm black electrical conduit through the middle of each pad and taped the ends to keep them clear. I may never use it. But the option is there, and that’s worth a lot more than the five minutes it took to do.
Step 13: Anchoring the Base Plates to the Patio
To fix the base plates into the paving and concrete, I used sleeve anchors — the type you hammer into a 10mm hole and then tighten to expand them in the hole. They’re incredibly strong. As long as I got two solid fixings per leg, I was confident that was more than enough to hold the structure even in high winds. These went into both the paving slabs and the newly poured concrete pads with no issues.
If you want to explore more about anchoring outdoor structures like this, my post on how to build a DIY paver patio and pergola goes into more detail on the paving side of things.
Step 14: Bolting the Pergola to the House Wall
Even with the base plates anchored, I wasn’t completely happy — there was still a slight wobble that I didn’t like. Since the two rear legs are right next to the house anyway, it made complete sense to tie the structure into the wall itself. That way there’s genuinely no movement at all.
I cut a couple of blocks from salvaged oak — leftovers from an old table — and used these as spacers behind each rear post, fixing them to the wall with frame fixings. Before I tightened them fully, I gave each block a couple of coats of anthracite paint so they’d blend in with the pergola finish rather than standing out as raw wood. I then used galvanized brackets to connect the post to the block, fixing into the aluminium with self-tapping tech screws. The result is a structure that’s anchored to the ground below and the wall behind — it’s not going anywhere.
Step 15: A Key Buying Tip — Check the Height Against Your Doors
One thing I want to flag because I nearly got caught out by it myself: if you’re positioning a pergola in front of patio doors or French doors that open outwards, the pergola needs to be taller than the top of the door opening. If it isn’t, your doors won’t open once the structure is in place.
It sounds completely obvious when you’re standing in front of it, but when you’re browsing online or in a shop and you see a good deal, it’s genuinely easy to miss. I nearly bought the wrong one. Always check the pergola height against your door height before you commit — and if your doors open outwards, add a comfortable margin on top of that.
Tips and Best Practices for Your Pergola Kit Installation
Keep the protective wrapping on as long as possible. Powder-coated aluminium looks great but scratches easily during assembly. Leave every piece wrapped until the moment it needs to go in.
Always read the full instructions before starting. Many components look identical but function differently. Knowing what everything is before you start stops you from having to disassemble work you’ve already done.
Plan your cable routes before you pour concrete. If there’s any chance you’ll want lighting or power near your pergola in the future, run conduit through any concrete pads while you’re pouring them. It costs almost nothing now and potentially saves you a lot of digging later. This is the kind of forward-thinking that separates a quick job from a smart one — the same principle I used on my shed electrical wiring project.
Tie into the house wall if you’re building against it. Four base plate bolts are the minimum, but connecting to the wall gives you a completely rigid structure. If you have the option, always do both.
Get someone to help for frame assembly and louvre installation. This is possible solo — I did it — but it’s significantly easier and faster with two people, especially for the cross member fitting and the repetitive louvre work.
Check pergola height against door clearance before buying. Don’t assume. Measure your door opening height, check the pergola spec, and confirm they’re compatible before you spend any money.
Frequently Asked Questions
Do I need planning permission to install a pergola kit?
In most cases in the UK, a pergola falls under permitted development rules and doesn’t require planning permission — but this depends on size, position, and whether your property has any restrictions. Always check with your local planning authority before starting, especially if you’re close to a boundary or in a conservation area.
Can I install a pergola kit on my own?
Yes — I did it entirely solo. But I won’t pretend it was easy in places. The cross member fitting and the louvre installation are both significantly more manageable with a second person. If you can get a helper for even half a day, take that option.
What’s the best way to anchor a pergola to a paved patio?
Sleeve anchors hammered into 10mm holes through the paving and into solid sub-base material below are my preferred method. If the base plates straddle a softer area like gravel, pour small concrete pads first and anchor into those. Where possible, also tie rear posts back to the house wall with frame fixings and galvanized brackets for maximum rigidity.
Is an aluminium pergola better than a wooden one?
It depends on your house and your priorities. Aluminium is lower maintenance, won’t rot, and can be powder-coated to match existing windows and doors — which was the deciding factor for me. A wooden pergola has a more traditional look that suits older or more rustic properties. Both can look excellent in the right context. If you’re weighing up the costs, my pergola cost: build vs buy guide breaks down the numbers in detail.
Conclusion
From extending the paving to solve a leg-positioning problem, all the way through to bolting the finished structure into both the patio and the house wall, this was a genuinely satisfying project — and the result looks like it belongs there rather than like something that was added as an afterthought. The powder-coated anthracite finish matching the windows makes a huge difference.
If you’re planning a similar install, I hope this wooden pergola kit installation guide saves you some of the head-scratching I went through. Take your time on the site prep, keep your protective wrapping on during assembly, and don’t skip the wall anchoring if you’ve got the option. If you want to see more of what I’ve been building, check out my full guide to building a motorized pergola with programmable roller shades — a bigger project that takes this kind of structure to a whole new level.
Now if you’ll excuse me, those bank holiday sausages aren’t going to cook themselves.