If you’ve been staring at your unfinished basement stairs and thinking “someday I’ll do something about that” — today might be that day. I tackled this exact project and managed to pull off a stair renovation on a budget that came in at just under $200 for 13 steps. That works out to roughly $13 per step, which is a whole lot better than the $40–$50 you’d spend on traditional pre-made oak treads at the hardware store.
The secret? Solid oak strips for the bullnose and quarter-inch oak plywood for the treads, combined with hardboard risers and a little patience. In this post, I’m breaking down every single step of the process — including a mistake I made along the way so you don’t have to repeat it. Whether your stairs are going into a basement, a garage, or anywhere else in the house, this method is totally doable on a weekend. And if you’re hungry for more budget-friendly projects, check out my roundup of budget home improvement DIY ideas that save thousands for even more inspiration.
Let me walk you through exactly how I did it, what it cost, and what I’d do differently next time.
Understanding the Parts of a Staircase Before You Start
Before I picked up a single tool, I needed to get my terminology straight — and I’d encourage you to do the same, because I’ll be referencing these parts throughout the entire project. The stringers are the diagonal side boards that run along the edges of the stairs and support everything. The tread is the flat horizontal part you actually step on. The riser is the vertical piece between each tread — it’s what you see when you look at the front face of each step.
Knowing the difference between these three components makes it a lot easier to plan your cuts, your materials list, and your finishing sequence. My stairs ran down into the basement and had never been finished from the original construction, so I was starting completely from scratch with raw wood and exposed framing.
Prepping the Stringers: Trim, Spackle, and Sand
The first thing I did was separate the drywall from the stairs by adding a 1-inch piece of trim to the top of each stringer. This gives a clean transition and prevents cracking down the road as the two surfaces move independently. After that, I spackled everything on the stringers — nail holes, wood knots, any imperfections I could find.
I didn’t bother touching the treads or risers at this stage because they were going to be fully covered later anyway. Once the spackle dried, I sanded everything smooth using my orbital sander with 120-grit sandpaper. I also took this opportunity to remove all the old construction glue from the original build. This step matters more than people realize — the stringers are the only part of the stairs getting painted from the original construction, so any bump or divot left behind will show right through the paint.
Applying Primer to the Stringers
Before painting, I made sure to prime the stringers first. This is one of those steps that’s easy to skip but really pays off later. Raw wood is porous, and if you skip the primer, the wood will just soak up your paint coat after coat and you’ll never get a good finish. Getting the primer on while everything is still open and accessible made this easy work.
I let the primer dry fully before moving on to the material shopping and cutting phase. Giving it proper dry time while I was out running errands meant I wasn’t sitting around waiting — I was already making progress on the next step.
Choosing and Buying Your Materials
While the primer was drying, I headed to the store to pick up my materials. Here’s what I grabbed: a sheet of quarter-inch oak plywood for the treads, a sheet of brown hardboard (cardboard-style board) for the risers, and solid oak hardwood strips for the bullnose edge. The store actually ripped the plywood and hardboard down into smaller pieces for me, which saved a lot of effort at home. Most big box lumber yards will do this for free or a small fee — always worth asking.
You can buy the oak in thin strips or wider pieces depending on your preference and stair width. The key budget move here is using the quarter-inch oak plywood for the treads rather than buying solid hardwood treads. The visual difference is minimal once stained and finished, but the cost difference is significant. This is the core of the whole under-$200 strategy.
Cutting the Plywood Treads to Size
Back home, I used a friend’s table saw to rip the oak plywood into the sections that would make up the treads. Before I could install them, though, I needed to cut off three-quarters of an inch from the front edge of each original stair — this is where the solid oak bullnose strip will eventually sit, and you need that recessed landing point for everything to line up flush.
I marked three-quarters of an inch in on each stair and used my circular saw to cut as far as it would reach, then finished the cut with a jigsaw and a hand saw. Technically you only need the circular saw and a hand saw — I used the jigsaw too but in hindsight it wasn’t necessary. I used the original cut-off piece as a measuring guide to size all the plywood treads consistently, then cut the miters to finish each piece.
Installing the Plywood Treads
With the treads cut, I installed them using liquid nail and a brad nailer. I actually switched to a pin nailer partway through because it left virtually no nail holes to fill — a small upgrade that made the finish look a lot cleaner. I made sure each plywood piece lined up with the front of the step as I went.
One tip I picked up mid-project: extending the plywood out just about a sixteenth of an inch past the front edge of the step actually gave me a tighter fit with virtually no gap when I installed the solid oak bullnose later. It’s a tiny adjustment that makes a noticeable difference in the final result.
Creating and Installing the Oak Bullnose
Here’s where I made my big mistake — and I’m sharing it so you don’t repeat it. I ripped the solid oak strips down to an inch and a half to match the thickness of my original stairs. What I forgot to account for was the quarter inch of plywood I had just added on top of each tread. That means the bullnose now sits a quarter inch too high, leaving a small gap of exposed stair underneath it.
My fix was to paint that exposed strip to match the riser and call it an intentional architectural detail. Honestly, it looks fine — but if you want a truly seamless result, add that quarter inch to your bullnose measurement before you rip. After cutting the strips, I used a palm router with a three-quarter inch roundover bit to shape the bullnose profile on both edges, then sanded any roughness left by the router with 120-grit. Installation followed the same process as the treads: plenty of glue, flush it as close as possible, and nail it with the pin nailer. I made sure the oak bullnose sat slightly higher than the plywood so I could sand it down — never the other way around, or you risk sanding through the veneer on the plywood.
Staining the Treads to Match Your Existing Floors
Getting the stain color right took me a few tries. My first choice — Early American — came out way too brown and didn’t match my existing flooring at all. I ended up layering a coat of beige over it to pull out some gray tones, then kept adding coats and adjusting until after about three rounds I had a color I was happy with. The lesson here: test your stain on a scrap piece of the same oak plywood before committing to the whole staircase.
Don’t rush this stage. The treads are the most visible surface on the stairs and they take the most wear, so getting the color right before you seal them is worth the extra time. If your existing floors are a specific species or brand of wood, bring a photo or even a small sample to the hardware store to compare against stain chips. This is one of those small investments of time that pays off every single day when you walk past your finished stairs.
Sealing the Treads With Polyurethane
Typically I’d apply three full coats of polyurethane to any stair tread, but time was tight on this project so I decided to try Minwax One Coat Poly. Using a natural bristle paintbrush, I applied it to the top and front of each tread, then ran the brush very lightly over everything at the end to smooth out the finish. Honestly? I couldn’t tell a visible difference between this and my usual three-coat method.
Now, I want to be upfront — only time will tell how durable the one-coat version is under daily foot traffic. I’d recommend checking back in a year or so to see how it’s held up before committing to this shortcut on a high-traffic staircase. For a basement staircase with moderate use, I think it’ll hold up just fine.
Cutting and Installing the Hardboard Risers
For the risers, I used hardboard — that brown cardboard-style sheet material — ripped down to width on the table saw and then cross-cut to length. You could also use a circular saw for this, but I found the edges weren’t quite as sharp, so a quick pass with 120-grit sandpaper by hand cleaned them right up. After cutting, I primed them with the same primer I used on the stringers.
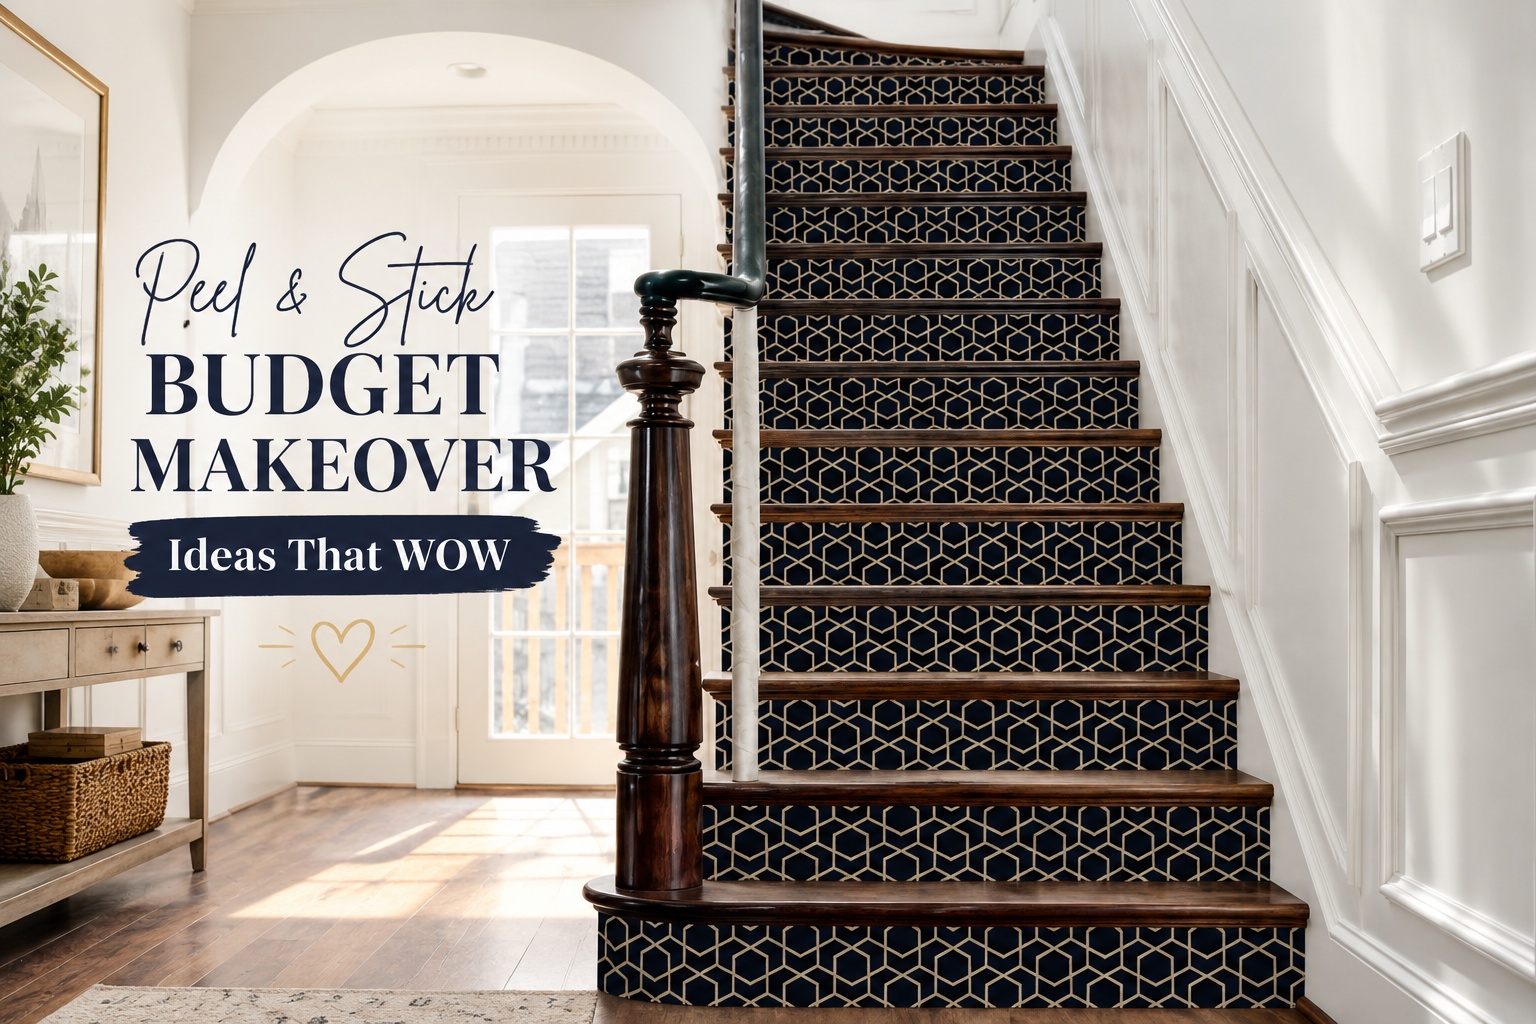
Installation was the same process as the treads: a bead of glue, position, and nail with a pin nailer or brad nailer. Give everything time to dry fully before moving to the caulking stage. The risers are painted rather than stained, so a smooth, primed surface is what you’re working toward here. We also tried a peel n stick method if that might work better for you. here is the full breakdown on our Peel & Stick Budget Makeover Ideas that WOW Your Home.
Caulking All the Seams
Caulking is one of those finishing steps that makes the difference between “DIY project” and “professionally finished staircase.” I used Alex Fast Dry Acrylic Caulk for this — it’s paintable, goes on smooth, and comes out of the tube quickly so you can move fast. I ran a bead along every seam where the risers and treads met, as well as along the stringers where the trim met the wall.
Once the caulk was dry, I was ready to paint the stringers and risers. I used Benjamin Moore for the painted surfaces, which gave a clean, durable finish that tied the whole staircase together. Proper caulking before paint gives you crisp lines and fills any tiny gaps that would otherwise collect dust and look unfinished over time. This is definitely one of those steps I’d call non-negotiable on any finish carpentry project.
Tips and Best Practices for a Budget Stair Renovation
Measure twice, cut once — especially for the bullnose. My biggest mistake on this project was forgetting to account for the added thickness of the plywood when calculating my bullnose strip width. Before you rip your oak strips, add the thickness of your tread material to your measurement.
Use a pin nailer over a brad nailer for cleaner results. The pin nailer leaves almost no visible hole, which means less filling and sanding before paint or stain. If you’re doing this project and have access to both, reach for the pin nailer every time. Let the store do the ripping for you. Most lumber yards will rip sheet goods down to rough dimensions for free. Take advantage of this — it saves time and requires less equipment at home. Test your stain color on scrap material first. Oak plywood and solid oak can absorb stain differently, so test both pieces before committing. Don’t skip the primer on painted surfaces. It’ll save you coats of paint and give you a much more durable finish on your stringers and risers. Extend your plywood tread just a hair past the step edge — that sixteenth of an inch gives you a tighter bullnose fit with no visible gap.
If you enjoy projects like this, I also have a full walkthrough of affordable home improvement projects under $100 that cover a wide range of spaces throughout the house. And if your basement is next on the renovation list, my post on basement finishing on a budget is a great place to start planning.
Frequently Asked Questions
How much does a stair renovation on a budget actually cost?
My project came in at just under $200 for 13 steps — roughly $13 per step. That compared to $40–$50 per step for pre-made solid oak treads. Your cost will vary depending on the number of steps, your local lumber prices, and whether you already own tools like a router and nailer. But using quarter-inch oak plywood for the treads instead of solid hardwood is the single biggest cost-saving move in this entire project.
What materials do I need to renovate stairs on a budget?
For this method, you’ll need quarter-inch oak plywood for the treads, solid oak strips for the bullnose, hardboard for the risers, primer, stain, polyurethane, and caulk. For tools, a circular saw, table saw, palm router with a roundover bit, orbital sander, and a pin or brad nailer will get the job done. A jigsaw is helpful but not strictly necessary.
Can I do this project without a table saw?
Yes, with some extra work. A circular saw can handle most of the cuts, though the edges may need more hand sanding to clean them up. The table saw really just makes ripping the plywood into consistent widths faster and more accurate. Alternatively, have the lumber yard rip the sheet goods to your required width before you bring them home.
How long does a budget stair renovation like this take?
Plan for a full weekend at minimum. Day one covers prep — adding trim, spackling, sanding, and priming the stringers. Day two covers cutting and installing the treads and bullnose. Day three (or the following weekend) handles the risers, caulking, and painting. Drying time between the stain and poly coats adds time too, so don’t try to rush it all into one day if you want a clean finish.
The Finished Result — and What I’d Do Differently
I’m genuinely pleased with how these stairs turned out. For under $200, I went from bare, unfinished basement stairs to something that looks clean, intentional, and solid underfoot. The stained oak plywood treads with the rounded bullnose edge give it a classic look that feels far more expensive than it was. If you’ve been putting off your own stair renovation on a budget because you assumed it would be complicated or costly, I hope this post proves that neither has to be true.
If you want to see how the floors are holding up over time, I post regular updates and project stories — so follow along and I’ll keep you in the loop as this staircase ages. And if you’re ready to keep the renovation momentum going, take a look at my guide to 8 DIY home improvement projects on a budget that transform your space for your next weekend project. Now go build something — you’ve got this.