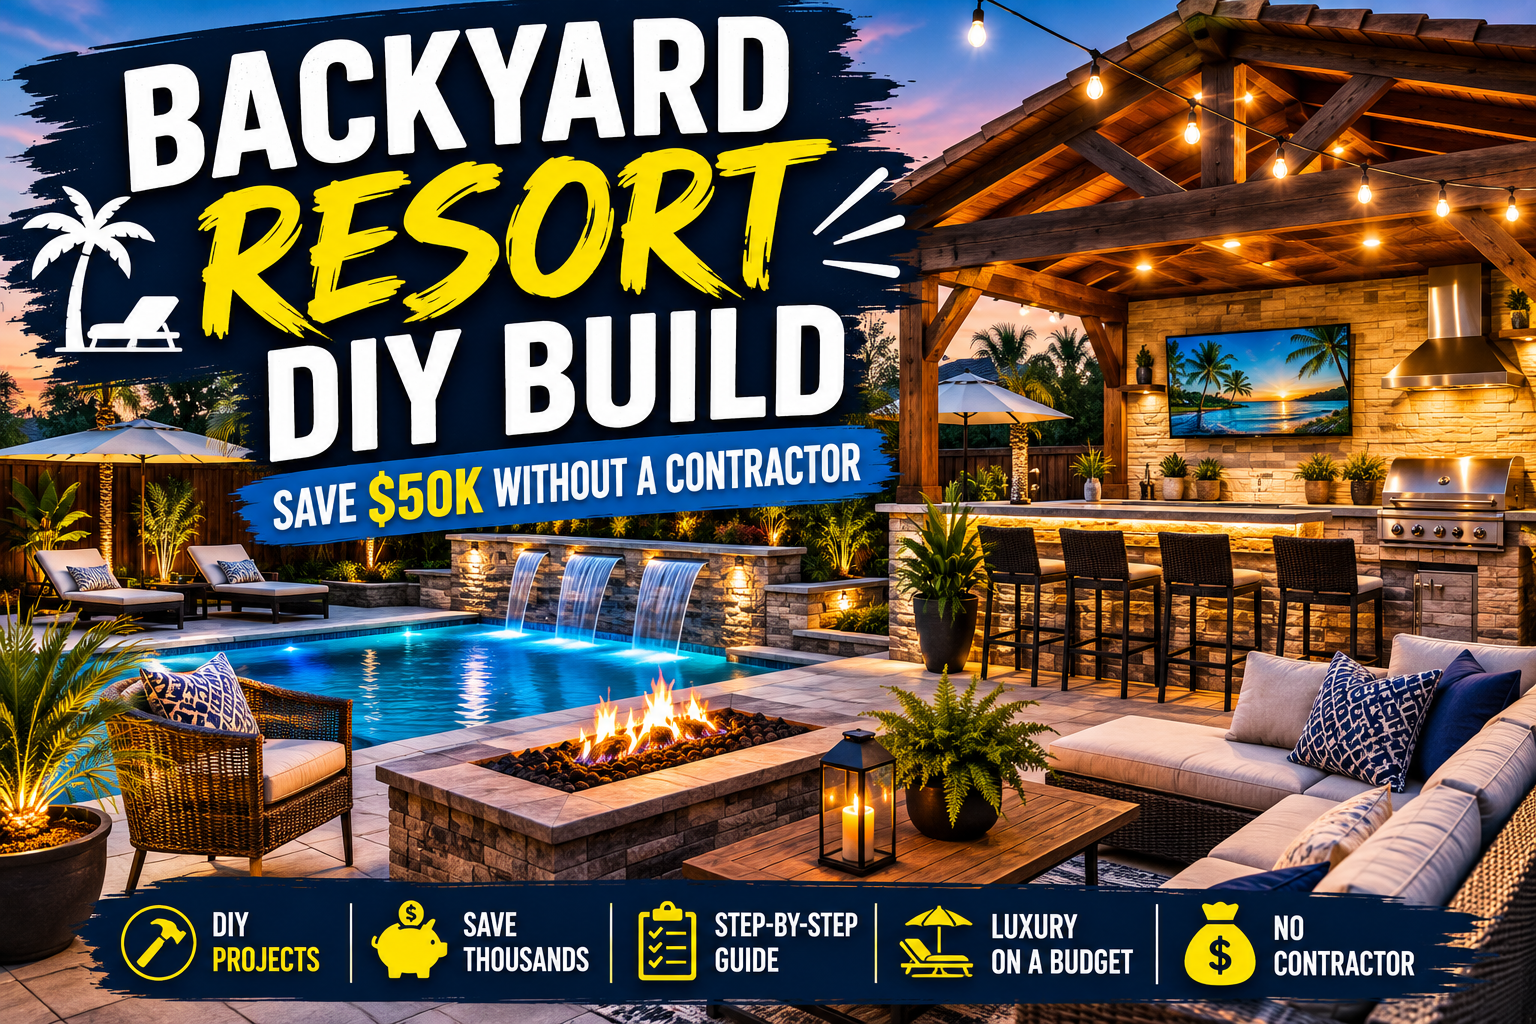
Professional contractors quoted over $150,000 to transform a bare, empty yard into a private backyard resort. That number alone would stop most homeowners dead in their tracks. But here’s the thing — with the right skills, the right materials, and a willingness to put in serious sweat equity, you can build something just as impressive for a fraction of that cost. I’ve been following this exact kind of backyard resort DIY build closely, and the savings at every single phase are genuinely jaw-dropping.
What makes this project so compelling isn’t just the money saved — it’s the quality of the result. This isn’t a “good enough” DIY job. It’s hurricane-resistant footings, hidden composite deck fasteners, engineered aluminum pergolas, custom concrete patios, five hurricane-proof storage sheds, and a gravel side yard that looks like it belongs in a luxury resort. Every phase was approached with professional-grade standards, even when the techniques were being learned for the first time.
In this post, I’m breaking down every single phase of this backyard transformation — from the first deck post to the finished outdoor kitchen prep — so you can take these ideas and apply them to your own yard. Whether you’re tackling one phase or planning a full backyard overhaul, there’s something here for every skill level and budget. If you’re hungry for more outdoor build inspiration, check out my guide on DIY backyard patio and fireplace builds that save thousands.
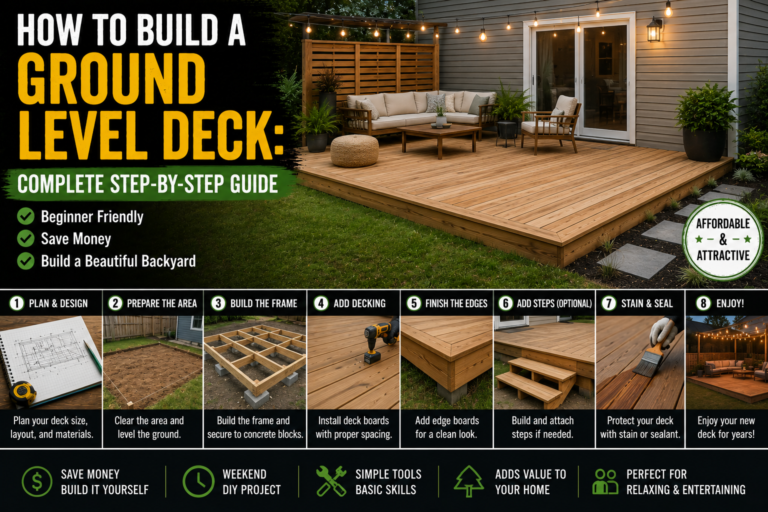
Phase 1: Building a 400 Sq Ft Composite Deck for $4,400 (Contractors Quoted $15,000)
Every backyard resort starts with a solid foundation, and in this case, that means a 400 square foot deck built to withstand Florida’s hurricane-force uplift requirements. The structural work begins with pressure-treated posts set deep into the earth — deep enough to handle constant moisture and serious wind loads. Concrete is poured around each post to create a stable base that carries the load directly into the ground. Posts, concrete, and ground prep totaled just $500 to start.
Once the concrete cured, framing required precision. A scrap lumber trick was used to set each joist at the correct height — saving hours of measuring across dozens of joists. Mid-span blocking was installed between joists using short 2×4-style boards to eliminate bounce and flex. Before any decking went down, butyl rubber joist tape was applied — a moisture barrier most budget builders skip entirely. Framing and hardware ran $1,600.
The decking itself is composite — a premium plastic and wood fiber blend that costs about three times more than pressure-treated pine but never needs sealing or sanding. At $2,300, it was the single biggest material expense. Hidden expansion clips hold the boards from below for a clean, screw-free surface. A precise 45° corner cut and a perpendicular breaker board add a resort-style design element while giving the composite room to expand. Face screws on that breaker board were hidden with color-matched plugs for a furniture-grade finish. Total material cost: $4,400 — against a contractor quote of $15,000. That’s $10,600 saved.
Phase 2: Installing an Engineered Aluminum Pergola for $2,800 (Contractors Quoted $10,000)
A deck without shade in a hot climate is just a frying pan. The options were a custom timber pergola at $10,000 or $5,000+ in raw materials to build one from scratch — neither made financial sense. After researching alternatives, the smart choice was an engineered aluminum pergola kit at $2,800. The aluminum is finished with a wood grain coating that mimics cherry oak, and unlike real pine, it won’t twist, crack, or rot.
The standout feature of this kit is the adjustable louver roof system. These are rotating panels that control sunlight by opening or closing — something that would have cost double the price of the entire kit to engineer and build from scratch. The aluminum wall panels slide and lock into place, turning what would be complex carpentry into a manageable assembly job. Sometimes the smartest DIY move isn’t building it yourself — it’s knowing when to assemble instead. Savings on the pergola alone: $7,200. Combined with the deck, total savings hit $17,800.
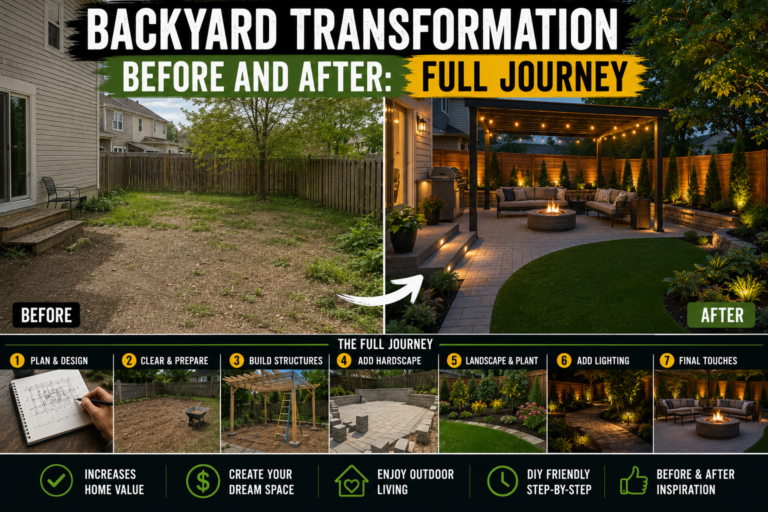
Phase 3: Building a 15-Foot Circular Paver Patio for $2,250 (Contractors Quoted $10,000)
A 15-foot custom circular patio transforms a backyard from a yard into a destination. The foundation work starts with compacted soil, landscaping fabric, and a thick gravel base layer that drains water and distributes the load evenly. Without that gravel base, heavy pavers will press into soft earth and settle unevenly within a few seasons. A classic masonry trick — laying pipes as rails and screeding the gravel flat — creates a perfectly level surface before the leveling sand goes down. Sand and gravel totaled $500.
The pavers and retaining wall blocks added $1,300. A circular layout is harder to build than a square one — every stone along the outer edge has to be measured and cut to follow the curve, which is exactly why contractor quotes are so high for this style. A low perimeter wall was built using landscape construction adhesive instead of mortar — faster, cleaner, and just as strong. This wall locks the entire foundation in place so nothing drifts apart over the years. Add $150 in tropical plants to satisfy a skeptical spouse, and the total patio cost lands at $2,250 — saving $7,750 and pushing the running total past $25,000 saved.
Phase 4: Restoring Old Furniture and a Fire Pit Instead of Buying New
One of the smartest budget moves in this entire build wasn’t a construction technique — it was knowing what NOT to buy. A rusted steel bowl found in the garage became a fully functional fire pit after stripping the rust back to clean metal and coating it with high-heat spray paint designed to handle fire without peeling. A new fire pit would have cost $500. This one cost almost nothing.
Old backyard chairs got the same treatment — a fresh coat of protective stain instead of replacement. Restoring both the fire pit and the furniture added just $300 to the budget. It’s a reminder that in a large-scale backyard resort DIY build, preserving what you have is just as important as what you add new. That $300 versus $500+ in new furniture and fire pit is a small saving, but it reflects the mindset that makes the big savings possible.
Phase 5: Building Five Hurricane-Resistant Storage Sheds for $5,790 in Materials (Contractors Quoted $30,000)
Storage was non-negotiable. Pre-made sheds at $850 each aren’t built to handle hurricane-force winds — in a storm, a lightweight structure becomes airborne debris. Custom shed quotes came in at $6,000 per shed, and five were needed. That’s $30,000. Instead, five sheds were built from scratch starting with poured concrete slabs reinforced with rebar and anchor bolts set before curing — so the walls and slab act as one solid piece. Foundation materials: $700.
Walls went up with conventional 2×4 framing set over the embedded anchors, with roof rafters cut at a slight pitch for drainage. Lumber and hardware: $1,400. Fiber cement siding panels — a dense mix of cement, sand, and cellulose fibers — were chosen for moisture, insect, and rot resistance at $2,000 for 40 panels. Roof underlayment and asphalt shingles added $800, and custom doors built from 2×4 lumber with diagonal bracing added $890. Each door got a unique panel pattern for character without changing the structural design.
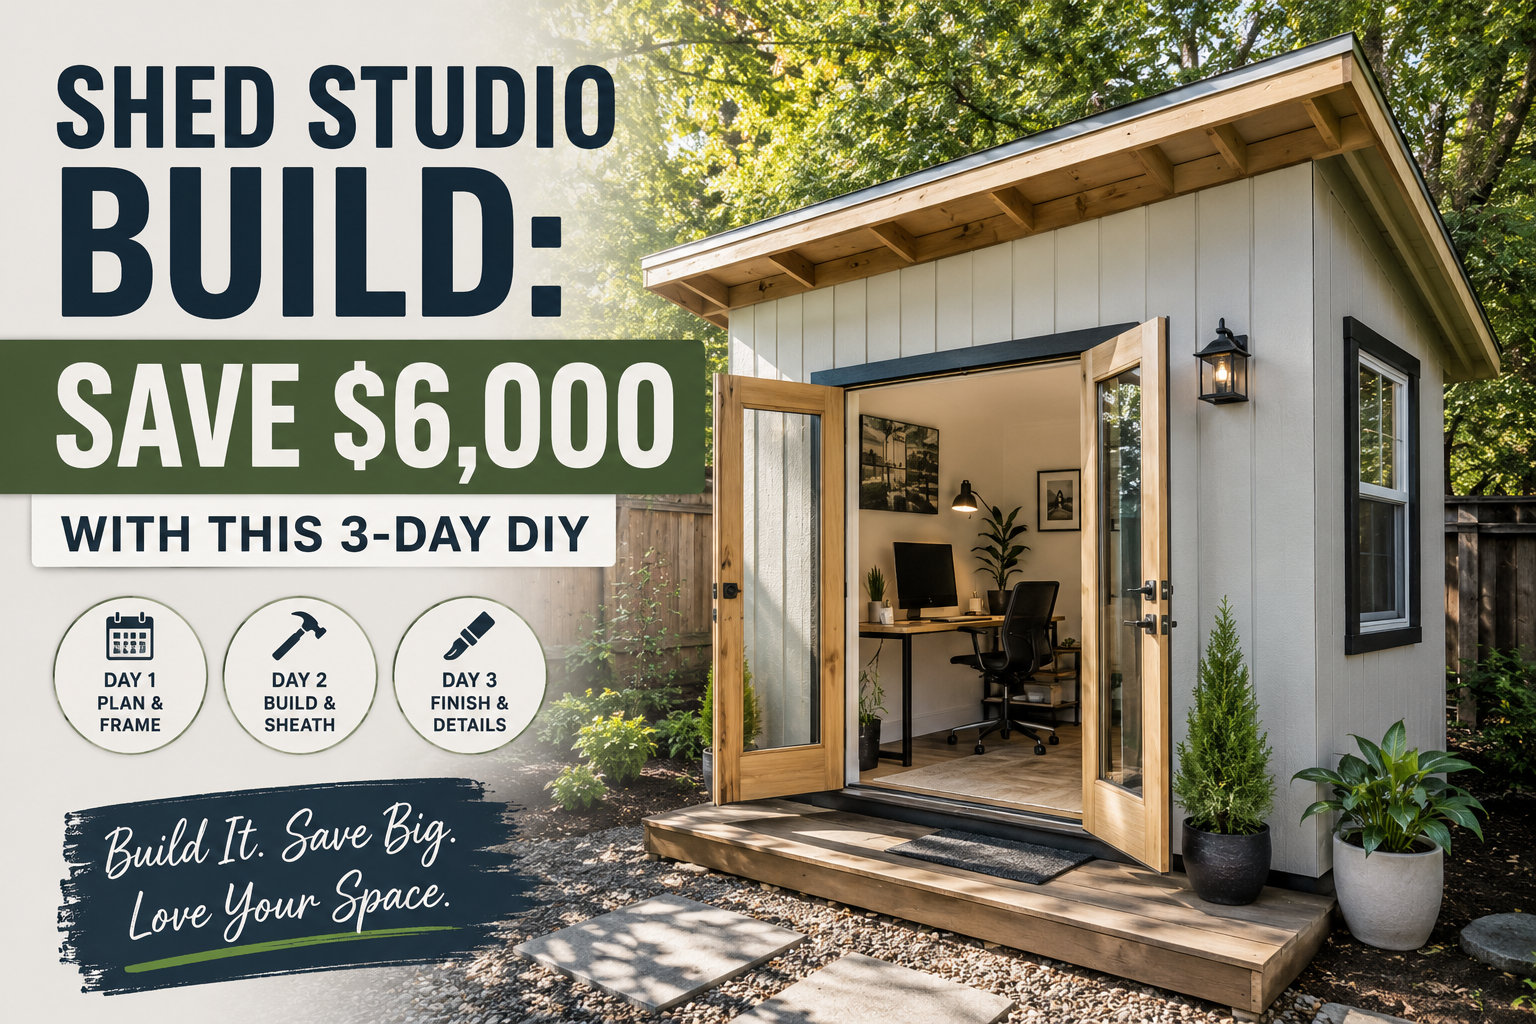
Material cost for all five sheds: $5,790. However, a wind-knocked stack of pre-cut panels snapped and cost an extra $300, and a deeply embedded splinter led to an emergency room visit — a brutal $8,700 bill. The true out-of-pocket cost came to $14,790. Even with those setbacks, that’s $15,210 saved against the contractor quote. The hospital bill is a hard reminder: safety gear on a DIY build is never optional. If you want to go deeper on shed builds, my shed studio build guide covers a similar process in detail.
Phase 6: Side Yard Hardscaping Corridor for $2,100 (Landscapers Quoted $11,000)
With the sheds up, the side yard corridor needed to be tamed. Landscapers quoted $11,000 for this hardscaping work. Instead, the approach started with a rented tiller to break up years of compacted clay, followed by black landscaping fabric at $80 to block sunlight and stop weeds permanently. Without it, the path becomes a constant maintenance battle no matter what surface goes on top.
Rather than loose gravel that drifts and ruts, interlocking honeycomb plastic panels were laid over the fabric and pinned into the soil. These cells trap gravel inside them so it can’t wash away in heavy rain — turning loose rock into an engineered surface stable enough to roll trash cans across. The kit cost $1,000. Tan and white stone was poured into the grid cells in a deliberate pattern, each section leveled by hand. Large black river rocks were laid along the edges for contrast at $650. A final spray of water-and-mulch glue locked the surface stones in place. Total material cost: $2,100. Nearly $9,000 saved. Running total of savings: $49,660.
Phase 7: Pouring a Hybrid Concrete and Turf Outdoor Kitchen Patio for Under $2,300 (Contractors Quoted $16,000)
Site prep for the outdoor kitchen zone started with a rented stand-on loader at $350 — used to clear both the kitchen area and the future gym pad simultaneously. Long form boards were laid over landscaping fabric, measured and squared into a 15×22-foot matrix. Each rectangle in the grid becomes its own individual concrete pad — 32 squares total, poured, smoothed, and shaped entirely by hand after work hours and on weekends.
When tropical downpours flooded the area mid-project and made pouring impossible, the time was used productively to paint the existing fence — a project that had been approved by the HOA after nearly a year of back-and-forth. Once the ground dried, the pour resumed. After the forms were carefully removed, the gaps between the concrete pads were filled with crushed limestone — compacted using a scrap wood hand tamper built on the spot. Artificial turf was then seated into the limestone channels and secured with adhesive, staples, and landscape spikes ($110). The grain of every turf strip was kept aligned so the surface reads as one continuous lawn. Hybrid result: concrete for strength, turf for visual warmth. Total cost: under $2,300 versus a $16,000 quote — $13,700 saved.
Phase 8: Installing a Second Larger Engineered Pergola for $3,899 (Would Have Cost $10,000+)
The first pergola proved the concept — engineered aluminum kits deliver a premium result at a fraction of custom timber pricing. So when the outdoor kitchen area needed shade, the answer was obvious: a second kit, this one larger at 20 feet wide and 10 feet deep. At $3,899, it creates a true outdoor dining room footprint. The beams are longer and heavier than the first kit, making it a multi-person installation — this is the kind of phase where having family help isn’t optional, it’s essential.
The assembly system is the same as the first pergola — familiar and efficient — but the scale is bigger and the impact is proportionally greater. A veteran’s discount helped stretch the material budget a little further on this phase. For anyone planning a backyard resort DIY build, I’d strongly recommend pricing engineered pergola kits before getting contractor quotes — the gap in cost is often staggering. Check out my full breakdown on pergola cost: build vs buy for a detailed comparison.
Tips and Best Practices for Your Backyard Resort DIY Build
Always overbuild your foundation. Whether it’s deck footings, shed slabs, or patio gravel bases, the foundation is where long-term quality lives. Cutting corners here costs you double later. Use concrete, set anchor bolts before it cures, and never skip the gravel drainage layer under pavers.
Buy in bulk and ask for discounts. The composite decking in this build came with a nearly $1,200 discount just from buying in bulk. Always ask — lumber yards, tile suppliers, and hardscape suppliers all have room to negotiate on large orders.
Know when to assemble instead of build. Engineered kits — like the aluminum pergola system used here — saved thousands compared to custom timber builds. There’s no shame in assembling a kit when the engineering and quality are already built in.
Work after hours and on weekends. Time is the currency you invest instead of money. If you’re working a full-time job, the backyard gets built in the hours before and after — not instead of — your income. That discipline is what makes six-figure savings possible.
Wear your safety gear every single time. The $8,700 emergency room bill from a splinter infection is the most expensive lesson in this entire build. A pair of gloves and proper PPE costs $30. There is no phase of a DIY build worth skipping protection for.
Use a laser level for everything structural. A flat deck frame, level paver base, and square shed walls all start with accurate leveling. Don’t eyeball it — a laser level pays for itself on the very first project.
Protect your framing with joist tape. Butyl rubber joist tape is a small investment that seals timber from moisture and can potentially double the lifespan of your deck frame. It’s the kind of detail most budget builders skip — don’t be most budget builders.
Frequently Asked Questions
How much can I realistically save on a backyard resort DIY build versus hiring contractors?
Based on this full build, the savings add up to nearly $50,000 across the deck, pergola, patio, sheds, side yard, and kitchen patio — against contractor quotes totaling well over $100,000 for those phases. Individual project savings range from $7,000 on a pergola to $15,000+ on five storage sheds. Your savings will depend on your local market, material costs, and skill level, but the gap between DIY and contractor pricing on outdoor builds is consistently large.
What tools do I need to start a backyard resort build?
The core toolkit for this type of build includes a circular saw, table saw, tape measure, laser level, hammer, and a good set of yard tools. For concrete work, a tamper and wheelbarrow are essential. Rent specialty equipment like tillers and stand-on loaders as needed — it’s almost always cheaper than buying for a single-use project.
Is composite decking worth the extra cost over pressure-treated wood?
For a backyard resort build where appearance and longevity matter, yes — composite decking is worth it. It costs roughly three times more upfront than pressure-treated pine, but it never needs sealing, sanding, or staining. Over a 10–15 year period, the maintenance savings close that cost gap significantly. The hidden fastener system also gives composite a cleaner, more finished look that matches the resort aesthetic.
Do I need building permits for a backyard deck, shed, or patio?
This depends entirely on your local municipality. In Florida, structural decks require permits because of hurricane uplift codes. Most areas have permit thresholds for sheds based on square footage. Patios built with loose materials like gravel and pavers are often permit-free, but concrete pads may not be. Always check with your local building department before breaking ground — the cost of an unpermitted structure when selling your home far outweighs the inconvenience of pulling a permit.
The Bottom Line on a Backyard Resort DIY Build
What started as a $150,000+ contractor quote became a stunning, high-quality backyard resort built phase by phase with skill, research, and an enormous investment of personal time. By the time the outdoor kitchen patio and second pergola were complete, nearly $50,000 in savings had been locked in — and the most complex phases were still ahead. The lesson here isn’t that DIY is always easy. The hospital bill proved otherwise. But done right, with professional-grade standards and smart material choices, a backyard resort DIY build delivers results that rival — and in some ways exceed — what a contractor would produce.
If you’re ready to start your own backyard transformation, I’d recommend starting with one solid phase — a deck, a paver patio, or even a single shed — and building your confidence from there. For more outdoor project inspiration, my guide on DIY paver patio installation is a great place to start. Every resort starts in the dirt. Get out there and dig.