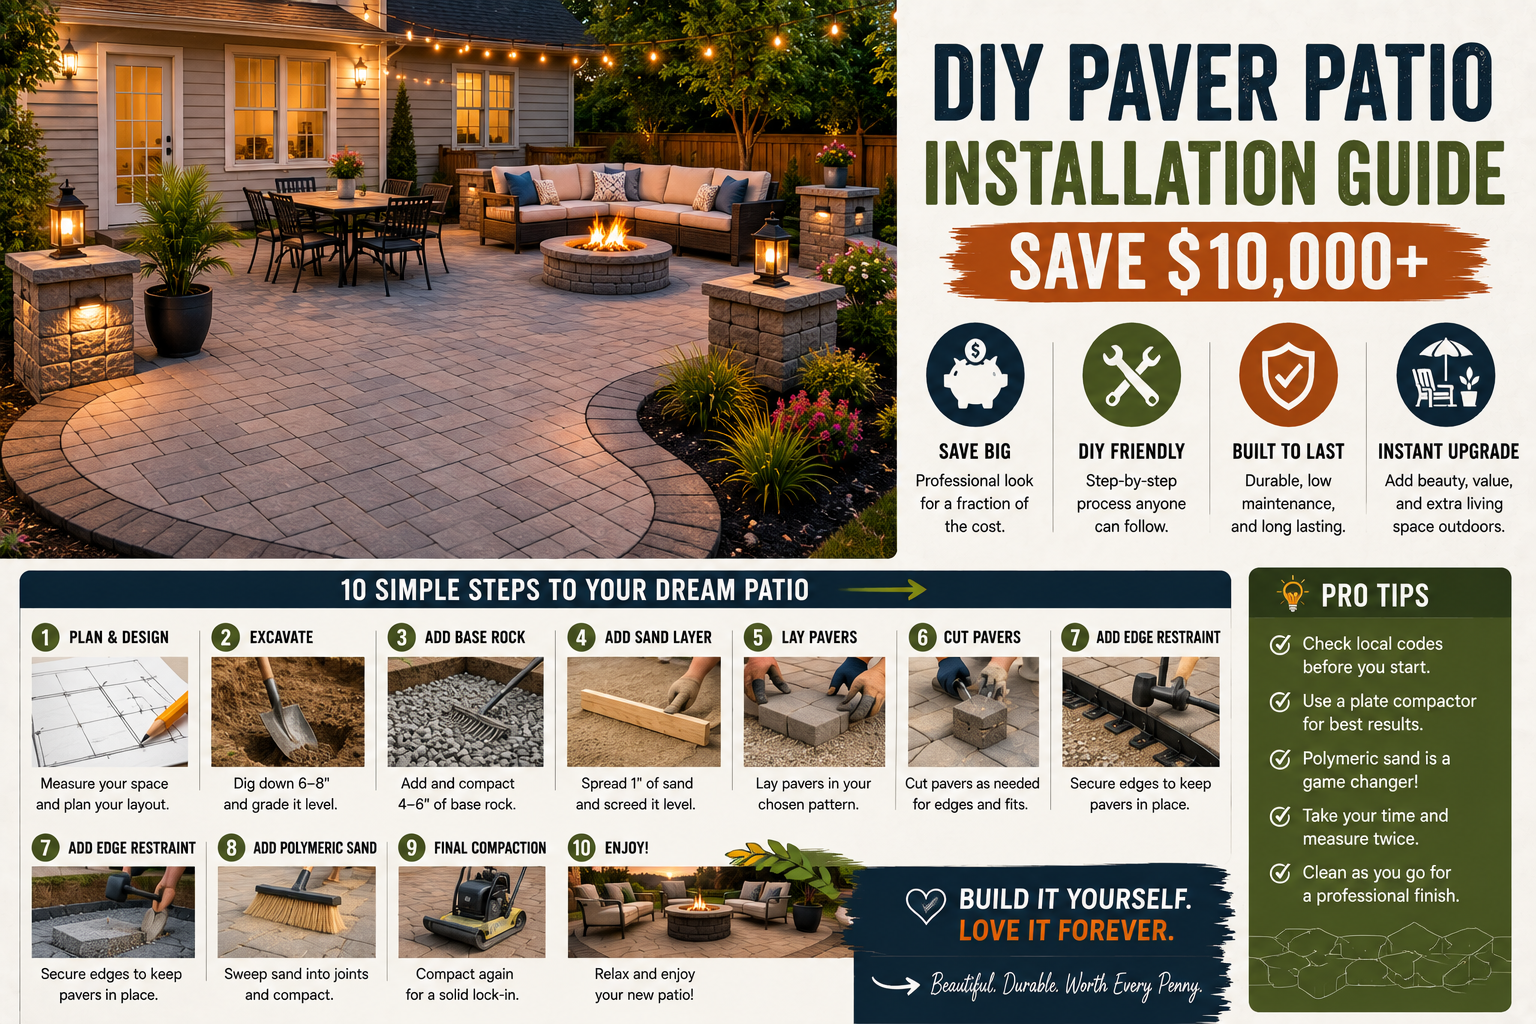
If you’ve been thinking about adding a paver patio to your backyard but the contractor quotes make your eyes water, I’ve got great news for you. I built my own paver patio completely by myself using basic tools and saved well over $10,000 in the process. And the best part? It looks absolutely stunning and will last a lifetime.
In this complete DIY paver patio installation guide, I’m going to walk you through everything I learned — from planning the design and choosing the right base system, all the way through laying the pavers, making cuts, and finishing the joints. I’ll also break down the exact cost and how much time you should budget for the project. Whether you’re a seasoned DIYer or tackling your first major outdoor project, I’m confident you can do this. If you’re looking for more outdoor project inspiration, check out my post on 5 DIY outdoor curb appeal projects you can do this weekend.
I’ll cover two different installation methods, walk you through every single step in detail, share the tips that saved me the most time, and be honest about what I’d do differently. Let’s get into it.
Two Ways to Build a Paver Patio (And Which One I Chose)
Before you buy a single paver, you need to understand that there are two fundamentally different ways to build a paver patio, and the method you choose will affect how much digging you have to do — which is the hardest part of the whole project.
The traditional method is how pros have been doing it for decades. You dig down 8 to 10 inches deep from where you want the finished surface to be, install a 4 to 6 inch packed gravel base laid in two increments, add a 1-inch layer of sand on top to create a flat surface, lay the pavers, lock them in with an edge restraint, and finish with jointing sand in the gaps. It’s a robust, time-tested system that will absolutely last a lifetime — the downside is the sheer amount of digging required.
The alternative method uses Brock Paverbase Panels and requires digging down only about 3.5 inches. You lay landscaping fabric, add a 1/2-inch layer of sand, place the interlocking foam-like panels (which replace the entire gravel base), lay your pavers on top, and finish with edge restraint and jointing sand. I was skeptical when I first heard about this system, but after using it I’m genuinely impressed. When you’re done, you honestly cannot tell the difference between the two methods from the surface. The one potential downside is that large tree roots growing beneath the patio are slightly more likely to cause heaving with this system — though roots can lift traditional patios too, just like sidewalks and driveways.
Understanding Drainage and Grading Your Patio
This is one of the most important things to get right before you touch a shovel, and it’s something a lot of DIYers skip over. You always want to slope your patio so water drains away from your house. If you don’t, you’ll end up with water pooling on the surface every time it rains — and that’s both annoying and damaging over time.
The target is a 2% grade, which means the patio drops 1/4 inch for every foot of distance. So if your patio is 10 feet deep, the far edge should be 2.5 inches lower than the edge closest to the house. If a 2% grade feels like too much slope for your specific situation, you can go as low as a 1% grade, which is 1/8 inch of drop per foot — but the flatter your patio, the more precise your base prep needs to be to avoid puddles. Getting this right up front is what separates a beautiful, functional patio from one that becomes a frustration every time it rains.
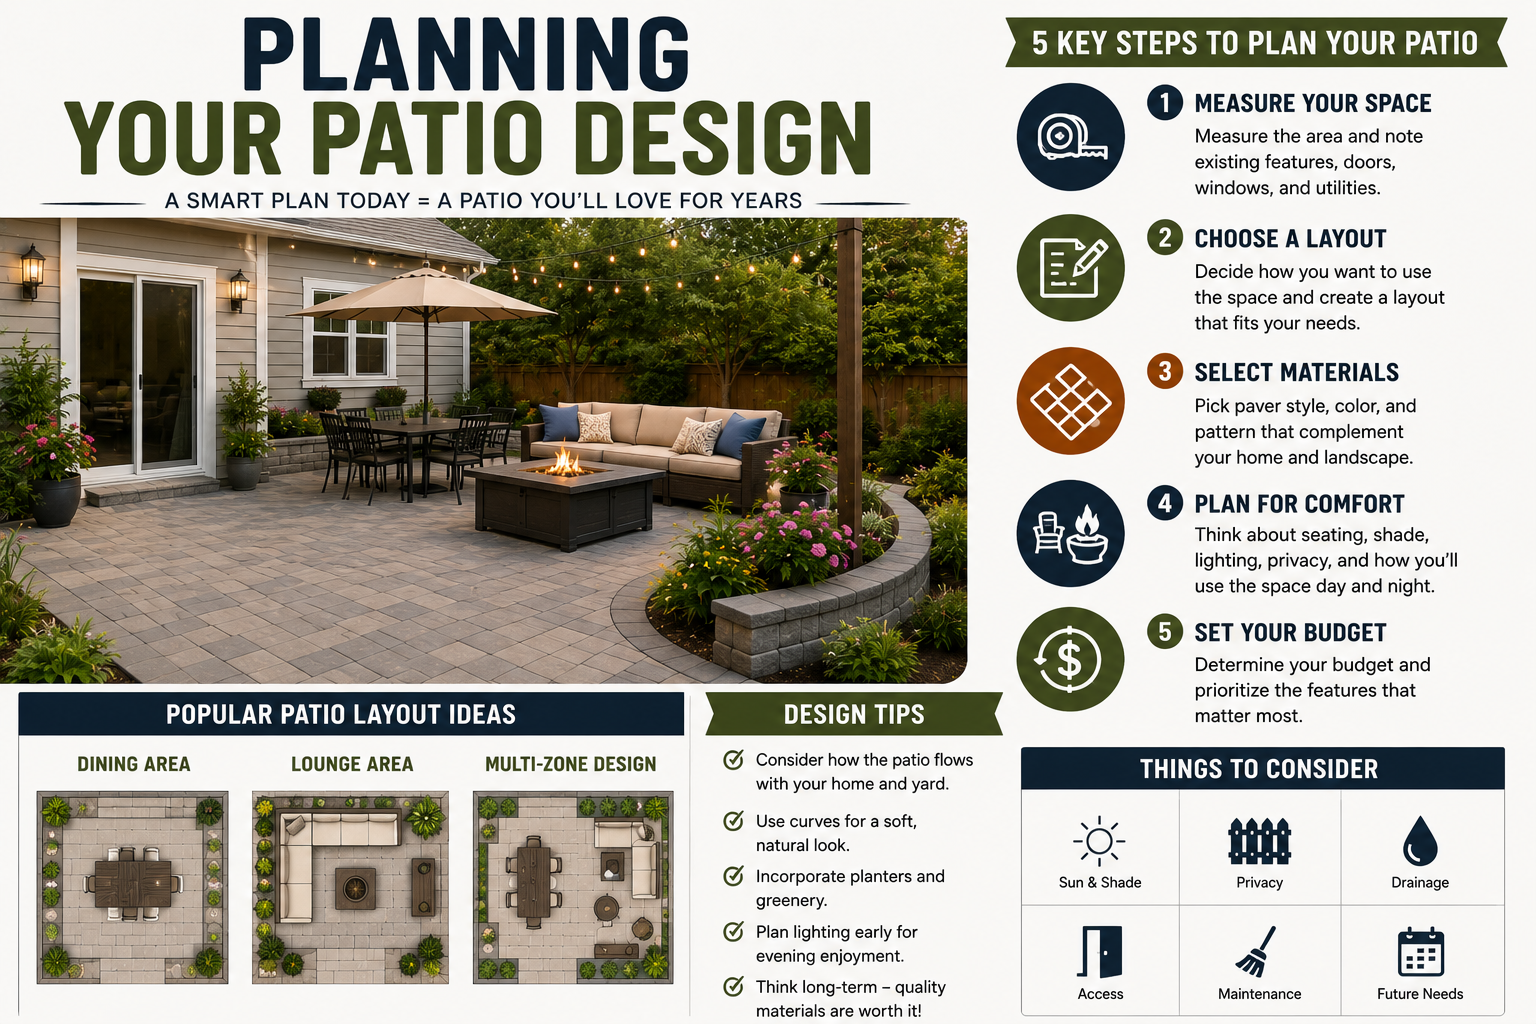
Planning Your Patio Design
Once you understand the two build methods and how drainage works, the first real step is planning your design. Decide where you want the patio, what pavers you want to use, how large it will be, and whether it needs to align with any existing surfaces. In my case, I had an existing flagstone patio that I wanted the new patio to sit level with, which actually made setting my string line heights much easier since I already had a reference point to key off of.
This is also the stage where you should think about the paver pattern. I used Belgard pavers in the color Riviera, which come in three sizes: 12×12 in., 9×12 in., and 6×12 in. The mixed sizing looks fantastic, but I’ll be honest — maintaining that pattern took significantly longer than it would have with a single-sized paver. So if you’re a first-timer or working on a tight timeline, a single-size paver pattern will make your life a lot easier. Also think about any other features you’ll need, like a pergola or irrigation lines, because those need to be installed before the patio goes in.
Setting Your String Lines for Depth and Grade
Before you dig a single inch, you need to set up a grid of string lines along the outside edges of your patio. These lines represent where you want the finished surface of your patio to be, and you’ll be referencing them constantly throughout the entire project. Hammer steel stakes along the perimeter, string a perfectly level line between them using a line level, then adjust the low side down (or raise the high side) by the amount you calculated for your 2% grade.
Here’s the tip that saved me a ton of time: I used 24-inch steel stakes hammered deep into the ground and marked the exact line height on each stake with a Sharpie. That way, when I accidentally bumped or moved a line while digging — and I did, many times — I could instantly get it back in position without pulling out the line level again. Taking your time on this step will pay dividends throughout the rest of the build. A well-set string line grid is the foundation of a flat, properly graded patio.
Calling 811 and Planning for the Dirt
Before you start digging, do two things. First, call 811 — it’s a free nationwide service and it’s mandatory. They’ll come out and mark any underground utilities, pipes, or cables in your yard so you don’t accidentally hit something dangerous. This call is always free and always worth it.
Second, figure out what you’re going to do with all the dirt before you start. You’ll only want to move it once, so have a plan. I used a wheelbarrow to dump the excavated soil on my street and paid $200 to have it hauled away when I was ready. It was well worth it not to have a massive dirt pile in my backyard for weeks. If your soil is rocky or hard-packed like mine, you’ll likely need a pickaxe to break it up. One trick I discovered: spray the area down with a hose the day before you dig. It softens the ground significantly, makes the digging much easier, and reduces the dust. If you have softer soil, a tiller can do a lot of the breaking-up work for you.
How Deep to Dig
The depth you need to dig depends on which method you’re using and the thickness of your pavers. For the Brock Paverbase Panel method, you’re digging down 1.25 inches plus the thickness of your pavers from the string line. With a standard 2-3/8 inch paver, that means digging down about 3-5/8 inches from where you want the finished surface. If you’re going with the traditional gravel base method, add another 4 inches to that depth.
Make sure to dig about 6 inches beyond where the finished edge of the patio will be on all sides. You’ll need that extra space to install the edge restraint and make adjustments later. And don’t worry about getting the bottom perfectly flat at this stage — you just need it roughly close to the right depth. The flattening and tamping process comes next, and that’s where you dial in the precision.
Flattening and Packing the Soil
Once the digging is done — and congratulations, because that’s genuinely the hardest part — it’s time to flatten and compact the soil. Your goal is to get the surface flat within 1/4 inch, meaning no high spots that stick up more than 1/4 inch and no low spots deeper than 1/4 inch. I found it helpful to slide a line across the existing string grid to gauge depth as I worked, and used a straight 2×4 to even out the dirt before tamping.
Expect to make multiple passes of flattening and tamping before the soil is compact and even enough to move on. In some areas you’ll need to add dirt back in, and in others you’ll be taking more out. It’s time-consuming, but it is absolutely worth the effort. A well-prepared, properly graded base means your finished patio will shed water cleanly instead of collecting puddles. And remember: the flatter your grade, the more precise this step needs to be.
Laying the Landscaping Fabric
Once the soil is flat and packed down well, lay a high-quality geotextile landscaping fabric over the entire area. Don’t cheap out here — look for something rated for at least 30 years. Overlap the edges by about 6 inches anywhere there’s a seam, and secure it with landscaping staples. If your soil is rocky like mine, the staples won’t do much, so use whatever you have on hand — tools, rocks, rebar — to hold the fabric in place while you work.
Leave at least 6 extra inches of fabric around all the edges because you’ll need to fold it over later when you install the edge restraint. Also, I’d recommend waiting to lay the fabric until you’re ready to put the sand down immediately after, because if it’s windy at all, the fabric will get torn up. And before laying the fabric, make sure your pavers are already on hand or scheduled for delivery within the next day or two — you don’t want to be waiting around at this stage.
Screeding the Sand Layer
With the fabric down, it’s time to lay the 1/2-inch sand layer that creates the perfectly flat surface your pavers (or paverbase panels) will sit on. The easiest method I found is to buy some 1/2-inch-thick rebar from your local supply store, lay the bars about 5 feet apart across the fabric, add the sand, and then screed it flat by dragging a straight 6-foot edge (or a straight 2×4) across the top of the rebar. The rebar acts as a perfect guide rail and produces a consistently flat surface.
I chose to tamp the sand down after the first pass and then screed a second time — I’m not 100% sure it was necessary, but I think it contributed to a flatter finished result. Once a section is complete, remove the rebar and move on to the next section. For sand, you can buy 50 lb. bags at any hardware store (each covers about 12 sq. ft.), but a much better deal is to buy a half yard from a local landscaping supplier. A half yard fits in a pickup truck, costs far less per square foot, and covers about 330 square feet at 1/2-inch depth — the equivalent of 28 bags.
Installing the Brock Paverbase Panels
If you’re using the paverbase panel method, the next step is extremely straightforward. Lay the panels in a brick-like pattern, staggering the seams just like you would with any tile or plank flooring. They’re lightweight (each panel weighs about 1 pound and covers roughly 5 square feet), and they cut easily with a razor knife. Leftover pieces can be recycled.
Fair warning: if it’s windy outside, those lightweight panels will be a nuisance. I had to place a paver on each corner of every panel as I laid them just to keep them from blowing away. You can buy the panels individually or in cases of 20 (each case covering about 100 sq. ft.). Buying by the case saves about 20%, so I’d recommend calculating your total square footage, buying most in cases, and rounding out with individual panels to get the exact amount you need without too much waste.
Snapping Chalk Lines and Laying the Pavers
Now comes the most satisfying step: laying the pavers. Before you start placing them, snap a chalk line to guide your first row. Don’t try to use the paverbase panels or the house foundation as a guide — neither is likely to be perfectly straight. For my project, I snapped several chalk lines while installing the first few rows to make sure everything stayed aligned as I went. Since the pavers slide easily on the panels, that chalk line was essential for catching drift early.
Use a rubber mallet to tap pavers into position and make small adjustments. Keeping the seams tight is critical — if you let gaps open up in the first few rows, they’ll compound and you’ll have large gaps by the time you reach the far end. Start near any buildings or structures and work your way outward so you don’t need to make cuts at the foundation. And plan your layout in advance to minimize cuts as much as possible — every cut adds time, and contractors charge extra for patios with complex cutting for a good reason.
How to Cut Pavers (Including Curves)
You’re going to need to make at least a few cuts, so here’s what works best. The easiest option for straight cuts is a wet tile saw — I highly recommend renting one if you have a lot of straight cuts to make. It’s accurate, easy to use, and almost completely eliminates dust. The downside is it can’t do curves. For curved cuts, the tool of choice is a concrete cutoff saw with a diamond blade — this is what most professionals use. Make sure to rent one with a hose attachment that feeds water while you cut, because cutting pavers dry creates an incredible amount of dust that is terrible for your lungs and will absolutely annoy your neighbors. An angle grinder works in a pinch if you only have a few cuts to make, but it’s slow and dusty.
For my curved cuts, I moved each paver individually rather than cutting them in place — the risk of slicing through the paverbase panels was too high. I placed a kettlebell where I wanted the center of the curve, tied a string to a pencil, and drew the curve. Once I was happy with the shape, I traced it in Sharpie (pencil washes away instantly when you’re cutting with water), then made a plywood template to speed up the remaining curves. One more tip: avoid having small cut pieces on the outside edges of your patio. Small edge pieces move easily and weaken the border. Rearrange your layout so that all edge pavers are a decent size even after cutting — it takes extra time but the result is much more durable and polished-looking.
Installing the Edge Restraint
The edge restraint is what locks your entire patio together and prevents the pavers from slowly migrating apart over time. Without it, you’ll see gaps and shifting within just a year or two. Start by trimming the extra paverbase panels so there’s just enough for the edge restraint to sit on — you can use the restraint itself as a cutting guide. Then fold the landscaping fabric over the trimmed edge, set the edge restraint on top of the folded fabric, and hammer in landscaping spikes to secure it firmly to the ground.
I recommend aluminum edge restraints — they’re durable, they hold up over time, and you can typically purchase both the restraints and the spikes directly from the rock dealer where you buy your pavers. This is also why you dug 6 inches past your finished edge and left extra fabric around the perimeter — it all comes together right here. Take your time with this step and make sure the restraint is snug against the pavers all the way around.
Filling the Joints with Sand
You’re almost done! Pour the jointing sand directly from the bag onto the patio surface and sweep it with a broom in multiple directions until all the joints are filled. Then tamp the entire patio down with a hand tamper to vibrate the sand deep into the cracks. I taped a piece of cardboard to the bottom of my tamper to dampen the impact and protect the paver surface — a simple trick that worked really well. Repeat this process two or three times until all joints are completely filled.
For most pavers you have two options: fine jointing sand or polymeric sand. Polymeric sand helps reduce weed growth and sets hard, but it’s more expensive, trickier to apply, and contains plastic adhesives that break down over time and release microplastics into the environment. Fine jointing sand is easier to apply, has zero risk of staining your pavers, and doesn’t contain any plastic. I used polymeric sand on my project, but if I could go back, I’d use fine jointing sand. If you do go with polymeric sand, follow the bag instructions carefully to wet it properly so it sets correctly.
Finishing Up: Filling the Edges
The very last step is filling in the gaps on the sides of the patio where the edge restraint meets the surrounding ground, bringing everything level with the lawn or landscape around it. This final touch makes the patio look completely finished and integrated into the yard. Once that’s done, you have a beautiful, functional, low-maintenance outdoor space that will genuinely last a lifetime.
One of my favorite things about a paver patio compared to a wood deck is that it requires almost zero ongoing maintenance. No staining, no sealing every year, no rotting boards to replace. For more ideas on transforming your outdoor space on a budget, take a look at my post on DIY backyard patio and fireplace builds that save thousands — there’s some great inspiration in there for extending your outdoor living space even further.
Tips and Best Practices for Your DIY Paver Patio
Here’s a quick summary of the best tips I picked up throughout this entire project that will save you time, money, and frustration:
Mark your stakes with a Sharpie. Hammer your string line stakes deep and mark the exact line height so you can re-set lines instantly if they get bumped during digging — no need to re-level every time.
Wet the soil the day before digging. Spraying the area down the evening before you dig makes the soil much softer, easier to break up, and dramatically reduces dust, especially in hard clay or rocky ground.
Plan what you’ll do with the dirt before you start. You’ll only want to move it once. Have a disposal plan in place so the dirt goes straight from the ground to its final destination.
Don’t skip the sand screeding rails. Using rebar as guide rails for your screed board is the most reliable way to achieve a consistently flat 1/2-inch sand layer across a large area. It makes a real difference in the final result.
Buy sand in bulk. A half yard from a local landscaping supplier covers about 330 square feet and costs a fraction of what you’d pay buying individual 50 lb. bags. If you have a truck, this is a no-brainer.
Always cut in Sharpie, not pencil. When cutting pavers with water, pencil lines vanish instantly. Always trace your final cut line in permanent marker before you start the saw.
Avoid small edge pieces. Rearrange your paver layout so that every piece on the perimeter is a full or near-full size — small edge pieces are weak points that shift and break down faster.
Consider fine jointing sand over polymeric. It’s easier to work with, won’t stain your pavers, and doesn’t contain microplastics. Save the polymeric sand for situations where weed suppression is a top priority.
If you want to keep going with outdoor and backyard projects, my guide on budget home improvement DIY ideas that save thousands has a ton of great next steps for your home.
Frequently Asked Questions
How much does it cost to DIY a paver patio vs. hiring a contractor?
The savings are substantial. By doing it yourself, you can save well over $10,000 on a mid-sized patio project. Most of the cost goes into materials — pavers, base material, sand, edge restraints, and tools — rather than labor. The exact cost depends on your patio size, the pavers you choose, and whether you go with the traditional gravel base or the Brock Paverbase Panel system, but DIYing always results in significant savings over hiring a contractor.
Do I need any permits to install a paver patio?
In most areas, a ground-level paver patio doesn’t require a permit, but requirements vary by municipality. Always check with your local building department before starting, especially if you’re adding any structures like a pergola on top of the patio. And no matter what, always call 811 before you dig to have underground utilities marked — it’s free and required by law in most states.
How long does it take to install a DIY paver patio?
For a mid-sized patio, expect the project to take several days spread across a weekend or two. The digging and base preparation is the most time-consuming phase. Paver cutting, particularly curved cuts, takes longer than most people expect. Complex paver patterns with multiple sizes also add significant time compared to a simple single-size grid layout. Budget extra time and don’t rush the base prep — that’s where the quality of the final result is won or lost.
What’s the best base system: gravel or Brock Paverbase Panels?
Both systems produce a great finished patio. The traditional packed gravel base has decades of proven performance and is slightly more resistant to root heaving from large trees. The Brock Paverbase Panel system requires far less digging, is faster to install, and produces an equally beautiful result in most residential applications. If you don’t have large established trees nearby and want to minimize excavation, the paverbase panel method is an excellent choice — I used it and I’m very happy with the results.
Ready to Build Your Own Paver Patio?
Building a paver patio yourself is one of the most rewarding outdoor DIY projects you can tackle. It transforms your yard, adds real functional value to your home, and the money you save compared to hiring it out is genuinely significant. The key is taking your time on the base preparation — get the grading right, get the soil flat and compacted, and everything else falls into place from there.
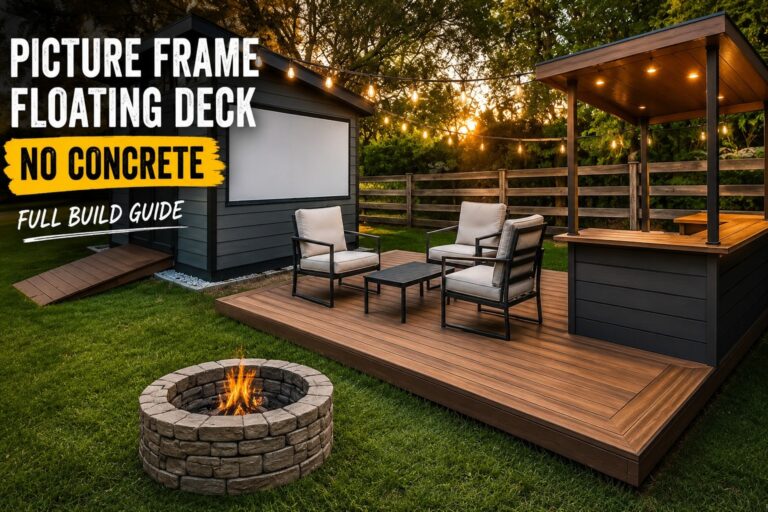
I hope this DIY paver patio installation guide gives you the confidence to tackle this project yourself. If you have questions, drop them in the comments below — I read every one. And if you found this helpful, check out my post on how to build a picture frame floating deck with no concrete needed for another great outdoor project idea. Now get out there and build something great!