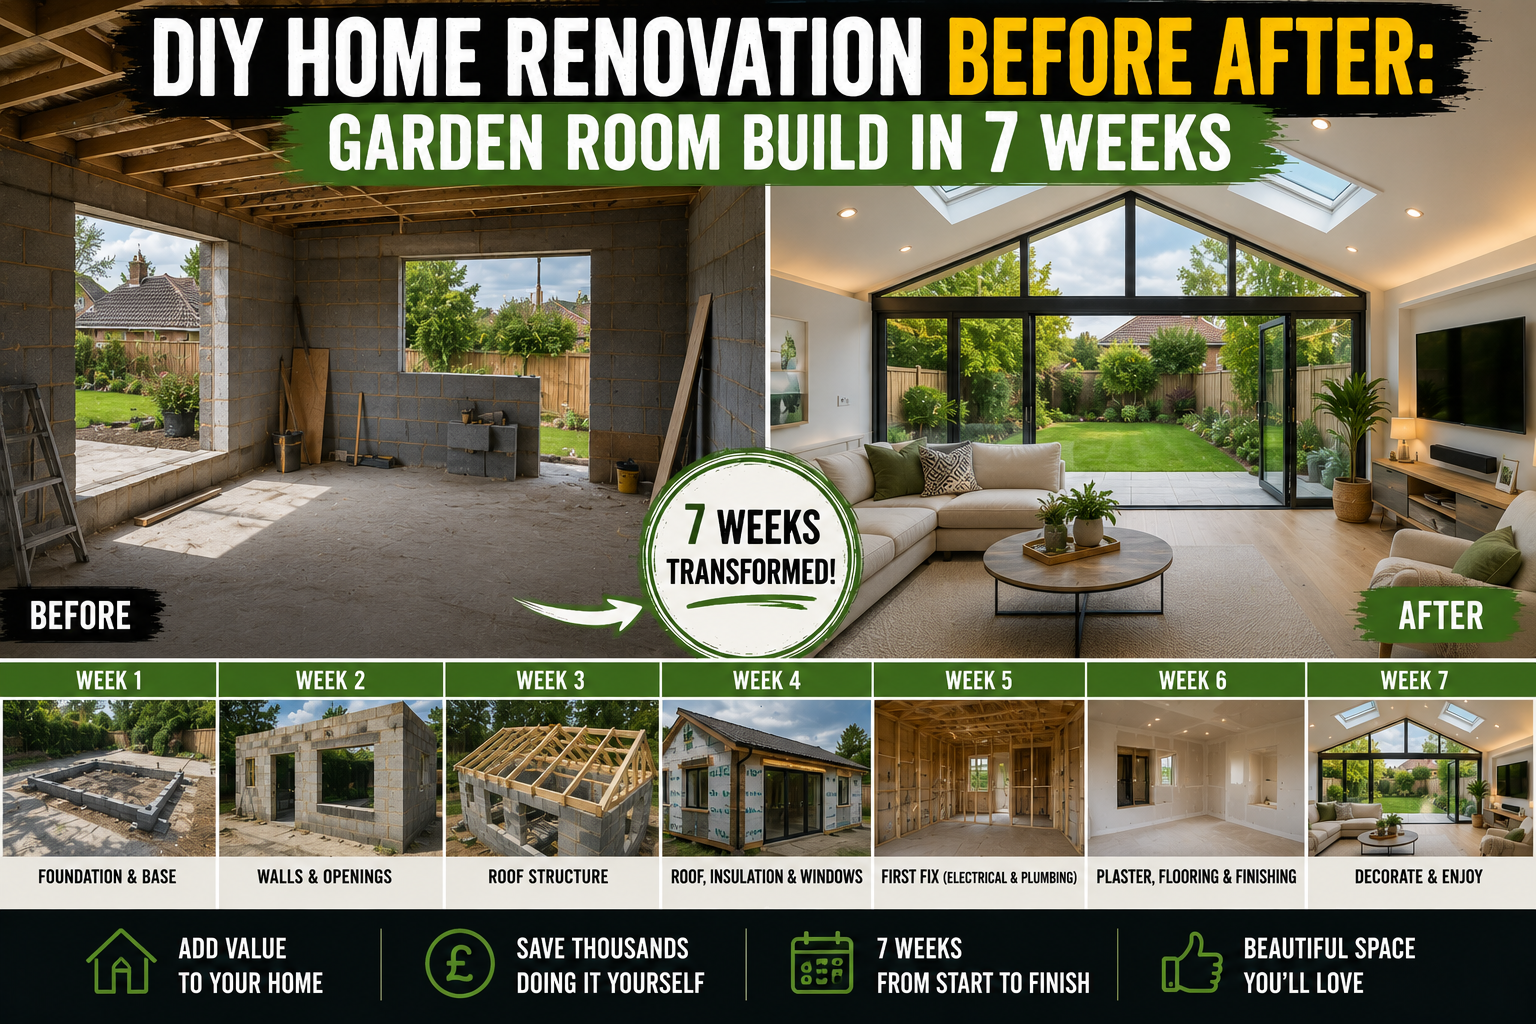
If you’ve ever looked at a blank patch of yard and thought “there has to be something I can do with that space,” this post is for you. I recently tackled one of the most ambitious DIY home renovation before after projects I’ve done to date — building a fully insulated, clad garden room from a bare patch of ground to a finished, usable space in just seven weeks. And I did the vast majority of it on my own, around a regular day job.
I want to be upfront: a lot of these tasks were things I’d never done before. I watched tutorials, did my research, and just went for it. That’s really the spirit of this whole project. If you’ve got a reasonable amount of DIY knowledge, some patience, and the willingness to learn as you go, a build like this is absolutely within reach. I’ll walk you through every stage — from pouring the concrete base all the way to oiling the exterior cladding — so you can see exactly what’s involved. If you’re looking for more inspiration before diving in, check out my breakdown of 10 home renovation ideas on a budget for a dated house for even more project ideas.
Let’s get into it — here’s exactly how I went from nothing to a beautiful finished room, step by step.
Step 1: Pouring the Concrete Base
Every solid build starts with a solid foundation, and for this project I chose to pour a concrete base. There are other options out there — ground screws and pre-cast concrete pads are both popular — but I felt a poured slab was the most straightforward and cost-effective route for what I was building. I’d never done it before, so I watched a handful of YouTube tutorials and went in with confidence.
The process took two days total: one day for digging everything out and building the formwork, and a second day for the actual pour. I mixed the concrete on-site using a cement mixer rather than having it delivered, which saved money. While mixing was happening up front, I was around the back pouring, floating, and tamping the slab into place. It’s one of those jobs that sounds more intimidating than it is — if you’re precise with your formwork and work methodically, the result is a clean, level base ready to build on.
Step 2: Building the Insulated Floor Frame
Once the base had fully cured, I built a timber floor frame directly on top of it. The reason for this extra step is important: I needed to add a damp-proof membrane (DPM) to prevent moisture from rising through the slab, and I also wanted to fit insulation beneath the floor deck so the room wouldn’t bleed heat downward. Skipping this step in a garden room build is one of the most common mistakes I see — it makes the space uncomfortable in winter no matter how well you insulate the walls.
The process involved cutting 2×4 noggins to size, spacing them out across the base, laying the insulation boards in the bays, and then fixing the floor deck on top. I used a circular saw to get clean, accurate cuts throughout. It’s straightforward work — measure carefully, cut cleanly, and fit the insulation snugly so there are no gaps. Any small gaps you can’t avoid, seal them up with spray foam — it makes a massive difference to the thermal performance of the finished room.
Step 3: Framing the Stud Walls
With the floor in place, I moved on to framing the walls. Stud work is something I’m genuinely comfortable with — I spent several years working as a carpenter, so picking up a hammer and building out timber frames felt natural. That said, even if you’ve never done it before, this is a very learnable skill. The core idea is simple: cut your timbers to length, assemble the frame flat on the ground, then lift it into position and fix it down.
The back wall I lifted and set entirely on my own before any help arrived, which proved to me that this is genuinely a solo-doable task. Having someone there to help with large OSB sheets does make life easier, but it’s not a dealbreaker. Take your time, use a laser level to keep everything plumb and square, and work your way around the perimeter. The walls and roof framing follow the same logic — cut accurately, fix securely, repeat.
Step 4: Installing the Fascia, Soffit, and EPDM Rubber Roof
Once the shell was framed, I moved on to the fascia, soffit, and roofing. The fascia and soffit work was mostly familiar territory for me, but the EPDM rubber roof was completely new. I’ll be honest — I was a little nervous about it. But after reading through the installation guide from the supplier where I purchased the roofing material, it turned out to be one of the more satisfying days on the whole build.
The process involves rolling out the rubber membrane over the roof deck, trimming it to size, bonding it down with adhesive, and finishing the edges with metal trim pieces. The key is working on a dry, reasonably warm day so the adhesive bonds properly. Take your time with the trims and corners — that’s where most leaks start if the job is rushed. Done right, an EPDM roof should last 20–25 years with minimal maintenance, which makes it excellent value for a structure like this.
Step 5: Fitting the Doors and Glazing
The double doors went in as part of the main build sequence, though I’ll admit I didn’t capture the full installation on camera. What I did film was the glazing bead work — fitting the glass units into the door frames and securing them with the plastic beading that locks everything in place. It’s detail-oriented work that requires patience, but it’s not technically complex.
Choosing good quality doors here matters a lot. Double-glazed units will contribute significantly to the thermal performance of the room, so don’t cut corners on this component. I also made sure the door frames were perfectly square before fixing them permanently — a door that’s slightly out of square will never hang properly no matter how much you adjust the hinges. Get the opening right first, and everything else follows easily. You might also want to upgrade the door hardware at this stage for a polished finish.
Step 6: Insulating the Walls and Roof Interior
Before any interior finishing could happen, I needed to fill all the stud bays and roof rafters with insulation. For this build I used 100mm insulation in the roof and 50mm in the walls, which combined with the 50mm floor insulation gives a well-balanced thermal envelope. The result has been a room that holds a remarkably stable temperature — warm in cooler weather, not stuffy in warm weather.
The process is repetitive but satisfying: measure each bay, cut the insulation board to fit snugly, push it in place, and move on to the next. Any gaps around the edges or at junctions — hit them with spray foam. I can’t stress this enough. Thermal bridging through small gaps is a real issue, and a can of spray foam costs next to nothing compared to the heat you’ll lose through an unsealed build. Once the foam cures, trim it flush and you’re ready for the next layer.
Step 7: Adding the Vapor Barrier
After the insulation, I fitted a vapor barrier across the walls and ceiling. A lot of guides suggest this is a two-person job, but I managed it entirely solo and it took just a few hours. The key is to work methodically — fix one edge, pull it taut, fix the next, and overlap your sheets generously where they meet.
Once the whole thing was up, I went around every joint and sealed them with insulation tape. This step is easy to rush, but don’t. The vapor barrier’s whole job is to stop warm, moist interior air from reaching the cold insulation layer — if there are gaps, you’ll eventually get condensation building up inside the wall structure, which leads to mold and rot. Tape every seam properly now and you won’t have to deal with that problem later.
Step 8: Installing the Plasterboard (Drywall)
With the vapor barrier in place, I moved on to plasterboard — what Americans would call drywall. The ceiling boards were the one part of the whole project where having an extra pair of hands made a real practical difference. Holding a heavy board overhead while trying to drive screws is genuinely awkward solo, so I took up an offer of help for that stage. The walls, though, I knocked out on my own.
The process is exactly what you’d expect: measure, cut, lift into position, and screw off. Where you need to cut around electrical boxes or switches, take your time with the measurements — cut too big and you’ve got a gap to hide, cut too small and you’ve wasted a board. A jigsaw makes quick work of those cutouts. Once all the boards are up, step back and you’ll start to see a real room taking shape — it’s one of the most motivating moments in a build like this.
Step 9: Dry Lining the Joints and Finishing the Walls
Rather than hiring a plasterer to skim the entire interior, I opted to dry line — taping and jointing the drywall seams myself. I’d never done it before, but after watching a few tutorials I felt confident enough to give it a try. The goal is to create a perfectly smooth surface across all the joints and screw holes so that when you paint, you can’t tell where one board ends and the next begins.
It took two coats of jointing compound with a light sand in between, followed by a final sand once the second coat was fully dry. Take your time on the feathering — dragging the compound out wide and thin on either side of the joint is what makes it invisible once painted. Using a edge trowel helps get a clean, consistent finish. When it was done, I was genuinely surprised by how good the result looked. You really couldn’t tell it hadn’t been plastered by a professional.
Step 10: Painting the Interior
With the walls prepped and smooth, painting was next. I applied a coat of primer first to seal the jointing compound and give the topcoat something to grip, then followed up with two finish coats. I used a roller for the large flat areas and cut in the corners and edges with a paintbrush. An extendable roller stick made the ceiling work much more manageable without constantly moving a ladder.
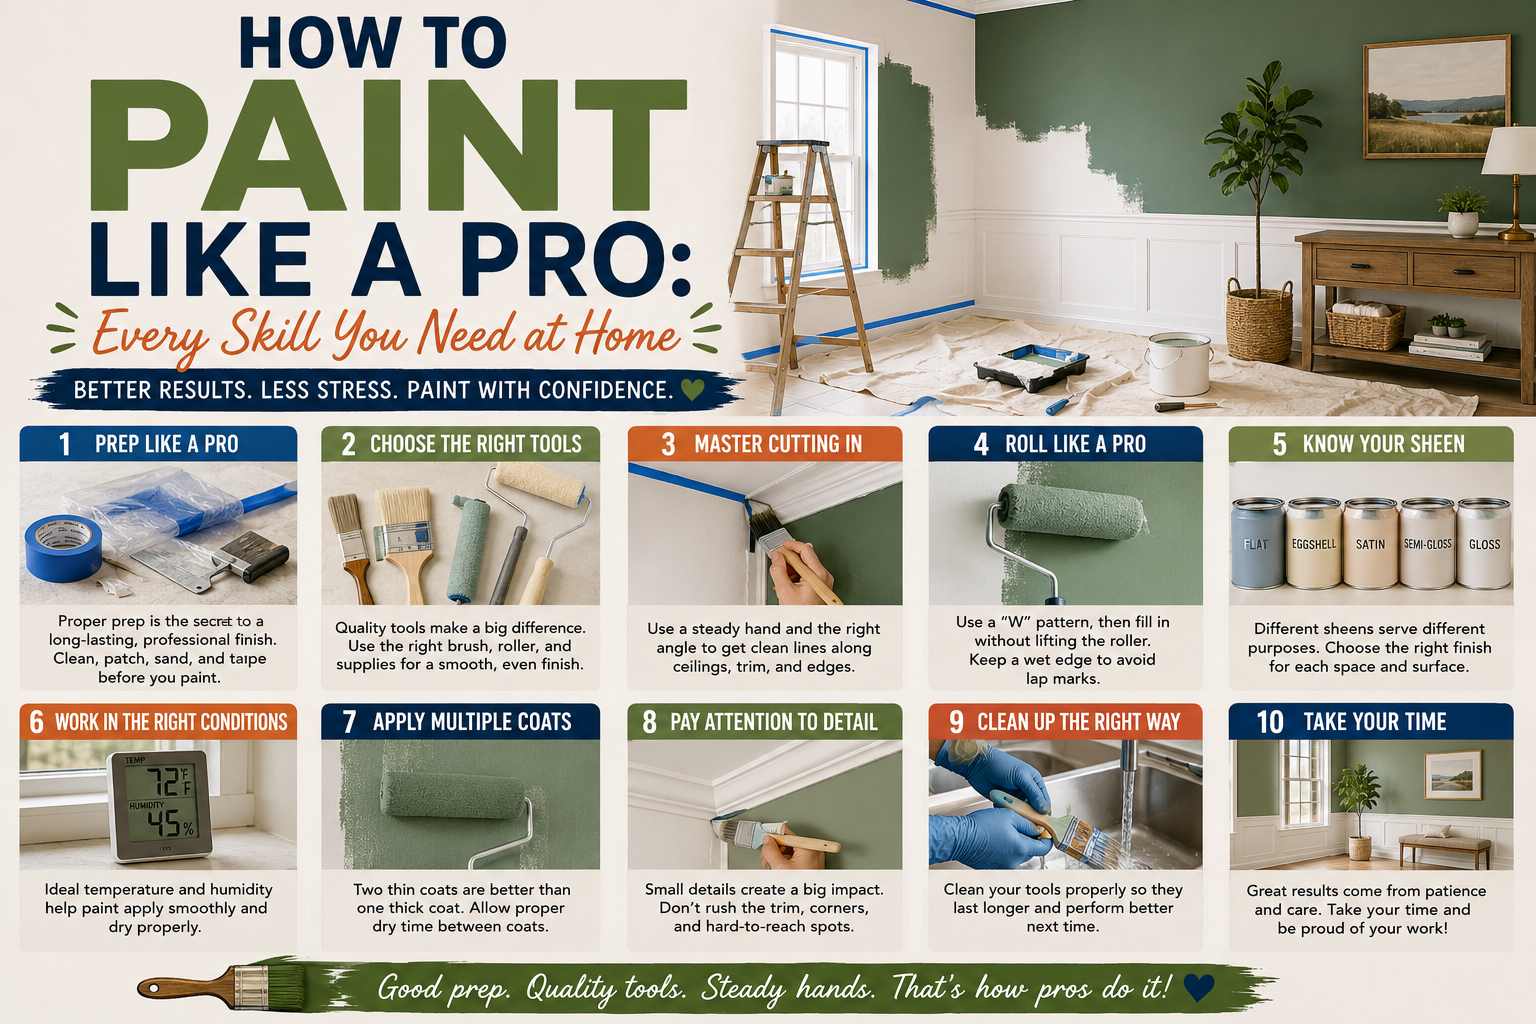
After two coats it looked a little patchy while still wet — don’t panic if you experience that. Once it dried fully, the finish settled into a clean, even result that I was genuinely happy with. Painting is one of those jobs that rewards patience more than skill. Cut in carefully, roll methodically, and let each coat dry completely before judging the result. If you want to dial in your painting technique, my guide on how to paint like a pro covers every skill you need.
Step 11: Installing the Cedar Exterior Cladding
The cladding is what really transforms the exterior of a build like this, and I went with Western red cedar tongue-and-groove boards. The installation method is a hidden nail system — you nail through the tongue of each board, then the groove of the next board slots over it, concealing the fixings completely. From the outside, the finished wall looks like it’s been assembled by magic. There’s not a nail head in sight.
The front and back walls were simple — every board was exactly the same length, so I could batch-cut several at a time and run through the installation quickly. The side walls required angled cuts at the top to follow the slope of the roof, which slowed things down a little, but it’s straightforward geometry. Work from the bottom up, keep each course level, and check your lines every few boards. The table saw was invaluable for getting clean rip cuts on the angle pieces.
Step 12: Installing the Interior Flooring and Skirting Boards
For the interior floor finish, I went with rubber gym flooring — a 20mm thick interlocking mat system that installs without adhesive. It’s a friction-fit system, meaning the tiles lock together and stay put without being glued down. This makes it easy to install, easy to replace if damaged, and provides a comfortable, durable surface underfoot. For a multi-use room that might see furniture, equipment, or foot traffic, it’s a very practical choice.
Once the flooring was down, I fitted the baseboards around the perimeter to cover the expansion gap and give the floor a finished look. This is an area where clean miter cuts at the corners make a big difference to the overall appearance — take your time with the angles and use a caulk line along the top edge before painting to fill any small gaps between the baseboard and the wall.
Step 13: Sanding and Oiling the Exterior Cladding
After the cladding had been on for a couple of weeks and had a chance to weather slightly, I sanded the entire exterior with an orbital sander before applying a protective oil finish. The sanding removes the slightly raised grain that appears as fresh-cut timber weathers, giving the oil something smooth and consistent to soak into.
I used a UV-protective wood oil, which is designed to stop cedar from graying over time. It deepens the color of the wood, brings out the grain and knots, and gives the whole exterior a rich, warm look. The oil needs two coats applied 24 hours apart — so plan for two decent weather days back-to-back. Work it into all the tongue-and-groove details and corner trims so every surface is covered. With proper oiling, the cladding should hold its color for three to five years before needing another coat — very low maintenance for how good it looks.
Tips and Best Practices for a DIY Garden Room Build
Watch tutorials for every unfamiliar task before you start. I’d never poured a concrete slab, fitted a rubber roof, or done dry lining before this project. Watching two or three good YouTube tutorials for each task gave me enough confidence and knowledge to execute them well. Don’t skip this step — it takes an hour and saves days of rework.
Seal every gap with spray foam. Whether it’s insulation bays, vapor barrier overlaps, or small penetrations for wiring, foam seals everything quickly and cheaply. It’s the single most impactful thing you can do for the thermal performance of an insulated structure. Keep a few cans on site throughout the build.
Work in the right order. Foundation → floor frame → walls → roof → insulation → vapor barrier → drywall → finish. Deviating from this sequence creates rework. For instance, I had to plan my electrical rough-in carefully around the drywall schedule when a window arrived late — staying organized saved me from having to tear anything out.
Batch your cuts. Especially for repetitive work like cladding, cut multiple pieces to the same dimension at once rather than cutting one, fitting it, going back to the saw, and repeating. It dramatically speeds up installation and keeps your workflow smooth.
Don’t underestimate the value of a laser level. Getting walls plumb and floor frames level at the start pays dividends through every subsequent stage. Errors made early compound — a wall that’s slightly out of plumb means every door, window, and trim piece installed against it will fight you.
Frequently Asked Questions
Can I build a garden room or addition like this on my own without prior construction experience?
Yes — with research and patience, most of the individual tasks involved in a build like this are very learnable. Concrete pouring, stud framing, drywall installation, and cladding all have a wealth of tutorial content available online. The key is to break the project into individual skills, learn each one before you start that phase, and work methodically. Having some basic tool familiarity helps, but you don’t need a professional background to achieve a great result. For more inspiration on tackling ambitious projects, see my guide on how to tackle a full gut old home renovation project step-by-step.
How important is insulation in a structure like this?
Extremely important — it’s the difference between a room that’s usable year-round and one that’s an oven in summer and a freezer in winter. For a build like this, I’d recommend at minimum 100mm in the roof, 50mm in the walls, and 50mm under the floor deck with a damp-proof membrane beneath. Seal all gaps with spray foam and fit a proper vapor barrier, and you’ll end up with a space that holds a comfortable temperature with minimal heating or cooling needed.
What’s the best exterior cladding option for a DIY outbuilding?
Western red cedar tongue-and-groove is a popular and beautiful choice — it’s workable, naturally rot-resistant, and looks stunning when oiled. The hidden nail installation system makes for a very clean finished appearance. If budget is a concern, LP Smart Side panels are an engineered wood option that’s more affordable and very durable, especially in wet climates. Whichever material you choose, make sure you apply a protective finish — either a UV oil for natural wood or a quality exterior paint for engineered products.
Do I need permits for a garden room or backyard structure like this?
In the US, permit requirements vary by state, county, and municipality — and are also affected by the size of the structure, its proximity to property lines, and whether it includes electrical work. Always check with your local building department before starting any outbuilding project. Many jurisdictions have exemptions for structures under a certain square footage, but don’t assume — getting this wrong can create real headaches when you go to sell your home. When in doubt, a quick call to your local planning office will give you a definitive answer.
Final Thoughts: What This DIY Home Renovation Before After Project Taught Me
Looking back at this DIY home renovation before after project, the biggest takeaway is that the gap between “I’ve never done this before” and “I can do this” is almost always just a few hours of research and the willingness to start. From pouring a concrete slab to fitting a rubber roof to dry lining an interior — none of these were skills I had when I started. By the end, I had all of them.
The seven-week timeline was completely achievable working around a full-time job, and the finished result is a space I use and enjoy every single day. If you’re sitting on a project you’ve been putting off because it feels too big or too unfamiliar, I hope this walkthrough shows you what’s possible with a methodical approach and a bit of confidence. Start with the foundation, work your way up, research each step before you tackle it, and don’t stop until it’s done.
If this got you fired up to tackle your own space, check out my post on budget home improvement DIY ideas that save thousands for more project inspiration. And if you’ve already got a project underway or a question about any stage of this build, drop it in the comments below — I read every one.