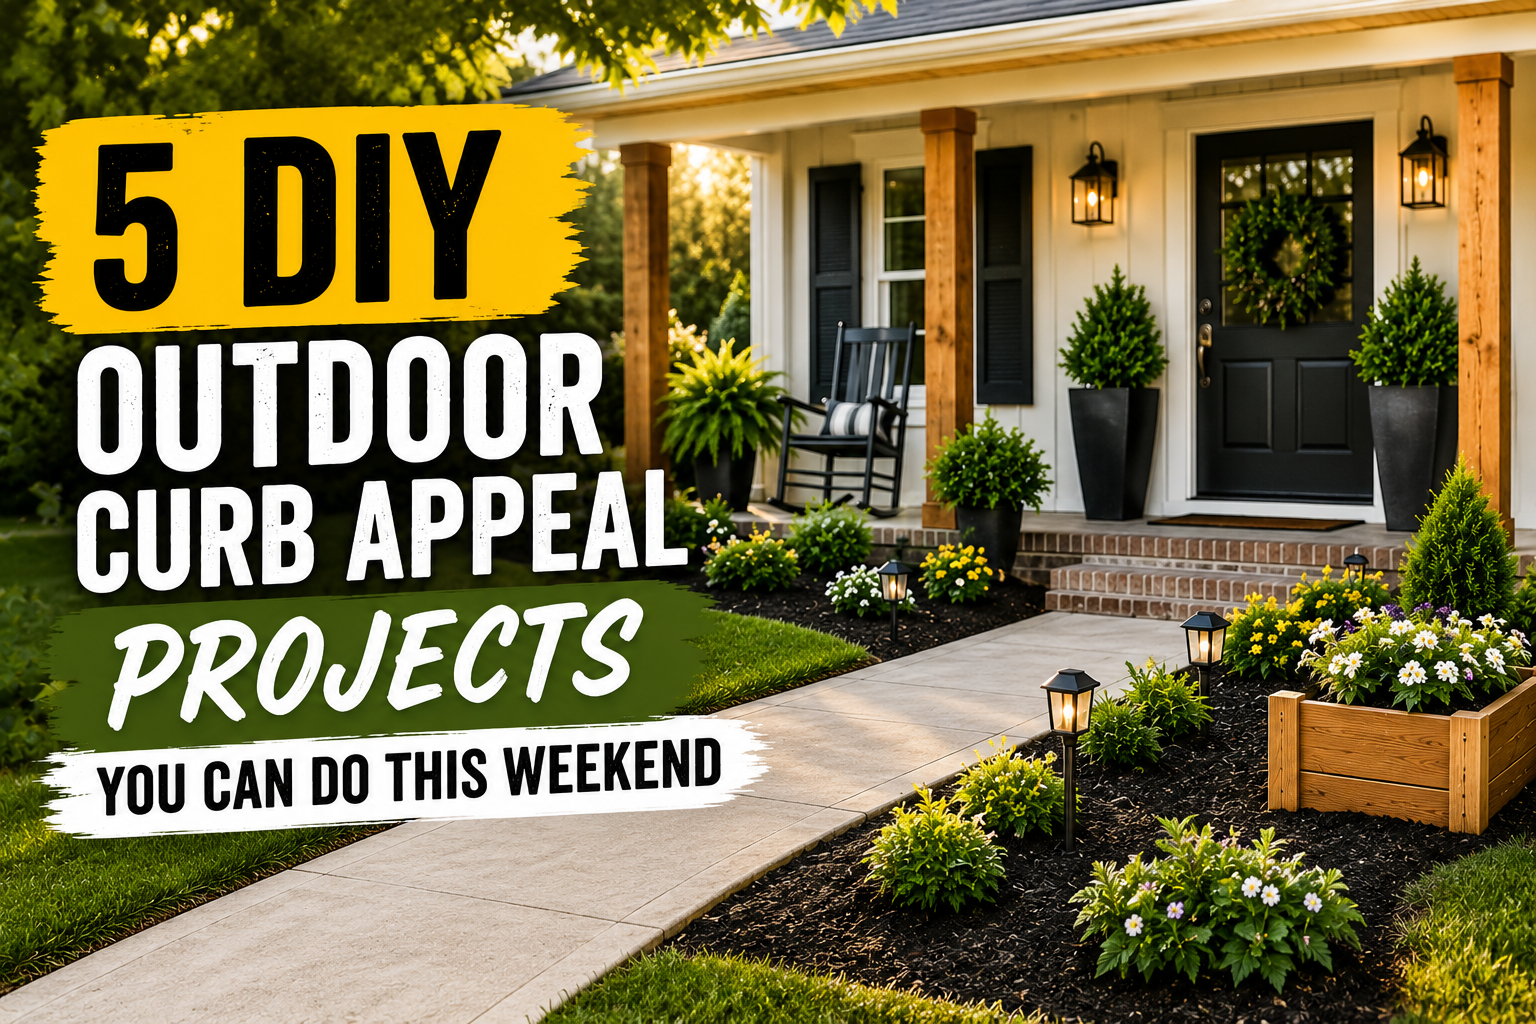
Did you know that improving your home’s curb appeal can increase its value by 5 to 11%? That’s a serious return on investment — and the best part is, you don’t need to hire a crew or blow your budget to make it happen. These DIY outdoor curb appeal projects are exactly the kind of weekend wins that make your home look polished, well-loved, and ready to impress. Whether you’re planning to sell or just want to feel proud every time you pull into the driveway, these five projects are a great place to start.
The front of your home is the first thing people see, and small details make a huge difference. Overgrown bushes, undefined garden beds, and a tired-looking entryway can drag down the whole look of an otherwise beautiful house. The good news? Most of these fixes are surprisingly simple, affordable, and deeply satisfying to do yourself. Grab your tools and let’s get into it.
In this post, we’re covering five hands-on projects that you can realistically knock out over a weekend — or even a single Saturday afternoon. Each one is beginner-friendly, and together they’ll give your home’s exterior a transformation that neighbors will definitely notice.
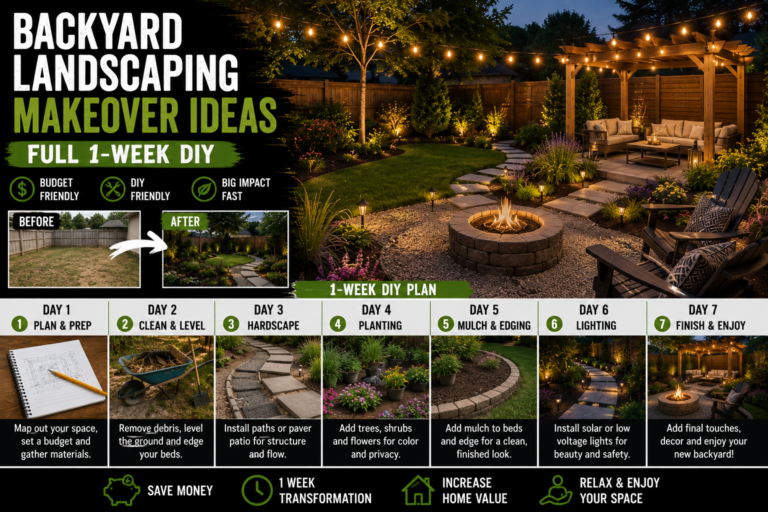
1. Define Your Garden Beds with Paver Edging
One of the simplest things you can do to instantly sharpen the look of your front yard is to create a clean separation between your lawn and your garden beds. Most homes already have some form of bushes or greenery out front — and that’s great, because landscaping adds real visual value. But without a defined edge, even beautiful plants can make a yard look messy and unkempt.
The solution is paver edging. By laying a row or two of concrete or brick pavers along the border of your garden bed, you create a crisp, intentional line that frames your greenery like a picture frame frames a painting. You can even do a two-tiered approach — stacking pavers slightly to add dimension and give the bed a “boxed in” look that feels neat and purposeful. This keeps mulch where it belongs, grass from creeping in, and your whole front yard looking organized.
To get started, mark your edge line with a garden hose or spray paint, dig a shallow trench, and set your pavers in a bed of sand or compacted soil. Tap them level with a rubber mallet and backfill around them. It’s a low-cost project that makes an immediate visual impact — and once you step back and see that clean line, you’ll wonder why you waited so long to do it.
2. Add Fresh Mulch to Your Landscape Beds
If there’s one curb appeal upgrade that gives you the most bang for your buck, it’s fresh mulch. A new layer of dark mulch instantly makes your landscape beds look intentional, cared for, and professionally maintained — even if you just spread it yourself on a Sunday morning. It’s the kind of detail that catches the eye without anyone being able to put their finger on exactly why the yard looks so good.
Beyond aesthetics, mulch also does real work in your garden. It retains moisture, suppresses weeds, regulates soil temperature, and protects the roots of your plants. Aim for about 2 to 3 inches of depth, and keep it pulled back slightly from the base of your plants and any structures to prevent rot and pest issues. Dark brown or black hardwood mulch tends to photograph beautifully and contrast well against green plants and light-colored homes.
You can buy mulch by the bag at any home improvement store, or order it by the yard in bulk if you have a lot of ground to cover — bulk is almost always more cost-effective. Pair your fresh mulch application with the paver edging from the first project and you’ve already got a front yard that looks like a landscape designer stopped by.
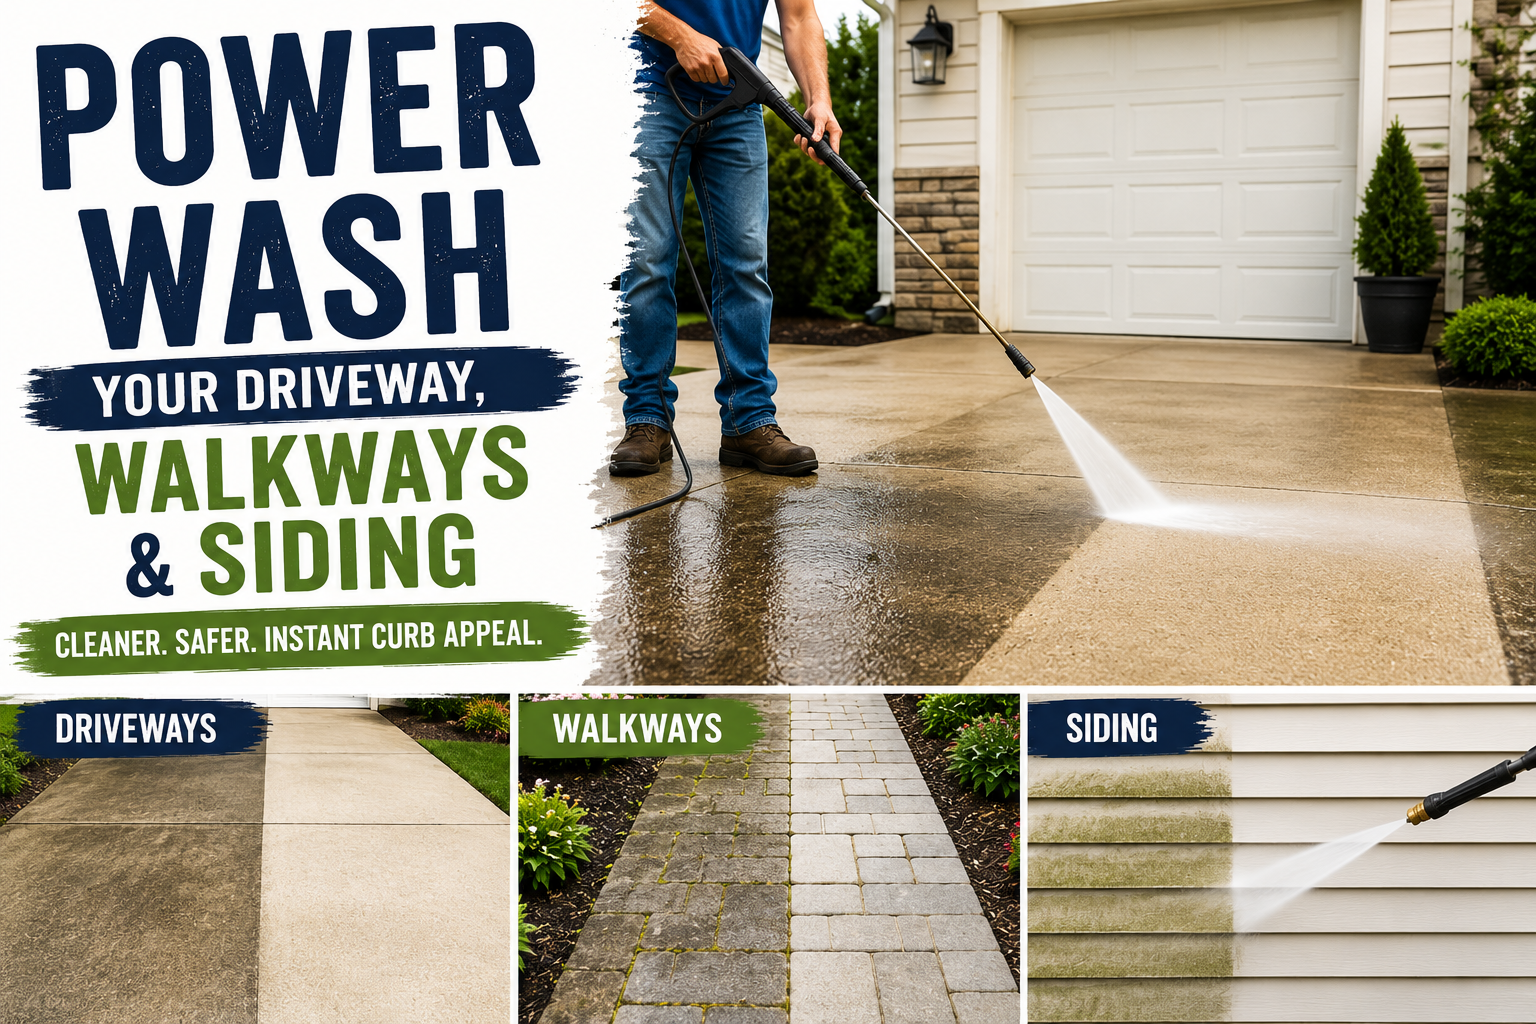
3. Power Wash Your Driveway, Walkways, and Siding
It’s amazing what a good power wash can do. Over time, driveways, sidewalks, and even the siding on your home accumulate dirt, algae, mildew, and grime that slowly dulls the whole look of your exterior. You might not even notice how much it’s built up until you blast it away — and then you’ll be shocked at how bright and clean everything looks underneath.
Renting a pressure washer for a day is inexpensive and the results are dramatic. Start with your driveway and front walkway, working in slow, overlapping passes to lift staining and discoloration. Then move to your home’s siding, being careful to use a lower pressure setting to avoid damaging paint, caulk, or wood. If you have brick, concrete, or vinyl, a higher setting is usually fine.
This is one of those projects that feels almost too easy for how much of a difference it makes. In a few hours, you can make your home look like it just had a fresh exterior makeover — without touching a single paintbrush. If you find you really enjoy the process (and most people do), it might be worth looking into owning your own unit for regular seasonal cleanings.
4. Paint or Replace Your Front Door
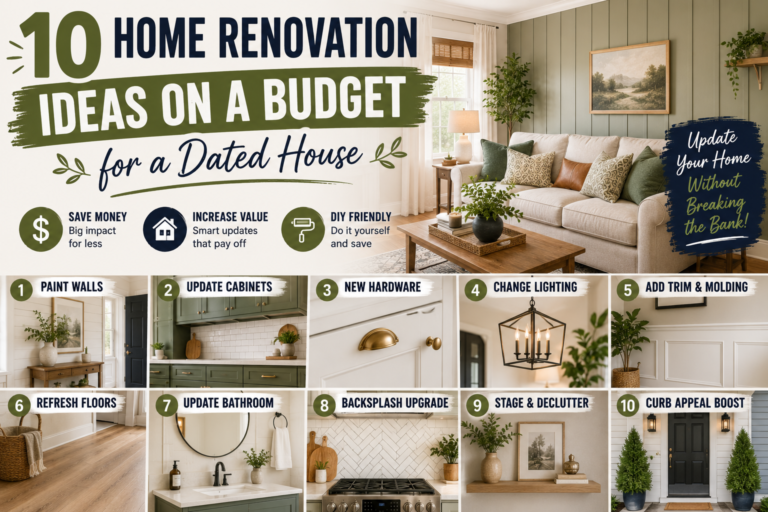
Your front door paint color is the focal point of your home’s facade, and it’s one of the highest-impact changes you can make for relatively little money. A fresh coat of paint in a bold, complementary color can completely transform the personality of your home’s exterior. Think deep navy, classic red, earthy olive green, or a striking black — colors that contrast with your siding and make a confident statement.
If painting, start by removing the door hardware and giving the surface a light sand and a coat of primer if needed. Use an exterior-grade paint formulated for doors, which is more durable and gives a smoother, more professional finish. Two coats is usually all you need. While you’re at it, this is also a great time to replace worn weatherstripping and update your door hardware — a new handle, knocker, or house numbers in a matching finish can tie the whole look together beautifully.
If your door is beyond saving with paint, replacing it entirely is still a surprisingly DIY-friendly project that many homeowners tackle themselves over a weekend. A new door is one of the top-ranked home improvements for return on investment, so even if you spend a bit more upfront, you’re likely to get much of it back — plus the everyday satisfaction of coming home to a front door you actually love.
5. Upgrade Your Outdoor Lighting
Curb appeal doesn’t stop when the sun goes down — and outdoor lighting is one of the most underrated upgrades you can make to your home’s exterior. Swapping out a dated porch light or adding pathway lights along your front walkway makes your home look welcoming, polished, and secure both day and night. It also adds a layer of safety that’s genuinely useful.
Start with your porch light fixture. Replacing it is typically a simple electrical swap that most DIYers can handle confidently — just turn off the breaker, disconnect the old fixture, and connect the new one using the same wiring. Choose a style that complements your home’s architecture, whether that’s something modern and minimalist, traditional lantern-style, or something with a little farmhouse character. Matching your outdoor fixtures — porch light, garage lights, and any wall sconces — gives the exterior a cohesive, intentional look.
For pathway lighting, solar-powered stake lights are an incredibly easy no-wiring-required option. Line them along your front walkway or the edge of your garden beds for a warm, inviting glow in the evenings. Low-voltage landscape lighting kits are another step up if you want something more robust, and they’re still very manageable for a weekend DIY project. Good lighting frames your home beautifully and shows off all the other curb appeal work you’ve put in.
**Or build a floating deck like we did here. See our DIY Floating Deck with No Concrete Article.
Tips and Best Practices for DIY Curb Appeal Success
Before you dive into any of these projects, a little planning goes a long way. Start by walking to the end of your driveway or across the street and looking at your home with fresh eyes — try to see it the way a stranger or a potential buyer would. Take a photo. Often, the camera reveals things you’ve stopped noticing, like faded paint, uneven edging, or a light fixture that’s seen better days. Make a priority list based on what stands out most.
When it comes to color choices — for mulch, paint, or lighting finishes — aim for a cohesive palette. You don’t need everything to match exactly, but it should all feel intentional and harmonious. A good rule of thumb is to stick to two or three complementary colors and one metal finish for hardware and fixtures. This kind of thoughtful coordination is what separates a yard that looks “nice” from one that looks genuinely designed.
Finally, don’t underestimate the power of maintenance. Even the best curb appeal projects can lose their impact if they’re not kept up. Build simple habits into your routine — trimming edges after mowing, wiping down your front door, replacing burned-out bulbs promptly. Consistent, small efforts are what keep your home looking great all year long, not just the weekend after a big project push.
Frequently Asked Questions
How much can DIY outdoor curb appeal projects increase my home’s value?
Studies consistently show that improving curb appeal can increase a home’s value by 5 to 11%. While the exact return depends on your market, your home’s current condition, and which projects you tackle, even modest improvements like fresh mulch, a painted front door, and clean edging can make a measurable difference — both in appraised value and in how quickly a home sells. For DIY projects especially, the cost-to-value ratio tends to be very favorable since you’re not paying for labor.
What’s the easiest curb appeal project for a total beginner?
Fresh mulch and power washing are both great starting points for beginners because they require minimal tools, no special skills, and deliver immediate, visible results. Mulching simply involves spreading material evenly across your garden beds, and power washing is largely a matter of pointing and spraying. Either one can be completed in an afternoon and will noticeably improve the way your home looks from the street.
How do I choose the right color for my front door?
The best front door color is one that complements your home’s siding, roof, and trim without blending in too much. Look at the undertones in your existing exterior — warm tones pair well with earthy reds, greens, and yellows, while cool-toned homes suit navy, black, gray, and crisp white. When in doubt, a classic black or deep navy is a safe, sophisticated choice that works with almost any home style. Many paint brands also offer online visualizer tools where you can upload a photo of your home and try different colors virtually before committing.
Do I need a permit for any of these curb appeal projects?
For the projects listed here — paver edging, mulching, power washing, painting a front door, and swapping light fixtures — you generally do not need a permit. These are considered cosmetic or maintenance-level improvements. However, if you’re doing anything that involves structural changes, new electrical wiring, or significant hardscaping, it’s always a good idea to check with your local municipality. When in doubt, a quick call to your city or county building department will give you a clear answer.
How long will these DIY curb appeal projects realistically take?
Each of these five projects can reasonably be completed in one to four hours on its own, making all five very achievable over a single weekend. Paver edging is the most time-intensive depending on the length of your beds, but even that can typically be done in a half day. Power washing, mulching, and painting your front door are all solidly in the two-to-three-hour range. Swapping a light fixture, once you have the new one in hand, often takes under an hour. Prioritize based on your schedule and tackle them one at a time — you don’t have to do everything at once.
Ready to get started? Pick just one of these DIY outdoor curb appeal projects to tackle this weekend and see how quickly the momentum builds. There’s something genuinely exciting about standing at the end of your driveway and seeing your home look better than it did 48 hours ago — all because of work you did with your own hands. Share your before-and-after results in the comments below, and don’t forget to bookmark this post for your next project weekend!