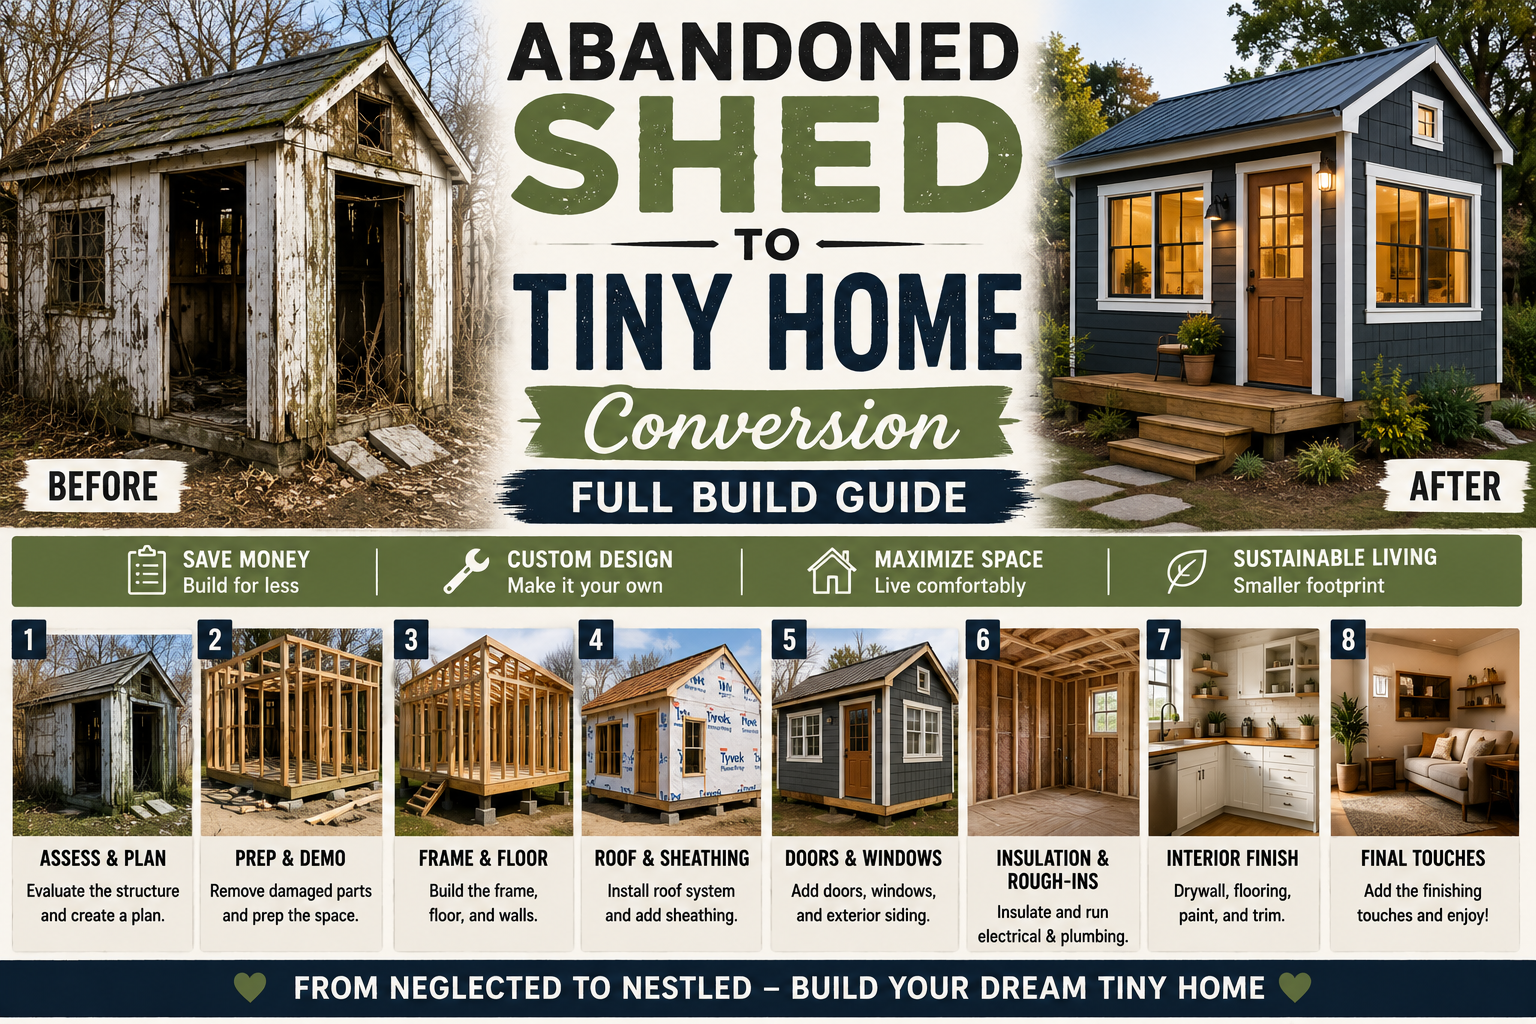
What would you do if you stumbled across an abandoned shed on your property filled with old paint cans, oil containers, and years of junk? Most people would ignore it. But if you’re anything like us here at The DIY Journey, you’d see a tiny home waiting to happen. That’s exactly what two brothers — Chase and Kobe — did, and the result is one of the most jaw-dropping abandoned shed to tiny home conversions you’ll ever see. We’re talking a fully functioning kitchen, tiled bathroom, smart appliances, DIY cabinets, and even internet access — all built from a rotting old shed.
This project wasn’t just a quick weekend refresh. It involved digging trenches for electric and water lines, building cabinets from scratch, laying massive 4×4-foot floor tiles, and wiring up a full smart home system. It’s ambitious, it’s messy, and it’s incredibly inspiring. Whether you’re dreaming of a backyard guest house, a personal retreat, or a legitimate off-grid tiny home, this build will show you what’s possible when you’re willing to roll up your sleeves and figure things out as you go.
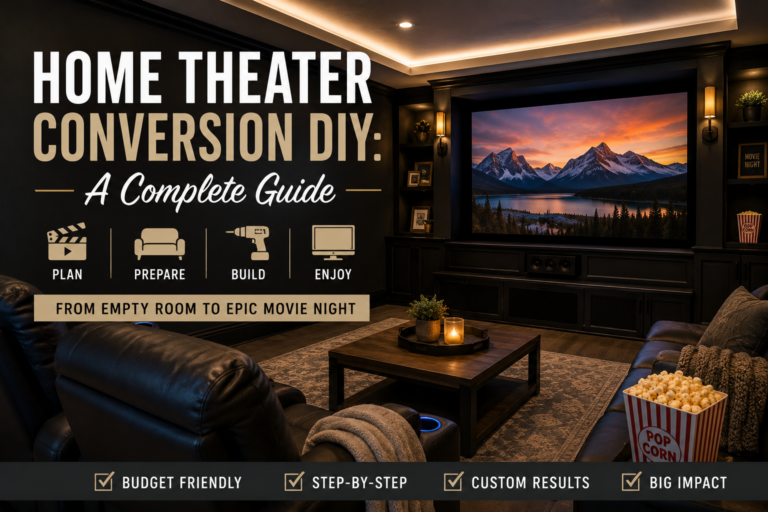
Below, we’re walking you through every single step of this build — from hauling out the trash on day one to installing the TV on the final day. Grab your coffee, because this one is a full ride. If you love creative space transformations, you’ll also want to check out our guide on attic home theater conversion DIY for more inspiration on turning forgotten spaces into something incredible.
Step 1: Clearing Out the Abandoned Shed
Before any building could happen, the shed had to be emptied completely. The space was filled with old oil containers, paint cans, and general trash that had been sitting untouched for years. The brothers hauled every bit of it out so they could actually see what they were working with. This step sounds simple, but it’s genuinely one of the most important — you can’t assess the bones of a structure when it’s buried in decades of junk.
Once the shed was cleared, the real inspection began. The floor had cracks, the walls had gaps letting in light and air, and the whole structure needed serious work before it could be considered livable. But with the space cleared, the vision became clear too. A rough, empty shell is still a blank canvas — and that’s all you need to get started.
Step 2: Building a Proper Floor (Plastic, Foam Board, and Subfloor)
The original shed floor was cracked and completely unsuitable for a living space, so the team built a proper floor system in three layers. First, they laid down a plastic moisture barrier directly over the existing floor. This layer keeps bugs and moisture from seeping up through the cracks — a critical step in any structure that wasn’t originally built for habitation.
On top of the plastic went foam board insulation, which helps regulate temperature so the space doesn’t become a freezer in winter or an oven in summer. Finally, they installed a wooden subfloor on top, nailing and screwing it down thoroughly for a solid, stable base. The transformation was immediately visible — even before any finish flooring went in, the shed already started to look like a real room.
Step 3: Sealing the Walls With Spray Foam
Old sheds are notorious for gaps — in the walls, around the framing, anywhere air and light can sneak through. To fix this, Chase bought around 25 cans of spray foam and methodically sealed every single crack he could find throughout the walls. It was tedious, but the results were dramatic. Where light had been pouring in before, there was now a solid, sealed surface.
A fun side effect of sealing the walls so thoroughly? The interior started to get noticeably warmer, which told the team they were doing it right. No air movement means the insulation can actually do its job. If you’re doing a similar project, don’t underestimate this step — gaps in the walls will sabotage everything else you do downstream.
Step 4: Running Electricity and Water Lines
Since the shed had never been connected to utilities, Chase and Kobe had to run everything from scratch. They rented a trenching machine from Home Depot and dug ditches to run both an electric line and a water line to the shed. It’s worth noting that the brothers themselves admit they didn’t do this step perfectly — so if you’re planning your own build, consult a licensed electrician and plumber before digging. Permits and inspections exist for good reason.
On the inside, Kobe ran all the electric wire to outlets, switches, and up through the ceiling for the can lights and smart ceiling fan. Meanwhile, Chase ran the water lines for the kitchen sink, toilet, and bathroom sink. Getting utilities into the structure was a major milestone — without power and water, you have a shed. With them, you have a home.
Step 5: Installing Drywall on the Ceiling (With Insulation)
Turning the shed roof into a finished ceiling was a pivotal moment in the build. The team first installed insulation in the roof cavity, then brought in about 1,000 pounds of drywall — moved efficiently with a skid steer — and got to work on the ceiling. It was the first thing they did that made the space look genuinely new rather than just patched up.
The contrast was striking. With the ceiling done in fresh drywall, the space suddenly felt like a real interior room, even though the walls were still raw shed wood. If you’re on the fence about whether to drywall a ceiling in a conversion project, this step alone might change your mind. It elevates the entire feel of the space instantly.
Step 6: Adding a Window for Natural Light and AC
The shed had no windows, which served two purposes against it: it felt claustrophobic, and there was nowhere to put a cooling unit. Installing a window solved both problems at once. Natural light makes any small space feel larger and more welcoming, and the window opening gave them the perfect spot to install a portable air conditioning unit.
The install went smoothly, and the visual impact from both inside and outside was immediately impressive. If you’re converting any small structure, adding even a single well-placed window can completely transform the atmosphere inside. Light is one of the cheapest upgrades you can make.
Step 7: Running an Ethernet Cable for Smart Home Internet
To make good on the “smart home” promise, the shed needed internet. Kobe ran an Ethernet cable from the main house, through a trench in the ground, all the way through the woods to the shed — where it was plugged into a Wi-Fi router. It’s a more involved solution than a Wi-Fi extender, but it gives a rock-solid, reliable connection that wireless signals through trees and walls simply can’t match.
This step is easy to overlook in a shed conversion, but if you want to run smart devices, stream content, or use voice assistants, a wired internet connection to the structure is worth the effort. Once the router was up and running, every smart appliance in the shed could be connected and controlled remotely through an app.
Step 8: Installing a Smart Portable AC Unit
The shed was sponsored by Dreo, who supplied a smart portable AC unit along with other smart appliances. The AC installs in a window opening between 18 and 53 inches wide using a set of included foam and plastic pieces that create an airtight seal. The setup is genuinely simple — slide on the hose, put it through the window opening, plug it in, and pair it with the Dreo app.
What makes this unit stand out is its drainage-free system that automatically evaporates collected water, so you never have to drain a bucket. It also runs at just 45 dB — remarkably quiet for a portable AC. In testing, the unit cooled the shed to 72°F in just six minutes on high. For a small converted space, that kind of performance is more than enough.
Step 9: Installing Wafer Can Lights in the Ceiling
Once the drywall ceiling was up, it was time to add lighting. The team used wafer-style LED can lights, which are incredibly easy to install — snap a chalk line for alignment, drill evenly spaced holes, and pop the lights in. No complicated wiring boxes or housing required. They picked up 12 lights for around $60 on Amazon, making this one of the best value upgrades in the entire build.
Good lighting in a small space is non-negotiable. It affects how large the room feels, how comfortable it is to spend time in, and how finished everything looks. These budget-friendly wafer lights punched well above their weight and instantly made the shed feel like a polished interior space. This is the kind of affordable home improvement project under $100 that delivers outsized results.
Step 10: Building DIY Cabinets From Scratch
Rather than spending $3,000–$5,000 on store-bought cabinets from Lowe’s, Chase and Kobe built their own. The process starts by cutting boards into smaller pieces, drilling pocket holes, and screwing them together to form face frames — the front structure of each cabinet. From there, you build the box around the frame, and suddenly you have something that looks just like a Lowe’s cabinet for about $25 per unit instead of $300.
After the frames and boxes were complete, the team filled nail holes and surface imperfections with Bondo, sanded everything smooth, and added trim pieces on top of the upper cabinets to close the gap between the cabinet tops and the ceiling. The result looked completely custom and professional. If you’ve been scared off by cabinet prices, this DIY approach is absolutely worth exploring — the skills required are more approachable than you’d think.
Step 11: Installing a Smart Ceiling Fan
Dreo also supplied a smart ceiling fan for the tiny home, and according to the guys, it was the easiest ceiling fan they’d ever installed. The process involves screwing in the ceiling bracket, sliding the components onto the pole, tightening set screws, hanging the canopy (no screws — it just twists into place), and clipping in the blades. That’s really it.
Like the AC unit, the fan connects to the Dreo app and can be controlled remotely. It features an RGB light that can be set to any color, an adjustable main light color temperature, and a built-in remote for when you don’t want to use your phone. For a smart home setup, having a ceiling fan that integrates into the same app ecosystem as your AC makes temperature management genuinely seamless. You can check out options for light fixtures to complement your ceiling fan setup as well.
Step 12: Painting the Cabinets and Front Door
With the cabinets sanded and primed, it was time for paint. The team used a sprayer to apply the final coat, which gave the cabinets a smooth, factory-like finish that brushes simply can’t replicate on flat surfaces. The inside of the front door was painted the same color to tie the interior together visually. The transformation from raw wood to finished painted cabinets was enormous.
One smart design decision here: they kept the outside of the original shed door looking old and weathered, maintaining the exterior aesthetic of an abandoned shed while the interior was completely transformed. It’s a clever contrast that makes the tiny home feel like a hidden gem — rustic on the outside, polished on the inside. If you’re choosing your own palette, Sherwin Williams paint is a reliable choice for cabinetry and interior doors, and a good extendable roller stick makes ceiling and wall work much easier.
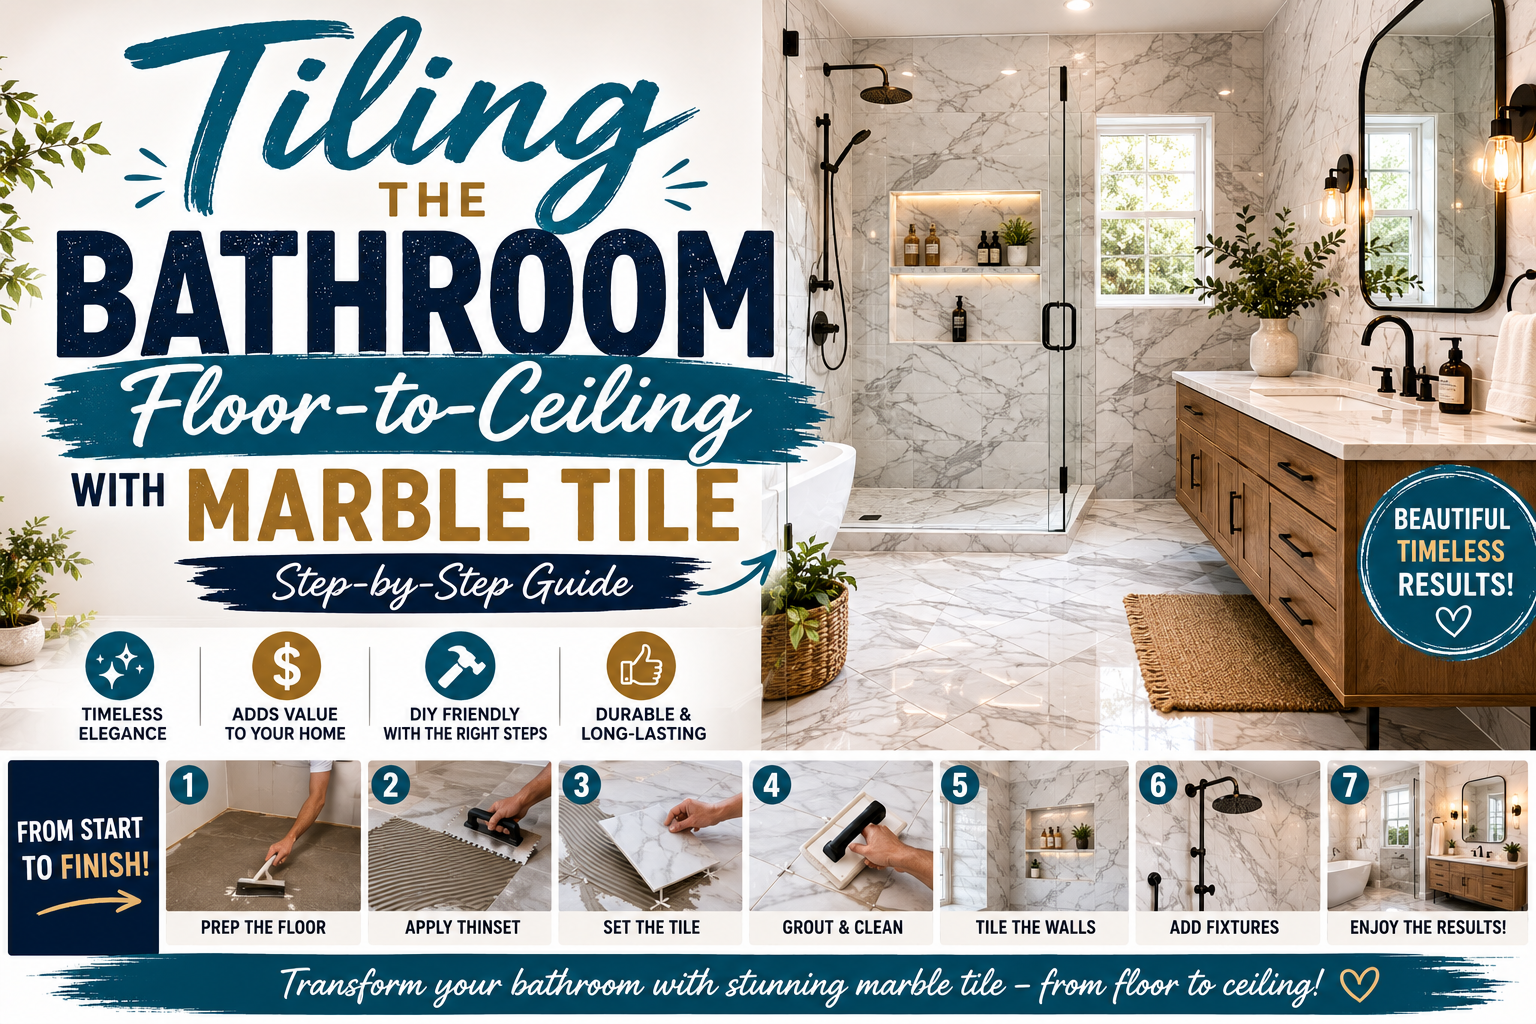
Step 13: Tiling the Bathroom Floor-to-Ceiling With Marble Tile
For the bathroom, Chase did not cut corners. He bought beautiful marble tile and ran it all the way from the floor to the ceiling — a detail that takes extra time and materials but elevates the entire room dramatically. While Dad handled most of the tiling work, the rest of the team worked on other tasks in parallel, keeping the project moving efficiently.
Floor-to-ceiling tile in a small bathroom is a design choice that makes the space feel larger, cleaner, and far more luxurious than it has any right to be given the building’s origins. It’s one of those moves that separates a good conversion from a truly stunning one. If you’re doing a bathroom in your own shed conversion, seriously consider going all the way to the ceiling — you’ll thank yourself later.
Step 14: Installing the Bathroom Vanity, Sink, and a Custom Door
With the tile complete, it was time to finish the bathroom with a vanity, sink, and countertop. Kobe cut the hole for the bathroom sink while Chase handled the connections to the water supply lines. The bathroom also got a custom-built door — made by the team for about $150 — as opposed to purchasing a pre-hung door that would have cost around $2,000. The finished door looked genuinely high-end.
To handle cooling in the bathroom, which is far from the AC unit, the team positioned Dreo’s tower fan beside the AC to direct airflow toward the bathroom door. With the fan capable of moving air at 26 feet per second and running as quietly as 25 dB on low, it’s an elegant solution that avoids the need for a separate cooling unit in the bathroom.
Step 15: Installing Kitchen Countertops and Appliances
For the kitchen countertops, the team went with laminate from Lowe’s — a smart budget move that came in at around $300 for the whole kitchen. Compared to granite, laminate is dramatically less expensive and, when selected carefully, can look surprisingly upscale. Once the countertops were in, they cut holes for the cooktop and kitchen sink, then connected everything to the water supply and drain lines.
The drain plumbing was handled by Kobe, who crawled under the structure to run the drain pipes down the hill to a septic tank about 30 feet away — connecting both the kitchen and bathroom drains along the way. It’s unglamorous work, but it’s what makes the difference between a decorated shed and an actual functioning home. They also installed a tile backsplash and a hood vent to finish the kitchen off properly.
Step 16: Laying Large-Format 4×4-Foot Floor Tile
For the main floor, Chase splurged on the most visually striking option available: 4×4-foot tile slabs — the biggest he’d ever seen or worked with. At $100 per piece and requiring precise cuts, this was admittedly a high-pressure choice. But the finished result was absolutely worth it. The large-format tiles make the space feel expansive and ultra-modern, a dramatic contrast against the rough exterior of the shed.
The lesson here is one the brothers lean into throughout the whole project: jump into things you’re not sure about, because you’ll either figure it out or learn something valuable. Big tile is intimidating, but with the right saw and careful measurements, it’s doable. The payoff in visual impact is substantial, and it ties the whole interior together with a clean, luxurious feel.
Step 17: Adding Final Smart Appliances — Tower Fan and Turbo Fan
Once the shed was fully built out, the last two Dreo smart appliances went in: the tower fan and the turbo poly fan. The tower fan features nine speed modes, a 12-hour timer, sleep mode, auto mode (which adjusts speed based on room temperature), and a natural mode that mimics a real breeze. It runs whisper-quiet on low and moves a serious volume of air on high — capable of keeping a bag inflated nearly 25 feet away.
The turbo poly fan also has nine speed settings plus a turbo mode that can blow curtains from across the room. Both fans integrate with the Dreo app and can work in tandem with the AC to automatically manage the room’s temperature. They were placed strategically — one in a corner to circulate air throughout the space, and one beside the AC aimed at the bathroom. For a small space with a single AC unit, this kind of airflow management is key to keeping every corner comfortable.
Step 18: Finishing Touches — Mirror, TV, Refrigerator, and Convertible Furniture
The final day of the build was all about the details that make a house feel like a home. A fancy mirror went up in the bathroom. The refrigerator was moved in. The TV was installed in what turned out to be the perfect spot. And the couch — which doubles as a fold-out bed — was set up in the living area, completing the multipurpose layout of the tiny home.
The counter space in the kitchen also doubles as a dining table, and the original shed door on the back of the structure was refinished on the inside to look polished and expensive while remaining weathered and rustic on the exterior. Every inch of the 200-or-so square feet was designed to serve multiple purposes. A good mirror does a lot of heavy lifting in a small space, and don’t overlook the power of a bold piece of large artwork for the wall to add personality to a compact room.
Tips and Best Practices for Your Own Abandoned Shed to Tiny Home Conversion
Start with a full assessment before spending a dime. Clear the space completely, inspect the structure, and identify every issue — floor gaps, wall cracks, roof condition, and whether the foundation can support additional weight. Surprises mid-build are expensive.
Layer your floor properly. The three-layer approach (moisture barrier, foam insulation, subfloor) used in this build is the right way to do it. Skipping any layer will cause problems down the road — moisture intrusion, temperature swings, or a soft, bouncy floor.
Don’t DIY your utility connections without research. Trenching for electric and water lines involves code requirements, permits, and safety considerations. The brothers admitted they did it wrong. Consult professionals or at minimum pull permits and get inspections so you’re protected.
Build your own cabinets if budget is tight. The pocket-hole method is genuinely accessible to beginner woodworkers and can save you thousands. A painters tape barrier around adjacent surfaces before spraying or painting cabinets keeps overspray off your walls and countertops. Use door paint formulated for hard surfaces on cabinets and doors for a durable finish, and swap out door hardware to instantly elevate the look.
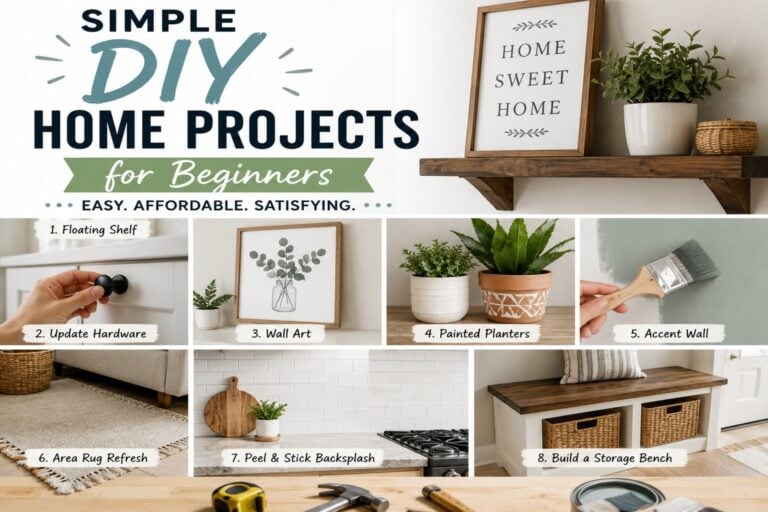
Think about smart appliances from the start. Integrating smart fans, AC, and lighting into a single app ecosystem makes a small space much more livable and efficient. Plan your wiring and router placement early so you’re not retrofitting later. For more creative budget-friendly transformation ideas, explore our roundup of 8 DIY home improvement projects on a budget that transform your space.
Frequently Asked Questions
How much does an abandoned shed to tiny home conversion cost?
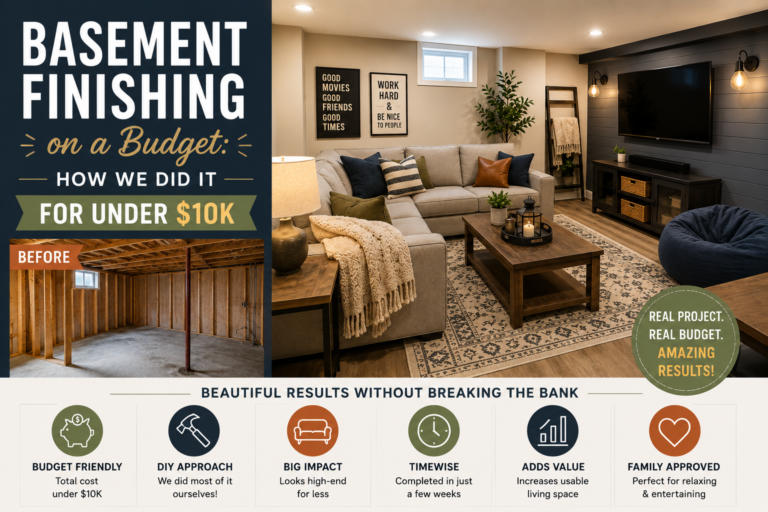
Costs vary widely depending on your shed’s condition, your location, and how finished you want the interior to be. In this build, major savings came from DIY cabinets ($25 each vs. $300 store-bought), laminate countertops (~$300 total), and a custom bathroom door (~$150 vs. ~$2,000 pre-hung). Splurges included 4×4-foot floor tiles at $100 per piece. A basic livable conversion might start around $5,000–$10,000 for materials if you do most of the labor yourself, but a fully finished smart home like this one will cost more. For a sense of what smart budgeting looks like across a bigger project, see our post on basement finishing on a budget for under $10K.
Do you need permits to convert a shed into a tiny home?
In most jurisdictions, yes — especially once you’re adding electricity, plumbing, and making it a habitable structure. Requirements vary significantly by city, county, and state. Always check with your local building department before starting. Unpermitted work can create issues when selling your property and may not meet safety standards for occupancy.
What’s the best way to insulate an old shed for year-round use?
A combination approach works best: spray foam for air sealing all gaps and cracks (critical — air leaks undermine all other insulation), rigid foam board on the floor, batt or rigid insulation in the walls and ceiling, and drywall as the interior finish. Getting the air sealing right first, as the team did with 25 cans of spray foam, makes every other insulation measure more effective.
Can you really run a full smart home system in a converted shed?
Absolutely, as long as you have a reliable internet connection. The key in this build was running a hardwired Ethernet cable from the main house to the shed, which provided a stable signal regardless of distance or obstructions. From there, a Wi-Fi router in the shed connected all the smart appliances — AC, ceiling fan, tower fan, and turbo fan — to a single app for centralized control. If running Ethernet isn’t feasible, a high-quality mesh Wi-Fi extender placed outdoors can also work for smaller properties.
Ready to Start Your Own Shed Conversion?
This build proves that an abandoned shed to tiny home conversion isn’t just a fantasy — it’s a completely achievable DIY project when you break it down into steps and tackle them one at a time. From spray-foaming every crack to laying $100 floor tiles with zero prior experience, Chase and Kobe figured it out as they went, and the result is genuinely stunning. The outside still looks like an old shed. The inside is a smart home with a full kitchen, tiled bathroom, custom cabinets, and working internet. That contrast is the whole magic of it.
Whether you’re working with a tiny budget or willing to splurge on a few statement pieces, the principles here apply to any shed conversion: seal everything, build up properly from the floor, don’t skip utilities, and add the finishing details that make a space feel intentional and lived-in. You’ve got this. Now go look at that old shed in your backyard with fresh eyes — because it might just be your next project.