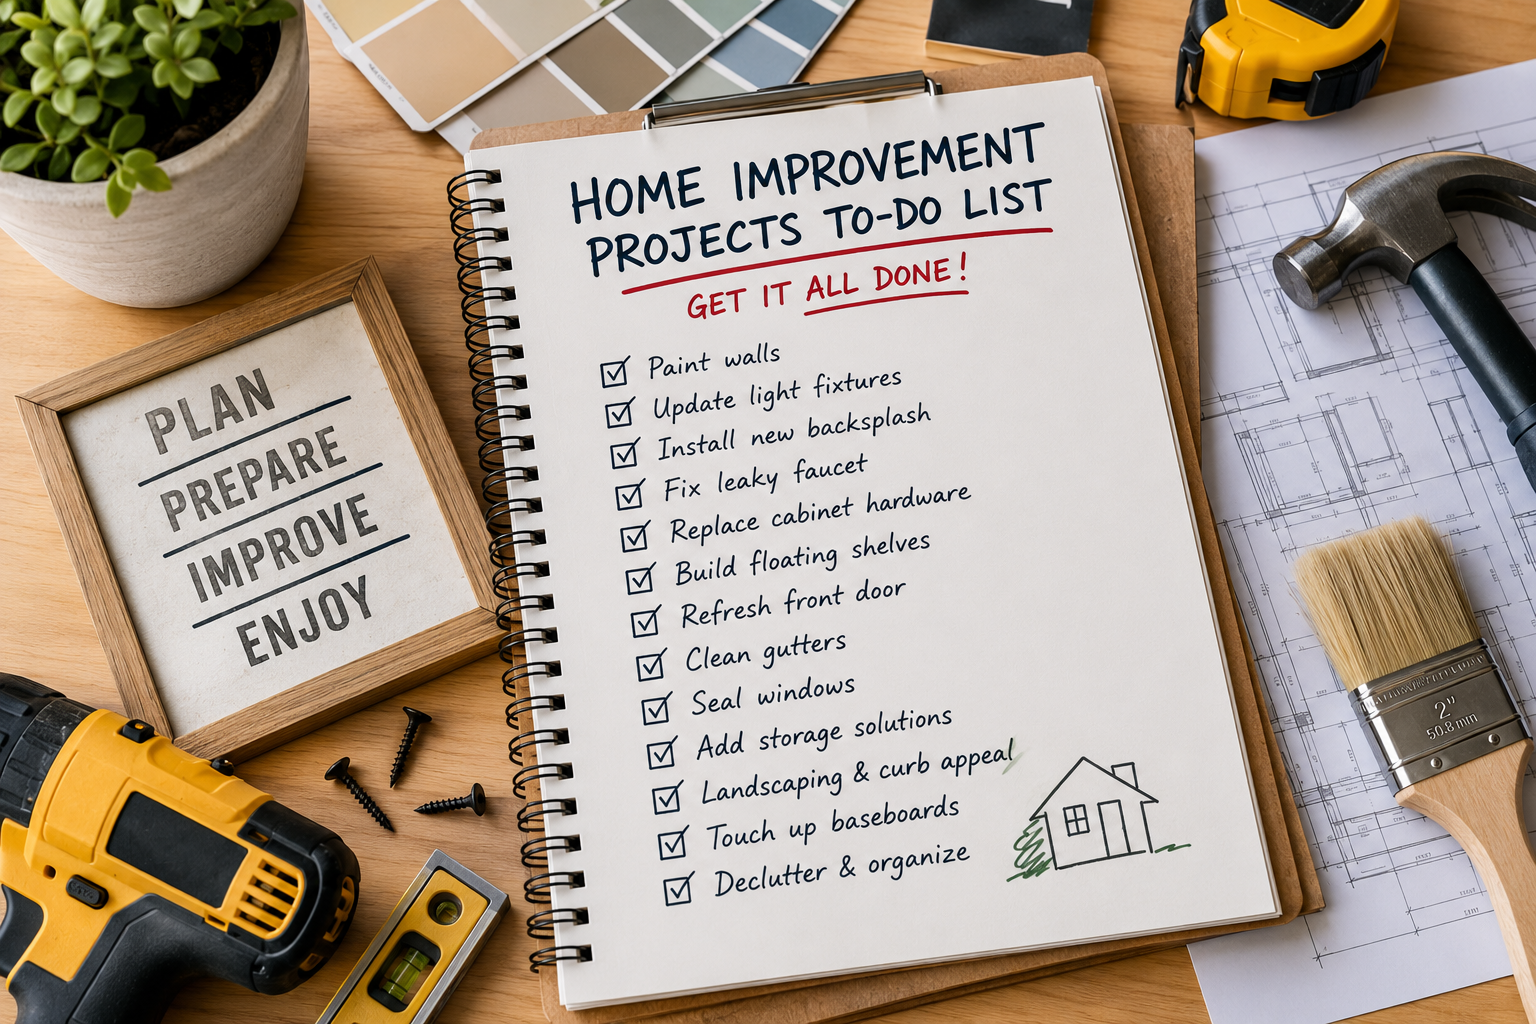
If you’re anything like me, you keep a running list of little (and not-so-little) home projects on your phone that just keeps growing. I’ll notice something that needs fixing, add it to the list, and then wait for that one magical day when I wake up and think — today’s the day. That’s exactly the kind of day I’m sharing with you here. My home improvement projects to-do list is real, it’s ongoing, and I’m finally tackling it head-on.
One of the best strategies I’ve learned is to batch similar projects together. If I’ve already got the Ladders out, I’m going to handle every single task that requires height in one shot. If I’ve got a paintbrush loaded up, I’m not cleaning it after one wall — I’m walking through the whole house hitting every touch-up spot I can find. Grouping like tasks together saves time, saves cleanup, and honestly just feels so satisfying. If you want more ideas like this, check out my post on home improvement projects that make a big impact fast — it’s full of smart ways to maximize your effort.
So grab your phone, open your notes app, and jot down anything that resonates while you read through this. Some of these projects are completely free — they just take time and a little courage. Others require a product or two. But all of them are real fixes from my actual house, and I promise every single one is worth getting done. Let’s dive in.
1. Fix Misaligned Curtain Hooks So the Panels Hang Correctly
This one might seem like the definition of a small problem, but it was driving me absolutely crazy. When I originally hung my curtain panels, I didn’t hook the end hook onto the last ring — I hooked it somewhere in the middle, which caused the edge to wing out awkwardly instead of hanging flat and tight. Every time I lay in bed and look over at those curtains, I could see it. Since I already had the Ladders out, this was the perfect time to tackle it. I went through both my bedroom and dining room to check every panel. The ones done correctly hang tight with no wing-out at the edges — and now they all look that way. The best part? This project was completely free. It just took some guts because I’m genuinely terrified of heights. But it’s off my list, and I can finally enjoy those curtains without cringing.
2. Touch Up Paint Throughout the House While the Brush Is Already Out
This is one of those habits that I think every homeowner should adopt: whenever you get the paintbrush out for any reason, do a walk-through and hit every scuff, nick, or spot that needs a touch-up. I had a bathroom wall that needed attention after removing some jewelry storage hardware — Chase had already filled the holes, so all that was left was a quick paint touch-up to make it disappear completely.
I use whatever wall paint I have left from the original project. Whether it’s Sherwin Williams paint or Benjamin Moore, I keep small labeled containers from each room so I always have the right color on hand. A few brush strokes and those patched spots vanish. Like most of these little home maintenance tasks, this one cost me nothing but a few minutes of time.
3. Caulk Any Gaps or Cracked Seams You’ve Been Ignoring
Right after the paint touch-ups, I keep the caulk gun loaded because there’s almost always somewhere in the house that needs it. In a previous home projects video, we did a big caulking session but missed a few spots — including one in the bathroom and one in the kitchen. There was a noticeable black gap in one area and an unclean seam line in another, and once you see it, you can’t unsee it.
A tube of caulk is inexpensive and the job takes seconds per gap. Seriously, just run the gun along the seam, smooth it with your finger, and it’s done. I always recommend doing a full walk-through with the caulk gun while you have it out — check around window frames, baseboards, tub surrounds, and anywhere two surfaces meet. It’s one of the simplest things you can do to make your home look clean and well-maintained. For more of these kinds of quick wins, my affordable home improvement projects under $100 post has a ton of great ideas.

4. Replace or Swap Out Artwork That Isn’t Working in the Space
I found a gorgeous piece of organic, modern artwork at West Elm — it was already clearanced, then clearanced again, and when I got to the register they basically gave it to me for free. I was thrilled. But when I hung it in my bathroom, it completely clashed with the mirror jewelry storage I had on the adjacent wall. Something had to go, and since the artwork had nowhere else to live and I couldn’t return it, the jewelry storage came down.
Now the artwork looks stunning in there, and the space feels intentional and curated. Sometimes refreshing a room doesn’t cost anything — it just means being willing to let go of something that’s no longer working and rethinking how you use the wall space you have. If you’re not sure where to start with wall decor and accent pieces, my post on summer home decor DIY ideas to refresh your space has a lot of inspiration.
5. Patch Nail Holes Left Behind After Removing Wall-Mounted Items
Once that jewelry storage mirror came off the wall, I was left with several visible nail holes and anchor marks in the drywall. I got started filling them with spackle, and then I followed up with the paint touch-up mentioned earlier. This is such a common thing that happens when you rearrange or update a space — hardware comes down, holes get left behind, and they sit there for months (or years) making the wall look rough.
The fix is simple: a small tub of lightweight spackle, a putty knife or even just your finger, and a little patience while it dries. Then hit it with your wall primer if needed and follow up with touch-up paint. Takes maybe ten minutes total per wall. Do it the same day you take something down and you’ll never have that “I’ll get to it eventually” situation again.
6. Rearrange Furniture to Better Match How You Actually Use the Space
This one happened on a solo home day when I was supposed to be resting — but I got the itch to switch things up in our movie room. I had a sectional sofa arranged in a way that didn’t really serve how we actually use the space. Nobody was sitting near the TV in the lower position, and what we really wanted was to be able to lay down and relax while watching movies. So I pulled a piece from one side, flipped it to the other, and created a U-shape layout that works much better for our lifestyle.
The result was more room for our workout area on the side, better use of the yoga mat and red light space, and a setup where all three of us can comfortably lay down and watch a movie together. The room also looks brighter and more open now. Zero dollars spent — just muscle and a willingness to experiment. I’m also planning to get an ottoman that fits the open end of the U-shape, and I’m selling the big black coffee table that was in there to offset the cost. Smart furniture reshuffling can completely transform a room without spending anything.
7. Sell Unused Furniture on Facebook Marketplace to Fund Upgrades
Every time I mention that I sell furniture and decor pieces, people want to know exactly how I do it. My go-to platform is Facebook Marketplace — I don’t think many people use Craigslist anymore, and Marketplace is easy, free, and has a huge local audience. The key to selling quickly is presentation. Clean the item thoroughly, stage it in a well-lit area (not a dark garage or cluttered corner), and take clear, bright photos with a tidy background.
A few extra tips from my experience: mention if it’s a smoke-free and pet-free home — it matters to buyers. I stopped doing holds after getting burned too many times with people who backed out weeks later. Now it’s first come, first served, cash when you pick up. This system works really well for me. The money I make goes directly toward whatever new piece I’m replacing it with, so it keeps my upgrade costs low. I sold our old sectional, gave the recliners to family, and now I’m selling a coffee table to put toward a new ottoman. It’s a budget-friendly cycle that keeps working.
8. Power Wash the Front Entry, Porch, and Columns
The area right at our front door had built up a lot of grime — there was a brown muddy residue running down along where the wood trim meets the painted surface, likely from mud daubers or some kind of nesting activity near our light fixture. Chase got the power washer out and slowly worked through it all, though it was a messy job since the brown material was spraying back on him. But the results were worth it — you could clearly see the difference once that whole section was cleaned up.
The front entry is literally the first thing anyone sees when they come to your home, and it’s worth maintaining regularly. If the power washer doesn’t cut it for certain stains, I’d recommend trying a cream cleanser or degreaser before going harsher. We had some stubborn black residue on the columns that needed extra attention beyond just water pressure, which led to the next item on my list.
9. Clean Stubborn Stains Off Exterior Columns
Our porch columns had a mysterious black substance running down them — power washing alone wasn’t cutting it. I tried a cream cleanser (my go-to for tough stains around the house — think Jaws or a similar product), and for anything with a greasy quality, I had dish spray as a backup option. Sometimes exterior stains are from oxidation, mildew, or residue from insects and nesting, and each type responds differently to cleaners.
The lesson here is to not give up after the first attempt. Work through your options systematically: water pressure first, then a mild cleanser, then something with a degreasing agent. Our columns are a prominent architectural feature of the house, and keeping them clean makes the entire front facade look cared-for and sharp. It’s maintenance work, not glamorous — but it matters a lot for curb appeal.
10. Caulk Cracks in Exterior Brick and Column Surfaces
In addition to cleaning the columns, I also noticed some visible cracking in the brick and trim areas around our front entry. Cracks in exterior masonry can be concerning — ours appeared where brick was used in an area the builder originally pushed back on, and now that cracking has shown up, I want to stay on top of it. For now, the plan is to fill the cracks with caulk to seal them cosmetically and prevent moisture from getting in.
I want to be transparent: caulking exterior cracks is a maintenance measure, not a structural repair. If you have similar cracking in brick or masonry, it’s worth doing some research on the cause — especially if it’s around a load-bearing area or if the cracking is widening over time. For us, caulking is the first step while I look into it further. At minimum, sealing those gaps keeps water and pests out and makes the surface look clean and intact again.
Tips and Best Practices for Tackling Your Home Improvement Projects To-Do List
Batch similar tasks together. If the Ladders are out, do everything that requires height. If the paintbrush is loaded, walk every room. If the caulk gun is in your hand, check every seam in the house. Batching saves setup and cleanup time and lets you power through a full list in one motivated day.
Keep touch-up paint labeled and stored by room. Whether you use Sherwin Williams paint or Benjamin Moore, pour a small amount into a labeled jar after every paint job. Future you will be so grateful when a scuff appears and the match is right there waiting.
Start free before you spend. Several of the projects in this post cost absolutely nothing — just time and effort. Fixing curtain hooks, rearranging furniture, patching holes with leftover spackle, and cleaning exterior surfaces are all free. Save the spending for when you truly need a product.
Sell what you replace. Use Facebook Marketplace to sell anything you’re swapping out. Stage it well, take bright photos, skip the holds, and use the cash to offset the cost of the upgrade. It’s one of the best budget habits I’ve built into my home improvement routine. For even more money-saving strategies, my post on budget home improvement DIY ideas that save thousands goes deep on this approach.
Maintain before it becomes a major repair. Power washing, caulking cracks, and cleaning stains are all preventative maintenance. Staying on top of small things keeps them from turning into expensive problems down the road — especially with a newer home where you’re still figuring out how everything behaves over time.
Frequently Asked Questions About Home Improvement Projects To-Do Lists
How do I organize a home improvement to-do list without getting overwhelmed?
I keep mine in a simple notes app on my phone and add to it whenever I spot something that needs attention. When I’m ready to tackle it, I sort by category — things requiring height, things requiring paint, outdoor tasks — and group them into a single motivated work session. Breaking it into batches makes a long list feel totally manageable.
What are the easiest free home improvement projects I can do today?
Adjusting curtain hooks, rearranging furniture for better flow, touching up paint with leftover product, patching small nail holes with spackle, and doing a caulk walk-through of your home are all completely free. They just require time and a little attention to detail. Check out my 20 budget home improvement ideas you can do in 30 minutes for even more zero-cost wins.
How do I sell old furniture to fund home improvement upgrades?
Facebook Marketplace is my top recommendation. Clean and stage the item, photograph it in good natural light with a tidy background, price it fairly, and skip doing holds for buyers. First come, first served works best in my experience. Mention smoke-free and pet-free status if applicable — it makes a real difference in buyer interest and response speed.
When should I caulk vs. when should I call a professional for cracks?
Surface-level cosmetic cracks in caulk joints, trim seams, or painted areas are generally safe to DIY with a fresh bead of caulk. However, if you notice cracks in structural masonry, load-bearing walls, or if cracks are growing over time, it’s worth getting a professional opinion before patching over the symptom. Always research before you seal something that could be indicating a deeper issue.
Ready to Start Your Own Home Improvement Projects To-Do List?
If this post has you looking around your house with fresh eyes — good! That’s exactly what I hoped for. The truth is, most of these projects aren’t hard, they aren’t expensive, and they don’t take a whole weekend. They just take that one motivated day when you batch the right tasks together and knock them out one by one. Start your list today. Add to it as you notice things. And when you’re ready, just get it done.
I’d love to hear what’s on your home improvement to-do list right now. Drop it in the comments below, and if you found this helpful, share it with a friend who’s been putting off their own list of fixes. You’ve got this!