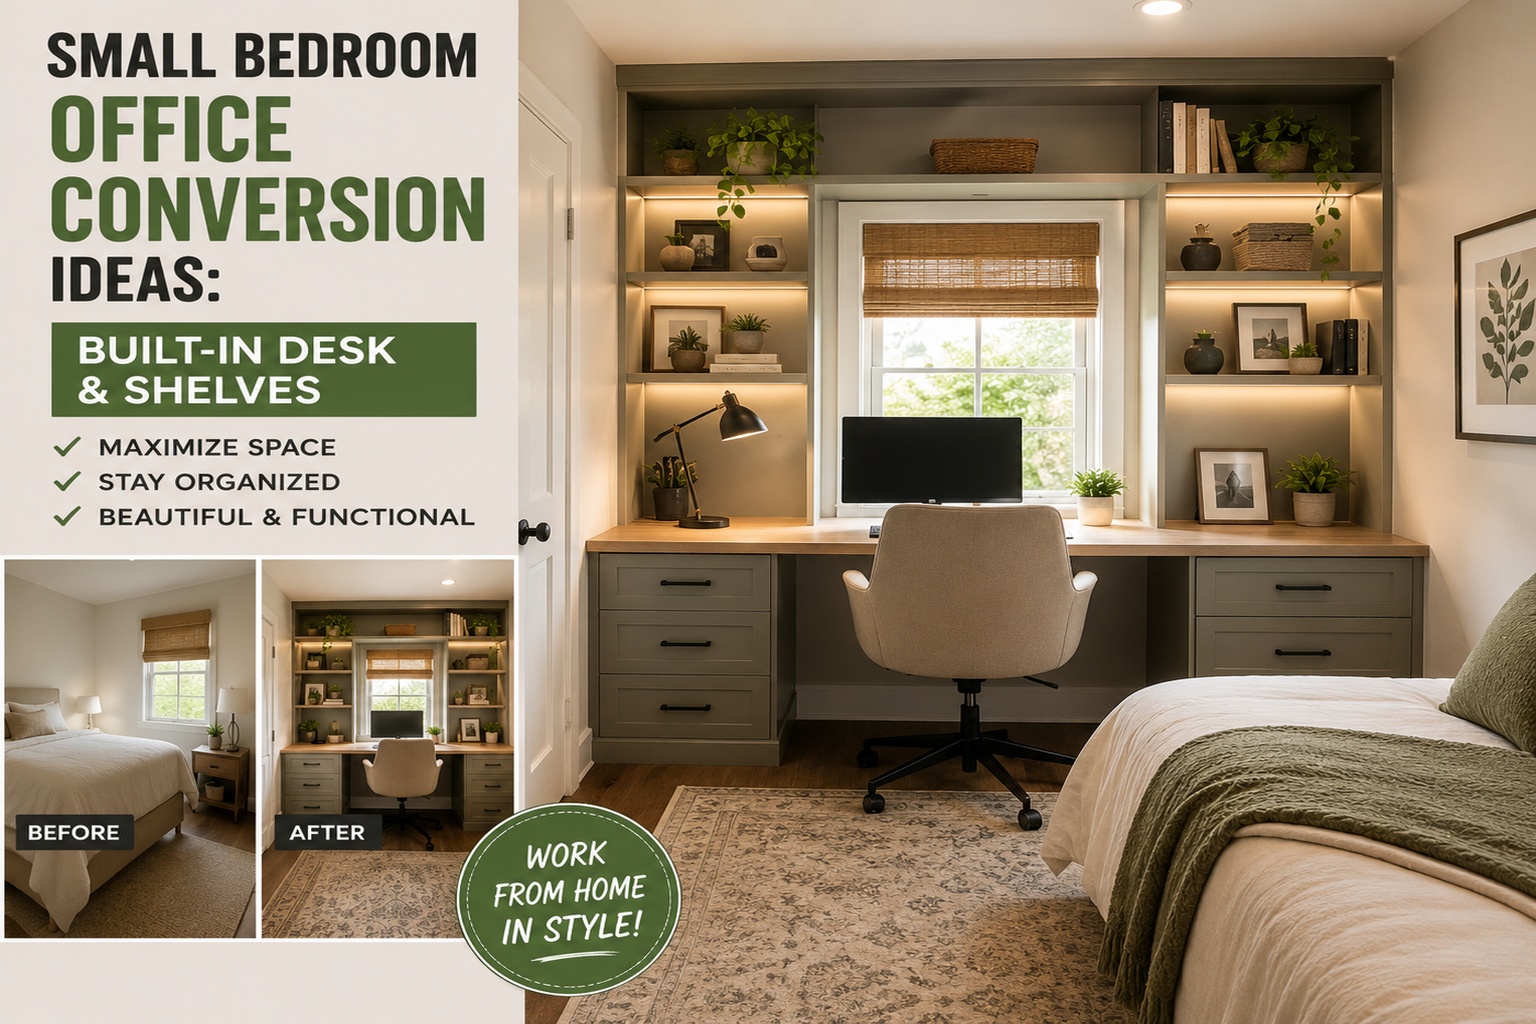
If you’ve got a spare bedroom that’s basically become a catch-all for storage, you’re not alone. We had a small bedroom sitting mostly unused for years — it had decent closets, but the space itself wasn’t really working for us. We decided it was finally time to stop ignoring it and turn it into something functional: a proper home office with built-in cabinets, a custom desk, and shelves to display all the things we love. The result? A room we actually want to spend time in, for just about $1,000 in materials.
These small bedroom office conversion ideas are exactly what you need if you’re looking to maximize a tight space without blowing your budget. We’ll walk you through every step of the build — from modifying stock cabinets to applying the finishing touches with paint — so you can recreate something similar in your own home. Let’s get into it.
One important note before we dive in: this project took a few weekends spread out over several weeks. If you work full-time and can only chip away at projects in your spare time, that’s totally fine. This build is very achievable as a weekend warrior project, and we’ll point out where you can break it into manageable chunks along the way.
Start With a Clear Vision for Your Space
Before picking up a single tool, it pays to really think through how you want your converted bedroom office to function. In our case, we had a back wall — about 12 feet wide — that was just empty. We knew we wanted built-in cabinets for storage, open shelves for display, and a dedicated desk surface for working from home and recording voiceovers. Defining those three goals upfront shaped every decision that followed.
We also knew we didn’t want to overspend. This room isn’t a high-traffic space like a primary bathroom or living room, so we set a budget and committed to it. Having a clear vision not only keeps you focused — it keeps your wallet in check, too.
Use Stock Cabinets to Save Money (and Modify Them to Fit)
One of the smartest moves you can make on a budget build like this is to start with stock cabinets instead of custom ones. We picked up cabinets from Lowe’s under the Project Source brand — basic oak construction, nothing fancy, but totally solid for this application. The savings compared to custom cabinetry are significant.
The catch is that standard kitchen cabinets are about 34½ inches tall, which is too high for a comfortable desk surface. We needed them at around 30 inches. To solve this, we removed the drawer and cut the cabinets down to the right height. We debated keeping the drawer, but ultimately felt it would look odd without the toe kick sitting flush against the carpet. The extra storage we gained from the full cabinet build more than made up for losing that drawer.
Cut Out the Carpet and Relocate the Tack Strips
Once we knew exactly where the cabinets would sit, we temporarily placed them to mark the carpet for cutting. If you’ve never worked with carpet before, this step might feel a little intimidating — we hadn’t either. The key is making sure your cabinets sit directly on the subfloor, not on top of carpet and padding, which would make them unstable.
After cutting out the carpet and pad, we also relocated the tack strips to the new edge. Tack strips are thin pieces of wood with angled nails that grab the underside of the carpet and keep it stretched tight. Moving them ensures your carpet stays properly secured and won’t loosen or shrink back over time. It’s a detail that’s easy to overlook but really matters for a clean, professional result.
Cut Your Plywood Efficiently With a Track Saw
For the desktop surface and the shelves, we used ¾-inch birch plywood. We considered butcher block or other materials, but decided to keep things simple and moving. Birch plywood takes paint beautifully and is much easier to work with on a budget timeline.
A track saw is ideal for breaking down large plywood sheets, especially if you don’t have a large table saw. It’s safer, more accurate, and easier to handle solo in a smaller shop. We planned our cuts so that a single sheet of 4×8 plywood yielded three 15-inch-deep shelf pieces — a small bit of planning that saved both material and money. The desk surface spans the full 12-foot wall with seams placed strategically under the shelves, where they’re least visible.
Build the Shelf Units in Sections, Then Connect Them
The shelving design called for three separate units — two outer ones and a center section that ties them together. We built the two side units first, then used them as anchor points to construct the middle. The shelves are 15 inches deep, which serves two purposes: it lets you get three pieces from a standard 48-inch-wide sheet of plywood, and it keeps the shelf edge set back about a foot from the front of the desk surface, giving you real working space at the desk.
To keep those shelves sturdy over their 4-foot-plus span, we used a combination of methods: glued and nailed brackets on each support piece, screws through the sides, and additional supports at the back. We also added face frames later, which added even more rigidity. Over-engineering shelves slightly is always a good call — you never know what heavy items might end up on them down the road.
Add Face Frames for a Polished, Built-In Look
Face frames are what take a DIY shelf unit from looking homemade to looking like it was always there. Ours are made from simple strips of ¾-inch poplar, attached with glue and brad nails. Poplar is a great choice for painted projects — it’s affordable, machines cleanly, and holds paint well.
We took our time on this step to make sure every piece sat perfectly flush with each shelf surface. The cleaner your face frames are, the less filler and sanding you’ll need later. Some carpenters build the full face frame first and attach it as one unit, but we went piece by piece to keep things accurate. Either approach works — it just depends on your confidence level and the tools you have available.
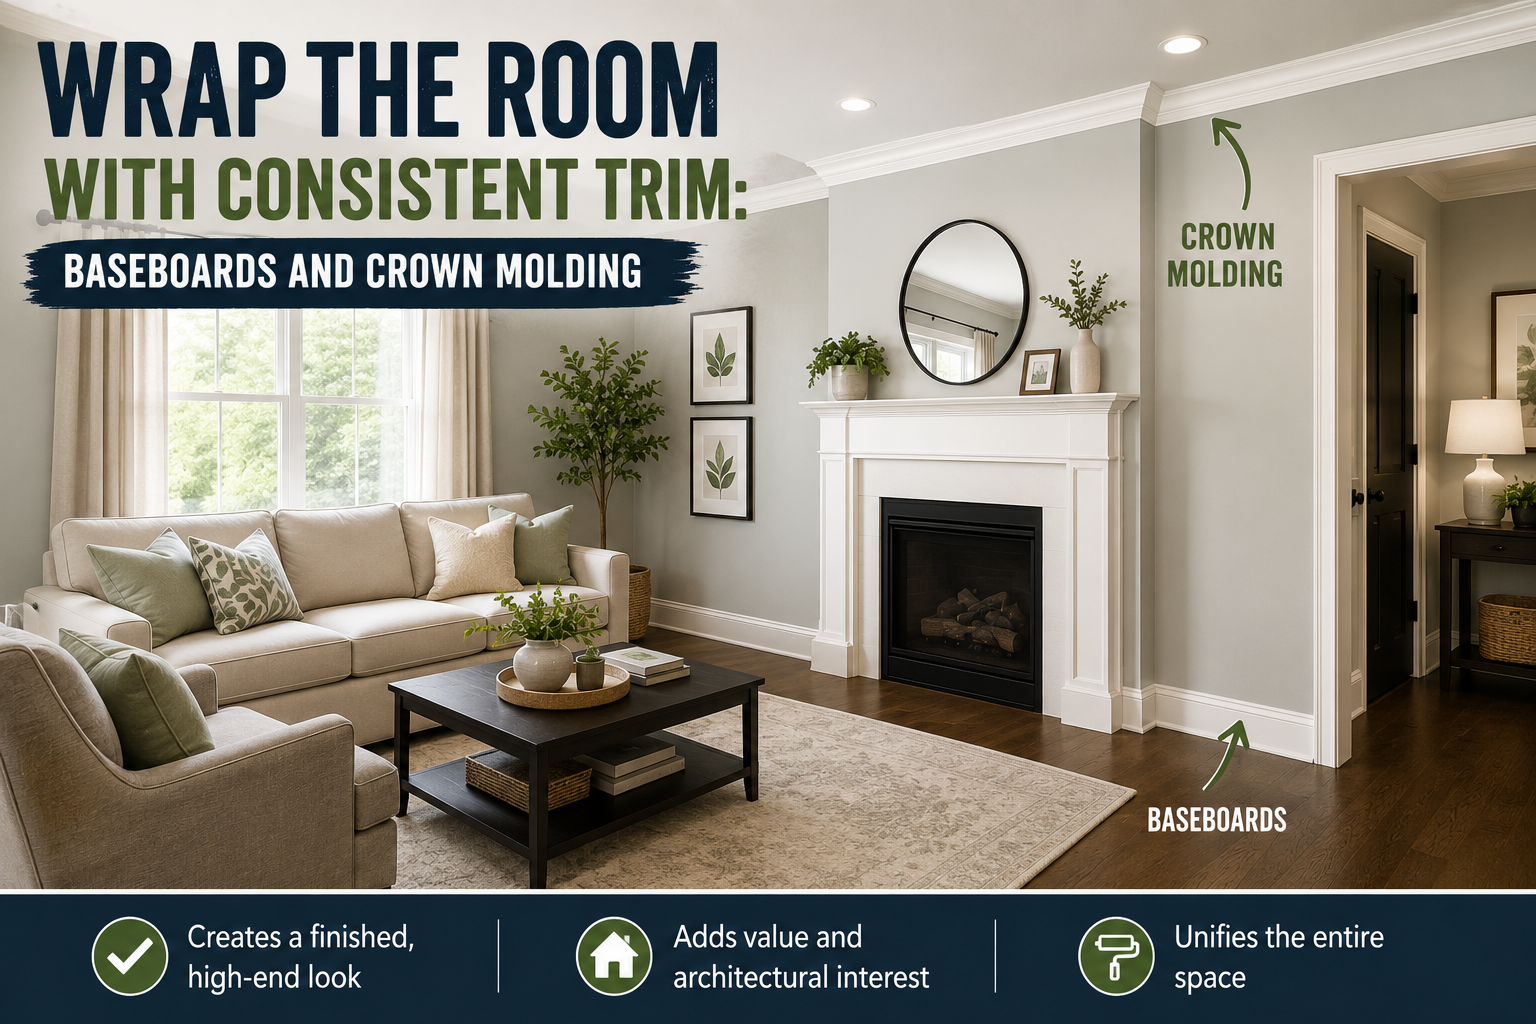
Wrap the Room With Consistent Trim: Baseboards and Crown Molding
Here’s a design decision that makes a huge difference in how cohesive a built-in looks: carry the same trim details from the rest of the room onto the built-in itself. We wrapped the same baseboards around the base of the cabinets, which makes the whole unit feel like it grew out of the room rather than being added to it.
At the top, we added crown molding that matches the rest of the room, but with one extra touch — a strip of base cap molding underneath the crown for a more layered, custom look. A long horizontal strip of plywood was installed first to give the trim something solid to attach to and to close off the top of the shelving unit cleanly. Small pieces of bead molding covered the exposed plywood edges, and small crown molding filled the gap at the top of the base cabinets. All trim was attached with glue and either 23-gauge pin nails or 18-gauge brad nails.
Fill, Sand, and Prep for Paint
Before painting, every seam and nail hole got filled with wood putty and sanded smooth. This is the unglamorous part of any built-in project, but it’s where a lot of the final quality comes from. Taking the time to fill and sand properly means a much smoother, more professional-looking painted surface.
The desktop seams — where the plywood sheets meet — also got filled with wood putty. Once everything is painted, those seams essentially disappear. It’s a simple trick that keeps the surface looking like one continuous piece rather than assembled panels.
Spray Paint the Unit for a Smooth, Even Finish
For the final paint job, we masked everything off and used a paint sprayer rather than rolling or brushing. Spraying gives you a much smoother finish on built-ins — no brush marks, no roller texture. We used Sherwin-Williams Infinity in West Highland White, which is a warm, creamy white that looks great in a home office setting.
The sprayer we used was a Graco TrueCoat 360DS, which is well-suited for smaller projects like this. Using a quality paint is important when spraying — thinner or lower-quality paints are more prone to clogging your sprayer and creating an uneven finish. We had to refill the sprayer a couple of times, but it was far easier than dealing with a larger rig. If you work full-time and can only dedicate a few hours at a stretch to a project, masking and spraying in one dedicated session is a great strategy.
For more tips on check out the Wallpaper Removal & Home Office Renovation.
Tips and Best Practices for Your Bedroom Office Conversion
Plan your cuts before buying materials. A little math upfront saves real money on plywood and lumber. Sketch out your dimensions and figure out how many pieces you can get from each sheet before you head to the store.
Always build to the subfloor, not the carpet. Any built-in cabinet or shelving unit that sits on carpet will be unstable over time. Cut the carpet out and seat your cabinets directly on the subfloor for a rock-solid installation.
Match existing trim for a custom look on a budget. Carrying the same baseboard and crown molding profiles from the rest of the room onto your built-in is one of the easiest ways to make a DIY project look high-end without spending extra.
Use a quality paint when spraying. Cheap paint and spray equipment don’t mix well. Invest in a good paint to get a smooth, clog-free finish that looks professional.
Overbuild your shelves. Use brackets, glue, screws, and face frames together. Shelves that span more than three or four feet need multiple points of support to prevent sagging, especially once you start loading them up.
Frequently Asked Questions
How much does a small bedroom office conversion like this cost?
This project came in at just under $1,000 — roughly $450 for the stock cabinets and about $500 for plywood and other materials. Costs will vary depending on your room size, the materials you choose, and whether you already own tools like a track saw or paint sprayer.
Do I need to remove the carpet before installing built-in cabinets?
Yes — you should always cut out the carpet and padding beneath where your cabinets will sit. This ensures the cabinets rest directly on the subfloor, which makes them stable and level. You’ll also want to reposition the carpet tack strips to the new edge so your carpet stays properly stretched.
Can I use stock cabinets for a home office built-in?
Absolutely. Stock cabinets from home improvement stores are a great budget-friendly base for a built-in office. You may need to modify the height (standard kitchen cabinets are too tall for a desk), but with some basic cuts and trim work, they can look completely custom.
What’s the best wood for DIY shelves that will be painted?
Birch plywood is a great choice for shelves and surfaces, and poplar is ideal for face frames and trim details. Both take paint well, are widely available, and are budget-friendly compared to hardwoods like maple or oak.
Is a paint sprayer worth it for a project like this?
For a built-in with lots of angles, trim details, and shelves, a sprayer will give you a much smoother finish than rolling or brushing. A mid-range sprayer like the Graco TrueCoat 360DS works well for projects of this scale, and using a quality paint like Sherwin-Williams Infinity minimizes clogging issues.
The Finished Result: A Room Worth Using
The transformation in this room is genuinely hard to overstate. What was once a dumping ground for storage became a functional, beautiful home office with a comfortable desk, tons of built-in storage, and open shelving to display things that had been boxed away for years. The built-ins actually make the room feel larger because the added depth and visual interest along the back wall draws the eye in a really satisfying way.
The best part? It all came in under $1,000. If you’re sitting on a small spare bedroom that isn’t pulling its weight, these small bedroom office conversion ideas are proof that you don’t need a massive budget to create a space you’ll love. Start with a plan, use smart material choices, and take your time on the details — the results will speak for themselves.
Have questions about the build, or thinking about tackling something similar in your home? Drop a comment below — we’d love to hear what you’re working on and help you figure out your own version of this project.