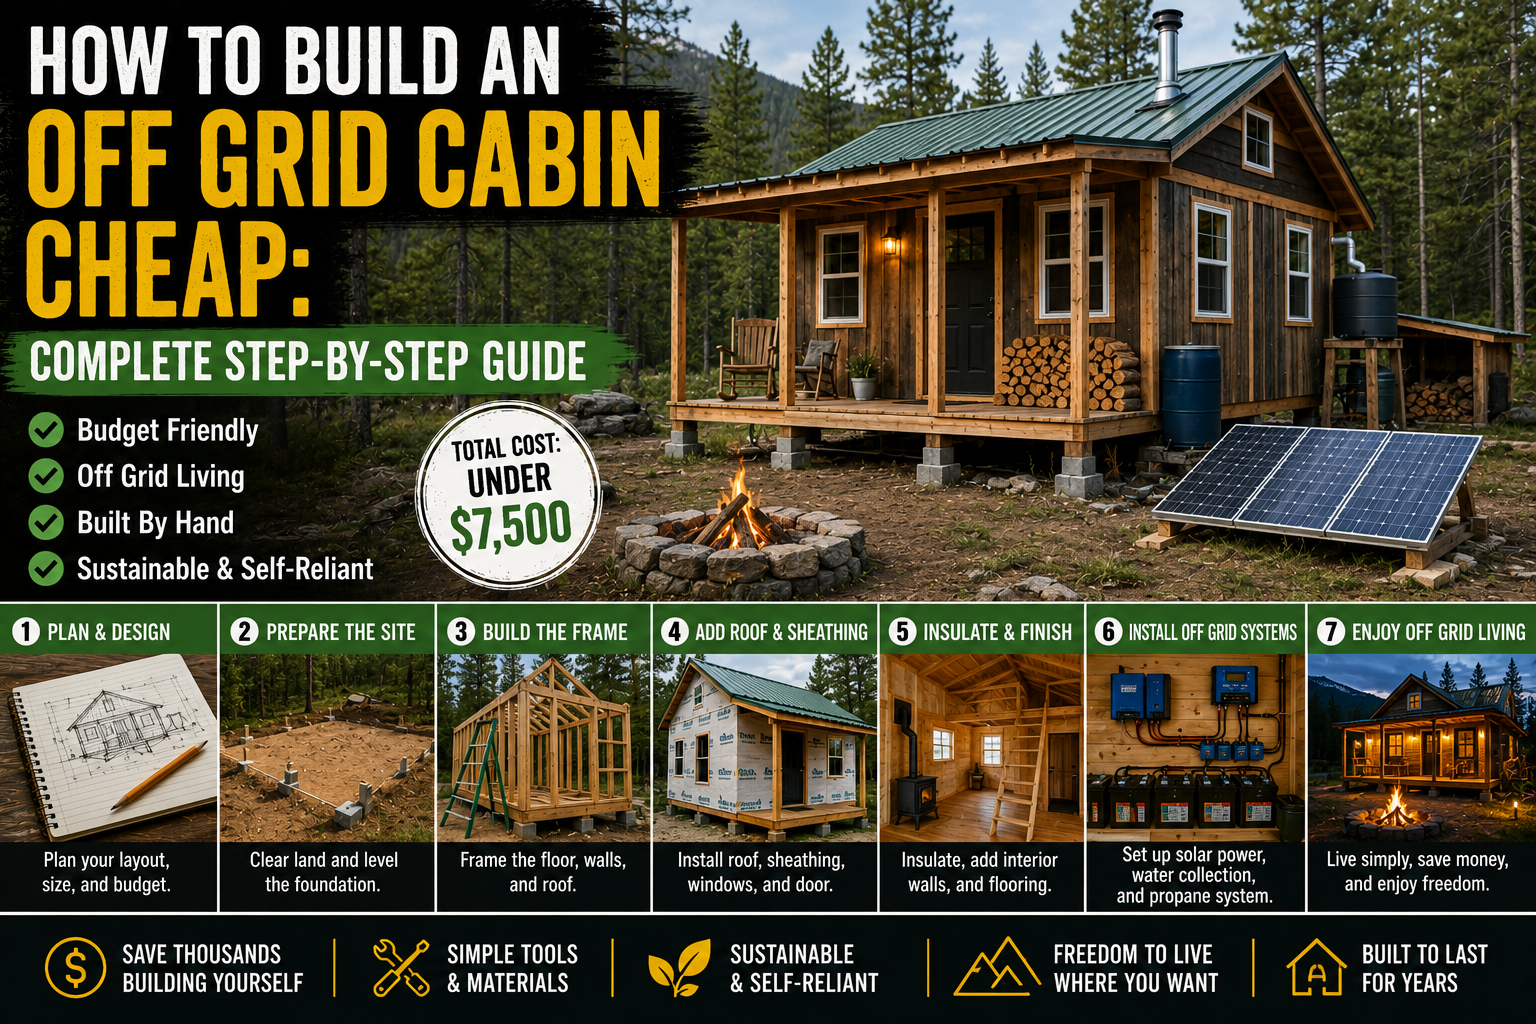
If you’ve ever dreamed of having a little getaway spot — somewhere off the grid, away from the noise, and completely your own — I want to show you that it doesn’t have to cost a fortune or require a contractor. I’ve been researching and studying simple cabin builds for a while now, and what I keep coming back to is this: a small, efficient off-grid cabin build cheap enough for almost any budget is absolutely within reach for a motivated DIYer.
The build I’m walking you through today is a 10×12 foot cabin with a single-pitched roof, a large picture window, metal roofing, and a solid insulated floor — all built with basic framing skills and common tools. It’s the kind of project that reminds you that humans are wired to build things, and that you don’t need a professional crew to put up something sturdy, beautiful, and lasting. If you’ve tackled any basic home improvement projects before, you can absolutely do this. And if you haven’t? This is a great place to start.
I’ll walk through every phase of the build — from choosing a site all the way to getting the roof dried in — so you can follow along and adapt this to your own property. Let’s get into it.
Step 1: Choose the Right Site for Your Cabin
Before you swing a single hammer, spend real time choosing your site. This is one of those decisions that sounds simple but makes a huge difference in how much you enjoy the finished cabin. I’ve seen this approach work really well: pick a spot that genuinely feels right to you — somewhere with a view, a natural feature like a big tree nearby, or just a corner of your property where you can imagine sitting and relaxing. That gut feeling matters.
Look for a spot where a cabin looks like it naturally belongs. If you’re on a slope, think about which direction you want to face and what the view looks like from that angle. Avoid low spots where water collects, and pay attention to prevailing winds and sun exposure. Once you’ve locked in your site, clear out all the branches, brush, and debris from the footprint area before you do anything else. A clean site makes every subsequent step faster and easier.
Step 2: Lay Out a Simple, Low-Cost Foundation
Here’s where a lot of people overthink it — and overspend. For a small cabin like this 10×12 build, you don’t need a poured concrete foundation. I’ve researched this extensively and the approach that makes the most sense for a lightweight structure is using concrete footing pads — the round pre-cast “cookies” you can pick up at Home Depot or Lowe’s for around $1.75 to $2 each. They’re designed for pole barn-style construction and they work perfectly here.
Place one pad at each corner, one mid-span between corners on each side, and one additional pad right in the center of the floor footprint for future support if needed. For a 10×12 cabin, you’re looking at roughly $20 total for the entire foundation — hard to beat that. Because the cabin is light enough, it can accommodate minor ground movement over time, so you don’t need the overkill of a full foundation. Use pressure-treated lumber for the legs that rest on those pads to protect against moisture and rot. Mark your uphill corner first, then work everything out from that point.
Step 3: Build the Floor Frame
With the foundation pads in place, it’s time to frame the floor. For this build, I’d recommend rough-sawn two-by-six lumber — it’s often available from local sawmills or Amish mills at a lower cost than dimensional lumber from big box stores, and it’s actually fuller in dimension (a true 2×6 rather than a 1.5×5.5). The floor frame is simply a box: two 12-foot pieces for the long sides and two pieces cut to 10 feet minus four inches for the ends, so the total assembled dimension is exactly 10×12.
Once the box is assembled, level it on temporary supports and drop in your floor joists on standard layout. Use joist hangers at each joist end for solid connections — note that if you’re using true two-inch rough-sawn lumber you may need to slightly modify standard joist hangers, which are typically sized for 1.5-inch dimensional lumber. Use a heavy galvanized nail (4.5-inch / 24-penny spikes work well here) because rough-sawn lumber requires a longer fastener than you’d use with store-bought lumber. Once all the joists are nailed off and the hangers are set, measure down to your concrete pads and cut your pressure-treated legs to the exact height needed at each point.
Step 4: Insulate and Install the Subfloor
A good floor makes the whole cabin feel solid and comfortable, and insulating it properly keeps heat in during cold nights. For a basic off-grid cabin build cheap and efficient, R-13 batt insulation works fine for the floor cavity — it’s what’s commonly available and affordable at most home improvement stores. Install thin furring strips along the bottom of the joists to create a shelf, then lay in a quarter-inch plywood panel to hold the insulation from below.
Lay your insulation batts into the joist bays with the kraft vapor barrier face oriented correctly (facing up, toward the interior), then install your subfloor plywood on top. For added moisture resistance, consider using pressure-treated plywood for the subfloor, oriented with the treated face down. Nail it off thoroughly. At this point you have a real, solid floor to stand on — and the cabin is starting to take shape in a very satisfying way. This is typically where day one of the build wraps up if you’re working at a comfortable pace.
Step 5: Frame and Stand the Back Wall
Wall framing is one of those skills that looks intimidating from the outside but is genuinely straightforward once you understand the basic logic. For this cabin, the back wall is six feet tall and runs the full 12-foot length. Start by laying out your top and bottom plates side by side on the ground, mark your stud layout (16 inches on center is standard), then cut and nail your studs in place between them.
For sheathing and siding in one step, T1-11 plywood siding is a great option — it’s a structural plywood panel with a board-and-batten appearance that acts as both your wall sheathing and your finished exterior. Nail it to the framed wall while it’s still flat on the ground, set the nails in the recessed areas using a nail punch so they’re properly seated, and then stand the wall up. Once it’s up, check for plumb with a level, brace it temporarily, and nail the bottom plate down to the floor. That’s wall framing 101, and it’s really that simple.
Step 6: Frame the Front Wall With a Picture Window
The front wall on this cabin is eight feet tall (taller than the back wall to create the single-pitch roof slope) and features a large picture window that takes up most of the wall — which gives the interior an incredible connection to the view outside. Framing a window opening means adding a header above the opening, trimmer studs on the sides, and a rough sill at the bottom. Any basic framing book will show you the exact layout, and once you see it once it makes complete sense.
The picture window transforms what would be a simple shed-like structure into something that genuinely feels like a cabin retreat. I’ve seen this design element make a huge difference in how a small space feels — natural light and a view do more for a tiny interior than almost any finish work. Frame it in, stand the wall, check for plumb, and brace it. Once both your front and back walls are plumb and nailed off, you’re ready to set rafters.
Step 7: Cut and Set the Roof Rafters
With a single-pitch (shed) roof, the rafter cuts are much simpler than a gable roof — you just need a seat cut (the notch that sits on the wall top plate) and a plumb cut at the top. Cut your seat notch carefully: use a circular saw to cut right to the corner of the notch, then finish the cut with a handsaw. This prevents you from over-cutting and weakening the rafter — a small but important detail that I’ve seen people skip and regret.
Once you have one rafter cut and verified to fit correctly, use it as a template to mark and cut all the remaining rafters. This is one of the best time-savers in framing — get the first one right, then duplicate it. Set your rafters, nail them in place, and at this point you can tarp the roof to protect the interior from weather while you finish the end walls. Getting even a temporary cover on the roof early is smart — weather delays are one of the biggest momentum-killers on an outdoor build project.
Step 8: Frame the End Walls With Custom-Fit Studs
The end walls on a shed-roof cabin are a bit different from the front and back walls because the top of each wall follows the slope of the roof rather than being a flat horizontal line. There’s no continuous top plate — instead, each stud is custom-cut to fit tightly up against the rafter above it. Lay out your bottom plate at 24 inches on center, hold each stud in position against the rafter, mark the angle, cut it to fit, pre-drill the nail holes (you’re working with less wood to nail into), and fasten it to the rafter.
This is one of those tasks where the first stud takes a few minutes to figure out, and then you’re flying through the rest of them. Add a rough window opening in one of the end walls for extra light and ventilation — a 4×4 window works great here. Cut your T1-11 siding panels to the custom shape of each end wall, mark the window opening from the inside, make your cuts, and set the panels. Once both end walls are in, the cabin feels completely enclosed and protected.
Step 9: Install the Skip Sheathing and Metal Roof
For the roofing on this cabin, the system is simple and durable: 1×4 rough-cut boards nailed across the rafters at 16 inches on center (called skip sheathing or spaced sheathing), topped with metal roofing panels. Metal roofing is one of the best investments you can make on a cabin build — it lasts for decades, handles snow load well, and sheds rain completely. This is a much better long-term choice than shingles for a small outbuilding or off-grid cabin.
Before installing the metal panels, mark and pre-drill all your screw holes so they line up perfectly with the 1×4 skip sheathing beneath. I always allow a two-inch overhang at the eave and center my first fastener hole four inches up from the bottom edge so it lands right in the middle of the first 1×4 board. Cut small blocks to fit between the skip sheathing at the eave ends to block out pests — squirrels especially will find any gap to get into a structure. Once the skip sheathing is nailed in and the ends are cut to length, the metal panels go on quickly and the cabin is fully dried in.
Step 10: Stain the Exterior
Don’t skip the exterior finish — T1-11 siding needs to be sealed and stained to protect it from moisture, UV, and rot. A quality exterior stain (something like a charcoal or dark tone) actually looks fantastic on a small cabin and gives it a sharp, intentional appearance rather than a raw plywood look. Apply it while the wood is dry — if you get rain during your build, give the siding time to dry out before staining and consider wrapping the building temporarily to keep it from getting wet again.
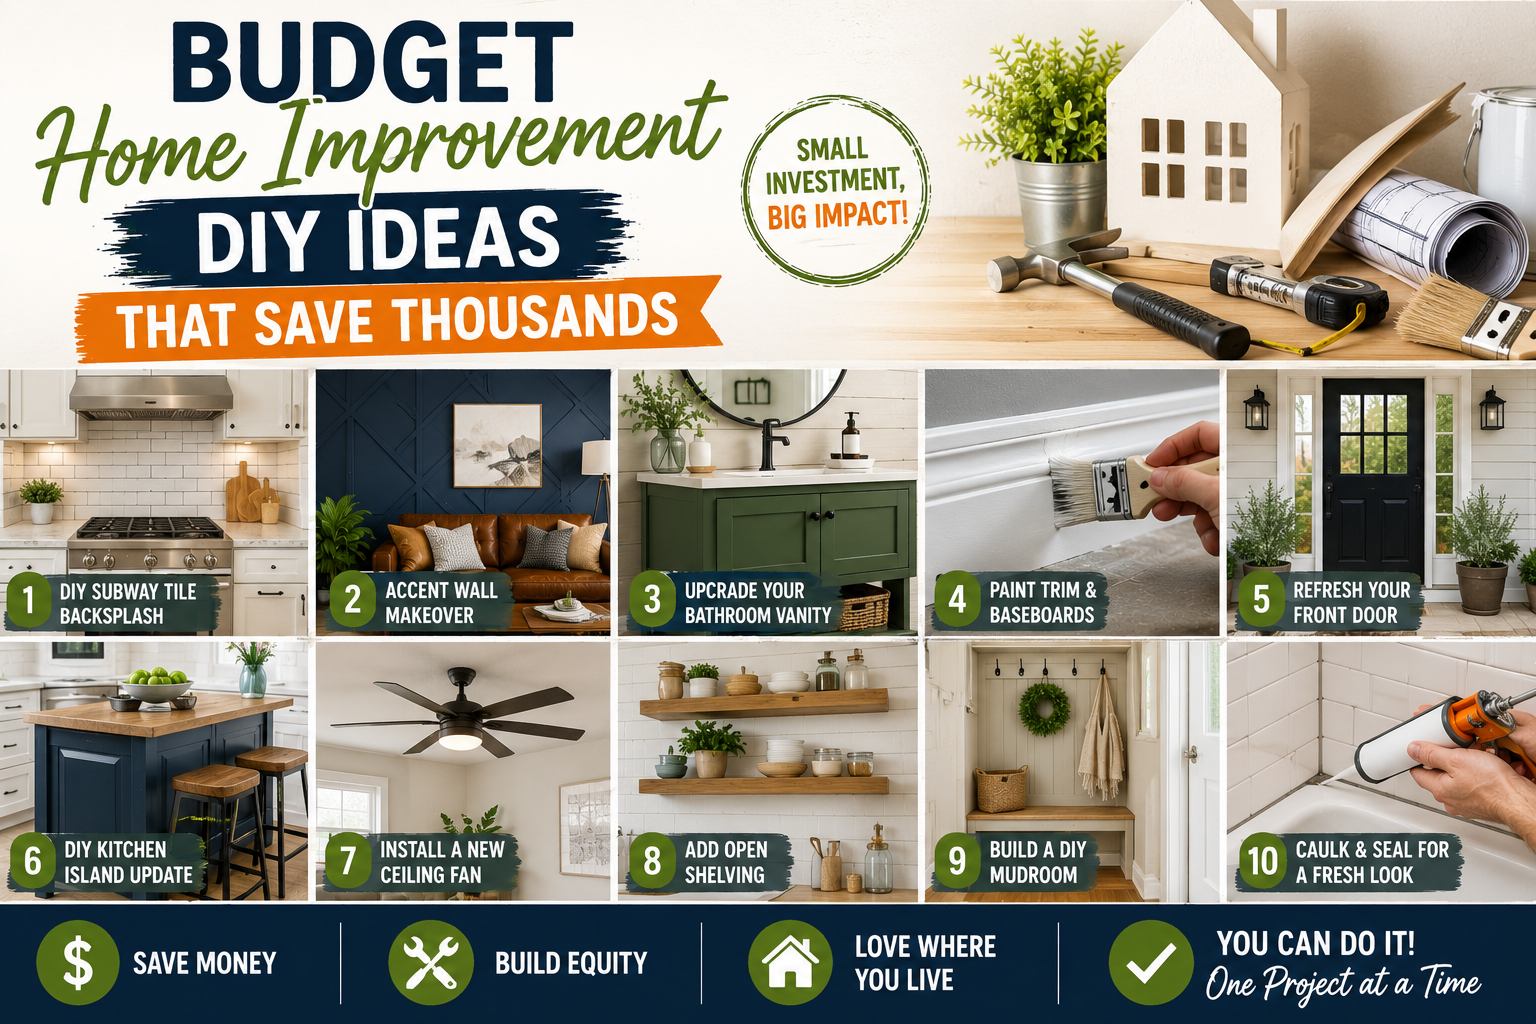
A dark charcoal stain especially tends to look great against natural surroundings — it helps the cabin blend into a wooded setting while still looking intentional and well-finished. Roll or brush on a generous coat and make sure you get into all the recessed grooves of the T1-11 pattern. This is one of those finishing steps that turns a construction project into something that actually looks like a real cabin. If you’re looking for ideas for stretching your budget on exterior upgrades, check out my post on budget home improvement DIY ideas that save thousands — a lot of those principles apply here.
Tips and Best Practices for an Off Grid Cabin Build Cheap
After going deep on this type of build, here are the key takeaways I’d pass along to anyone planning their own off-grid cabin project:
Use concrete footing pads instead of a poured foundation. For a cabin under about 200 square feet, footing pads are all you need and they cost almost nothing. A full concrete foundation on a small structure is overkill and a significant unnecessary expense.
Source rough-sawn lumber locally when you can. Local sawmills, Amish mills, and timber yards often sell rough-cut lumber at a fraction of big-box prices. It’s thicker, stronger, and usually cheaper — a win on every front.
Use T1-11 siding for a one-step wall solution. It acts as both structural sheathing and finished siding, which cuts labor and material costs. Just make sure you stain or seal it promptly.
Choose metal roofing over shingles. The upfront cost is similar and the long-term durability is dramatically better. For a cabin you may not visit every week, you want a roof that can handle weather without regular maintenance.
Build the floor frame on the ground and level it on temporary supports before setting final legs. This makes leveling much easier than trying to get everything perfect from the ground up, especially on sloped terrain.
Always block out the skip sheathing gaps at the eaves. Small blocks between the 1×4 boards at the edge of the roof keep squirrels, birds, and insects from nesting inside your roof cavity. It takes 20 minutes and saves a lot of headaches.
Pre-drill your roof metal holes before installation. Mark all your fastener locations before the panels go up, pre-drill every hole, and your install will go straight, clean, and fast. For more detailed electrical or utility planning for an off-grid space, my guide on shed electrical wiring for beginners is worth reading before you close up the walls.
Frequently Asked Questions
How much does it actually cost to build an off grid cabin cheap?
For a 10×12 cabin built with budget materials like rough-sawn lumber, T1-11 siding, and metal roofing, you can realistically keep your total material cost in the range of $1,500 to $3,500 depending on local lumber prices and what you already have on hand. The foundation alone can be done for under $25 using pre-cast concrete footing pads. The biggest variable is lumber cost, so sourcing rough-sawn lumber locally makes a dramatic difference in your final total.
Do I need a building permit for a small off-grid cabin?
Permit requirements vary significantly by county and state. In many rural areas, small structures under a certain square footage (often 200 square feet) are exempt from permits, especially if they’re not connected to utilities or used as a primary dwelling. Always check with your local county building department before breaking ground — the rules in your specific jurisdiction are what matter, and getting that clarity upfront saves potential headaches later.
What tools do I need to build a basic cabin like this?
You can frame a basic cabin with surprisingly minimal tools. At minimum you’ll want a hammer, a tape measure, a circular saw, a level, and a reciprocating saw for rough cuts. A laser level is helpful for getting the foundation pads perfectly level. Power tools make the work faster, but the actual skill level required for a simple shed-roof cabin is genuinely low — if you can cut a straight line and drive a nail, you can build this.
Can I add electricity to an off-grid cabin later?
Yes, and it’s actually smart to rough-in for it during the build even if you’re not adding power right away — run conduit or at least leave space in the walls for future wiring. For a true off-grid setup, solar panels paired with a battery system are the most common and cost-effective solution. A small home generator can also serve as a backup or primary power source for a weekend cabin. I cover the full process in my guide on home backup power system installation if you want to go deeper on that topic.
Your Off Grid Cabin Build Starts With One Step
The thing I love most about a project like this is how accessible it actually is once you break it down step by step. A 10×12 off grid cabin build cheap enough to do for a few thousand dollars — with a real insulated floor, a picture window, metal roofing, and stained exterior — is genuinely within reach for any motivated homeowner. You don’t need professional experience. You need a site you love, some basic tools, and the willingness to work through it one step at a time.
If this has you thinking about other builds and projects you could tackle on your own property, take a look at my full guide on backyard tiny home build DIY for a more detailed breakdown of a larger structure, or check out my post on cheap DIY off-grid shed build: 10 easy projects for related smaller-scale ideas. Building something with your own hands — especially something you’ll actually use and enjoy — is one of the most satisfying things you can do as a homeowner. Go find your spot, clear it out, and get started.