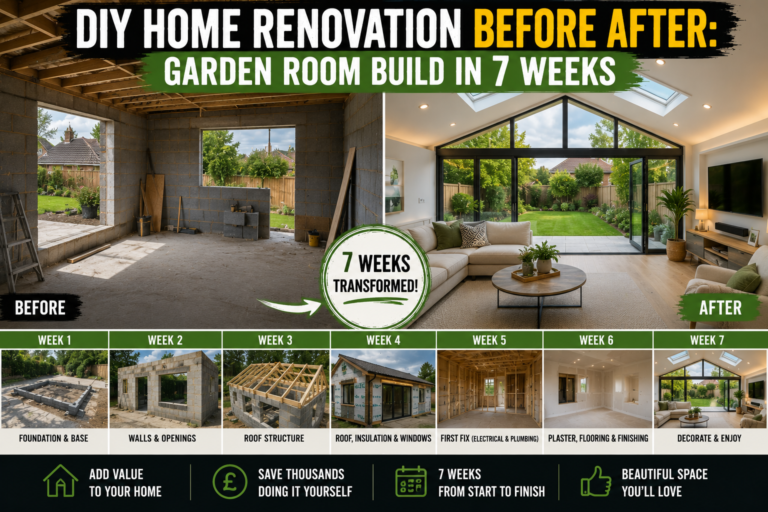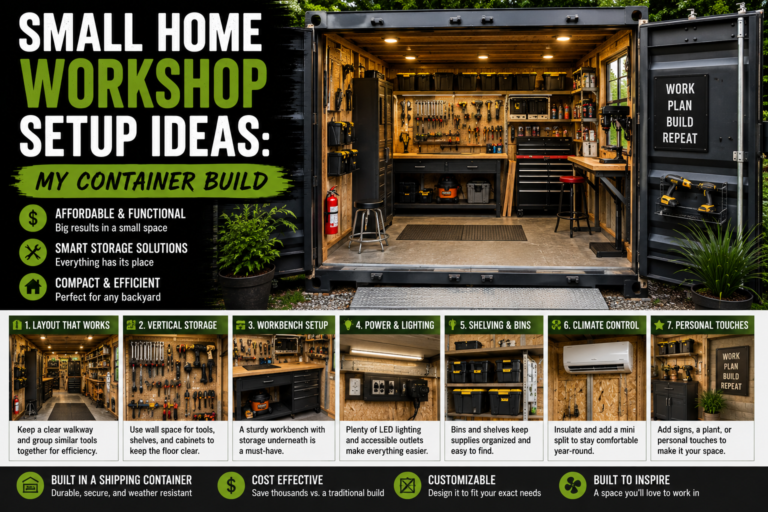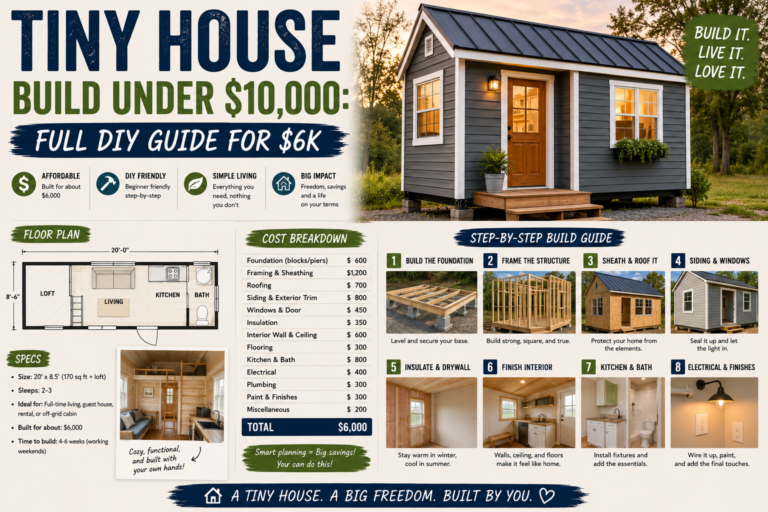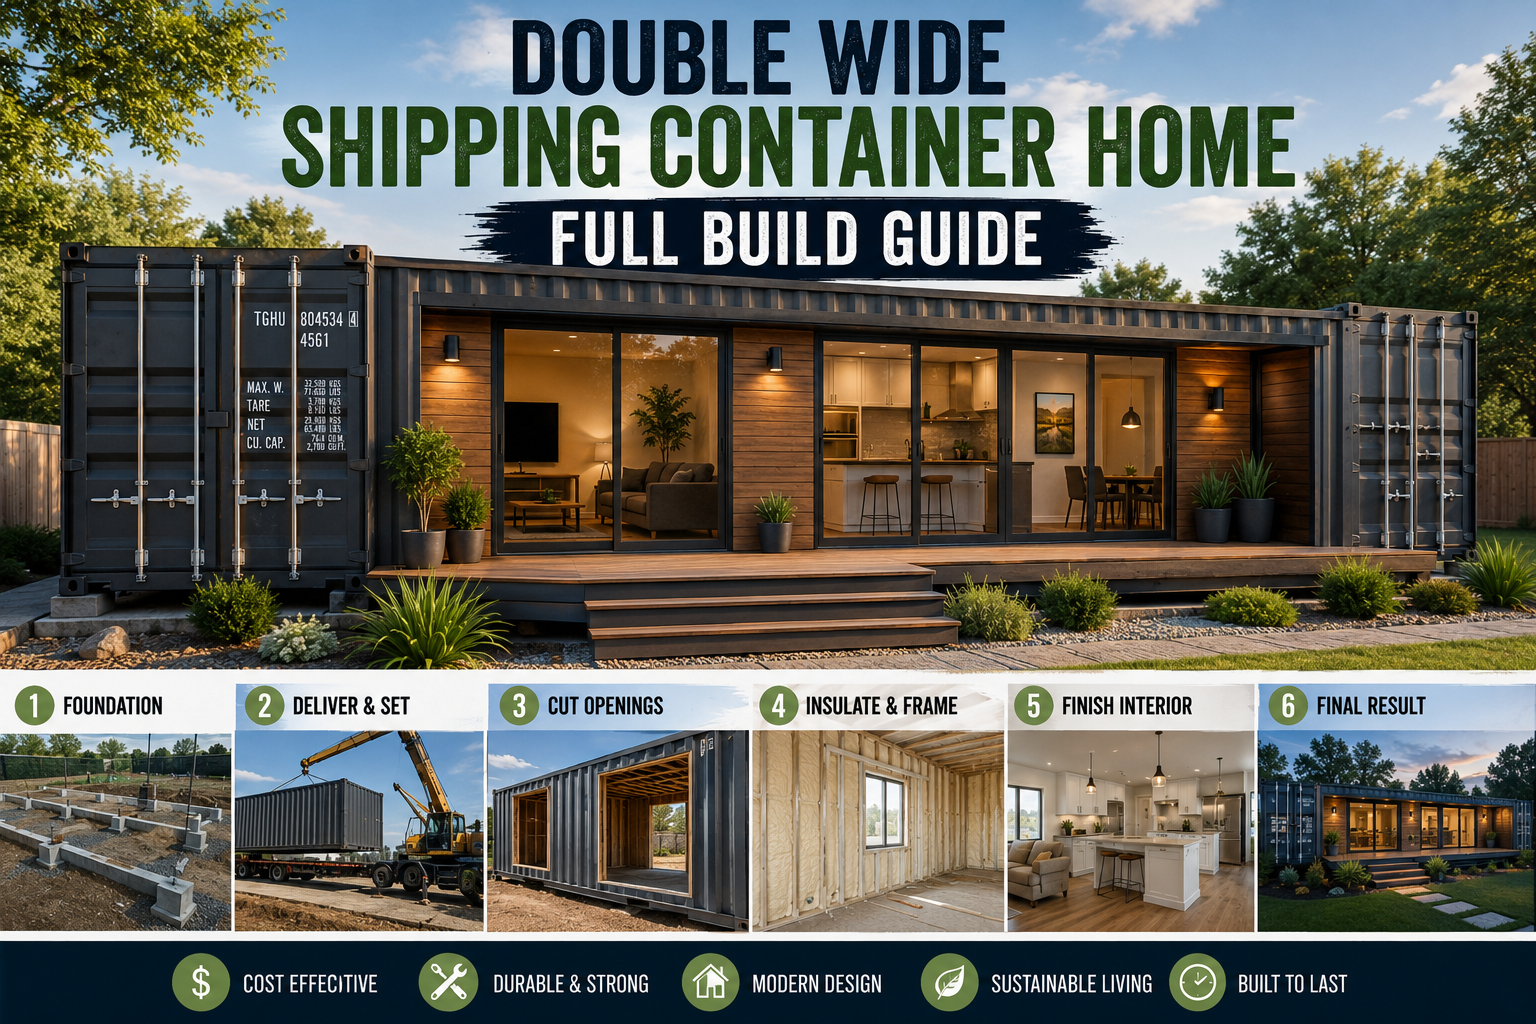
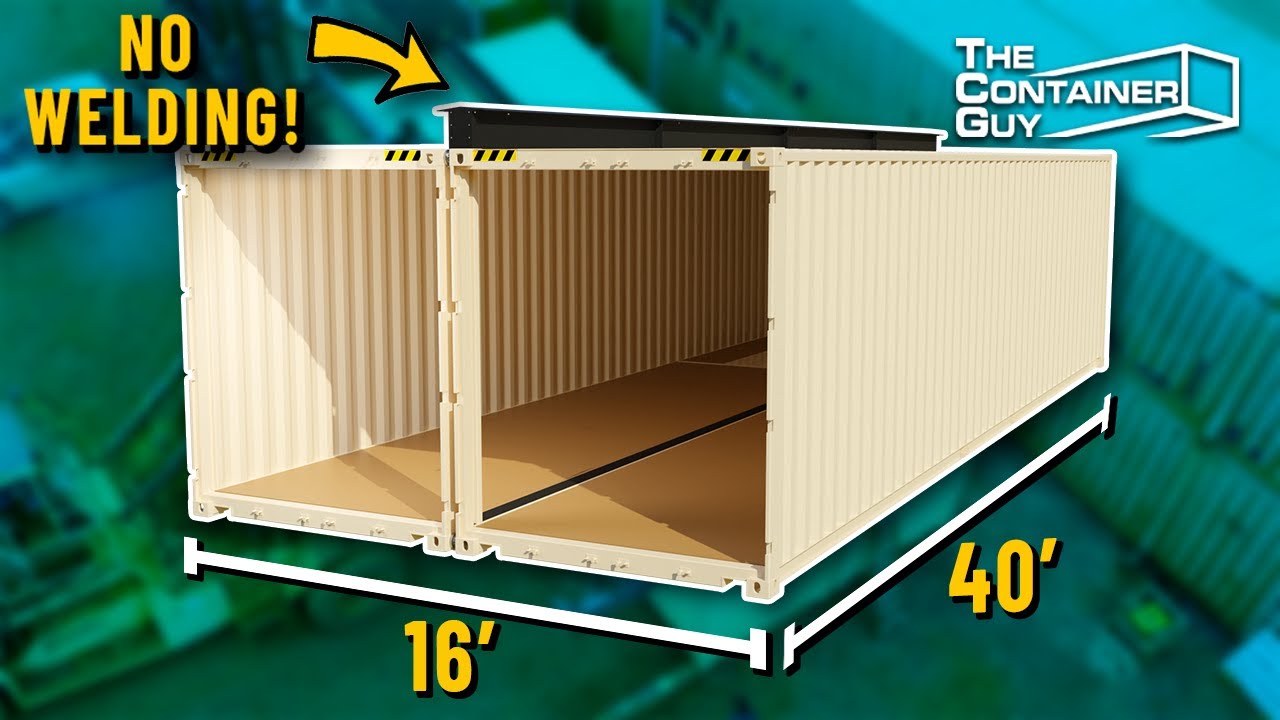
If you’ve ever looked at a shipping container and thought, “what if I put two of those side by side and knocked out the wall between them?” — you’re not alone. That idea is exactly what sparked this incredible build, and I have to say, watching it come together from raw steel to a fully enclosed, double-wide space is one of the most satisfying things I’ve seen in the DIY and alternative housing world. A double wide shipping container home takes two 40-foot high cube containers, removes the center walls, installs engineered structural headers, and joins them into one massive, open-plan living space. It sounds simple on paper, but the engineering details make all the difference.
What I love most about this particular build is that it’s designed to be modular, permitted, and structurally stamped — meaning this isn’t just a backyard experiment. This is a real engineered solution that can ship to a remote site (in this case, Northern Alberta, Canada) and be assembled by the customer on location. Every step has been refined through a first prototype and iterated on for this second build. If you’re dreaming about container living, this guide breaks down every single step of the process so you know exactly what you’re getting into. I’ve also covered a related no-welding approach in my post on building a shipping container home without welding, which pairs nicely with this more advanced engineered build.
Let me walk you through each phase of this build from start to finish — every decision, every modification, and every clever engineering solution that makes this double-wide container kit possible.
Starting With the Right Containers: Two 40-Foot High Cube One-Time Use Units
The foundation of this entire project starts with container selection. For this build, two 40-foot high cube one-time use containers are used. The “one-time use” designation is important — these containers have only made a single overseas trip, which means they’re in excellent structural condition with minimal rust, dents, or damage. The extra height of a high cube (typically an additional foot over a standard container) gives you much better interior headroom once you add insulation, electrical conduit, and ceiling finishes.
Choosing the right containers upfront saves you enormous headaches down the road. Damaged or corroded containers can compromise your structural welds and make it harder to achieve clean cutouts. If you’re planning your own double wide shipping container home, I’d strongly recommend sourcing one-time use units even if the cost is slightly higher — the quality difference is absolutely worth it.
Installing the Flat Bar to Prevent Floor Sag
Here’s something most people don’t think about: even when a container is sitting on a perfectly level concrete slab, the floor can still sag. Why? Because the bottom channel of the container sits higher than the corner castings. That means when you set a container on a flat surface, it’s only making contact at the four corners — leaving the middle of the floor unsupported. When you cut out an entire 40-foot center wall, that sag becomes even more pronounced, even half an inch or 12 millimeters of flex is enough to be noticeable and annoying in a living space.
The solution here is elegant and affordable: a half-inch thick, four-inch wide flat bar is stitch-welded along the full length of the bottom channel, flush with the corner castings. The steel is ground down with a grinder first to remove undercoating and create a perfectly level welding surface. This prevents uneven contact points from pushing the flat bar out of alignment. Once welded in, that flat bar bridges the gap between the corner castings and gives the full floor continuous support across all 40 feet.
Installing Temporary Structural Posts Before the Wall Cut
Before any cutting happens, temporary structural posts are welded into the container. This step is critical for safety and structural integrity during transport. A small panel section between weld points is cut out first, and then the temporary post is dropped in and welded in place. These posts support the floor and roof while the header is being installed and while the unit is being shipped and handled before final on-site assembly.
Think of these temporary posts as the scaffolding of the build — they hold everything in position while the permanent engineering solution (the header system) takes over. Once the container is delivered and set on its final foundation, the customer removes these temporary posts to reveal the full open clear span interior. It’s a smart, safe sequencing approach that protects both the structure and the workers throughout the build process.
Fabricating the Structural Trusses and Headers
The heart of this build is the structural header system, and this is where the engineering really shines. Red-seal journeyman welders fabricate the trusses in the shop, tacking them together first, then clamping everything flat to prevent warpage before doing the final full welds. Warpage control during fabrication is something a lot of DIYers overlook, but if your trusses bow or twist during welding, they won’t line up correctly during installation.
The trusses are sectioned into 10 to 12-foot lengths, which makes them manageable for a small crew to lift and position inside the container. Once fully welded, they go through a white metal sandblast to remove all mill scale and contaminants, then receive a textured black powder coat finish. The headers are then laid out on the shop floor for a full test fit — every section bolted together to check fitment and gaps — before being dismantled and shipped to powder coating. This kind of pre-assembly quality check is what separates a professional build from a frustrating field-fix situation.
Strut Lining the Walls and Ceiling
While waiting for the headers to return from powder coating, the interior walls and ceiling are strut-lined using CSM brackets. These brackets are installed at every second corrugation, and the Unistrut runs horizontally across the wall and then continues across the ceiling. This creates a rigid framework inside the container that will support electrical conduit, lighting, insulation, and any future interior finish work.
What’s clever about the bracket design used here is that it attaches to the square tube of the container and sits completely out of the way of the corrugation panel that will later be cut and dropped. The welders can cut the wall panels without the strut interfering or falling. This kind of sequencing — installing strut before cutting — saves a ton of rework and keeps the job site safe. If you’ve done similar work inside a shed or outbuilding, the approach will feel familiar. My post on shed electrical wiring for beginners covers some of the same principles for running conduit in metal structures.
Spray Foam Insulation on the Ceiling for Arctic Snow Loads
This build is headed to Northern Alberta, which means the insulation strategy has to account for serious Arctic snow loads. Two inches of spray foam is applied to the ceiling in the non-insulated position — meaning the strut sits tight to the ceiling and the foam bridges that final gap between strut and steel. The result is a solid, two-inch-thick slab of foam reinforced by the steel strut structure underneath.
Why does this matter so much for a double-wide? Because when two containers are joined side by side, there’s a long header ridge running down the center of the roof. Snow typically slides off both sides of a single container, but with the center join in place, that meltwater can’t escape down the joined side. Snow accumulates, adds weight, and could eventually concave or collapse the ceiling. The spray foam and strut combination prevents exactly that. For a standard container home build (non-Arctic), the spray foam contractor recommends three inches on both walls and ceiling, plus rigid foam under the subfloor to create a complete thermal envelope. That’s worth keeping in mind if you’re planning a year-round living space.
One very important tip from this build: walk through the container with your spray foam contractor before they start spraying. Show them exactly what gets foam and what doesn’t. Cover the floor with poly sheeting if you’re not refinishing it — spray foam particles that settle on the floor can permanently discolor the steel even after scraping. Tape off all CSM bracket faces with packing tape (a simple brown 3M Scotch tape works great and peels off cleanly without leaving residue) to keep the mounting surfaces clean for future use.
Installing the Powder-Coated Headers With Drill-and-Bolt Method
Once the headers return from powder coating in their sleek textured black finish, it’s time to install them — and this is where the modular kit design really pays off. Instead of needing a certified welder on-site for header installation, the sections are lifted up one at a time and secured using self-threading, case-hardened bolts. You size your drill bit to the smaller diameter of the bolt, and the notched thread profile actually cuts its own threads into the 60-millimeter tubing as it drives in. No need to drill all the way through — the bolt stops short of becoming a thermal bridge through the container wall.
Because the header sections are only 10 to 12 feet long, one person can manage them with minimal help. The 3D-modeled design means everything lines up precisely — no field adjustments, no fighting with misaligned holes. If there’s a slight ridge from one truss section to the next, that’s perfectly fine; the ridge cap that covers the center join on the roof conceals any minor variation. This drill-and-bolt approach is a genuine game-changer for container modifications, making what used to be a welder-only job accessible to a much broader range of builders.
Cutting and Dropping the Center Wall Panels
With the headers fully installed and the temporary posts in place, the welders cut and drop the 40-foot center wall panels. Safety is paramount here: the panels are left attached at four strategic points — two ends and two in the middle — so that when the final cuts are made, the 18-foot sheet doesn’t swing back and knock over ladders or injure workers. A pallet is dragged underneath the panel before the final cuts so the forklift can slide in and lift the entire panel out in one piece rather than dealing with a floppy sheet of corrugated steel.
Those removed wall panels aren’t wasted — they can be repurposed for other container modification projects or sent off for recycling. It’s a clean, organized process that respects both worker safety and material efficiency. Once those panels are out, you step inside and immediately feel the transformation: the space opens up dramatically, and you can really visualize what this double wide shipping container home is going to feel like to live in.
Running the Electrical: LED Lighting and EMT Conduit
With the strut lining in place, the electrician gets to work installing LED lights and running EMT conduit between them. A laser level is used to ensure all the light fixtures line up perfectly when viewed from one end of the 40-foot container — a small detail that makes a huge difference in the finished look of a long, narrow space.
The customer’s electrical requirement for this build is that a single switch controls the lights in both containers simultaneously. To make this work on-site without requiring the fabrication shop to run wire between two separate units (which would complicate transport), a wire loop is left hanging from the last light fixture. Once the two containers are joined on-site and the electricians connect everything at the junction box, that single-switch setup will work exactly as specified. It’s a thoughtful solution that keeps the kit self-contained for shipping while still delivering the final functionality the customer needs.
Joining the Two Containers With High-Capacity Bridge Fittings
The joining hardware for this build is genuinely impressive: high-capacity bridge fittings that use a combination of magnetic attraction and twist-lock mechanics to pull two containers together and hold them in perfect alignment. One side of each fitting is magnetic, which helps it seat and hold in the corner casting while you get everything positioned. The twist locks slide into the corner castings first, then the two containers are nudged together using a forklift’s top lift attachment.
There are two different fitting profiles — an oval shape for the bottom corner castings and a shield shape for the top — and they’re rated at approximately 65,000 pounds of holding strength. The left-hand thread on one side and right-hand thread on the other means that as you spin the center bolt (using a pry bar), both sides pull inward simultaneously, sucking the two containers together without you having to manually align every millimeter. A safety lock tab prevents the bolt from backing off once tightened. The result? Two 40-foot containers joined in minutes, perfectly aligned, with a consistent three-inch gap between them that accommodates the framing kit, flashing kit, and custom-rolled profiles that seal the join. This three-inch gap is actually a feature, not a flaw — it gives you working room for all the finishing details.
Installing Ridge Caps and End Plates to Seal the Roof Join
With the two containers locked together, the exterior roof join is finished with four ridge caps that are either self-tapping screwed or bolted through the angled profile of the header. These caps seal the gap at the peak where the two container roofs meet, preventing any water infiltration at what would otherwise be a vulnerable point. The design accounts for the slight ridge variation that can occur between header sections — the cap profile bridges it cleanly.
At each end of the double-wide, laser-cut and powder-coated end plates close off the three-inch gap between the containers. On the interior, two channels close off that same gap at floor level. Combined with the threshold plate (a flat bar that gets welded across the floor gap on-site), the interior becomes a seamless, unified space rather than two containers that happen to be next to each other. Every detail has been engineered to create a finished product that looks and functions like a purpose-built structure.
On-Site Final Assembly for the Customer
When this double-wide kit arrives at the customer’s site in Northern Alberta, the final assembly steps are straightforward. First, the temporary transport posts are removed, revealing the full open clear span of the interior. Then an eighth-inch, six-inch wide flat bar is welded along the floor gap to create the threshold plate between the two containers. The end caps (already pre-fit and pre-drilled in the fabrication shop) are installed to close off the end walls. Up top, the two header halves are bolted together, and the electricians reconnect the wiring at the junction box to activate the single-switch lighting system.
Because so much of the fitting, drilling, and test assembly was done in the shop — including a full test fit of the two containers together — the on-site assembly is as simple and frustration-free as possible. This kind of prefabrication philosophy is something I think every large DIY build can learn from: do as much work as possible in a controlled environment before you’re out in the field dealing with weather, limited tools, and time pressure. If you’re interested in how this philosophy applies to smaller-scale builds, check out my full guide on building a backyard tiny home for more prefab-friendly strategies.
Tips and Best Practices for Your Double Wide Shipping Container Home
After studying this build in detail, here are the key takeaways I’d pass along to anyone planning their own double wide shipping container home:
Always start with one-time use containers. The structural integrity and surface condition of a one-time use unit far exceeds a heavily cycled container, and that matters enormously when you’re making major structural cuts. Weld your flat bar before anything else. Floor sag is real even on a concrete slab — address it early or you’ll be living with an annoyance forever. Fabricate and test-fit headers in the shop. The modular 10-to-12-foot sections make installation manageable for a small crew and eliminate the need for on-site welding during header installation. Brief your spray foam contractor thoroughly. Walk the space with them, poly the floor, tape the brackets, and be specific about coverage areas. The prep work directly determines the quality of the finish. Use high-capacity bridge fittings. These are genuinely the game-changer for double-wide container projects — strong, self-aligning, and fast to install. Design for your climate. Arctic snow loads require two inches of spray foam on the ceiling minimum; temperate climates may have different requirements. Always engineer for your specific environment. Use a laser level for electrical runs. In a long container space, even a slight deviation in fixture alignment looks terrible from the far end — the laser level is a small investment that pays off visually. For more ideas on outfitting the interior once your container is assembled, my post on double wide mobile home interior decorating ideas has a lot of crossover inspiration for open-plan container spaces.
Frequently Asked Questions
Do I need a welder to build a double wide shipping container home?
For the initial flat bar installation and temporary post installation, yes — welding is required. However, the header kit used in this build is specifically designed to be installed with drill-and-bolt hardware, meaning the structural header assembly can be done by someone without welding certification. On-site, a welder is needed only for the floor threshold plate. The modular design significantly reduces the welding skill requirement compared to traditional container modification approaches.
How do you prevent floor sag in a double wide container?
The solution is a half-inch thick, four-inch wide flat bar stitch-welded along the full length of the bottom channel, flush with the corner castings. This bridges the gap that would otherwise leave the floor unsupported between the four contact points of the corner castings. Even on a concrete slab, without this modification, a 40-foot container can sag up to half an inch in the middle when the center wall is removed.
What kind of insulation is best for a shipping container home in a cold climate?
Closed-cell spray foam is the preferred choice for container homes in cold or Arctic climates. For a double-wide in Northern Alberta, two inches on the ceiling is used to handle snow load accumulation at the center ridge join. For a full container home build intended for year-round living, three inches of spray foam on both walls and ceiling, plus rigid foam insulation under the subfloor, creates a complete thermal envelope that prevents condensation and heat loss.
How are two shipping containers joined together for a double wide?
High-capacity bridge fittings with a magnetic face and twist-lock mechanism are inserted into the corner castings of each container. The fittings use opposing thread directions on each side — left-hand thread on one, right-hand on the other — so that tightening the center bolt with a pry bar pulls both castings inward simultaneously. This creates a self-aligning joint rated at approximately 65,000 pounds, leaving a consistent three-inch gap between the containers that is then filled with custom framing, flashing profiles, and interior channel trim.
Conclusion
Building a double wide shipping container home is absolutely achievable with the right engineering approach, the right materials, and the right sequencing of work. What makes this build stand out is how much thought went into making a complex structural modification into a modular, shippable, permit-ready kit that a customer can assemble on-site without needing a full fabrication crew present. From the flat bar floor support to the powder-coated modular headers, from the Arctic-rated spray foam ceiling to the high-capacity bridge fittings — every detail serves a purpose.
If this kind of alternative housing project excites you as much as it excites me, I’d encourage you to start by exploring the full container house building permit cost guide I put together, which covers the regulatory side of container home builds. And if you’re ready to dive into hands-on planning, drop your questions in the comments below — I read every single one. Don’t forget to bookmark this page, share it with anyone who’s been talking about container living, and check back for more builds just like this one.