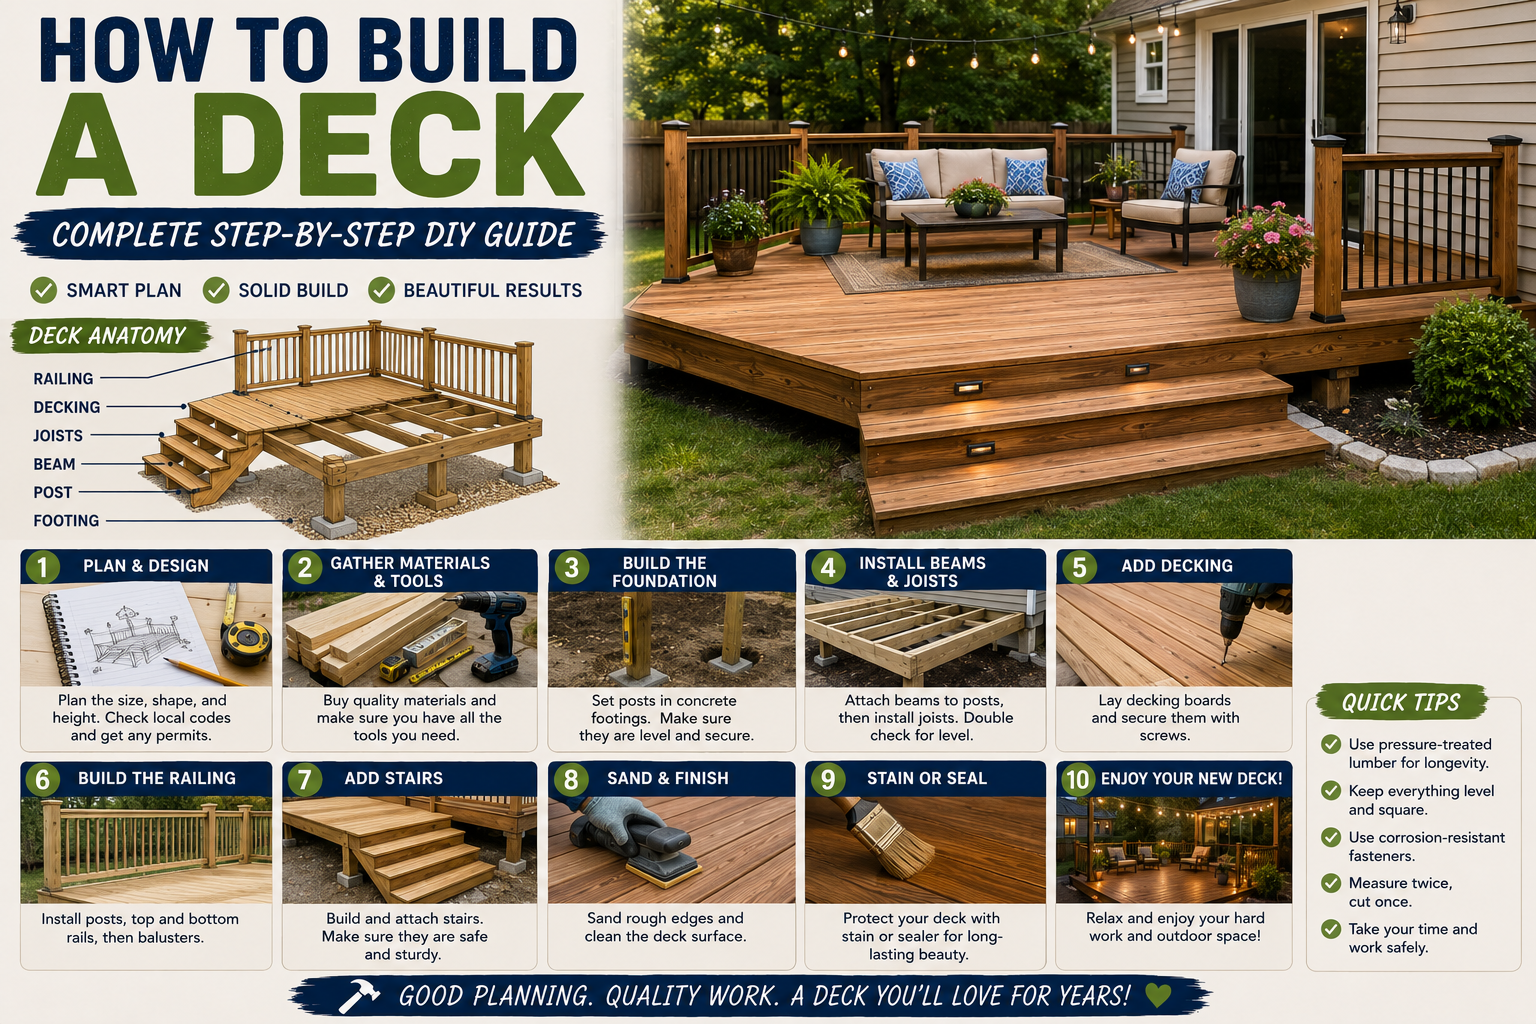
If you’ve been dreaming about adding a deck to your backyard, I’m here to tell you — it’s more doable than you think. I recently tackled a full deck build from scratch, and in this post I’m walking you through every single step I took, from designing the layout all the way to installing the railing cap. Whether you’re a seasoned DIYer or just getting started, knowing how to build a deck yourself can save you thousands of dollars and give you a serious sense of accomplishment.
This wasn’t a small project, but breaking it down into manageable steps made it feel completely achievable. I’ll share the mistakes I almost made, the tricks I figured out along the way, and the details that make the difference between a deck that looks great and one that lasts for decades. If you’re into saving money on big home projects, you might also enjoy my post on Budget Home Improvement DIY Ideas That Save Thousands — a lot of the same principles apply here.
Before I dive in, I want to be upfront: some of the links in this post are affiliate links, which means I may earn a small commission if you purchase through them — at no extra cost to you. Now let’s get into it.
Step 1: Design Your Deck Using Free Online Software
My first step was to actually design the deck before buying a single board. I used Lowe’s free online deck designer, which you can access straight from their website — no download required. You can start from a pre-made template or build from scratch like I did. I went with a simple single-level deck with a railing and one set of stairs, but the tool lets you customize the size, shape, height, number of levels, stair placements, decking material (wood or composite), and even the railing style.
What I really loved about it is the real-time cost estimate. As I adjusted the design, I could see how it affected the material budget, which helped me make smart decisions before committing. Once I was happy with the design, I printed the full plans — and they come with a complete materials list including all the hardware, layout diagrams, parts nomenclature, and everything else you need. It’s genuinely one of the most useful free tools I’ve used for a DIY build.
Step 2: Check Local Building Codes and Get Your Permit
Before ordering a single thing, I took my printed plans to my local building assessor to make sure they met all the local codes. This step is non-negotiable — skipping it can mean having to tear down your work or facing fines. If the plans don’t meet code, you can easily go back into the designer and adjust them. Once everything was approved, I got my building permit and was ready to order materials.
One great thing about having the printed plans from the deck designer is that I could take them straight to Lowe’s and have them pull all the materials for me. For a small extra fee, they’ll even deliver everything right to your door. That kind of convenience makes the whole project feel a lot less overwhelming.
Step 3: Lay Out the Deck Precisely
Getting a square layout is the most important part of the entire build. If you start crooked, everything downstream gets harder to fix. I staked a stake near the house and built batter boards with battens so I could move my strings around freely. I measured from the house to the outer edge of the farthest post on both sides, then measured the distance between the outer posts to create a parallelogram shape.
To square that parallelogram, I measured corner to corner diagonally. If one diagonal was two inches longer than the other, I’d shift each string by one inch in opposite directions until the diagonal measurements matched. Once the layout was square, I used a tape measure and flags to mark exactly where each post hole needed to be drilled — following the spacing specified in my plans.
Step 4: Dig the Post Holes and Pour Concrete Footings
The ground on my site was soft enough that I was able to use post hole diggers rather than renting a gas-powered auger — though renting one is always an option if your ground is harder. In my area, code requires holes at least 42 inches deep to get below the frost line, so make sure you check what your local code requires. I poured my concrete into 12-inch tube forms and planned to set the posts on top using post anchors.
I cut the 48-inch tube forms down so they sat just a couple of inches above grade to allow for water runoff, then backfilled dirt around the outside of the forms and tamped it down tightly. I rented a concrete mixer for this step — trying to hand-mix all that concrete in a wheelbarrow would have been brutal on my back. Once poured, I tamped the concrete periodically, then smoothed the tops with a slight convex crown for drainage and inserted the post anchor bolts about an inch above the surface, aligned with my layout lines. After the concrete cured, I laid down landscaping fabric and gravel underneath the deck area to manage drainage and prevent weed growth.
Step 5: Calculate Post Heights and Install the Posts
With the footings set and post anchors in place, I needed to figure out the exact height for each post. I made a mark on the house at the desired deck height, then subtracted the deck board thickness, the beam thickness, and the joist thickness — which for this build using 2×8 beams and joists came out to 15.5 inches. I drove a stake nearby, marked that 15.5-inch drop, then ran a string line all the way across and used a laser level to confirm it was perfectly level.
I then shifted the outside string down half an inch to give the deck a slight slope for rain runoff — just enough to drain water without being noticeable underfoot. Once that line was set, I could measure from each post anchor up to the string to get the exact cut height for each post. I used a miter saw to cut the 6×6 posts, rotating each post to complete the cut since my 10-inch saw couldn’t do it in one pass. Using 6×6 posts (even if code doesn’t require it) gives extra wiggle room when squaring up the beams — a tip I’m glad I followed.
Step 6: Build and Install the Beams
The beams I made by nailing two 2×4s — well, specifically two 2x8s — together using four 10-penny galvanized nails spaced every 16 inches. Once the posts were secured to the post anchors, I mounted the beam brackets on the posts and set the beams in place. Before fully securing them, I double-checked that everything was square, then nailed through every hole in every bracket. This step is critical — don’t skip holes on your structural hardware.
Step 7: Install the Joists
I laid out my joists on 16-inch centers, starting with the joist closest to the house and making sure it was perfectly straight. From there I measured out in 16-inch increments, made a line, and marked an X on the house-side of each line so I’d know which side of the line the center of each joist board should land on. Because my deck was 20 feet wide and no single board spans that far, I had to support two separate joists meeting at the center beam.
To keep the joists from rolling, I added blocking along that center beam between joists — this is a simple but important step for long-term rigidity. Once all the joists were toenailed into place, I snapped a chalk line across the ends and trimmed them all square with a circular saw before adding the rim joist. I used joist hangers to connect every joist to the rim joist for a strong, code-compliant connection. I also made a temporary support block, nailed it to the underside of the joists, to help hold the rim joist in place while I nailed and leveled it — a small trick that made the job way easier solo.
Step 8: Add the Decking Boards
Before screwing down any boards near the edges, I used a drill bit to countersink the holes — this prevents splitting along the board edges. I put two screws per board at every joist location (every 16 inches). About every four boards, I’d pause and measure from the house end to the board edge on both sides of the deck to make sure I was staying square. If one side crept ahead, I’d adjust the gap slightly to bring it back into alignment.
Because my deck boards were still wet (freshly milled), I pushed them snug against each other before screwing them down. As they dried and shrank, natural gaps formed for drainage. If you’re working with dry boards, plan for about a 1/8-inch gap between each one as you go. One clever trick I used: before screwing down my last four boards, I laid them in place and marked along the outer joist. I then shifted that mark 1.5 inches (the width of the rim joist), struck a chalk line, and cut the joists there. That way, when I added the final rim joist, the last deck board landed perfectly flush — no ripping needed. It’s a small trick that makes the finished edge look really clean.
Step 9: Add the Skirt Boards
Once all the decking was down and the outer rim joist was secured, I added a 2×12 skirt board all the way around the perimeter of the deck. This covers up the structural framing underneath and gives the deck a clean, finished look from the outside. It’s one of those finishing details that really elevates the overall appearance and makes the deck look like a professional build rather than a DIY job.
Step 10: Install the Railing Posts
Railings are one of those areas where you absolutely have to meet code — ask your inspector what the minimum railing height is, how the posts must be attached, and what the maximum gap between balusters can be. I used a circular saw set to 1.5 inches deep to make several relief cuts at each post notch location, then broke out the waste with a hammer and cleaned up the notch with a chisel and block plane. I also added a 45-degree bevel to the top of each post for a nice finished look.
I laid out the post locations to meet code spacing requirements and made sure each one was plumb and square before drilling the first hole for the carriage bolt. After adding the first bolt, I rechecked plumb before drilling the second hole — then tightened both bolts down with a washer and nut. Taking the time to check plumb twice per post is worth it; a slightly leaning post looks sloppy and can affect the whole railing section.
Step 11: Install the Balusters
With the posts set, I measured between each pair of railing posts and cut a 2×4 for both the top and bottom rail to support the balusters. I used scrap cut-offs and a speed square to space the rails evenly. Rather than beveling the balusters a few at a time on the miter saw, I lined them all up, struck a single chalk line across the tops, and cut the bevel in one pass with my circular saw — a big time saver.
Spacing the balusters correctly takes a little math but it’s worth doing right. I measured the inside width between posts (60-7/8 inches in one span), added the thickness of one baluster, converted everything to decimals, then divided by the 4-inch minimum gap requirement. That gave me 15.5, which I rounded up to 16 balusters per span. Dividing the original width by 16 gave me 3.887 inches — which I rounded to 3-7/8 inches using a fraction conversion chart. I cut a spacer to that width and used it to place every baluster perfectly. Each span between posts will have a slightly different measurement, so I repeated this calculation for each one. Once positioned, I countersank a hole and drove a screw through the top and bottom rail into each baluster.
Step 12: Build the Stair Foundation and Install the Stairs
For the stairs, I first dug out a spot at the base and created a gravel foundation — packed a few inches down, leveled it out, and poured concrete footers to support the stair stringers. You could also pour a full concrete landing pad here if you prefer. Cutting the stair stringers is one of the more technical parts of a deck build and deserves its own detailed tutorial, so I won’t rush through it here — there are some great dedicated videos that walk through the math and layout process in full detail.
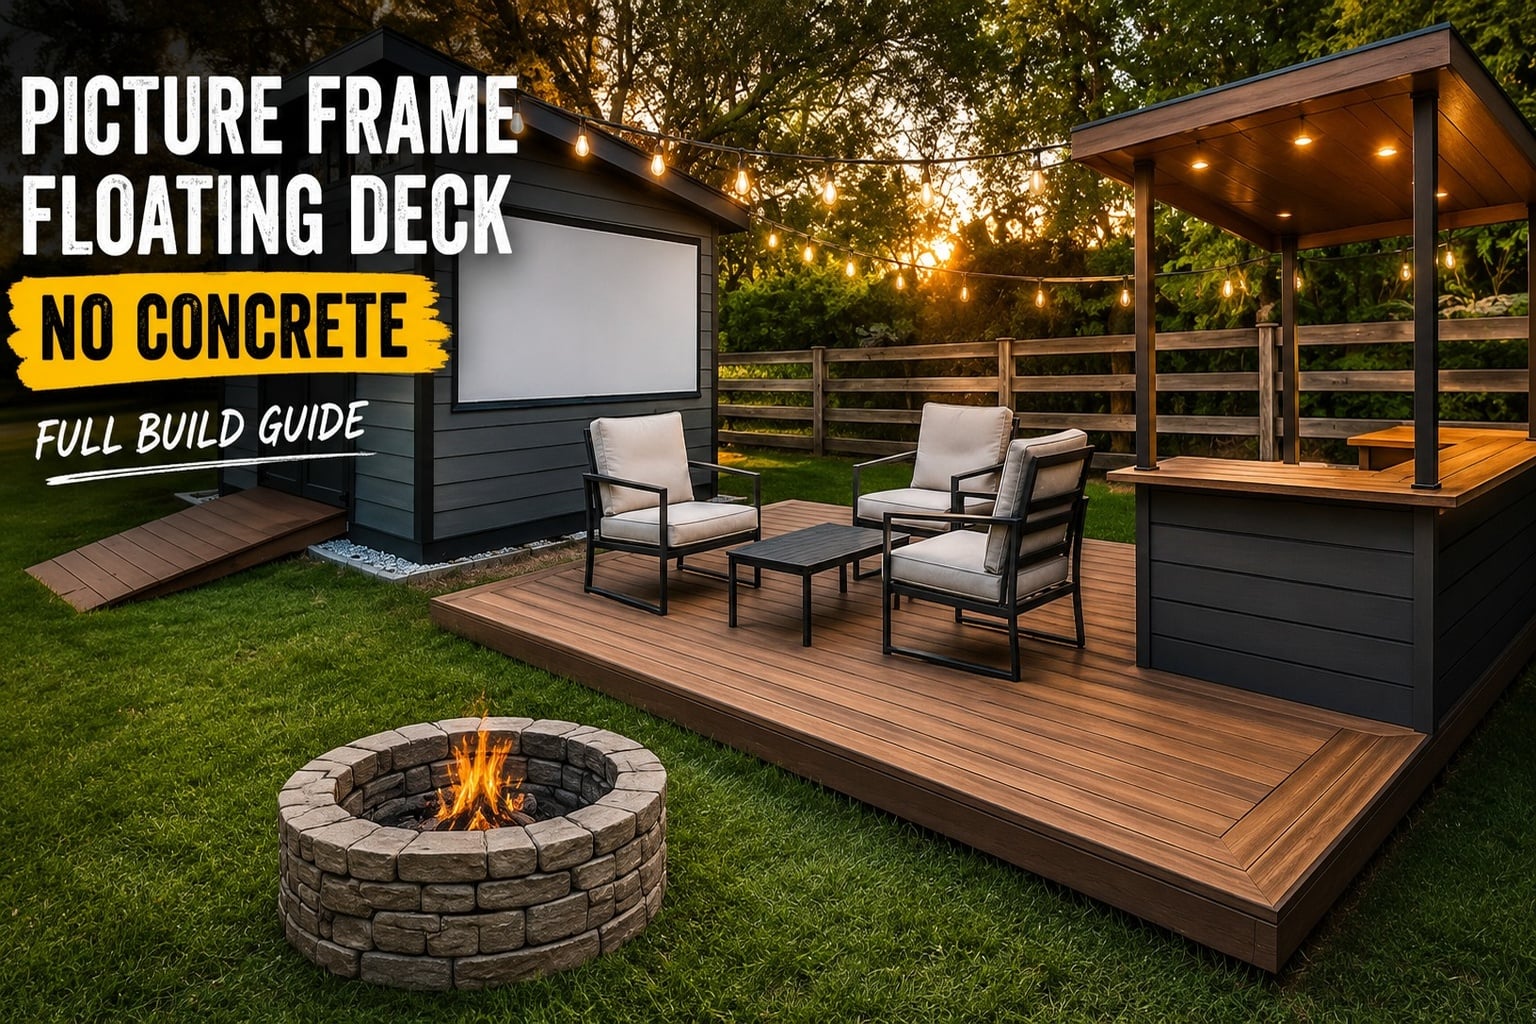
Once the stringers were cut and set, I added the kicker boards, deck boards for the treads, and railings following the same methods I’d used on the main deck. The stairs came together quickly once the stringers were in place. If you’re planning a deck with more complex stair configurations, you might also find inspiration in my post on how to Build a Picture Frame Floating Deck With No Concrete Needed.
Step 13: Install the Railing Cap
The last structural step was adding the railing cap, which runs along the top of all the railing posts and balusters. I used standard deck boards for this and cut 45-degree miters at the corners for a clean, professional finish. The cap ties the whole railing system together visually and gives the deck that polished, complete look.
Step 14: Let the Deck Season Before Staining
Once everything was built, I made the decision to let the deck dry and season over the winter and into the following spring before applying any stain. Fresh lumber has a high moisture content, and staining it too soon can trap moisture and lead to peeling or uneven absorption. Patience pays off here — letting the wood fully dry means the stain will penetrate better, last longer, and look much more even. After staining, I also planned to add lattice skirting around the base and do some landscaping around the perimeter to make the whole outdoor area look polished and intentional.
Tips and Best Practices for Building a Deck
Here are some of the most important lessons I took away from this build that I’d pass along to anyone tackling their own deck project:
Always check local codes before you start. Requirements for post depth, railing height, baluster spacing, and post attachment methods vary by region. A quick visit to your building assessor before you begin can save you from having to redo work later.
A square layout is everything. Every problem I avoided on this build traces back to taking the time to get the layout perfectly square at the very beginning. Measure diagonals, adjust your batter board strings, and don’t move on until your corners are true.
Use wet lumber strategically. If your boards are freshly milled and still wet, push them tight — they’ll shrink and create natural drainage gaps as they dry. If they’re already dry, space them 1/8 inch apart from the start.
Don’t skip the math on baluster spacing. The formula I walked through above sounds complicated but takes about five minutes with a calculator. Getting it right means every gap is uniform, which is the difference between a deck that looks custom-built and one that looks rushed.
Let new wood season before staining. It’s tempting to finish everything at once, but waiting until the wood has dried out fully will give you a dramatically better stain result that lasts years longer.
Rent what you don’t own. A concrete mixer, an earth drill, or a wet tile saw for specialty cuts — renting the right tool for a specific step is almost always worth it compared to doing the job the hard way.
Frequently Asked Questions About How to Build a Deck
Do I need a permit to build a deck?
In most areas, yes — especially for any deck that’s attached to the house or above a certain height. The rules vary by municipality, so your first step should always be a visit or call to your local building assessor. Getting caught building without a permit can mean fines or being required to tear the structure down, so it’s not a step worth skipping.
How deep do deck post holes need to be?
This depends entirely on your local frost line. In my area, code requires a minimum of 42 inches to get below the frost line and prevent heaving during freeze-thaw cycles. Your local inspector will tell you what depth is required in your region. Deeper is generally better for stability.
Should I bury my deck posts in concrete or use post anchors?
Both methods are used, and both can be code-compliant depending on your area. I used post anchors, which set the posts on top of the poured concrete footings — this keeps the wood out of direct ground contact and extends post life significantly. Ask your inspector which method is preferred or required in your area before committing to either approach.
How long should I wait before staining a new deck?
For pressure-treated or freshly milled lumber, most experts recommend waiting at least 6 months to a full year before staining. The wood needs to dry out enough for the stain to properly penetrate. You can test readiness by sprinkling a few drops of water on the surface — if they absorb rather than bead up, the wood is ready for stain.
Final Thoughts
Building a deck is one of the most rewarding DIY projects you can tackle as a homeowner. It adds real living space, boosts curb appeal, and — when you do it yourself — saves you an enormous amount of money compared to hiring a contractor. The key is taking each step in order, not rushing the layout, and making sure you’re building to code throughout. If I can do it, so can you.
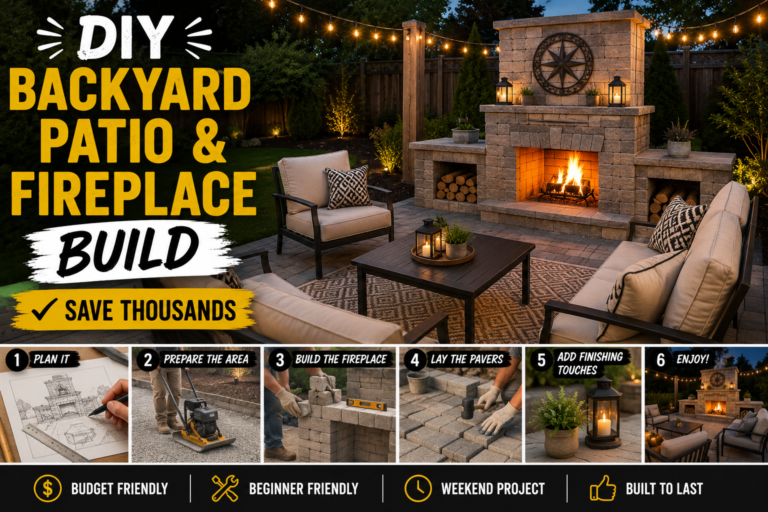
If this project inspired you, check out my DIY Backyard Patio & Fireplace Build for another major outdoor project that pairs beautifully with a new deck. And if you have any questions about your own deck build, drop them in the comments — I’m happy to help.