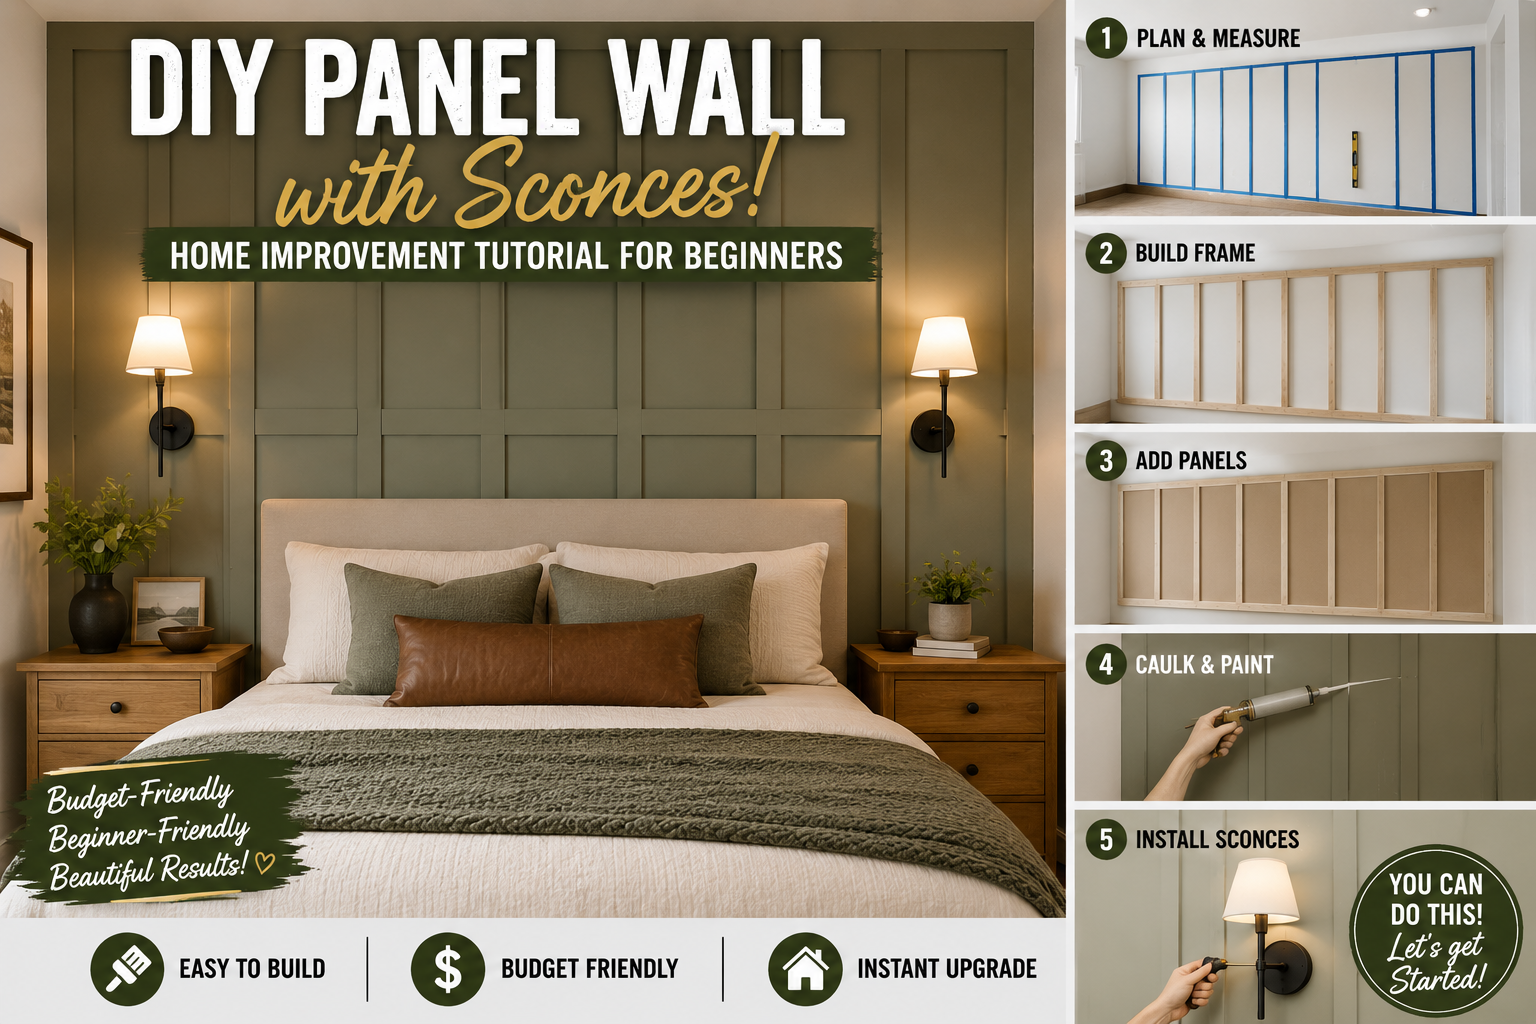
Hey y’all, I’m Michael, and welcome back to The DIY Journey! If you’ve been looking for a DIY home improvement tutorial for beginners that actually delivers a wow-factor result without a ton of tools or experience, you are in the right place. Today I’m walking you through one of my most popular DIY projects ever — a full PVC panel wall complete with mirrors and wired sconces. This wall transformation is exactly the kind of upgrade that makes your space look like you hired an interior designer, but you did it yourself for a fraction of the cost.
I tackled this project because I had just elevated my living room and needed the adjacent dining area to match that modern, chic, almost-glam vibe I was going for. The PVC panels are genius for this — they mimic a real wood look beautifully, they’re easy to cut, and they go up with double-sided tape so even renters can pull this off. I used four boxes total and had a little left over, which tells you this is a very forgiving project. If you’re newer to DIY and want more budget-friendly project ideas, my post on budget home improvement DIY ideas that save thousands is a great place to start building your project list.
Let me walk you through every single step I took — from prepping the wall to hanging the sconces — so you can replicate this yourself. I’m covering everything: panel layout, cutting around outlets, mounting mirrors, and installing the light fixtures. Let’s get into it!
Step 1: Gather Your Supplies Before You Start
Before I touched a single panel, I made sure I had everything I needed laid out and ready to go. The star of the show is the R3D brand PVC panel — I used four boxes total for a pretty large wall. These panels are roughly 20×20 inches and made from PVC, which means they look like real wood but are lightweight and cuttable with basic scissors. That PVC construction is honestly one of the biggest advantages for a beginner.
Here’s what I had on hand: double-sided tape (the strong kind — this is your main adhesive), painter’s tape (absolutely essential — more on why in a moment), a sharp pair of scissors (I swear by the Wiss brand), a tape measure, chalk for marking, a ruler for straight lines, and sanding blocks for smoothing cut edges. I also had a leveler and optional gloves. Don’t overthink the supply list — most of this you probably already have at home.
Step 2: Clean the Wall Thoroughly
I know this sounds boring but it matters more than you think. Before I put a single piece of tape on that wall, I cleaned the entire surface — got rid of cobwebs, dust, and any debris. Dust is the enemy of adhesion, and if your wall surface isn’t clean, those panels won’t stick properly over time.
This step takes maybe 10–15 minutes and it’s completely worth it. Grab a microfiber cloth or a damp rag, wipe the wall down, and let it dry fully before you move on. I can’t stress this enough for anyone following this as a beginner DIY home improvement tutorial — surface prep is half the battle.
Step 3: Pre-Cut and Apply Your Double-Sided Tape Strips
Here’s where the process really gets rolling. I pre-cut all my double-sided tape strips before starting to hang panels, which made the whole installation feel much faster. For each panel, I placed tape at every corner, along the top and bottom edges, and down the middle vertically. That’s your tape placement formula — corners, top, bottom, and center.
Now here’s the most important thing I can tell you: that double-sided tape is incredibly strong. If you slap it directly on your painted wall and then need to remove or reposition a panel, you will rip your paint right off. So what I did — and what you absolutely need to do — is first apply painter’s tape to the wall wherever the double-sided tape will go, then apply the double-sided tape on top of the painter’s tape. This protects your wall completely. Do not skip this, whether you’re renting or owning.
Step 4: Start Hanging Panels from the Top Corner — Not the Bottom
This is one of the most important tips I can give you: always start from the top corner and work your way down, never from the bottom up. Why? Because the bottom row is almost always where you’ll need to make cuts to fit the remaining space. You want your full, uncut panels at eye level and above where they look the cleanest, and you save the tricky cuts for the floor-level row where they’re less visible.
I started at the top right corner, pressed my first panel firmly into place, and worked across and down from there. As I placed each panel, I made sure to press the little edge flaps tightly against the neighboring panels so there were no gaps. Gaps look bad and they let panels shift over time — so take an extra second on each one to get them snug and aligned. Once everything is taped and pressed, you’re in great shape.
Step 5: Cut Panels to Size for the Bottom Row
Just as I predicted, the bottom row needed cutting. This is where your tape measure, chalk, and ruler come in. I measured the remaining space at the bottom, marked my cut line on the panel using chalk and a ruler to keep it perfectly straight, then cut with my sharp Wiss scissors. Because these panels are PVC (plastic), they cut cleanly — no saw needed.
Take your time here. I’m not going to lie to you — this part is a little tedious, especially if you have a lot of bottom-row panels to cut. My approach was to cut one panel carefully and get it right, then use that first cut panel as a template for all the remaining ones. I just laid the template on top of the next panel and traced and cut from it. That saved me a ton of remeasuring time and kept all my cuts consistent.

Step 6: Cut Panels Around Electrical Outlets
This was honestly the most challenging part of the whole project, and I want to walk you through it carefully so you don’t lose your mind the way I almost did. I had about nine outlet cutouts to deal with. Here’s the method I used — and it works really well once you get the hang of it.
First, I used “girl measurement” — my totally legit technique where I apply painter’s tape to the wall where the panel will go, press the panel lightly against the tape to transfer the outlet’s position, then use the actual outlet cover to trace the cutout shape in chalk. Then I cut inside the outline, not outside it. This is critical: if you cut on or outside the line, your hole will be too big and you’ll have an ugly gap. Cut inside the line because the outlet cover plate will overlap and hide the edges. I also used sanding blocks to clean up any rough cuts. For stubborn spots I had to trim a little extra, and a couple of times I used small leftover panel scraps secured with painter’s tape to cover any exposed wall color peeking through — nobody looks that closely, and once the outlet cover is on, it’s invisible.
Step 7: Use the Tape Template Hack for Hanging Mirrors
Once all the panels were up, it was time to add the mirrors. Since these panels are PVC, drilling into them is easy — much easier than drilling into wood or drywall alone. But before I drilled anything, I used a simple tape template hack that makes hanging anything perfectly so much easier.
Here’s how it works: take a piece of painter’s tape and hold it up against the back of your mirror where the mounting holes are, then poke through the tape at each hole location. Now you have a perfect template of your mounting hole spacing. Hold the tape up on the wall exactly where you want the mirror, use a leveler to confirm it’s straight, then drill right through the tape holes. Peel the tape off and your holes are perfectly placed every time. I used a laser cube leveler to make sure all my mirrors lined up evenly across the wall — this made a huge difference in the final polished look.
Step 8: Install the Wall Sconces
The sconces were the finishing touch that truly elevated this wall from “pretty” to “stunning.” I used wired sconces (though I’ll link wireless ones too for anyone who wants a simpler install). Before I started, I unplugged everything and followed the included directions — the box literally said “2 minutes to read, save 20 minutes to install,” and that’s completely accurate.
I used the same tape template method for the sconces that I used for the mirrors: tape over the mounting holes on the back of the fixture, poke the holes through, hold it on the wall, and drill. The key thing I want to flag here is to make sure your screws are long enough to reach through the PVC panel and into the actual wall behind it. Short screws will fail. I pre-drilled the holes first, then went in with a regular Phillips screwdriver to tighten the mounting screws since a drill won’t fit in the small fixture housing. Once the base was mounted, I snapped the cover on, tightened the three hex screws, plugged it in, and that was it. The sconces come with a remote that lets you switch between warm light, cool light, and other settings — absolutely love how they look at night.
Tips and Best Practices for This DIY Panel Wall Project
Always use painter’s tape as a buffer under your double-sided tape. I cannot say this enough — that adhesive is powerful and will damage your walls without the painter’s tape layer underneath. This single tip is what makes this project renter-friendly and stress-free for homeowners too.
Spread the project over a few days if you need to. I did this over several days rather than trying to power through it all at once. The outlet cutting in particular is tedious, and rushing leads to sloppy cuts. Doing a few panels a day kept me from getting frustrated and the results stayed clean and precise. If you’re looking for more weekend-paced projects, check out my guide to 5 DIY outdoor curb appeal projects you can do this weekend for more ideas in that same spirit.
Use the tape template hack for everything you hang. Whether it’s mirrors, sconces, shelves, or artwork — take the time to make a tape template with poked holes rather than measuring twice and drilling blind. It sounds like extra work but it saves you from filling unnecessary holes and rehanging things three times. And for any larger wall décor pieces, pairing your panels with large artwork for the wall can make the space feel even more curated and complete.
Use your first cut panel as a template for all identical cuts. This was a game-changer for my bottom row and saved me significant time. One careful cut, then just trace and repeat.
Frequently Asked Questions
Can I do this DIY panel wall if I’m renting?
Yes, absolutely! The key is using painter’s tape as a base layer on your wall before applying the double-sided tape. The painter’s tape protects the paint underneath, and when you’re ready to remove the panels, everything comes off cleanly without damaging the wall. I specifically designed my install with renters in mind, and the panels have stayed up for months with zero issues.
How many boxes of PVC panels do I need?
It depends on your wall size, but for reference, I used four boxes to cover a large dining room wall and had a little material left over. The panels I used are 20×20 inches each. I’d recommend measuring your wall square footage and then buying one extra box as a buffer for cuts and mistakes — better to have too much than run short mid-project.
Do I need special tools for this project?
No special tools required, which is one of the reasons this is such a great DIY home improvement tutorial for beginners. You’ll need scissors (sharp ones — Wiss brand is my favorite), a tape measure, chalk, a ruler, sanding blocks, a basic drill for the mirrors and sconces, and a leveler. That’s genuinely it. The PVC material cuts with scissors, which eliminates the need for any power cutting tools.
What do I do if I have gaps or exposed wall showing around outlets?
Don’t panic — this happened to me too! I cut small scrap pieces from my leftover panel material, secured them with painter’s tape, and tucked them in to cover any exposed wall color. Once the outlet cover plate goes back on, it hides everything. The trick is to always cut your outlet holes slightly inside your traced line so the outlet cover overlaps and covers the edge. And if there’s still a dark gap visible, a tiny dab of black marker blends it right in.
Conclusion: Your Panel Wall is Going to Look Amazing
This project is genuinely one of my favorite DIYs I’ve ever done, and I think it’ll be one of yours too. The combination of the PVC panels, the mirrors, and the sconces creates this rich, layered, high-end look that is completely beginner-accessible. I walked you through every single step — from cleaning the wall and applying painter’s tape, to cutting around outlets, using the tape template hack, and wiring up the sconces. You have everything you need to do this yourself.
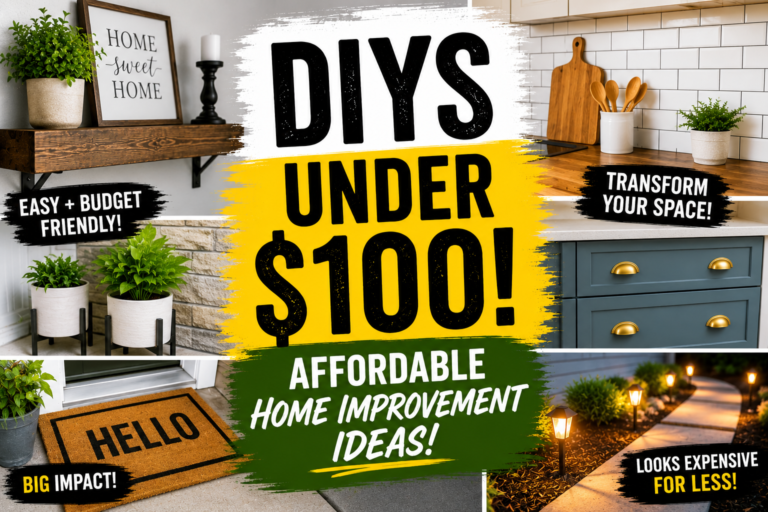
If this project got you excited about what’s possible in your own home, I’d love for you to explore more ideas right here on The DIY Journey. My post on affordable home improvement projects under $100 is full of high-impact upgrades that won’t break the bank. Drop any questions you have in the comments below — I read every single one. And if you try this panel wall, I want to see it! Tag me so I can see your gorgeous results. Happy building!