What happens when you need 25 sofas for a hotel you’re building from scratch — and everyone tells you to just order them overseas? The techniques and material choices here translate perfectly to building one sofa for your living room — the process is identical, just scaled down. That’s exactly the challenge we tackled head-on, and the results might surprise you. Instead of going fully overseas, we took a hybrid approach: source the cushions internationally to keep costs down, but build the sofa frames right here in America using premium domestic materials. The goal was to see if we could come close to competing with straight overseas pricing while still delivering a product with real material quality and craftsmanship.
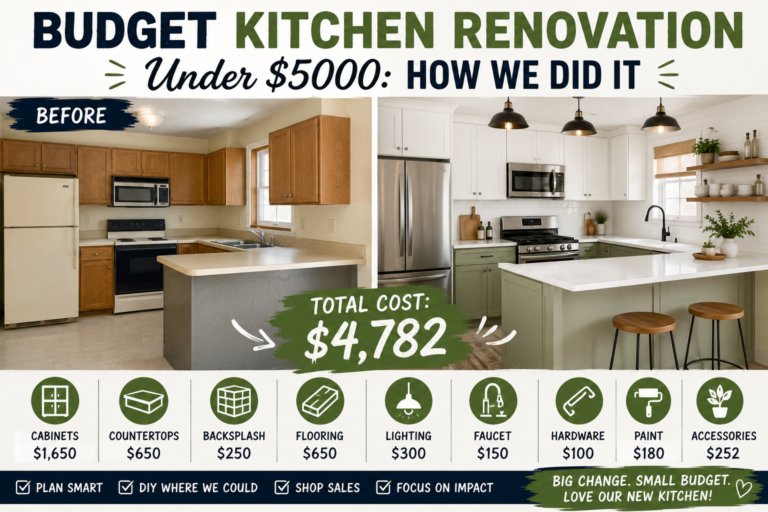
This post breaks down every decision we made — from material selection and tool choices to assembly techniques and the final cost comparison. Whether you’re a DIYer building one sofa or a maker scaling up to production, there’s a ton of practical insight here. And if you love ambitious DIY builds like this one, you’ll definitely want to check out our post on budget kitchen renovation under $5000 — the same cost-conscious thinking applies.
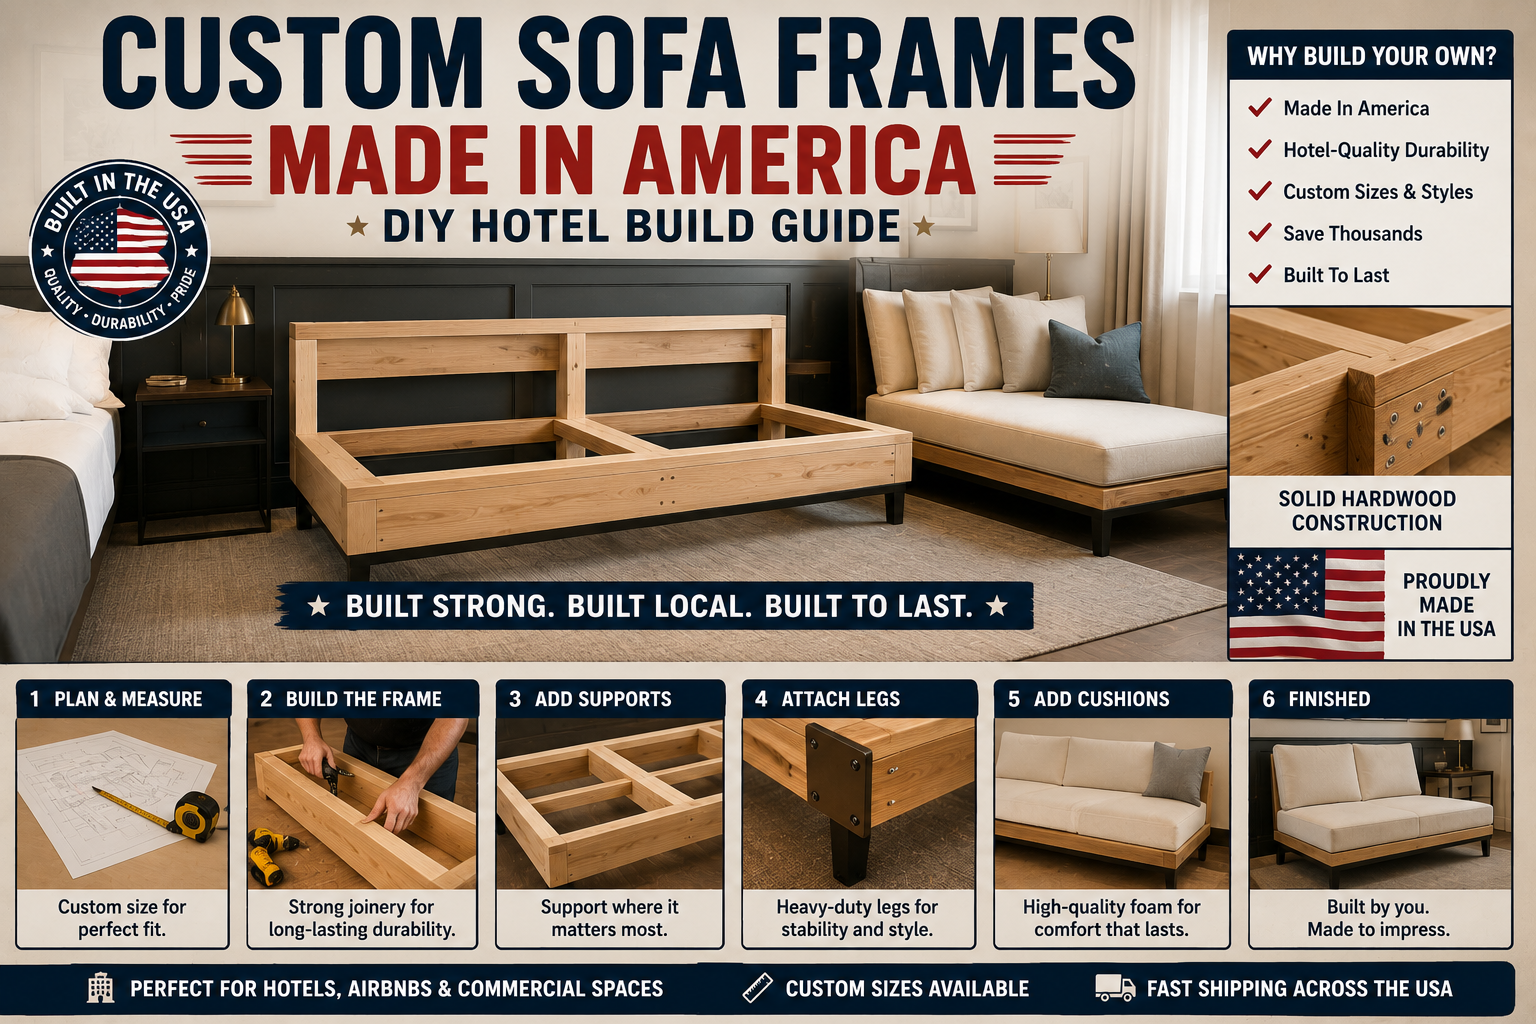
Let’s walk through every step of how we designed, built, and evaluated these custom sofa frames made in America — and what we’d do differently to bring the cost down even further.
Choosing the Right Plywood: Walnut Veneer Europly from Columbia Forest Products
The material choice here was deliberate and worth explaining. We went with walnut veneer Europly from Columbia Forest Products, and yes, it costs more than twice what standard furniture-grade plywood runs. So why use it? First, it’s stronger than regular furniture-grade plywood, which means you actually need less of it to create adequate structural support — that offsets some of the cost. Second, and this is the part that really matters for production efficiency, the exposed edge grain on this plywood looks genuinely beautiful. That means you don’t have to edge band it, which saves real labor time.
When you’re building at scale — even at just 25 units — every hour you save per piece adds up fast. Paying more for a material that eliminates finishing steps is often the smarter financial move than going cheap on material and spending extra hours cleaning it up. The veneers also come out smooth and flat, so you’re not spending much time sanding the faces either. Better material = less labor, and labor is usually where your true costs live.
Designing for Efficiency: 15 to 18 Hours Per Frame
The design goal was specific: build something a person with just a little experience could complete in 15 to 18 hours. At roughly $30 an hour for brought-in help, keeping labor lean was critical to making American-made frames financially viable. The design was worked out organically — cutting strips, holding rough dimensions in mind, and building up individual components as the overall form revealed itself. This flexible approach let the design stay efficient rather than locking into a plan that might waste material or time.
The key insight here is that designing for manufacturability matters as much as designing for aesthetics. A beautiful sofa that takes 30 hours to build is a luxury item. One that takes 15 to 18 hours and still looks great is a viable product. Every design decision — from the way components connect to how the finish is applied — was filtered through the question: does this add time or save it?
Doubling Up the Plywood for Structural Strength
For the legs and the back rest supports, we doubled up the plywood to create slabs that are 1½ inches thick. This serves two purposes: it makes those sections genuinely strong and sturdy, and it gives you plenty of material depth to drive screws into for solid structural connections. The major load-bearing joints are exactly where you need that extra thickness, so doubling up in those specific areas — rather than throughout the entire frame — keeps material use smart and efficient.
For the perimeter of the sofa base, full double-ply wasn’t necessary, but we still wanted it to look thick and substantial. The solution was simple: rip down 1½-inch strips and use them to create a thicker perimeter ledge around the deck. You get the visual weight of a solid base without burning through extra full sheets of plywood. This kind of targeted material use is what keeps a build like this on budget.
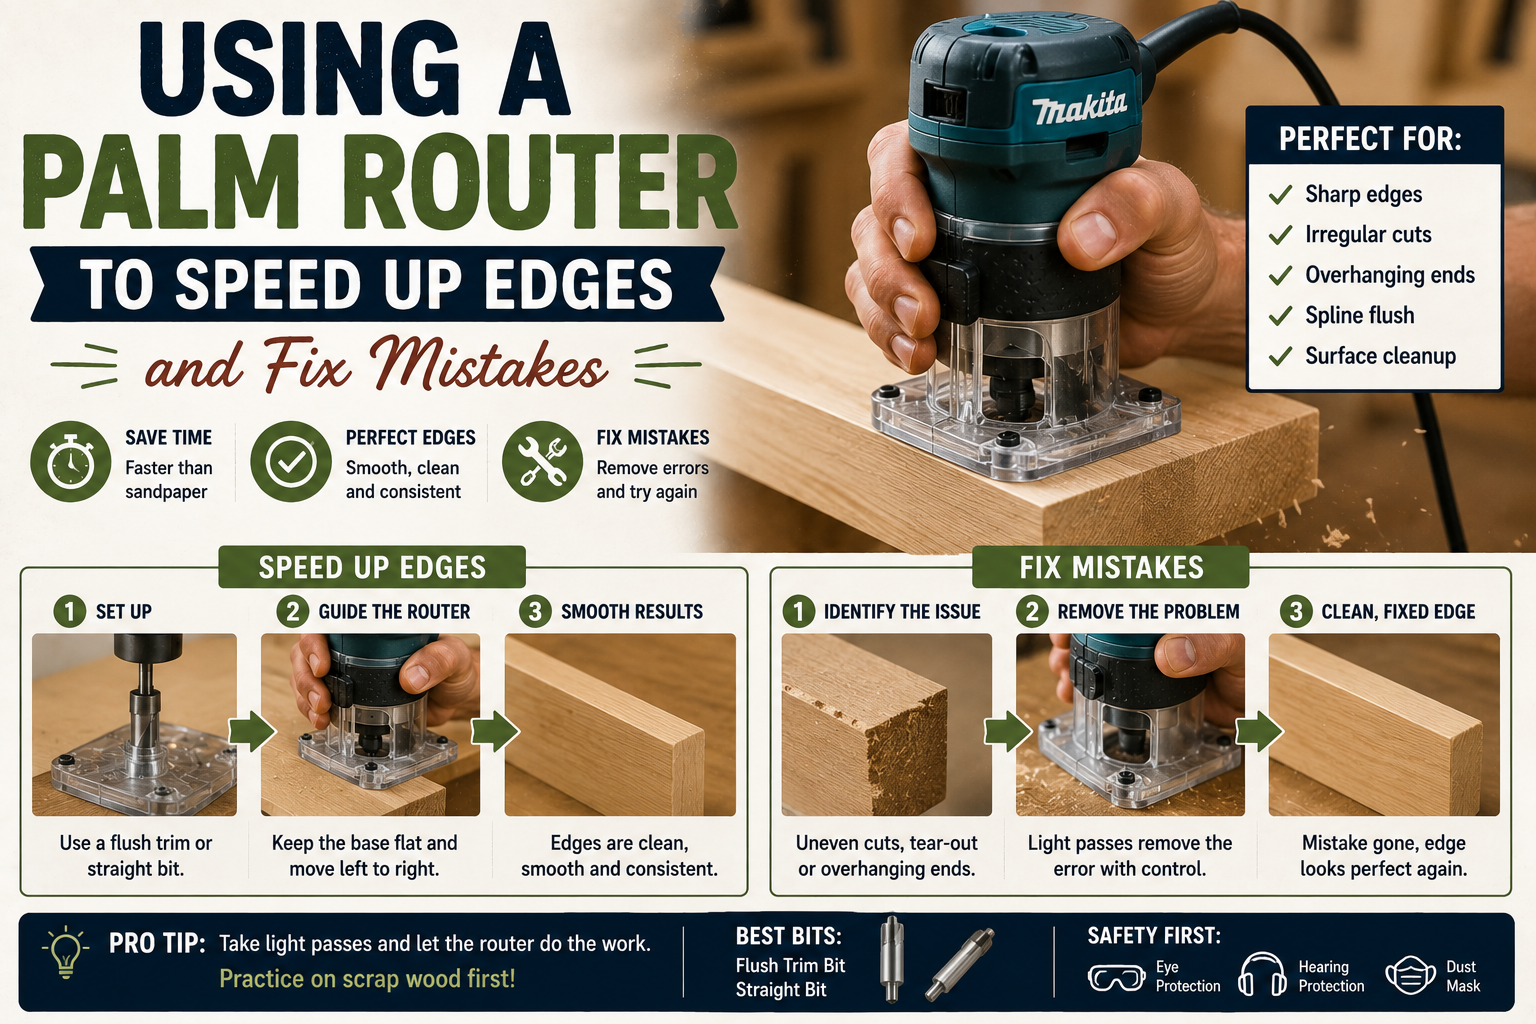
Using a Palm Router to Speed Up Edges and Fix Mistakes
A palm router isn’t strictly required for this build, but it’s one of those tools that genuinely earns its place on a project like this. Routing consistent radiuses on the sharp edges of hardwood-veneer plywood is much faster and more repeatable than trying to sand them by hand. When you’re making 25 frames, consistency matters — you want every edge to look the same without having to eyeball it every time.
There’s also a practical rescue use: if your glue-ups come out with slightly uneven edges (it happens), a flush trim bit on the router cleans those up quickly and reduces the amount of sanding needed afterward. The combination of speed, consistency, and error correction makes the palm router a genuinely worthwhile addition to this kind of production-oriented woodworking.
Making the Angled Backrest Cuts Freehand
The only part of this entire build that requires any real freehand skill is the angled cut for the back rest supports. The doubled-up plywood sections get a line drawn at an angle, and then you follow that line with a circular saw. It’s honestly not that complicated, but it does require some comfort with freehand cutting — the kind of thing that comes with practice. If you haven’t done much of this, definitely do a few practice cuts on scrap wood first before you move to your finished plywood.
Once the angled cuts are done, the process returns to straightforward territory: round over the edges with the palm router, then clean up the cut edges with an orbital sander. The veneer faces themselves don’t need much sanding — they come smooth from the factory. This is another reminder that paying for quality material upfront means less finishing work on your end.
Pocket Holes: Fast, Strong, and Strategically Hidden
Pocket hole joinery does a lot of the structural work in this build, and the design was intentionally laid out to hide the pocket holes wherever possible. They go into the bottom of the back rest and into the legs in spots that will be covered by trim boards. One clever trick used here: the underside of the platform deck was used as a right-angle clamping surface to hold back rest pieces in alignment while pocket screws were driven in. That’s the kind of resourceful, build-smarter thinking that keeps a project moving efficiently.
Pocket holes work especially well here because the doubled-up plywood gives you thick material to bite into. The joints end up genuinely strong — not just quick. If you’re newer to pocket hole joinery and want to explore more efficient DIY assembly methods, our guide on DIY home improvement projects on a budget covers several techniques worth knowing.
Building the Internal Support Frames Between the Legs
The internal support frames that sit between the sofa legs are intentionally simple — about 2½ inches wide, screwed together into basic rectangular frames with pocket holes in multiple directions. These frames get screwed to the underside of the sofa deck, and the legs get sandwiched between two of them so everything is pulled tight and locked in place. Simple doesn’t mean weak here; the sandwiching action creates a really secure connection between the legs and the platform.
Ripping random extra strips as you work is also a habit worth building. They always come in handy when you spot a spot in the assembly that needs a little extra reinforcement — and in a design that evolved organically, those moments happen. Having strips ready means you fix the issue in minutes instead of stopping to rip new pieces.
Applying Rubio Monocoat Finish at the Right Stage
Rubio Monocoat was chosen as the finish specifically because there’s no spray booth involved. It’s a wipe-on oil finish that’s easy to apply, looks great on walnut veneer, and doesn’t require any special equipment. For a production build where you’re finishing multiple units, that simplicity is a genuine advantage. The trick is knowing when in the assembly process to apply it.
Finishing too early — on all the individual pieces at once — is awkward and time-consuming. Finishing too late — once fully assembled — means you can’t get into nooks, corners, and tight joints properly. The sweet spot here was finishing the two leg panels before inserting them between the frames and screwing them in. That staged approach gives you access where you need it without creating an overwhelming finishing job.
Final Assembly: Platform, Frames, Legs, and Felt Pads
The assembly sequence is clean and logical once all the pieces are prepped. The platform goes down, the middle support frame gets screwed to its underside, and then the legs are placed with the two outer frames sandwiching them into position. Spacers and clamps help dial in the fit before everything gets locked down with screws. The result is a frame that’s tight, sturdy, and consistent — important when you’re replicating the same design across 25 units.
One practical finishing touch: felt pads under the feet. This lets you slide the sofa around on finished floors without scuffing them up during staging and placement. Each finished sofa frame uses about 1¾ sheets of plywood and weighs around 140 pounds. For transport and stacking, the plan is to leave the back rests off until the frames are on-site — that way more units fit in the truck per trip.
Sourcing Cushions Overseas: The Hybrid Cost Strategy
The cushions were ordered by the container and came in at about $140 per set — and that was before any tariff changes. The logic for going overseas on cushions specifically is sound: cushion manufacturing involves fabric, foam, and labor-intensive sewing work that’s hard to compete with at domestic prices. The frame, on the other hand, is a woodworking project that plays to the strengths of a skilled domestic shop: quality material sourcing, precision cutting, and the ability to repair and maintain the product over time.
This hybrid model — domestic frames, overseas cushions — is worth considering for anyone doing production furniture builds. You get the material integrity and repairability of a made-in-America frame without trying to out-price overseas labor on every single component. It’s an honest accounting of where domestic production has a real advantage and where it doesn’t.
Head-to-Head Comparison: American-Made Frame vs. Fully Overseas Sofa
To make a real apples-to-apples comparison, a fully overseas prototype — frame, cushions, everything — was brought into the adjacent hotel room. The overseas sofa was ordered with a walnut veneer, but what arrived had the veneer painted on rather than being actual wood veneer. It’s sturdy. It wouldn’t fall apart. But it lacks the material honesty and subtle sensibility of real walnut veneer Europly. Side by side, the difference is visible if you know what you’re looking at.
On price, the American-made frames came in within roughly 10 to 20% of the overseas price — not fully competitive yet, but closer than expected. Shipping costs are also tricky to attribute fairly when overseas products are consolidated in containers with other items. Beyond price, the American-made version wins clearly on material sourcing transparency, repairability, and long-term maintainability — factors that matter a lot more in a hotel setting than in a single-family home.
The Hotel Build: 65 Rooms, 500 Pieces of Furniture, 180 Acres
The context for all of this is The Reset Hotel — a 65-room property on 180 acres in Joshua Tree, built using steel frame modules that look like shipping containers but are purpose-built. The engineering advantages of purpose-built modules meant better insulation against the desert heat and more control over how rooms were laid out. Over the course of about a year, the three-person team built approximately 500 pieces of furniture for the property — an extraordinary undertaking for a DIY operation.
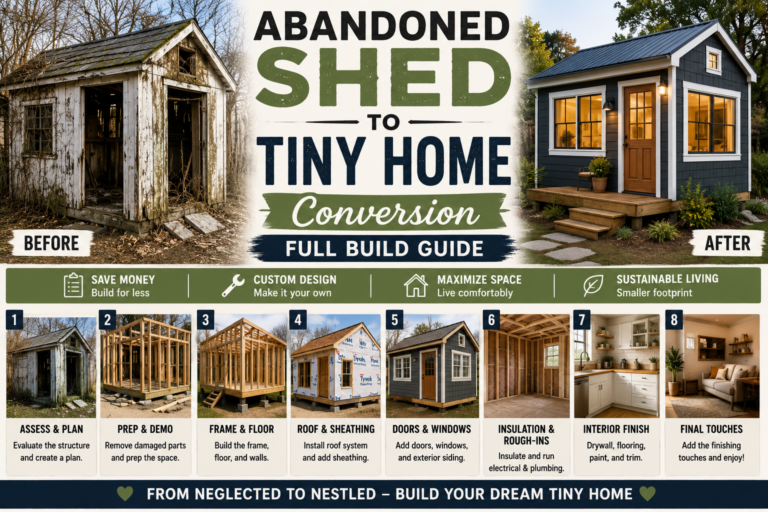
Beyond sofas, the project included custom French cleat shelving systems, handmade artwork like rock vases and epoxy-covered mirrors, and upcoming foldout desks designed specifically for the narrow module footprint. The Columbia Forest Products walnut veneer Europly shows up throughout the hotel, creating a visual consistency that ties the whole property together. For anyone inspired by large-scale DIY builds, our guide to abandoned shed to tiny home conversion explores a similarly ambitious transformation.
How to Drop the Price Further: Remove the Backrest
If the goal is to fully close the price gap with overseas manufacturing, the most impactful single change would be eliminating the back rest entirely. The back rest isn’t the most material-intensive part of the sofa, but it is the most labor-intensive — it’s the most intricate piece of the build and the hardest to make quickly. Removing it and replacing it with a round bolster pillow positioned at the right angle could save roughly four hours of labor per unit.
At $30 an hour, that’s $120 saved per sofa in labor alone. Across 25 units, that’s $3,000 — enough to likely tip the scales past the overseas pricing. The aesthetic trade-off is real but manageable: a well-chosen bolster pillow can look intentional and even more relaxed than a fixed back rest, which suits a desert hotel vibe quite well. This is exactly the kind of cost-engineering thinking that separates a viable production build from a one-off project.
Tips and Best Practices for Building Custom Sofa Frames
Invest in better plywood upfront. The cost of premium veneer plywood like Columbia Forest Products Europly pays for itself in saved labor — less sanding, no edge banding, and stronger joints that need less material to support them. Don’t cheap out on the material and then spend hours making up for it in finishing work.
Stage your finishing strategically. Don’t try to finish all pieces individually before assembly, and don’t wait until the frame is fully assembled. Find the middle stage — after sub-assemblies are built but before final attachment — and finish then. It’s the access sweet spot. Also, practice your freehand circular saw cuts on scrap before committing to finished plywood, especially for angled cuts like the backrest supports.
Design for production from the start. If you’re building more than one of anything, every hour per unit multiplies. Eliminate steps that don’t add visible value, use pocket holes where joints can be hidden, and keep a supply of ripped strips handy for unexpected reinforcement needs. The best production builds are the ones where the design itself solves the efficiency problem — not just the builder’s speed. You might also find inspiration in our post on built-in bookcase IKEA vs custom, which digs into similar make-vs-buy decision-making.
Frequently Asked Questions
How much does it cost to build a custom sofa frame made in America?
Using walnut veneer Europly from Columbia Forest Products, each frame uses about 1¾ sheets of plywood. At current plywood prices plus roughly 15 to 18 hours of labor at $30/hour, you’re looking at a total cost that comes within 10 to 20% of a comparable fully overseas-manufactured sofa. Exact costs will vary based on your local lumber prices and labor rates, but the hybrid model — domestic frames plus overseas cushions at around $140 per set — makes the math workable for production quantities.
What tools do you need to build a sofa frame from plywood?
The core tools are a table saw or track saw for ripping strips and cutting panels, a circular saw for freehand angled cuts, a pocket hole jig for joinery, an orbital sander for smoothing cut edges, and a palm router for rounding over edges consistently and trimming uneven glue-ups. The palm router is optional but highly recommended for production work. A drill and clamps round out the basic toolkit.
Is walnut veneer Europly worth the extra cost for furniture building?
For furniture that will be seen and touched regularly — like a hotel sofa — yes, absolutely. The strength advantage means you use less material for structural sections, the beautiful edge grain eliminates edge banding labor, and the smooth face veneers reduce sanding time significantly. The premium pays for itself in labor savings and produces a noticeably better-looking result than standard furniture-grade plywood, especially when compared side-by-side with painted-on veneer finishes from overseas suppliers.
How can you reduce the labor cost of building sofa frames at scale?
The single biggest lever is redesigning or eliminating the most labor-intensive component — in this case, the back rest. Replacing a fixed plywood back rest with a round bolster cushion saves approximately four hours of labor per unit, which at $30/hour is $120 per sofa. Other strategies include using pocket hole joinery to speed up connections, choosing materials that require less finishing prep, applying finish at the optimal mid-assembly stage, and standardizing all your cuts so team members can work in parallel without stopping to problem-solve.
Final Thoughts
Building custom sofa frames made in America for a 65-room hotel is one of the most ambitious DIY furniture projects you’ll come across — and the takeaways apply whether you’re building one sofa or fifty. Smart material choices, design efficiency, staged finishing, and honest cost accounting all work together to make domestic manufacturing competitive with overseas alternatives. You won’t always win on raw price, but you’ll win on quality, repairability, and the satisfaction of knowing exactly where your materials came from.
If this kind of production-scale DIY thinking excites you, explore more of our in-depth build guides here on The DIY Journey. And if you try this sofa build — whether for one room or a whole property — drop a comment below and let us know how it went. We’d love to see what you make.