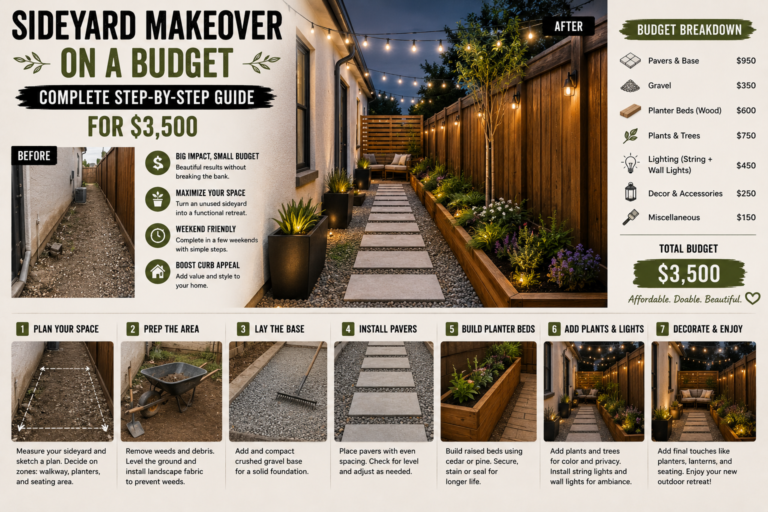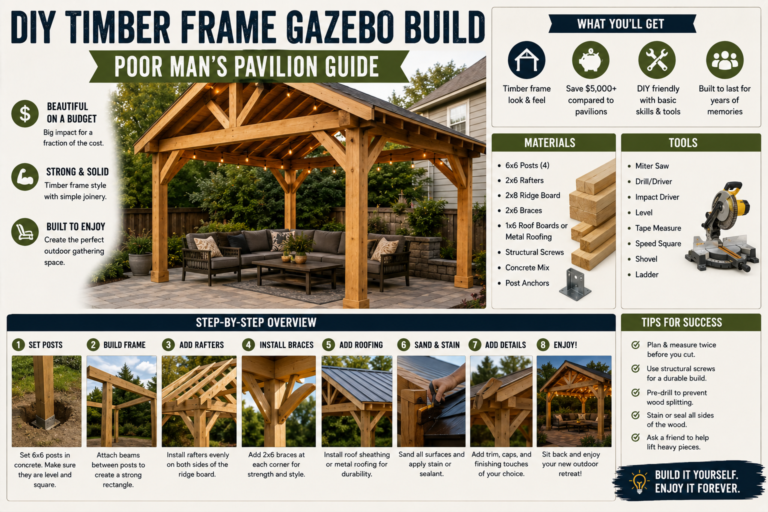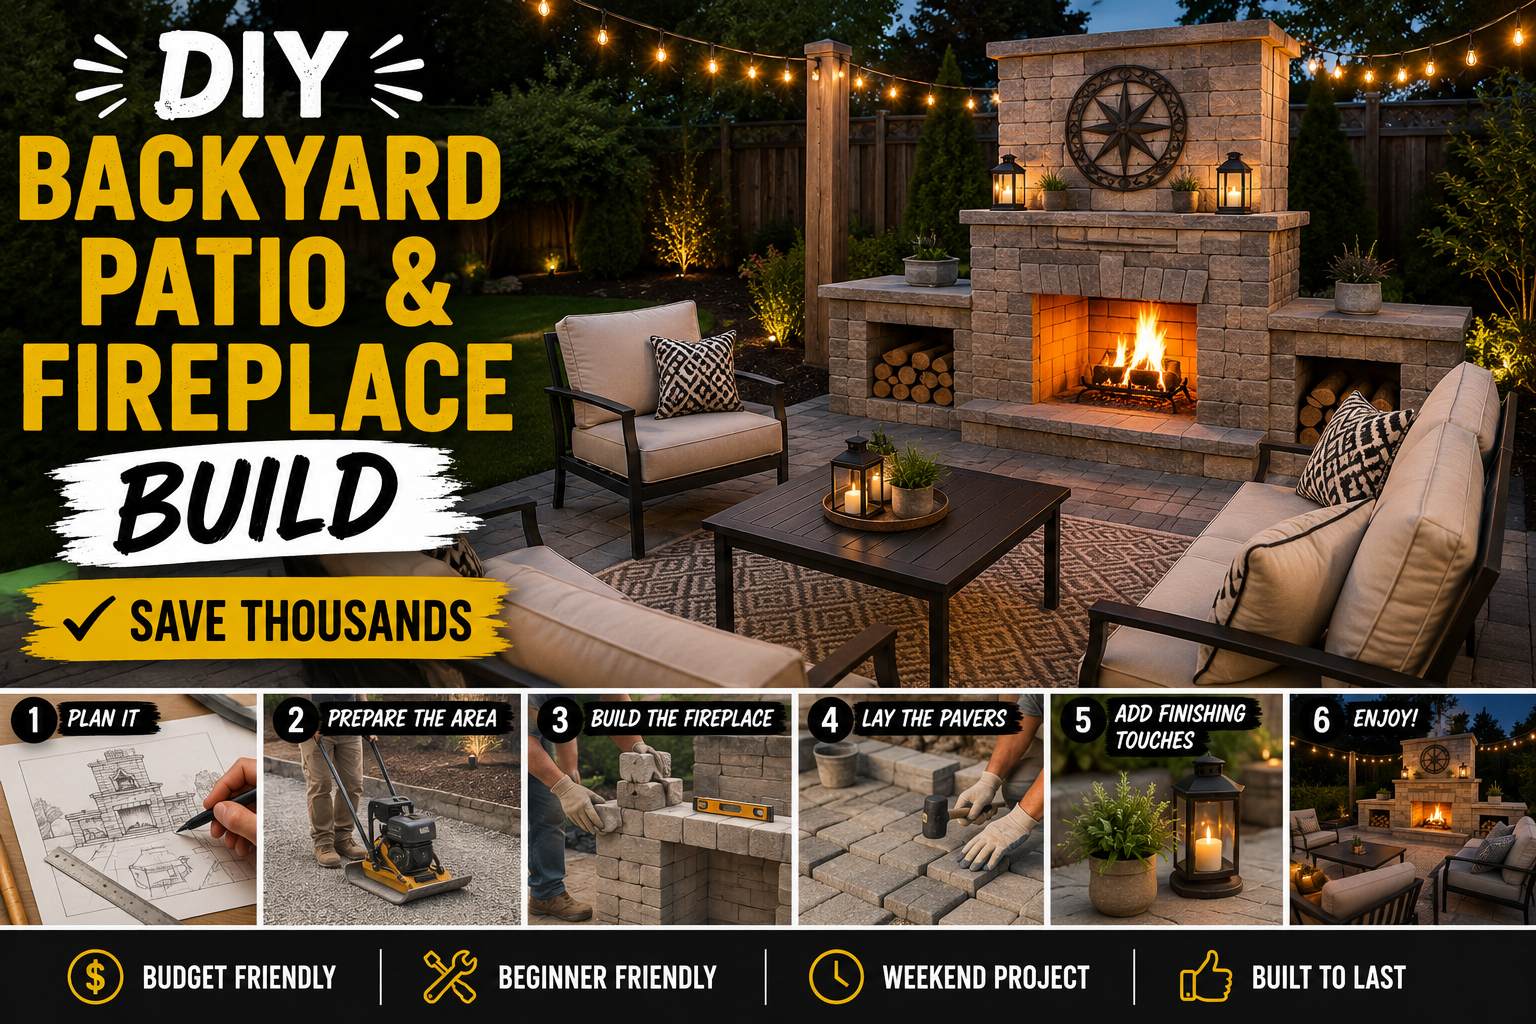
When a contractor hands you a $20,000 quote just to build a patio and outdoor fireplace, your first instinct might be to choke on your coffee. That’s exactly what happened here — and instead of signing the check, the decision was made to figure it out solo. The result? A stunning 18×20-foot paver patio, a fully custom outdoor fireplace, DIY furniture, landscaping, and even an outdoor cinema setup, all built from scratch and documented every step of the way.
This project started out of necessity. Two dogs had turned part of the backyard into what can only be described as a sand pit, and the amount of dirt tracking into the house was getting out of hand. The goal was to lay a large paver patio to cut down on the mess, add a fireplace for ambiance, and turn the whole space into somewhere worth actually spending time. If you’ve been thinking about tackling a DIY backyard patio fireplace build, this guide walks you through every phase of the process — no experience required.
Fair warning: this project involves a lot of back-breaking work, concrete mixing, and the occasional “why did I start this” moment. But the payoff is absolutely worth it. Let’s get into it.
Step 1: Ground Preparation — Renting a Tiller and Compactor
Before a single paver touches the ground, you need a solid, flat base — and getting there is more work than most people expect. The first step was removing the old pavers already in the yard (which were saved and reused later), then renting a tiller to break up the compacted dirt. This makes it infinitely easier to move the soil around and get things level. A metal rake and shovel came next to flatten everything out as much as possible by feel.
Once the surface looked reasonably flat, a 2×4 was used as a screed board — dragging it back and forth across the area to find high spots and low dips. This step alone was described as “a hell of a workout,” and anyone who’s done it will agree. After screeding, a rented plate compactor was run over the entire area three or four times to compress the dirt thoroughly. The key detail here is making sure there’s a slight pitch angled away from the house so rainwater drains outward rather than pooling near the foundation. A level and 2×4 combo helped dial this in before returning the compactor.
Step 2: Weed Barrier and Leveling Sand
With the ground compacted and graded, the next layer is a weed barrier fabric laid across the entire area. This prevents weeds from pushing up through the paver cracks over time — skipping this step is something you’ll regret in about six months. Once the barrier was down, it was time to add leveling sand.
Rather than buying individual bags from a big-box store (which would have cost over $800 at roughly $8 per bag times 100+ bags needed), the sand was sourced from a local bulk supplier for around $200 delivered. The tradeoff? Spending the rest of the day wheelbarrowing it all to the backyard with help from a son who probably didn’t volunteer for that job. To level the sand precisely, ½-inch PVC pipes were laid into the sand as screed guides, pitched slightly away from the house, and a 2×4 was dragged across them to create a perfectly even surface.
Step 3: Building the Retaining Wall to Border the Patio
Before laying any pavers, a small retaining wall was built to separate the patio from the rest of the yard. The base layer went down on leveling sand, and construction adhesive was used between each row to bond the blocks together. One important lesson learned the hard way here: always remember to stagger your blocks so the seams don’t line up vertically. The adhesive was still wet when this mistake was caught, so the blocks were shifted over and a half-block was cut using a wood chisel — just score around the entire block repeatedly until it splits cleanly.
Running out of blocks mid-wall is a real possibility on a project this size, and that’s exactly what happened. Rather than stopping everything to make a store run, the decision was made to pivot and start laying pavers in the meantime — a good reminder that flexibility keeps a DIY project moving forward.
Step 4: Laying 218 Pavers in 2.5 Days
Installing pavers is one of those tasks that’s physically punishing while you’re doing it but deeply satisfying once it’s done. For this project, paver base panels were used instead of the traditional thick gravel sub-base. These panels (about $11 each) allow you to use just half an inch of leveling sand rather than several inches of compacted gravel, which saves significant time. Once the system was dialed in, the pace picked up considerably — and with a neighbor’s golf cart helping transport pavers to the backyard (shoutout to Tom), 218 pavers were laid in just two and a half days.
The process was straightforward and repetitive: set paver base panel, set paver, check for level, move on. Getting a rhythm going is the key. When a cut was needed — like at a drop-off point where a step was added to connect to a gym area — the paver was cut carefully, with a reminder not to breathe in the dust from cutting concrete materials.
Step 5: Concrete Edging, a Step, and Polymer Sand
With all the pavers down, the edges needed to be locked in. On one side of the patio where there was a drop-off, a small retention wall was built using mixed concrete poured along all the edges. This serves a dual purpose: it keeps the leveling sand from washing away when it rains, and it locks the outer pavers in place so they don’t shift underfoot. A concrete edging trowel gave the border a clean, finished appearance.
The step leading down to the gym was built by pulling up a few already-laid pavers, setting support blocks underneath, replacing the pavers, and adding a second row of pavers for the lower step. Once all the edges were sorted, the entire patio was finished with polymer sand — spread over the pavers with a deck brush, tamped down to fill the cracks fully, blown clean with a leaf blower, then lightly misted with water. After it cures for a couple of days, it hardens and locks everything in place permanently.
Step 6: Sealing the Patio with Stone Sealer
Before moving on to the fireplace, the completed patio was sealed using Black Diamond Wet Look Stone Sealer — a product used before with great results. It protects the pavers from staining and makes them highly water-repellent. You can see the difference immediately after application; the color pops and the surface has a subtle sheen. This step adds longevity to all the hard work that went into the installation and is well worth the extra time.
You can also add these 5 DIY Outdoor Curb Appeal Projects You can do in a Weekend.
Step 7: Pouring the Fireplace Footer and Building the Cinder Block Base
Now for the centerpiece: the outdoor fireplace. Having never built one before, the design came from research and some Pinterest inspiration courtesy of the wife. The first step was digging out a spot for a concrete footer — the foundation that everything else sits on. Forms were built from 2×4s, leveled carefully, and the bottom of the hole was filled with about an inch of small rocks that were then compacted down hard.
The footer was poured in two stages: fill halfway, lay in rebar for reinforcement, then top it off and screed the surface flat. After a day and a half of curing, the forms came off and cinder blocks were set in Type S mortar to begin building the fireplace body. Each block was checked for level and square, corners were reinforced with rebar and filled solid with concrete, and the interior cavities were filled with leftover sand before being topped with concrete as well.
Step 8: Building the Fireplace Arch, Chimney, and Concrete Lintel
As the walls got taller, the front was left open to create the firebox opening. At the top of the opening, a custom concrete lintel was formed using 2×10 lumber as a temporary mold. This concrete “bridge” spans the open front and supports the chimney blocks above it. Rebar was added mid-pour for strength, bubbles were tapped out with a mallet, and it was left to cure for three full days before the forms were removed. The result was impressively solid.
To taper the chimney as it got taller, metal corner trim pieces were installed to support additional pavers that reduced the opening size — essentially stepping the chimney inward. Four more layers of cinder block were added on top to complete the chimney stack. The heavy cap stone (over 80 lbs) was muscled up a ladder and set on corner blocks to allow smoke to escape, with no adhesive needed because the weight alone holds it in place.
Step 9: Stucco, Fire Brick, and Painting the Fireplace
A raw cinder block fireplace works fine structurally but looks like something out of a video game. To fix that, cut paver pieces were applied to the exterior, followed by two layers of stucco. The key tip here: the first layer needs stucco mesh embedded in it for adhesion, and if the mix keeps falling off the wall, it needs more water. Getting the consistency right takes a little trial and error. The final layer was applied as smoothly as possible since it would be the surface under the paint.
Inside the firebox, fire brick was installed in a herringbone pattern using 3M fire block sealant. The fire brick was the most expensive component of the entire build — $42 for every six pieces — so the pattern was mapped out on the ground first and all pieces were pre-cut before a single one went on the wall. After the stucco cured for 48 hours, the whole exterior was painted in “Patient Beige” (full credit to the wife on the color choice) with two coats to account for the stucco’s absorption.
Step 10: Capping the Retaining Wall
With the fireplace done, the retaining wall that bordered the patio needed a finished top edge. Cap stones were glued on one by one using brick and stone adhesive for a clean, polished look. It’s a small step but makes a huge difference in how professional the final result looks — the kind of detail that elevates a DIY build from “pretty good” to “did you hire someone?”
Step 11: Landscaping with Plants and Mulch
This was described as the favorite part of the entire project, and honestly it shows. A trip to Lowe’s loaded up with plants, which were installed around the patio edges in deep holes filled with potting mix for extra nutrients. Weed barrier fabric and mulch were layered around each plant for a tidy, low-maintenance finish. Landscaping transforms a hardscape project from a functional slab into an actual outdoor retreat — don’t skip it.
A fun bonus discovery: an old 1986 Pepsi bottle was unearthed while digging on one side. It was washed off and kept as a conversation piece. Sometimes DIY projects come with surprises.
Step 12: Building DIY Outdoor Furniture from Pressure-Treated Wood
Rather than paying the outrageous prices seen online for outdoor furniture, kiln-dried pressure-treated lumber was picked up from a local lumber yard and a custom bench was built from scratch. The design featured mitered 4×4 legs, a slatted 2×4 seat base, and angled triangle brackets for the backrest — that slight lean makes a huge difference in comfort. After routing all the edges, sanding thoroughly, and applying exterior stain, the bench was sized specifically to fit cushions bought from Amazon.
Using kiln-dried wood rather than standard pressure-treated lumber means you don’t have to wait for the wood to dry before staining — worth the small extra cost if you want to finish the project in the same season you started it.
Step 13: Setting Up a Robotic Lawn Mower
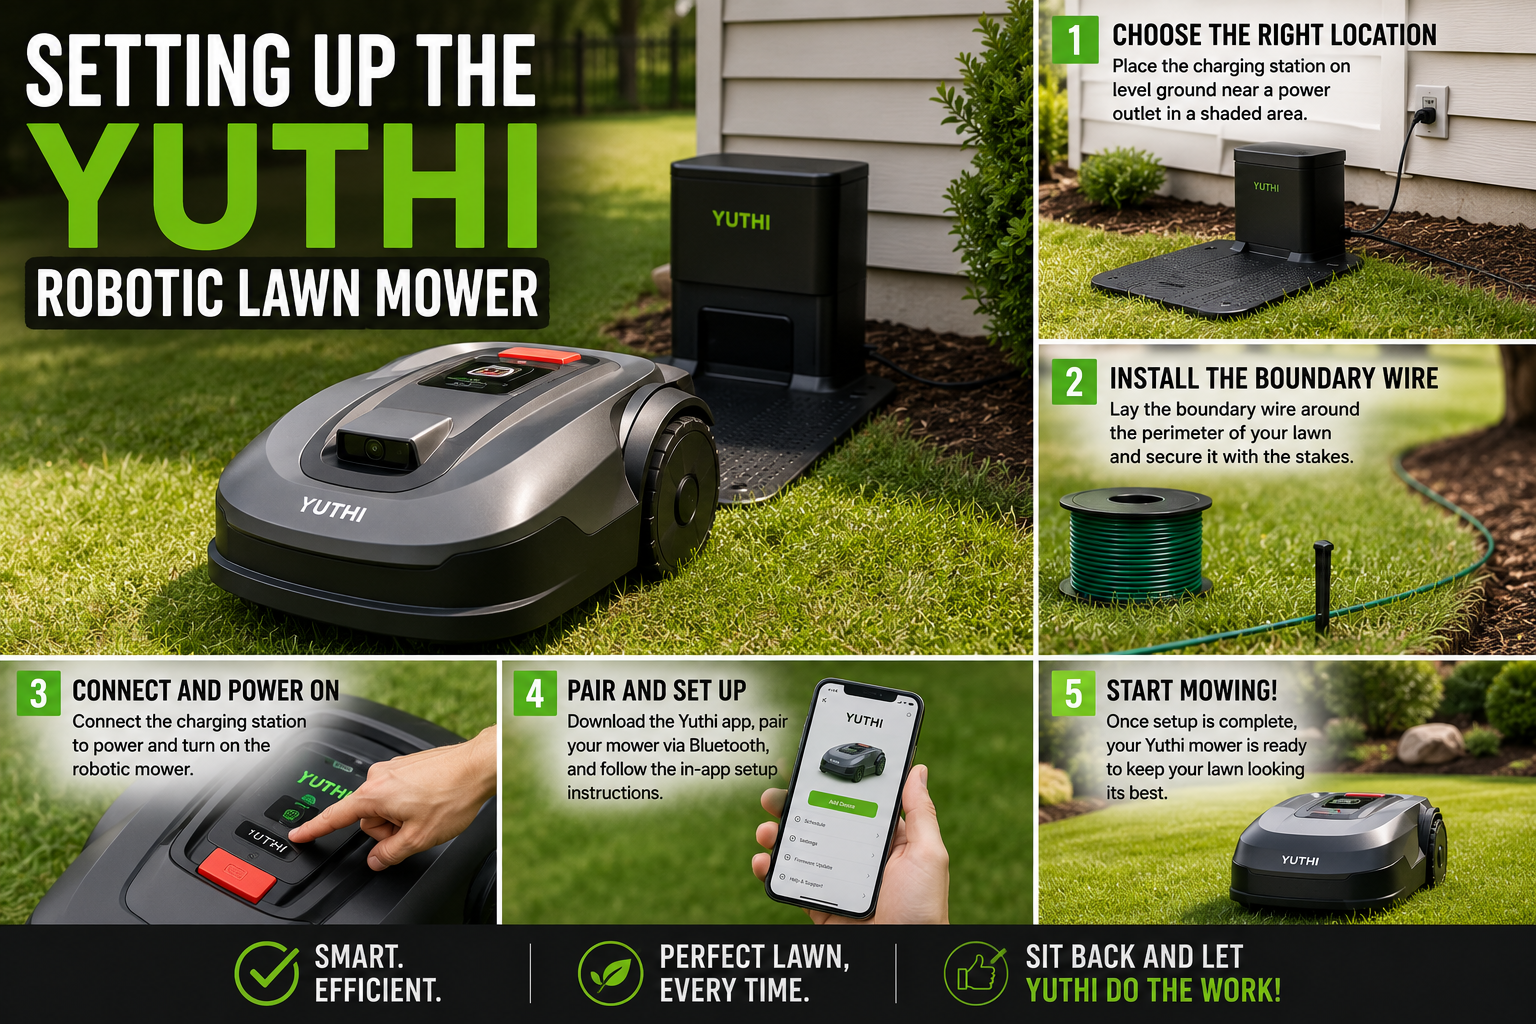
While waiting for concrete to cure during the fireplace build, a Yuthi robotic lawn mower was installed — described as “the world’s first ready-to-use robot lawn mower.” The home base was mounted directly into pavers near the house for power and Wi-Fi access, and setup took less than five minutes via the companion app. The mower mapped the entire yard automatically, remembers the layout, avoids obstacles like pets and pools, handles up to a 40° slope, and returns itself to the base to charge when the battery runs low. It earned a 10 out of 10 rating.
Step 14: Installing an Outdoor Cinema Projector Setup
The finishing touch on the backyard transformation was an outdoor cinema setup using a Nebula cinema kit. Metal posts were set into concrete-filled flower pots to create freestanding screen supports, and the Nebula projector — which comes with cinema-grade Wi-Fi speakers for surround sound — was mounted to project onto the screen. Combined with the fireplace and the new furniture, this turned the patio into a legitimate outdoor entertainment space.
Tips and Best Practices for Your DIY Backyard Patio Fireplace Build
Pitch always away from the house. Every layer — compacted soil, sand, pavers — should slope slightly away from your foundation. Even a small amount of drainage pitch prevents serious water damage over time.
Buy sand in bulk, not by the bag. If you need more than 20 bags, call a local landscape supplier. Bulk delivery is dramatically cheaper and saves multiple store trips.
Rebar is not overkill. For any concrete footer, lintel, or filled cinder block corner, rebar adds structural integrity that will matter in five or ten years. Use it.
Map out your fire brick pattern before you start gluing. Cut everything first on the ground, confirm the fit, then install. Fire brick is expensive — you don’t want to waste pieces on mistakes.
Let stucco cure fully before painting. At least 48 hours. Rushing this causes the paint to peel as moisture escapes from underneath.
Buy kiln-dried lumber for outdoor furniture if you want to stain it right away. Standard pressure-treated wood needs months to dry before it accepts stain or sealer properly.
Frequently Asked Questions
How much does a DIY backyard patio and fireplace build cost compared to hiring a contractor?
In this project, a contractor quoted nearly $20,000 for the patio and fireplace alone. The DIY version came in at a fraction of that cost — the exact breakdown was promised at the end of the video, with the fire brick being called out as the single most expensive component at $42 per six pieces. Labor savings on a project this size can easily exceed $10,000–$15,000.
Do I need any special tools to build a paver patio?
You’ll need a few rentals: a tiller, a plate compactor, and possibly a wet saw for cutting pavers. Day-to-day tools include a metal rake, a 2×4 for screeding, a level, a tamper, a deck brush, and a leaf blower for polymer sand. Paver base panels can replace the need for a thick gravel sub-base, simplifying the tool list.
What kind of mortar should I use for an outdoor fireplace?
Type S mortar is the right choice for setting cinder blocks on an outdoor fireplace. It’s stronger and more weather-resistant than standard Type N mortar. For the interior fire brick, use a dedicated fire block sealant or refractory mortar rated for high temperatures.
How long does it take to build a DIY paver patio and outdoor fireplace?
The patio alone — ground prep through sealing — took roughly one week including cure times. The fireplace added several more weeks due to multiple concrete pours that each needed two to three days to cure. Budget four to six weeks total for a project of this scale if you’re working weekends.
Can a beginner really do this project without prior experience?
Yes — the builder of this project had never built a fireplace before. The keys are doing your research upfront, taking your time on the foundational steps (literally — a bad footer or uneven base causes problems for everything above it), and being willing to problem-solve when things don’t go perfectly. None of the individual skills here are beyond a motivated first-timer.
Conclusion: Your Backyard Transformation Starts Now
From a dog-destroyed sand pit to a fully finished outdoor living space complete with a paver patio, custom fireplace, built-in furniture, landscaping, and a cinema setup — this entire DIY backyard patio fireplace build proves that with some planning, rented equipment, and a willingness to get your hands dirty, you can build something truly impressive without paying contractor prices. The back will be sore. The concrete will take forever to cure. You will run out of blocks at the worst possible time. And it will absolutely be worth it.
Ready to start your own backyard project? Pick one phase from this guide, price out your materials, and take that first step. The hardest part is always just getting started — and once that first row of pavers is down, you won’t want to stop.