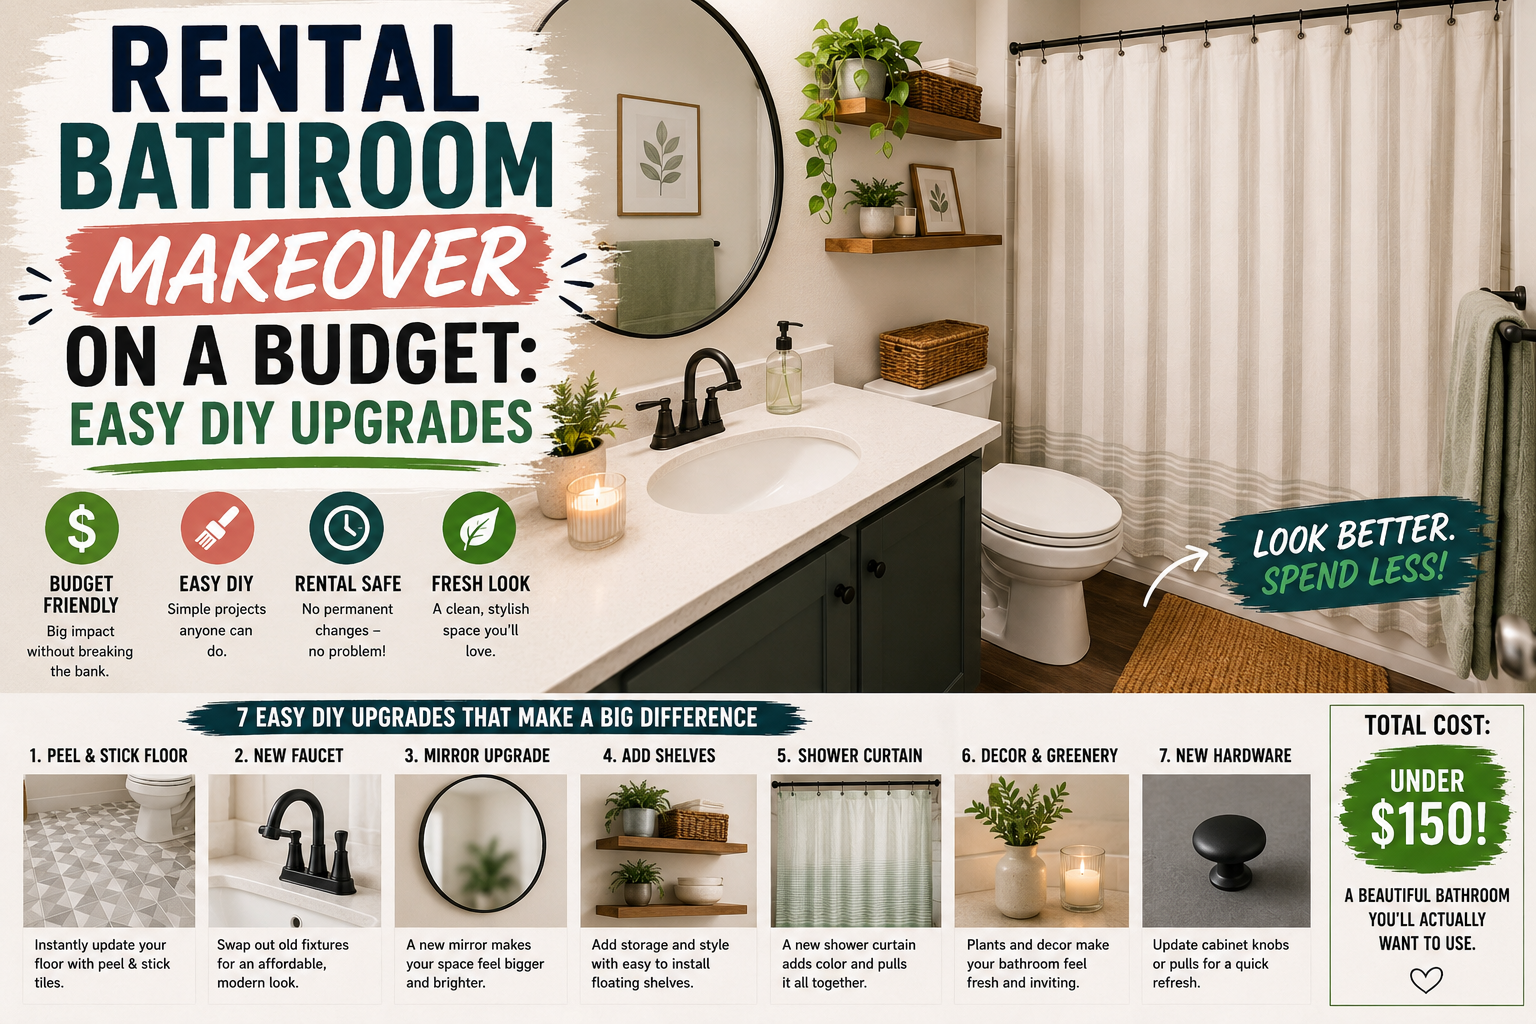
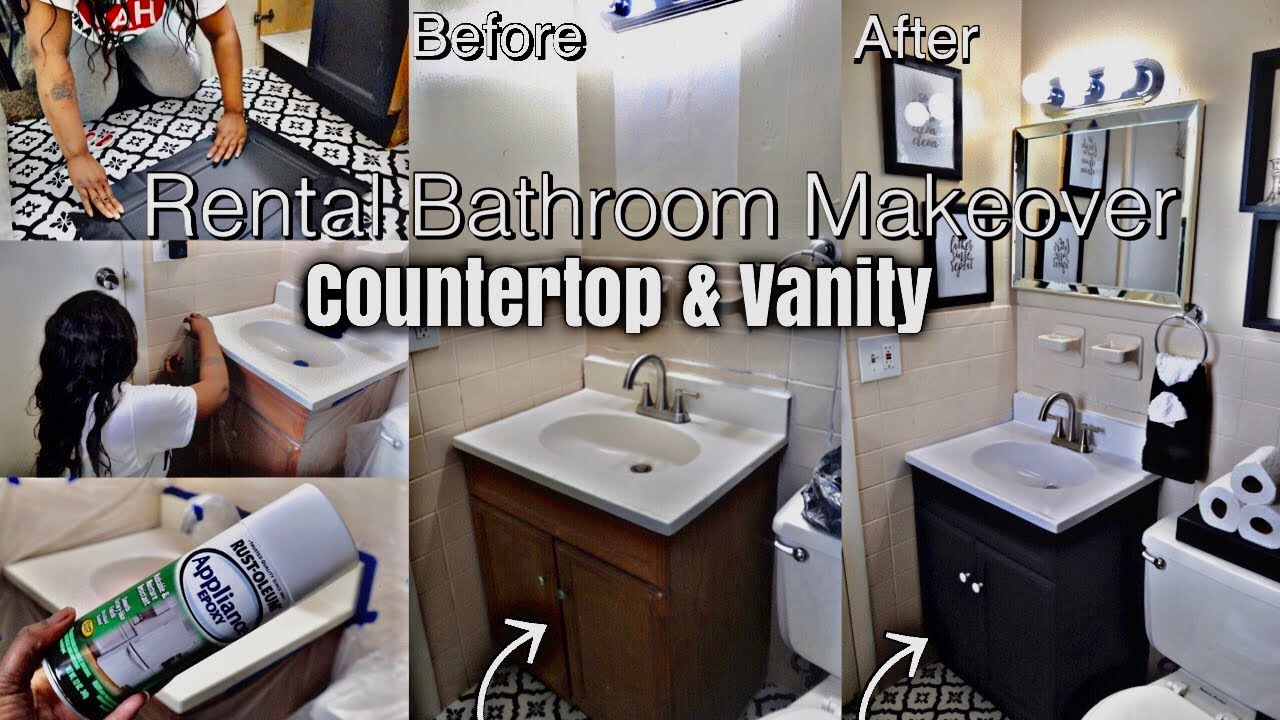
If you’ve been staring at your outdated rental bathroom wondering what on earth you can do without losing your security deposit, I’ve got you. This is part two of my rental bathroom makeover series, and I’m walking you through every single upgrade I made to turn a bland, builder-grade bathroom into something that actually makes me smile every morning. And the best part? I did it all on a tight budget without owning the place.
I firmly believe that just because you’re renting doesn’t mean you have to live with a space that doesn’t inspire you. Whether it’s a bulky old faucet, dull countertops, or dated cabinets, there are so many renter-friendly ways to elevate your bathroom without doing anything permanent or expensive. I’ve pulled together everything I did — every product, every technique, every dollar spent — so you can do the same thing in your own space. If you love affordable home improvement projects under $100, this one is right in your wheelhouse.
Before I dive in, here’s a quick materials list to get you started: painters tape, epoxy spray paint, contact paper, plastic drop cloth, and scissors. That’s really all you need for the big transformations I’m about to show you. Let’s get into it.
Step 1: Swap Out the Old Faucet for an Instant Upgrade
The very first thing I tackled was replacing the faucet. My old one was seriously outdated — big, bulky, and honestly just sad-looking. Since I was already planning to refresh the countertops, it made perfect sense to upgrade the faucet at the same time. There’s no point making the counter look great if the faucet is still dragging everything down.
I found a gorgeous faucet on Amazon for about $35. I absolutely love the elegant curves and the beautiful handles — it just looks so much more polished and modern. Installing it was straightforward: remove the old one, drop in the new one using the existing holes, and you’re done. One of the most important things I noticed right away is how much a single faucet swap can change the entire vibe of a sink area. It’s one of those small changes that delivers a really big visual payoff.
Step 2: Prep and Protect Everything Before Spray Painting
Once the new faucet was in, I needed to protect it — and everything else in the bathroom — before applying the epoxy spray paint. This prep step is honestly just as important as the painting itself. Skipping it means overspray on your walls, floor, toilet, and cabinets, which is a mess you really don’t want to deal with.
I wrapped the new faucet tightly with plastic and secured it with painters tape to make sure no paint could creep in. Then I used a plastic drop cloth to cover the cabinet below the sink, the toilet, and the floor near the door. I also taped off the wall area surrounding the countertop. Once everything was masked off properly, I felt confident moving forward. And yes — grab a mask before you do this. You’ll also want to crack open any windows and make sure the bathroom is well-ventilated. Epoxy spray paint has fumes, so don’t skip those safety steps.
Step 3: Apply Epoxy Spray Paint to the Countertops
This was genuinely one of my favorite parts of the whole makeover. I used Rustoleum Appliance Epoxy Spray Paint in White, and I picked it up on Amazon for about $4. Four dollars, you guys. For a complete countertop transformation. I still can’t believe how affordable this project was compared to how dramatic the results looked.
Before spraying, I shook the can for a full minute to make sure everything was mixed properly. Then I applied the paint in long, even strokes to keep the coverage consistent and avoid drips or uneven spots. The key is to maintain the same stroke direction throughout so it dries with a smooth, professional finish. While the countertops were drying, I moved on to the next part of the makeover so I wouldn’t lose any time. The final result? A crisp, bright white that completely replaced the old cream color and made the whole bathroom feel bigger and fresher instantly.
Step 4: Paint the Sink Cabinet with Black Spray Paint
While the countertops dried, I turned my attention to the sink cabinet. It had that old-fashioned wood grain look that felt really dated — like something out of the early 2000s. I’d been eyeing it the whole time, and I knew a coat of black spray paint was going to completely transform it. Black is just so timeless, chic, and elegant — it never goes out of style.
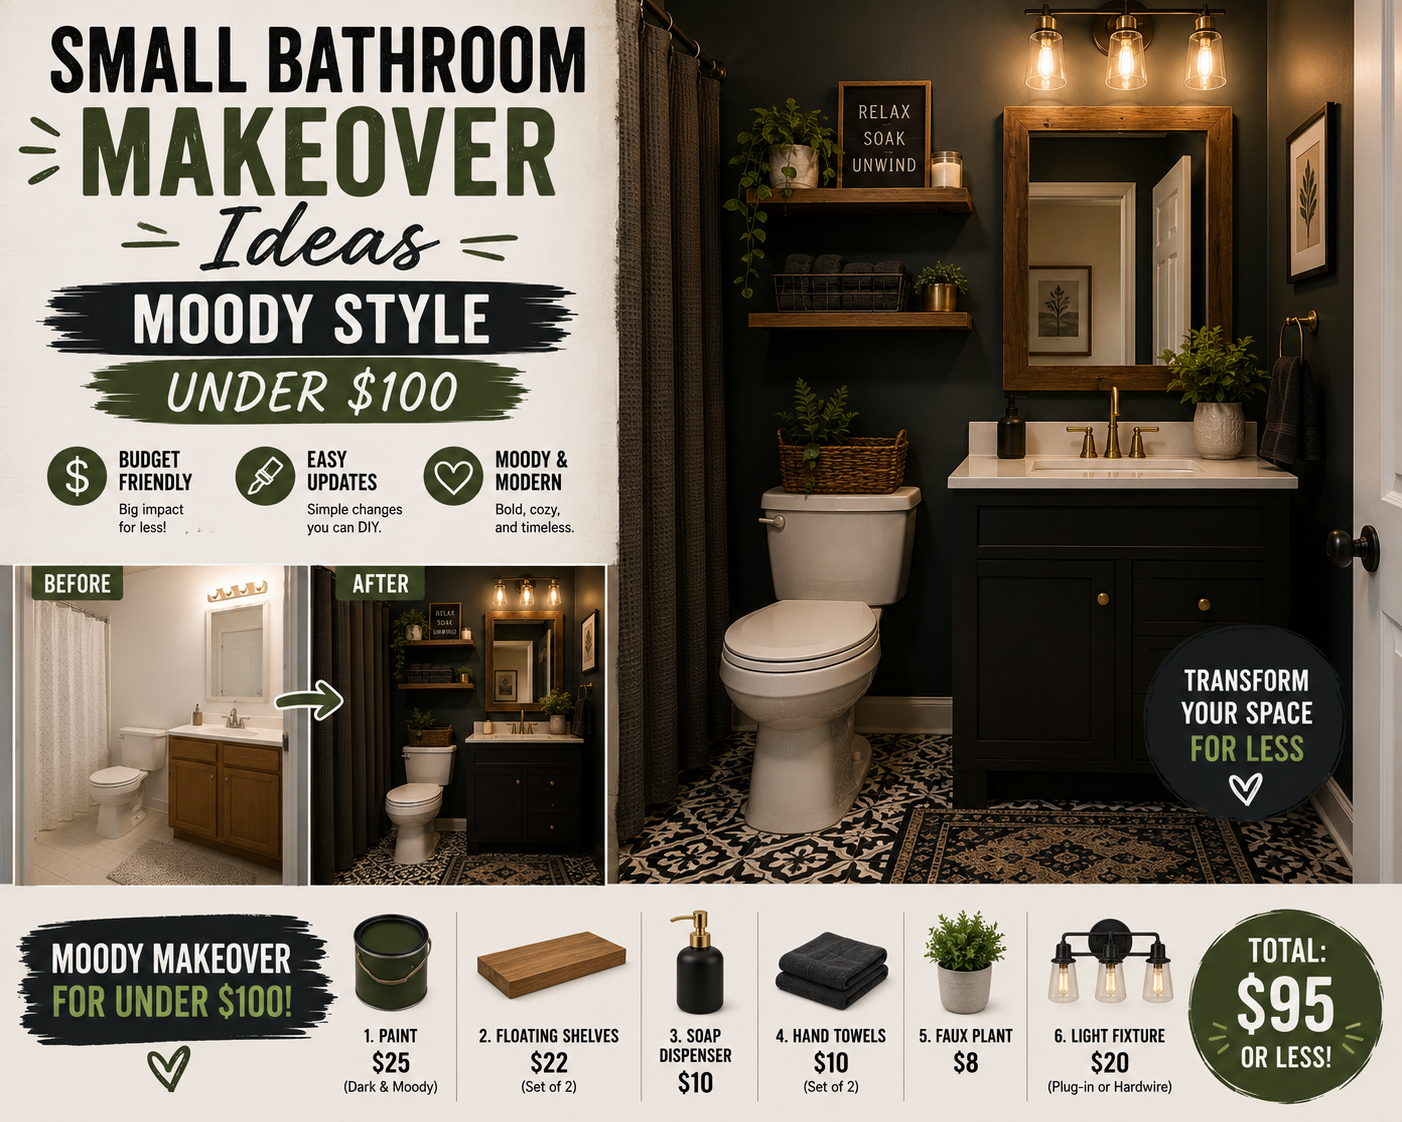
I applied the spray paint to the cabinet in the same careful, even strokes I used on the countertops. The contrast between the bright white countertop and the sleek black cabinet ended up being absolutely stunning. It created that high-end, modern look I was going for, and it cost next to nothing. This is seriously one of the most budget-friendly upgrades you can do in a rental bathroom — a can of spray paint and a little patience goes such a long way. If you’re into transformative budget projects like this, check out my post on small bathroom makeover ideas with a moody style under $100.
Step 5: Refresh the Cabinet Knobs with a Spray Paint Hack
Here’s where I got a little creative. I wasn’t sure what kind of knobs I wanted to put on the newly painted cabinet, and I didn’t want to spend money on something new when I already had hardware sitting around. So I dug out some old knobs I had taken off a dresser in my bedroom and decided to spray paint them white.
I gave them a couple of light coats of white spray paint, let them dry fully, and then screwed them right onto the freshly painted black cabinet. The white knobs against the black cabinet looked so polished and intentional — like I had planned it that way from the start. This is a perfect example of using what you already have and just giving it a refresh. Zero dollars spent on new hardware, and the result looked amazing.
Step 6: Hang a New Mirror to Elevate the Sink Area
A bathroom without a great mirror is a missed opportunity. I found a gorgeous mirror at Big Lots for just $22, and it was exactly the glam touch the space needed. It’s simple and elegant without being overdone, and it ties together the new faucet, the white countertop, and the black cabinet perfectly.
Hanging it at the right height above the sink made the whole area feel more intentional and designed. A good mirror also reflects light and makes a small bathroom feel larger, which is always a win in a rental. For $22, the visual impact was way above what I expected. This is honestly one of those upgrades I’d recommend to anyone doing a rental bathroom makeover on a budget — it’s cheap, it’s removable, and it makes a huge difference.
Step 7: Add Framed Art Prints for a Personalized Touch
Once the mirror was up, I wanted to add a little personality to the walls without spending much. My solution? I printed bathroom-themed quotes directly from Google and slipped them into frames I already owned. Literally free, if you already have frames lying around.
I hung two frames on the wall beside the mirror, and they really pulled the space together. It’s such a simple idea, but it adds that curated, intentional feel that makes a bathroom look styled rather than just functional. You can search for inspirational quotes, funny bathroom humor, or minimalist typography — whatever fits your vibe. This is proof that a rental bathroom makeover on a budget doesn’t require spending money on art. A printer and some frames you already own are more than enough.
Step 8: Add a Towel Hook for Function and Style
The last physical addition I made was a towel hook from Lowe’s. It’s such a small thing, but it adds both function and style to the bathroom. A well-placed hook keeps your hand towel looking neat and accessible rather than just thrown over the side of the sink.
I paired my towel hook with a black and white hand towel and washcloth to tie in with the color scheme I had going — white countertops, black cabinet, white knobs. The textiles brought the whole look together and made the bathroom feel finished and cohesive. Small accessories like this are often overlooked, but they’re what take a makeover from “okay” to “wow.”
Tips and Best Practices for a Rental Bathroom Makeover on a Budget
Before you dive into your own makeover, here are a few things I learned along the way that will save you time, money, and frustration:
Always protect your space before spray painting. Use plastic sheeting, a drop cloth, and plenty of painters tape. Overspray gets everywhere, and cleaning it up is not fun. Shake your spray paint can for a full minute before applying — this ensures an even, streak-free finish. Work in thin, even coats rather than one thick coat to avoid drips and uneven coverage.
Ventilate the space properly. Open windows, use a fan, and always wear a mask when working with spray paint or epoxy products. Repurpose what you already have — old knobs, frames, and accessories can get a new life with a coat of spray paint. And finally, don’t overlook the small details like towels, hooks, and printed art. They’re inexpensive and make a huge impact on the finished look. If you’re hungry for more ideas like these, my roundup of bathroom makeovers under $300 has a ton of inspiration to keep you going.
Frequently Asked Questions
Can I do a rental bathroom makeover without losing my security deposit?
Yes, absolutely. The projects I covered here — spray painting countertops, painting cabinets, swapping the faucet, and hanging a mirror and art — are all either reversible or non-damaging. When I move out, I can swap the original faucet back in and patch any small nail holes from the hooks. None of these upgrades require major modifications to the space.
Is epoxy spray paint durable enough for bathroom countertops?
Rustoleum Appliance Epoxy Spray Paint is designed specifically for surfaces that see regular use, including countertops and appliances. It dries to a hard, durable finish that holds up well with normal daily use. Just make sure you apply it in thin, even coats and let it fully cure before using the surface.
How much did this entire rental bathroom makeover cost?
My total was incredibly low. The faucet was $35, the epoxy spray paint was about $4, the mirror was $22, the towel hook came from Lowe’s for just a few dollars, and the framed art was essentially free since I printed the quotes at home and used frames I already had. The cabinet spray paint was just a few more dollars. All in, I spent well under $100 on this entire makeover.
What’s the easiest upgrade I can make to a rental bathroom right now?
Honestly, replacing the faucet is one of the fastest and most impactful changes you can make. It takes less than an hour, it’s reversible, and a stylish new faucet immediately makes the whole sink area look more modern and intentional. A new mirror is a close second — both are affordable, removable, and visually transformative.
Final Thoughts
This rental bathroom makeover on a budget is proof that you don’t need to own your home — or spend a lot of money — to have a space that genuinely makes you happy. Every single upgrade I did here was affordable, reversible, and achievable for anyone willing to put in a little time and creativity. From the $35 faucet to the $4 can of epoxy spray paint, every dollar I spent delivered a huge return in how the bathroom looks and feels.
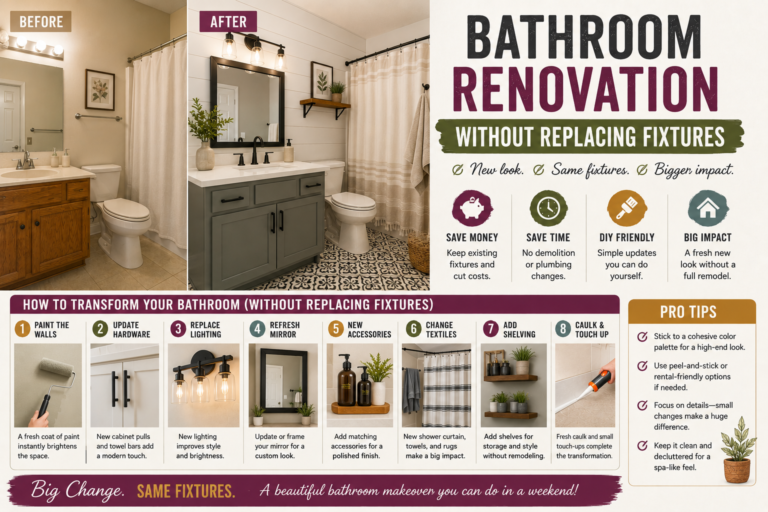
My biggest takeaway from this project is that you deserve to love the space you live in, whether you’re renting or you own. Don’t just accept an outdated bathroom because you’re a renter. Make it yours. Make it beautiful. And do it without breaking the bank. If this post gave you the push you needed to start your own makeover, I’d love to hear what you tackle first — drop it in the comments below. And if you want even more budget-friendly inspiration, check out my post on bathroom renovation without replacing fixtures for even more ideas you can do this weekend.