If your powder room or guest bathroom feels blah — all whites, creams, and nothing interesting going on — I get it. I’ve been there. My small bathroom was completely forgettable, and I knew I needed to do something about it without tearing everything apart or spending a fortune. That’s when I started exploring small bathroom makeover ideas moody style, and what I discovered completely changed how I think about decorating tight spaces.
The whole concept of “moody” is simple: add dark, dramatic tones — especially black — to give a room depth, personality, and a little glamour. It’s the kind of look that feels intentional and high-end, even when your total budget is under $100. And that’s exactly what I pulled off here. No tile demo, no plumbing changes, no contractors. Just paint, some smart shopping, and a few decorative pieces that tie it all together.
I’m going to walk you through every step of this makeover — from prepping the walls to the final decorating touches — so you can recreate this look in your own home. If you’re looking for more budget-friendly inspiration, check out my post on affordable home improvement projects under $100 for even more ideas. Let’s get into it.
Step 1: Clear Everything Out and Assess the Space
Before I do anything in a room I’m about to paint or redecorate, I clear it out completely. In a small bathroom, this doesn’t take long — but it’s an important step that a lot of people skip. When you pull everything off the walls and out of the space, you get a much clearer picture of what you’re actually working with.
In my case, once I stripped everything down, I could immediately see the holes left behind from a sign I’d previously hung. Those needed to be filled before painting. Even in a small bathroom, taking five minutes to assess the walls — checking for holes, cracks, or scuffs — will save you from having imperfections show through your new paint color. A little spackle goes a long way.
Step 2: Fill Holes and Prep the Walls Before Painting
This is the unsexy part of any paint project, but it matters. I filled every hole with a lightweight spackling compound, let it dry, and gave it a quick sand until it was smooth and flush with the wall. In a small space, imperfections are much more visible, so taking the time to prep properly will make your finished result look significantly more polished.
Once the holes were filled and dry, I wiped the walls down with a damp microfiber cloth to remove any dust or grime. Paint adheres better to a clean surface, and in a bathroom where moisture and humidity are constant, you want that paint to stick as well as possible from the start.
Step 3: Choose Your Moody Paint Color
This is the fun part. The paint color is the single biggest decision in this entire makeover, and it’s what creates that moody, dramatic atmosphere everyone is after. I went with black, and I’m not exaggerating when I say it transformed the room. The contrast between a deep, dark wall and white fixtures, trim, and hardware is absolutely stunning — especially in a small space where the drama feels concentrated and intentional.
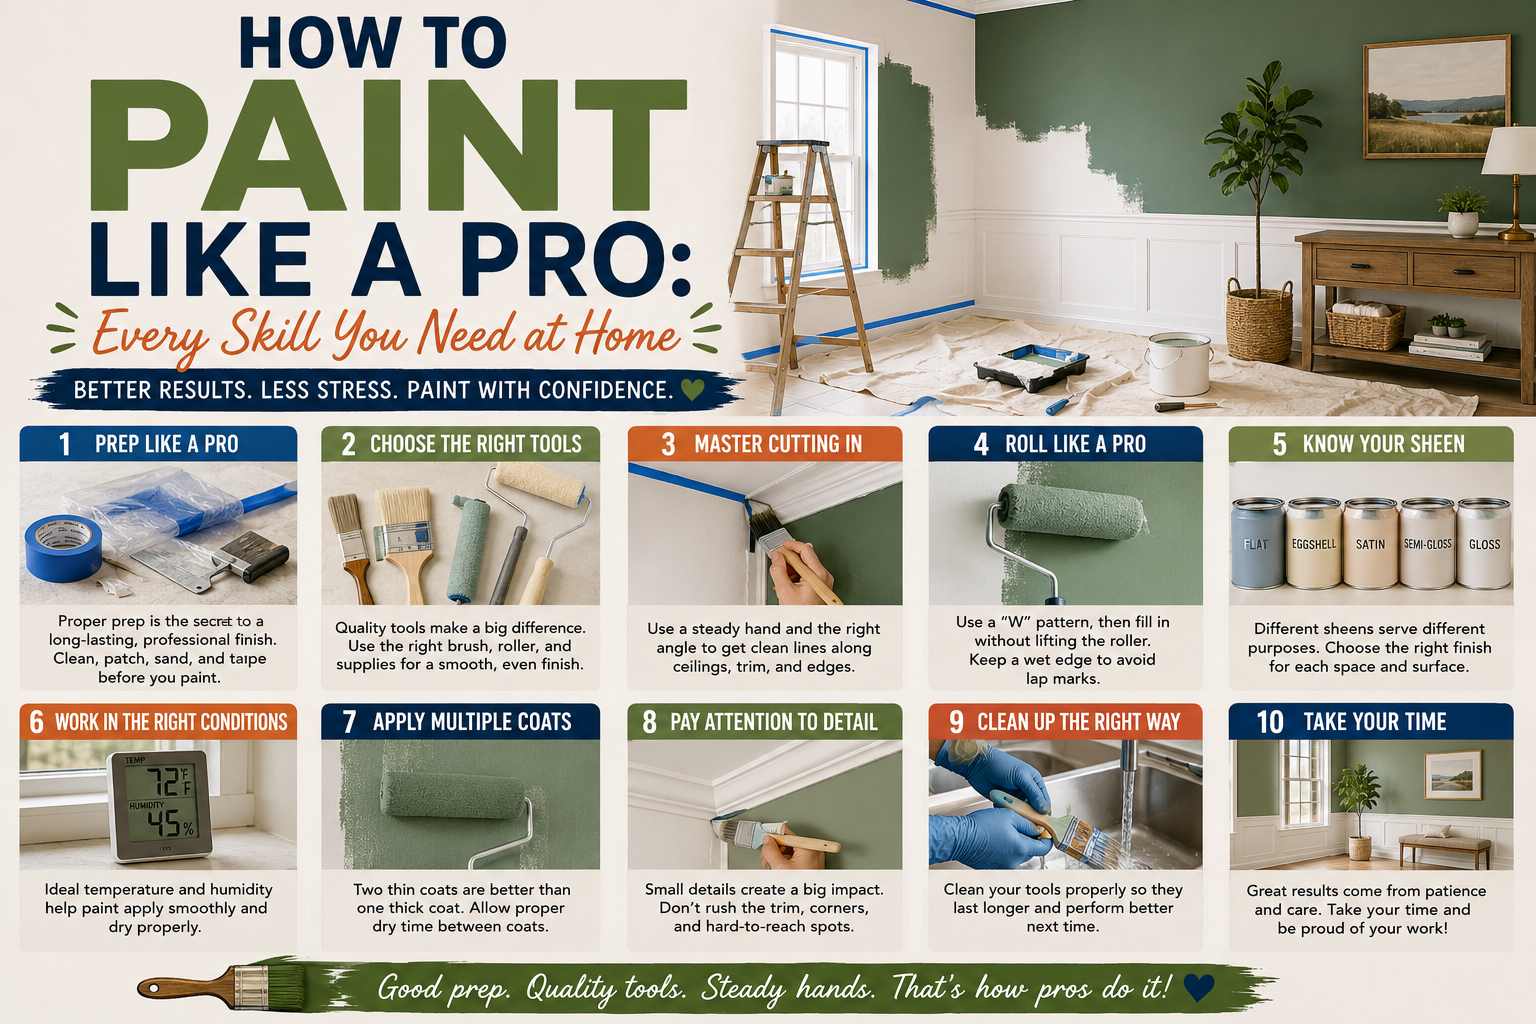
You don’t have to go black if that feels too bold. Deep charcoal, navy blue, forest green, and even a rich plum can all achieve that same moody feel. I used flat paint, which gives a softer, more matte finish that photographs beautifully and adds to the moody vibe. If you’re shopping for paint, both Sherwin Williams paint and Benjamin Moore have excellent deep-tone options in their color lines that work beautifully in bathrooms. For more on getting a professional paint finish, check out my guide on how to paint like a pro.
Step 4: Always Tape Off — Don’t Skip This
I know taping feels like the step everyone wants to skip. It’s tedious, it takes time, and when you’re excited to see your new color on the wall, the last thing you want to do is run tape along every edge and corner. But I promise you — taping makes the difference between a professional-looking result and a messy one.
Take your time along the trim, around the toilet, near the ceiling line, and around any fixtures that are staying in place. Use a quality masking tape designed for painting so you get clean edges. In a small bathroom, every edge is visible, so crisp lines matter more here than they would in a large room.
Step 5: Use a Trim Painting Tool for Clean Edges
One tool I’ve come to rely on for trim work is a paint edger — it’s a small roller or pad with a guide edge that lets you cut in cleanly along trim and ceilings without needing a perfectly steady hand. I first came across this tool years ago and immediately understood why painters love it. It’s especially useful in tight spaces like a small bathroom where a big brush can feel clunky and hard to control.
My approach: use the edger to cut in around all the trim and edges first, then follow up with a extendable roller stick to roll the main wall surface. This combination gives you the cleanest result with the least frustration. And with one-coat paint, a single pass with the roller is usually all you need — which cuts your project time significantly.
Step 6: Roll the Walls and Watch the Transformation Begin
Rolling the actual wall is the most satisfying part of any paint project. Once you start covering that old blah color with your new deep, moody tone, you’ll immediately feel the room shift. I rolled the black paint on in smooth, even strokes using a medium-nap roller, working in sections and keeping a wet edge to avoid lap marks.
One thing I noticed: there was a spot near the ceiling that kept appearing to turn back to its original color no matter how many times I went over it. If you run into something similar, don’t panic — it can happen with certain wall surfaces or if there’s residue present. Switching to a paintbrush for that specific spot often does the trick, as it applies paint more densely than a roller. That worked for me, and the coverage ended up perfect.
Step 7: Remove Tape While the Paint Is Still Slightly Damp
Timing matters when it comes to tape removal. I’ve learned the hard way that waiting too long to pull tape can cause it to bond with dried paint, and when you pull it, you risk tearing chunks of your fresh paint right off the wall. The sweet spot is when the paint is still slightly damp — not wet, but not fully cured either.
Pull the tape back at a 45-degree angle slowly and steadily. In a small bathroom with tight corners and lots of trim, take your time with this step. If any edges look slightly ragged, a fine paintbrush with a little leftover paint can clean them up in seconds.
Step 8: Speed Clean While the Paint Dries
This is a practical tip I swear by: while the paint is drying, don’t just sit around waiting. Use that time to speed clean the space. Pick up drop cloths, consolidate supplies, wipe down surfaces, and get the room back to a clean baseline. Projects always create mess — even small ones — and doing a quick cleanup while you wait means that when the paint is dry and you’re ready to decorate, you’re starting fresh.
I also use this time to re-evaluate which decor pieces I actually want to use. Laying everything out and looking at it with fresh eyes — especially against the newly painted wall — often changes my mind about what works and what doesn’t. It’s a great opportunity to edit before committing.
Step 9: Add a Glam Shelf as a Focal Point
One of the biggest upgrades in this makeover was adding a decorative shelf — a glam, metallic-finished piece I found at a discount home goods store for about $25. What I love about this approach is that the shelf itself becomes a focal point on the dark wall, and it gives you a place to style a few curated items rather than leaving surfaces bare or cluttered.
When choosing a shelf for a small bathroom, look for something narrow enough to not intrude into the space but with enough visual weight to make a statement. A metallic or gold finish pops beautifully against a black wall. You can find great options on Amazon — check out these shelf brackets or these display shelving options if you want something ready to hang. This single piece is actually what inspired the entire makeover, and I think that’s worth noting — sometimes one great find sparks a whole room transformation.
Step 10: Hang a Mirror to Add Depth and Light
In a small, dark bathroom, a mirror is non-negotiable. It reflects light, makes the space feel larger, and — if you choose the right one — adds serious style. I went with a gold-framed mirror to contrast against the black wall, and the combination of moody dark paint with warm gold accents is exactly the glam-meets-moody look I was after.
When hanging a mirror in a tight space, use a laser level to make sure it’s perfectly straight — crooked wall decor is especially noticeable in small spaces. A quality mirror doesn’t have to be expensive. I found mine for a fraction of what you’d pay at a home décor boutique by shopping discount retailers. Always clean your mirror with a glass cleaner right after hanging — fingerprints and dust from the store show up immediately on a freshly hung piece.
Step 11: Add a Rustic Sign for Contrast and Texture
Here’s a design tip I’ve found really effective: when you’re creating a moody, glam space, it’s easy to go too precious and polished. Adding a rustic element — like a farmhouse-style wooden sign — keeps the room grounded and gives it a lived-in, layered quality that feels intentional rather than overdone.
I placed a tall, rustic sign above the toilet, which is a wall space that’s often underutilized in small bathrooms. The height of the sign draws the eye upward and makes the ceiling feel taller. The raw wood texture against the black wall and gold mirror creates that perfect three-way balance of moody, glam, and modern farmhouse that I was going for.
Step 12: Upgrade Your Soap and Lotion Dispenser
This is one of my favorite small bathroom tips: don’t overlook the countertop accessories. Swapping out a plastic soap dispenser for a black-and-gold set instantly elevates the look of the entire vanity area. It’s such a small change, but in a tiny bathroom where every surface is visible, the details matter enormously.
I picked up a matching soap dispenser set and simply refilled the bottles with my existing soap and lotion rather than buying new product. Practical tip: when transferring lotion into a narrow-necked bottle, use a small funnel or a squeeze bottle to avoid making a mess. It takes a little patience, but it’s worth it for the cohesive, intentional look it creates on the counter.
Step 13: Style the Shelf with Intentional Decor Pieces
Styling a shelf in a small bathroom is both an art and a practical challenge. You want pieces that look good but won’t be in the way or create a hazard. I kept this in mind by choosing only non-breakable items — no glass, no fragile ceramics. Think resin, metal, and sealed decorative bottles.
A few things that work really well on a bathroom shelf: small decorative bottles (which can double as backup toiletries), a small faux plant or succulent, and one or two small metallic accents that echo the gold in the mirror and fixtures. Keep it edited — three to five pieces maximum in a small space. More than that and it starts to look cluttered rather than curated. You can also use open shelves if you want more storage-style display options.
Step 14: Incorporate a Salt Lamp or Mood Lighting
One of the most affordable and impactful additions I made to this bathroom was a small salt lamp — I found one on clearance for about $6. It adds the most beautiful warm ambient glow, which is perfect for a moody bathroom. The orange-pink light of a salt lamp against a black wall creates an atmosphere that feels like a boutique hotel bathroom rather than a standard home powder room.
If you want to take the lighting a step further, consider adding LED lights behind a mirror or under a shelf for that layered lighting effect. You can also upgrade your main light fixture or add sconces flanking the mirror if you want a more dramatic lighting upgrade. Lighting is one of the most underrated elements in bathroom design — it can make or break the moody atmosphere you’re trying to create.
Step 15: Shop Your Own Home for Decor Pieces
This is one of the best tips I can give any DIY homeowner: before you go out and buy new decor, walk through your house and shop what you already own. I moved a plant from my kitchen into this bathroom and it looked like it was made for the space. A piece that feels tired in one room can feel fresh and intentional in another.
This habit has saved me hundreds of dollars over the years and often produces better results than buying something new, because the pieces you already own have a quality and character that mass-produced store décor sometimes lacks. Check every room — living room, bedroom, even a home office — before you head to the store. You might already have exactly what you need.
Step 16: Overbuy Decor and Return What Doesn’t Work
Here’s a shopping strategy I use for every decorating project: buy more than you think you need, style the space with everything, then return what doesn’t work. This gives you options in the moment without committing to every piece upfront. It’s far less frustrating than buying too little and having to stop mid-project to go back to the store.
Most major retailers — and many online sellers — have generous return policies. Keep your receipts organized and your packaging intact, and you can shop with confidence knowing that anything that doesn’t make the final cut goes back. By the end of this bathroom makeover, I had a solid stack of pieces to return, which meant I got my money back while still having had the freedom to experiment during the styling phase.
Tips and Best Practices for Moody Small Bathroom Makeovers
After testing this approach myself and researching what works in small spaces, here are the best practices I’d recommend to anyone tackling a similar project:
Start with paint. It’s the highest-impact, lowest-cost change you can make. A single can of dark paint can completely transform a small bathroom. You don’t need wallpaper, tile, or trim work to achieve a dramatic result — paint alone does an enormous amount of heavy lifting.
Stick to a cohesive metal finish. In a small space, mixing too many metal tones (silver, brass, chrome, black) makes the room feel chaotic. Pick one or two complementary finishes — like black and gold — and stick with them across your door hardware, faucet, and decor accessories.
Layer your lighting. Overhead light alone flattens a moody space. Add a table lamp, salt lamp, or LED lights at a lower level to create depth and warmth. The combination of ambient and accent lighting is what makes a moody bathroom feel intentional rather than just dark.
Use a tape measure before buying anything. In a small bathroom, scale matters more than anywhere else in your home. That shelf or mirror that looks perfect in the store can overwhelm a tiny powder room. Always measure your walls — and the specific wall section you’re decorating — before purchasing.
Add a plant. Even a small faux plant adds life and softness to a dark, moody bathroom. It prevents the space from feeling too severe and creates a natural contrast with the dark walls and metallic accents.
Keep countertops edited. In a small bathroom, surface clutter is the enemy of a polished look. Use your new soap dispenser, one or two small accessories, and nothing else on the counter. Storage goes inside cabinets — visual interest goes on the shelf and walls.
If you love the idea of a dramatic bathroom transformation but your space needs more than paint, my post on a bathroom renovation without replacing fixtures shows how you can do a full makeover for under $1,750. And if you’re hungry for more budget DIY projects across your whole home, my roundup of budget home improvement DIY ideas that save thousands is a great next read.
Frequently Asked Questions
What paint color works best for a moody small bathroom?
Black is the most dramatic and impactful choice, but deep navy, charcoal gray, forest green, and even a rich eggplant can all create a moody feel. The key is going dark enough to create real contrast with your white fixtures and trim. I used flat paint for a softer finish, but if your bathroom gets a lot of humidity, a matte or eggshell finish with some moisture resistance is a smarter long-term choice. Brands like Sherwin Williams paint and Benjamin Moore both offer excellent deep-tone options specifically formulated for humid spaces.
How much does a small bathroom moody makeover cost?
My total came in at $100 before tax. The breakdown: paint was essentially free because I used leftover product, the glam shelf was about $25 from a discount retailer, the salt lamp was $6 on clearance, the soap dispenser set was a thrift find, and the remaining budget went toward small decor items. If you’re starting from scratch with paint, expect to spend $25–$40 on a quality quart of dark paint, which is more than enough for a powder room or small guest bathroom.
Do I need to do anything special to prepare a small bathroom wall for dark paint?
Yes — proper prep is even more important with dark colors because imperfections show more clearly. Fill any holes with spackle, sand smooth, and wipe down the walls with a damp microfiber cloth before you start. If your walls are going from a very light color to a very dark one, applying a primer first will help you achieve full, even coverage with fewer coats of your final paint color.
Can I make a small bathroom look moody without painting the walls?
Absolutely. If painting feels like too big a commitment, you can achieve a moody look through dark accessories, dramatic lighting, and bold accent pieces alone. Swap out your existing soap dispenser for a black-and-gold set, add a dark-framed mirror, hang a salt lamp or add LED lights, and style a shelf with intentional dark and metallic accents. You might be surprised how far strategic accessorizing alone can take a space.
Final Thoughts
This small bathroom makeover is proof that you don’t need a contractor, a big budget, or a full gut renovation to completely transform a space. With $100, a few hours on a weekend, and some intentional shopping, I turned a boring, forgettable powder room into a moody, glam space that I actually look forward to showing guests. The key is committing to a color direction, layering in contrasting textures and finishes, and paying attention to the small details — like your soap dispenser and lighting — that most people overlook.
If this project inspired you, I’d love to see what you do with your own bathroom. Drop a comment below with your before and after, share your paint color choice, or ask any questions you have about the process. And if you’re ready to tackle more rooms in your home, explore the rest of The DIY Journey for step-by-step guides, budget breakdowns, and honest reviews of the products and techniques I actually use. You’ve got this.