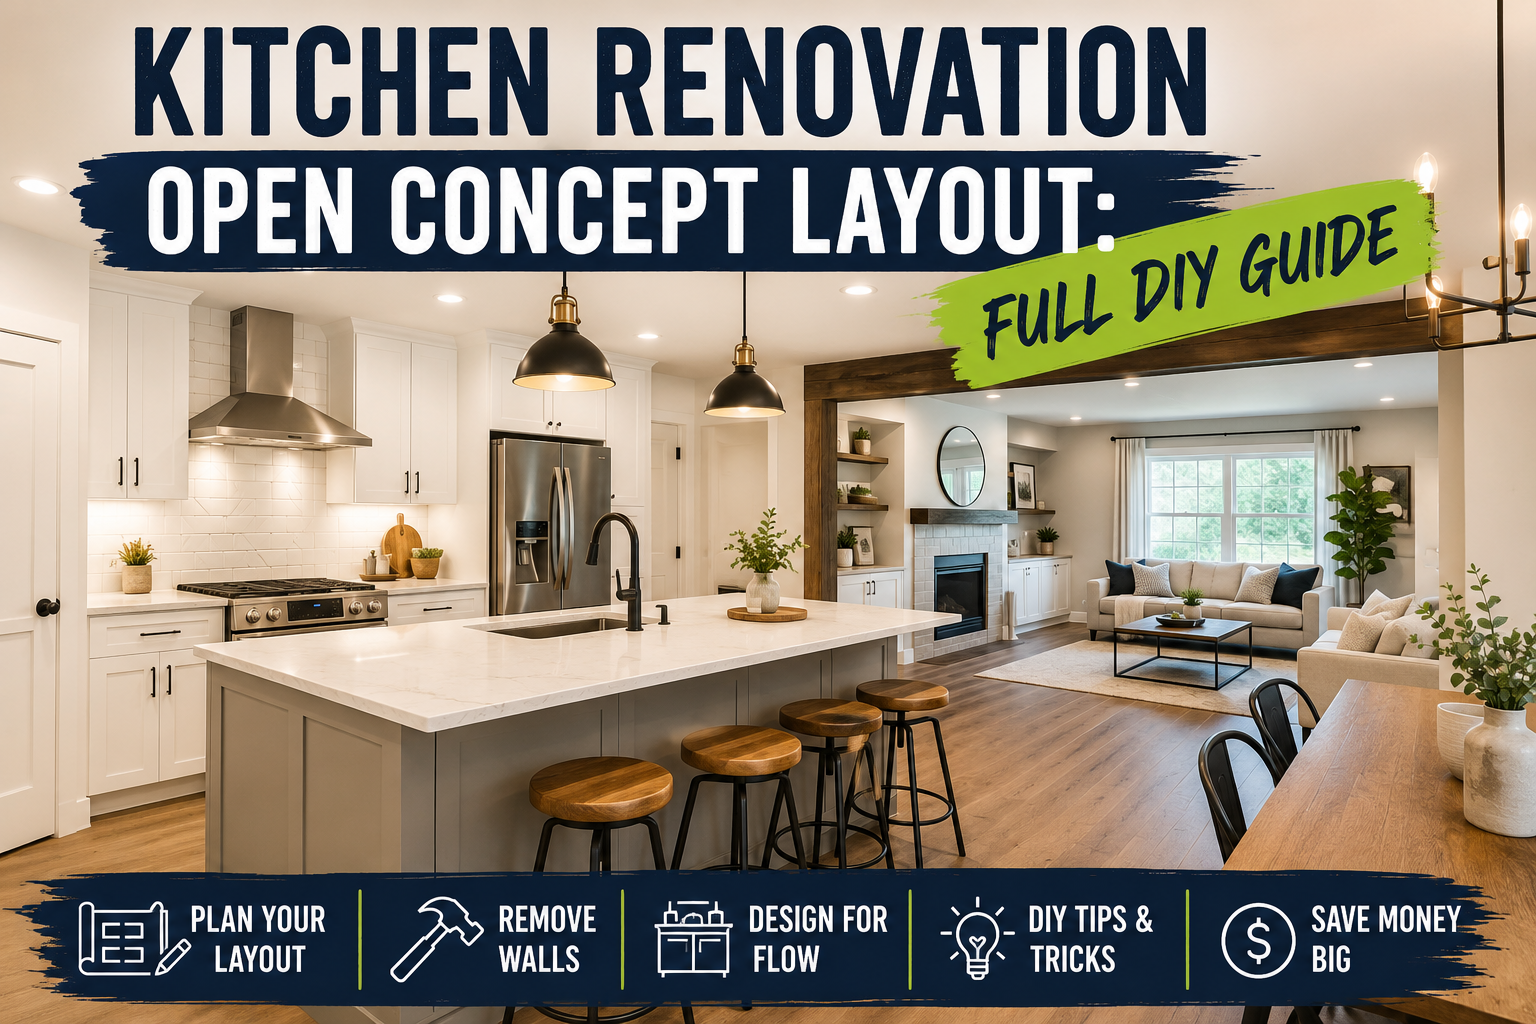
If you’ve ever looked at a closed-off, choppy kitchen and thought “there has to be a better way,” I’ve been exactly where you are. I recently took on a full kitchen renovation in an income property — starting with a wall removal to create an open concept layout and finishing with brand-new countertops, backsplash, flooring, and appliances. The transformation is genuinely jaw-dropping, and the best part is that a huge portion of this project is completely DIY-able for any motivated homeowner.
In this guide, I’m walking you through every single step of my kitchen renovation open concept layout project — from demo day all the way through the final appliance install. I’ll share what worked, what surprised me, and a few mistakes I made so you don’t have to repeat them. If you’re thinking about tackling something similar, this post will give you a realistic roadmap. And if you want more inspiration before you dive in, check out my post on Budget Kitchen Renovation Under $5,000 — it pairs really well with everything I’m covering here.
Let’s get into it. Here’s every step I took to pull off this full kitchen renovation, in the exact order I did it.
Step 1: Remove the Dividing Wall to Open Up the Space
The very first thing I did was hire a licensed contractor to take down the dividing wall between the kitchen, dining room, and living room. This is the step that makes or breaks a kitchen renovation open concept layout — and it’s one I’d strongly recommend getting a pro involved with, at least for the structural assessment. They installed a proper beam and made sure everything was load-bearing safe before I touched anything else.
Once that wall came down, the difference was immediate. Light flooded in from both directions, the space felt twice as large, and I could finally visualize what this kitchen could become. If you’re on the fence about removing a wall, just do it. It’s the single highest-impact move in this entire renovation.
Step 2: Demolition — Floors, Backsplash, and the Bar-Height Peninsula
With the structural work done, I started the demo process myself. First up was removing the laminate floors, which revealed the original linoleum tiles underneath. Those floors were in rough shape, so I knew I’d be going all-new on the flooring. I also tackled the old tile backsplash — fair warning, it caused way more drywall damage than I expected. A crowbar got it started, but patching that sheetrock afterward was a whole separate job.
The bar-height peninsula section had to go too. It was screwed down and construction-adhesived in place, but a crowbar eventually won the argument. I also removed the countertops in one piece rather than breaking them apart, which saved the existing cabinets from getting damaged — a smart move since I was planning to reuse them. Pro tip: rent a dumpster. I got a 20-yard container and it made the whole demo process so much smoother.
Step 3: Widen the Doorway Opening
There were three doorways converging in my kitchen — for the kitchen itself, the bathroom, and the garage — and the proportions felt cramped. I decided to raise and widen one of the doorway openings to give the space better flow. After checking in the attic, I confirmed it was not a load-bearing wall (the ceiling joists ran parallel and weren’t interacting with it at all), so I was able to remove the framing without any structural concerns.
The result was immediately better. A taller, wider opening made the whole space feel more intentional and connected — exactly the kind of detail that separates a good open concept renovation from a great one.
Step 4: Remove the Half Wall and Simplify the Electrical
There was a small half wall in front of the lower cabinets that also needed to come out. Before I knocked it down, I turned off power to the entire house and removed the outlet from the wall, snaking the wire back through the stud holes. Once the electrical was safely addressed, I wiggled the half wall loose and hauled it to the dumpster.
I also took the opportunity to simplify a confusing wiring setup — there were two sets of switches running two separate light circuits in the kitchen, with some redundant wiring going nowhere. I consolidated everything so all the kitchen lights run off a single switch. Cleaner, simpler, and safer. If your kitchen has a similarly tangled electrical setup, this kind of simplification is absolutely worth doing during demo.
Step 5: Drywall Repair and Skim Coating
After demo, I had drywall damage in several spots — around the doorway opening, behind the old backsplash, and along the length of the main wall where there was significant waviness in the sheetrock. I’m far from a drywall expert, but I’ve picked up a lot of technique by working on this property. One tool I’d genuinely recommend is a plastic corner bead applied with spray adhesive — it makes getting clean, sharp corners so much easier.
For the wavy wall sections, I used a skim coating blade and applied joint compound across the whole surface to smooth everything out. I used fiberglass mesh tape at every seam (cracks are not something you want showing up after paint), then floated multiple coats of all-purpose joint compound. After it dried and I sanded everything smooth, the walls were ready for texture.
Step 6: Texture Spraying and Priming
Rather than skim coating the entire house — which would have taken well over a week — I rented a texture sprayer from the hardware store and textured everything in a single day. It’s a surprisingly simple machine to use, similar to a paint sprayer. The key is to dial in your spray pattern before you start on the actual walls, and to avoid making any recognizable repeating pattern as you spray.
After the texture dried, I applied a coat of primer using a paint sprayer before going in with the finish color. The color I chose is called Whipped Cream — a soft, slightly warm off-white with no strong cool or warm tint to it. Because I had so much raw joint compound on the walls (which is very porous), priming first was essential even though I was using a paint-and-primer-in-one product. The difference between before and after paint was genuinely night and day.
Step 7: Remove and Level the Upper Cabinets
The existing upper cabinets had two problems: some were pulling away from the wall, and the top line of cabinets wasn’t straight. I brought them all down, repaired the broken plastic angle brackets using metal angle brackets from the hardware store (keeping the fix as simple as possible), and then reinstalled everything on a level line using a ledger board screwed into the wall studs.
That ledger board is the secret to getting cabinets perfectly straight. It gave me a consistent reference line to set each cabinet against, and the result was a clean, level cabinet run that looks completely intentional. Taking the time to do this right before the countertops go in saves a lot of headaches later. For more tips on getting cabinet installs dialed in, my post on Cabinet Building Tips for Beginners covers a lot of the same ground.

Step 8: Remove Old Flooring and Prep the Subfloor
I originally thought I could just lay new flooring on top of the existing linoleum, but I realized that would create a height difference between the kitchen and the hardwood floors in the living room. For a true open concept layout with seamless continuous flooring, I needed to pull the linoleum out so the plywood subfloor would be at the right height.
The adhesive under the linoleum — especially in the center of the kitchen — was incredibly stubborn. I started with an oscillating multi-tool and a pry bar attachment, then switched to a chisel attachment on a reciprocating saw, which worked best. A razor blade scraper cleaned up what was left. It’s a tedious job, but getting a flat, clean subfloor is non-negotiable if you want your new floors to look right.
Step 9: Install Luxury Vinyl Plank Flooring
For the new flooring, I went with luxury vinyl plank in a gray wash color. Before laying the planks, I put down the LVP-specific underlayment — it adds cushion underfoot and, importantly, it’s exactly half the thickness of the linoleum I removed, which brought the subfloor up to the perfect height to be flush with the living room hardwood floors.
The gray wash tone was a deliberate choice. It complements the cabinet color without competing with it the way two clashing wood tones would. The install itself is very beginner-friendly — the click-lock system goes together quickly, and I’ll be posting a full installation tutorial if you want a deeper walkthrough. Getting the floors right really was the secret to tying the whole modern open concept look together.
Step 10: Expand the Cabinet Layout with New Cabinets
One of the things I was most excited about was expanding the kitchen’s storage footprint. I was able to find matching cabinets (the same Denver-line style) at Lowe’s and loaded up what I needed. By switching from a 36-inch stove and microwave setup to a 30-inch configuration, I freed up space to add a new vertical cabinet on the other side — more storage and more countertop space. I also added base cabinets and upper cabinets around the refrigerator, which had no cabinetry around it before.
The extra base cabinet also extended the peninsula by 30 inches, which makes a huge difference for entertaining and food prep. I shifted the entire cabinet assembly about an inch and a half to the left so it would be centered over the new stove and microwave position — a small adjustment that makes the finished kitchen look intentional and balanced. If you’re reusing existing cabinets and buying new ones to match, take photos of your existing cabinet style and bring them to the store — it saves a lot of back-and-forth.
Step 11: Install the Over-the-Range Microwave and Exhaust Ducting
Installing the over-the-range microwave and vent hood combo was one of the more involved steps, but very doable. The microwave came with a template for laying out the cutout in the upper cabinet for the exhaust duct. This style of unit can either recirculate air (venting out the front) or vent out the top through ducting to the roof — I went with the roof exhaust, which required cutting a vent hole through the roof itself.
I’ll be honest: cutting into the roof was nerve-wracking. This was very much a “measure eight times, cut once” situation. But it went well, and I used a 6-inch ducting kit to cut custom-sized pieces that worked around the cabinet configuration. Everything got secured with duct tape. I also added an outlet inside the upper cabinet for the microwave to plug into — wiring that is simpler than it sounds (black wire to gold screw, white wire to silver screw, ground to green). To hide all the exposed ducting, I fabricated a U-shaped piece of drywall that wraps around it, then textured and painted it to match the rest of the kitchen.
Step 12: Install Custom Stone Countertops
For countertops, I visited a local granite and stone shop to look at slabs and get pricing. After choosing a slab I loved, a fabricator came out the next day with a laser measuring tool that created a digital rendering of my countertop layout. That rendering went straight to a CNC diamond-blade cutting mill at his workshop — and the countertops were cut and ready to install the next day. A two-day turnaround for fully custom stone countertops is remarkable, and the precision of laser-cut stone means almost no fitting issues on install day.
One of my favorite details: I had a custom window sill cut from the leftover countertop material, and they also configured the sink cutout as an undermount even though the sink style doesn’t typically come that way — they cut grooves into the underside of the countertop so the sink hardware slides right in. These little fabricator tricks are worth asking about when you’re getting your countertops quoted.
Step 13: Replace Damaged Drywall Behind the Backsplash
Before tiling the backsplash, I needed to deal with the damaged drywall that was left behind when the old tile came off. There was far too much damage to tile over responsibly, so I cut out the affected sections and installed fresh sheets of drywall. It only took about an hour and a half, and it gave me a perfectly flat, clean surface to tile on — which makes the whole tiling process easier and the finished result look more professional.
This is a step a lot of DIYers skip or try to work around, and it almost always shows in the finished tile job. Fresh drywall behind your backsplash is cheap insurance for a tile install that looks great for years.
Step 14: Tile the Backsplash
The tile backsplash I chose walks the line between modern and traditional — elongated hexagon tiles with a handmade texture that gives them some warmth. I started by batch-cutting about 15 full sheets for my base row, using an 8-inch wedge spacer between the tile and the countertop to keep everything level with a line I marked dead level across the wall.
Working around outlets was easy with a diamond disc on an angle grinder — just be careful not to cut away so much tile that your outlet cover won’t seat properly. For the second row and beyond, I used standard tile spacers to keep grout joints consistent, and I installed the edge trim before grouting (you can do it either way, but installing trim first keeps it from shifting). I went with a low-contrast gray grout, pressed it firmly into all the joints, cleaned the tile faces with a damp sponge, and used a specialty haze remover for the final cleanup. Grouting sounds intimidating but it genuinely has more wiggle room than almost any other step in a tile job — don’t let it scare you off.
Step 15: Install New Appliances
With the countertops in and the backsplash grouted, it was time to bring in the new appliances. I went with a modern, contemporary finish suite — a big upgrade from the older stainless that was in the kitchen before. The new appliances pulled the whole room together and gave the open concept kitchen that finished, cohesive look that makes the whole renovation feel complete.
One note on the appliances I removed: they were only about four years old and in great working condition — I just wanted a different finish. Rather than selling them, I found friends and family who could put them to good use. If you’re renovating and pulling out working appliances, that’s always worth considering before defaulting to Facebook Marketplace.
Tips and Best Practices for Your Kitchen Renovation Open Concept Layout
Always check for load-bearing walls before demoing anything. Go into the attic and look at how the joists run relative to the wall you’re removing. If the wall runs parallel to the joists and isn’t interacting with them, it’s likely not load-bearing — but when in doubt, hire a licensed contractor or structural engineer to confirm. It’s not worth guessing on this one.
Use a ledger board when hanging cabinets. Screwing a straight, level ledger board to the wall studs before you hang a single cabinet gives you a consistent reference line for the entire run. It’s the difference between a cabinet installation that looks professional and one that looks DIY. Use fiberglass mesh tape on every drywall seam — paper tape can crack, and mesh tape combined with all-purpose joint compound creates a much more durable repair. Rent specialty tools when you only need them once — a texture sprayer, for example, costs very little to rent for a day and would take weeks to justify buying for a single project. And finally, do your flooring before cabinets go back in if possible — it makes the install cleaner and means you don’t have to cut around every toe kick. If you want more ideas on budget-friendly upgrades that make a big visual impact, my guide on Home Improvement Projects That Make a Big Impact Fast is worth a read.
Frequently Asked Questions
Do I need a permit to remove a wall for an open concept kitchen layout?
In most US municipalities, yes — removing a wall, especially one that may be load-bearing, typically requires a permit. Even if the wall turns out to be non-load-bearing, the work often involves electrical relocation, which also triggers permit requirements in many areas. Check with your local building department before starting. For income properties, this is especially important since unpermitted work can create problems at resale or during inspections.
How much does a kitchen renovation open concept layout cost?
Costs vary widely depending on your market, how much of the work you DIY, and the materials you choose. A full gut renovation with new cabinets, countertops, flooring, backsplash, and appliances in a mid-sized US kitchen can run anywhere from $8,000 to $30,000+ if you hire everything out. Doing significant portions yourself — demo, flooring, backsplash, painting — can cut that number dramatically. My post on Budget Kitchen Renovation Under $5,000 breaks down what’s realistic at different price points.
Can I reuse my existing cabinets in a kitchen renovation?
Absolutely, and it can save you thousands. The key is to assess the cabinet box condition — if the panels are solid and the joints are intact, even cabinets with broken brackets or loose doors are worth repairing. You can find replacement cabinet doors and hardware relatively affordably, and if you need to expand, check whether your existing cabinet line is still carried at stores like Lowe’s or Home Depot — you might be able to find matching units to extend your layout without starting from scratch.
What’s the best flooring for an open concept kitchen and living room?
Luxury vinyl plank is my top recommendation for this situation. It’s waterproof (important near a sink), durable, affordable, and available in neutral tones that work across both a kitchen and a living space without the flooring looking disjointed. The click-lock install system is very beginner-friendly, and the underlayment options let you fine-tune the floor height to match adjacent flooring — which is exactly what I needed in this project to achieve seamless continuous floors.
Wrapping Up
A kitchen renovation open concept layout is one of the most rewarding projects a homeowner can take on — and as you’ve seen here, a huge portion of it is absolutely DIY-able with the right approach and the right sequence of steps. From knocking out that dividing wall to laying the final tile on the backsplash, every step built on the last, and the finished kitchen looks like something out of a magazine compared to where it started.
If you’re planning your own kitchen renovation, I hope this walkthrough gives you the confidence to get started. Take it one step at a time, don’t skip the prep work (especially the drywall and subfloor prep), and don’t be afraid to rent specialty tools for the steps that call for them. You’ve got this. Drop your questions in the comments below — I read every one — and if you found this helpful, share it with someone who’s planning a kitchen project of their own.