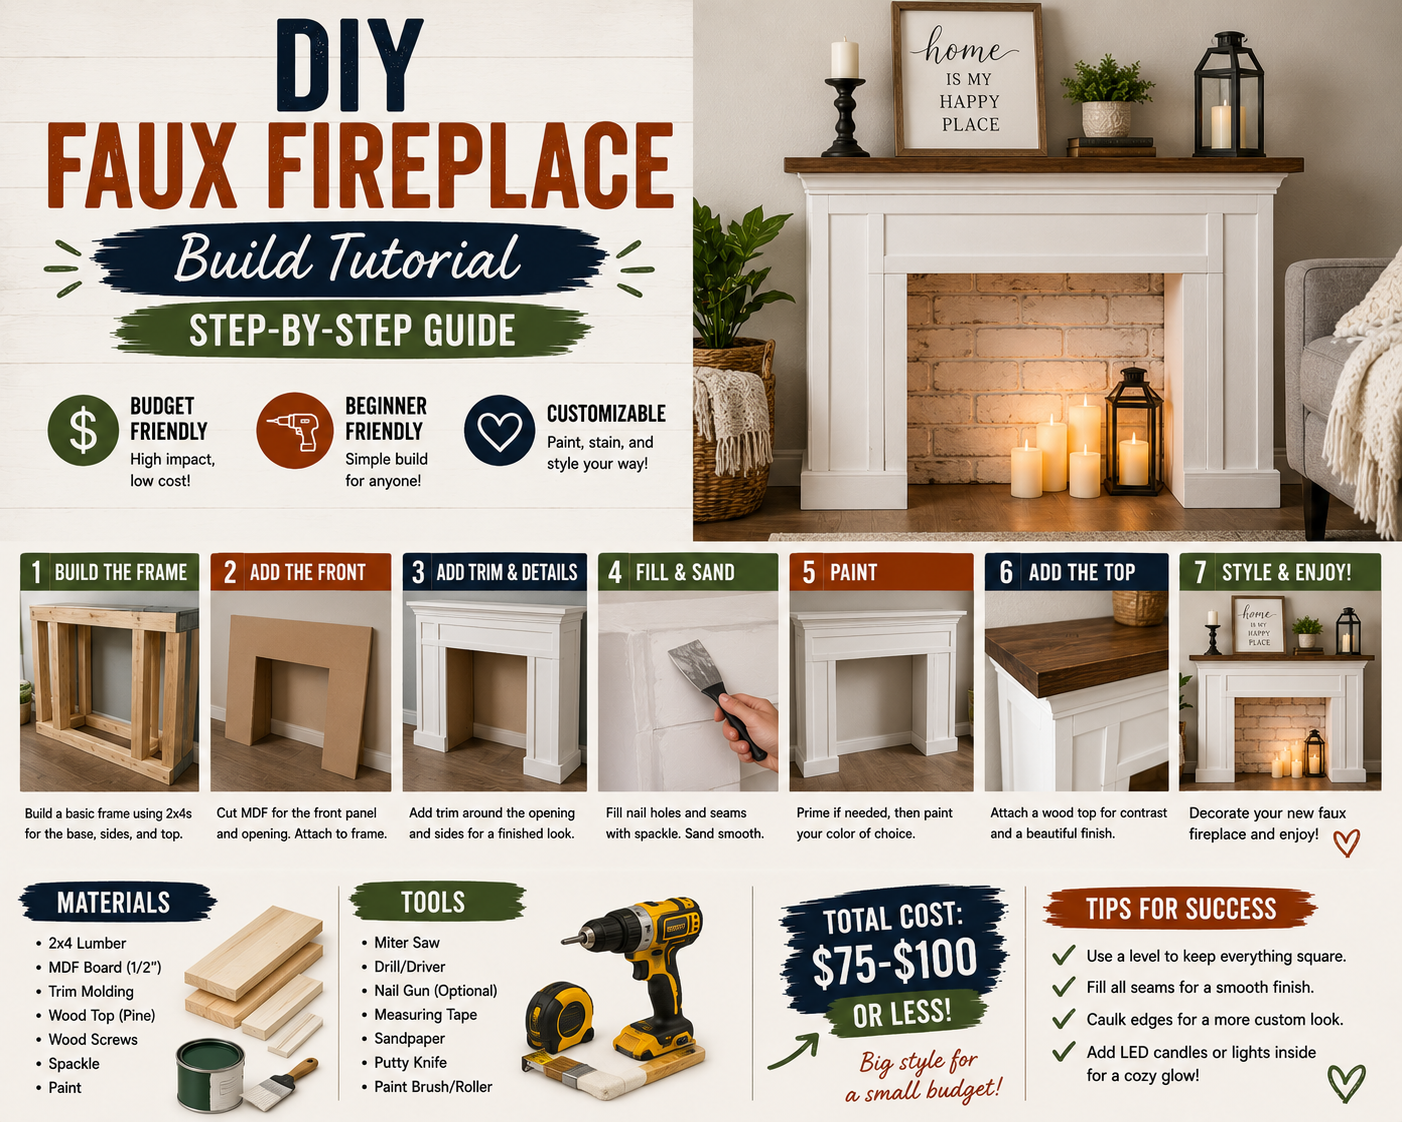
If you’ve been dreaming about adding a fireplace to your living room but don’t want to deal with the cost or complexity of a real one, this DIY faux fireplace build tutorial is exactly what you need. I recently tackled this project in my own living room and I’m excited to walk you through every step — including the bumps, the laughs, and the moments where I had absolutely no idea what I was doing. That’s the beauty of DIY: you figure it out as you go, and the result is something you’re genuinely proud of.
This build took me about two weeks of working on it here and there, and I’ll be honest — it was more involved than I originally expected. But every challenge taught me something new, and I want to share all of it with you so your build goes smoother than mine did. Whether you’re a seasoned DIYer or this is one of your first big projects, I think you’ll find this guide approachable and totally doable. If you love projects like this, you might also want to check out my post on DIY Backyard Patio & Fireplace Build: Save Thousands for even more fireplace inspiration.
Let’s get into it — here’s everything I did, step by step, from framing the wall to adding joint compound to the faux brick panels.
Step 1: Choosing the Right Fireplace Insert for a Small Space
The first decision I had to make was picking the right electric fireplace insert. Since my living room is on the smaller side, I didn’t want the fireplace wall to take over the entire space. I searched around online and found that most electric fireplace inserts are pretty large — which can be overwhelming in a compact room. After a lot of searching, the smallest insert I could find was 36 inches wide, and I snagged it for $250 with a coupon, which I thought was a solid deal given how pricey these things can get.
One thing I want to be upfront about: I haven’t owned the insert long enough to give you a full honest review on durability. What I can tell you is that it’s not quite as bright as the product photos made it look, but it does have some really nice features — a remote control, a timer, multiple flame color options, a touchscreen panel, and it puts off a small amount of heat similar to a compact space heater. I’ll link the insert I used below so you can check it out, but go in with realistic expectations on brightness.
The final fireplace wall width ended up being 56.5 inches, which gave enough room on either side of the 36-inch insert for a balanced, proportional look. Take time to measure your wall and think about how much space you want to dedicate to this feature — it makes a huge difference in the final look.
Step 2: Removing Baseboards and Planning the Layout
Before any framing could begin, I had to strip the wall down. That meant taking everything off the wall, removing the baseboards, and starting with a clean slate. This step is easy to overlook but it’s important — you don’t want your frame sitting on top of baseboards, because it’ll throw off your measurements and look uneven once everything is installed.
Once the wall was clear, I started mapping out the layout with the lumber to get a feel for the size and positioning. I wanted the fireplace to be roughly centered on the wall, which sounds simple enough — but that decision led directly to the next (and biggest) challenge of the whole build.
Step 3: Solving the No-Stud Problem When Framing the Wall
Here’s where things got interesting. When I went to locate studs for framing, I discovered that right where I wanted the fireplace to be centered — there were no studs. This is a problem a lot of people run into and it’s one of the reasons so few online tutorials actually cover this scenario in depth. I had to figure it out on my own.
The solution I landed on was running the horizontal 2×4 boards across the wall so that they hit studs in multiple spots. Then, the vertical side boards — which didn’t land on studs — were screwed directly into those horizontal boards that were already anchored into studs. By doing it this way, the whole frame became sturdy and secure, even without every board hitting a stud directly. It’s not the textbook method, but it works really well and the frame feels solid.
I’m not a professional framer, so I want to be clear: always do your own research and understand your specific wall situation before you start. What worked for me may need to be adapted for your home. That said, this approach gave me a very sturdy result and I’d use it again.
Step 4: Determining the Right Height for the Fireplace Insert
This step made me genuinely nervous, and it should — because once the frame is built and the brick is applied, you can’t easily go back and adjust the height of the insert opening. Get it wrong and you’re either rebuilding or living with it.
The key consideration is finding a height that keeps the insert off the floor (so it doesn’t look like it’s sitting on the ground) while still leaving enough wall space above it for a mantle and a TV. I ended up using foam board and even a cardboard box cut into a TV shape to mock up the layout visually before committing to anything. I know it sounds a little silly, but visualizing the actual proportions before nailing anything in place saved me from a mistake I would’ve regretted. I’m a very visual person and I needed to see it to believe it.
My advice: use whatever you have — boxes, foam insulation boards, anything — to mock up the insert position and the mantle height before you start framing. It takes an extra 20 minutes and can save you hours of rework. You’ll also want to decide at this stage where your TV mount bracing will go, so you can build it into the frame.
Step 5: Choosing Between Brick Paneling and Shiplap (and Changing My Mind Mid-Project)
I’ll be honest — I changed my mind halfway through this project, and it affected everything. My original plan was to do the lower half of the fireplace wall in faux brick panels and the upper half in shiplap. I bought two sheets of the brick paneling at $43 each based on that plan.
Then, after talking it over with friends and family and just sitting with the idea for a bit, I decided I wanted to go full brick on the entire wall. The shiplap-and-brick combination started feeling like it might be too busy for the space. Going all brick gave it a cleaner, more cohesive look — and in hindsight, it was absolutely the right call. The good news was that the boards I had originally purchased for the shiplap section ended up being needed for another part of the build anyway, so nothing went to waste.
If you’re debating between looks, my honest take is that full brick reads as more intentional and dramatic. A half-and-half approach can work, but you need to be sure you love it before you commit — because changing course mid-project (like I did) means very little margin for error on materials.
Step 6: Cutting the Brick Panels and Creating Seamless Grout Lines
This is one of the most important techniques in the whole build, and it’s one I want you to pay close attention to. When you’re using faux brick panels and you need to cut them to fit side by side, the seam where the two panels meet is very obvious — unless you take the time to cut out the grout line at the joint.
Here’s what that means: before cutting each panel to width, I used a jigsaw to carefully cut along an existing grout line so the edge of the panel ended at the recessed grout joint rather than through the middle of a brick. When the two panels are placed side by side, the joint falls right along a natural grout line — and it looks completely seamless. Without doing this, you’ll see a very obvious vertical seam cutting right through the middle of a brick, and no amount of joint compound will hide it.
I had zero room for error on the cuts because I only had enough material to get it right once. Taking the time to measure twice (or three times), mark carefully, and cut slowly paid off. Once both panels were cut and dry-fitted, I lined them up and was genuinely amazed at how seamless they looked. This one technique makes the difference between a DIY project that looks homemade and one that looks professional.
Step 7: Installing a Front Board to Back the Grout Lines
Once the brick panels were cut, I realized I needed something behind the panel seams and grout cutouts — otherwise, when I went to apply joint compound into the recessed grout lines, it would just fall right through the gaps. The solution was simple: I added a flat board across the front of the frame behind where the panels would sit.
This board acts as a backer so the joint compound has something to adhere to when I fill in those grout lines. In the final build, you can’t see the board at all — it’s completely hidden behind the brick panels. This is one of those details that you’d never think about until you’re standing there wondering why your grout compound keeps disappearing into the wall. Plan for it upfront and you’ll save yourself a frustrating trip back to the hardware store.
Step 8: Applying Joint Compound to Create a Realistic Brick Texture
Once the brick panels were up, it was time to make them look like real brick by filling in all the grout lines with joint compound. Before starting, I wiped down all the panels thoroughly — cutting the faux brick creates a reddish dust that will tint your joint compound if you skip this step, so cleaning first is non-negotiable.
I originally tried using Plaster of Paris mixed with water for this step, but it turned yellow — definitely not the look I was going for. I ended up switching to a pre-mixed joint compound (the DAP brand, specifically), which I’d used successfully on a previous brick wall in my home. Once I had the right product, the technique is straightforward: scoop some compound, press it into the grout lines working upward, then smooth it back down and side to side. After it sets slightly, go back with a damp rag and wipe away some of the excess to reveal the brick texture underneath. Fair warning — this step is a full arm workout. My arms were burning by the time I finished, but the result was worth every rep.
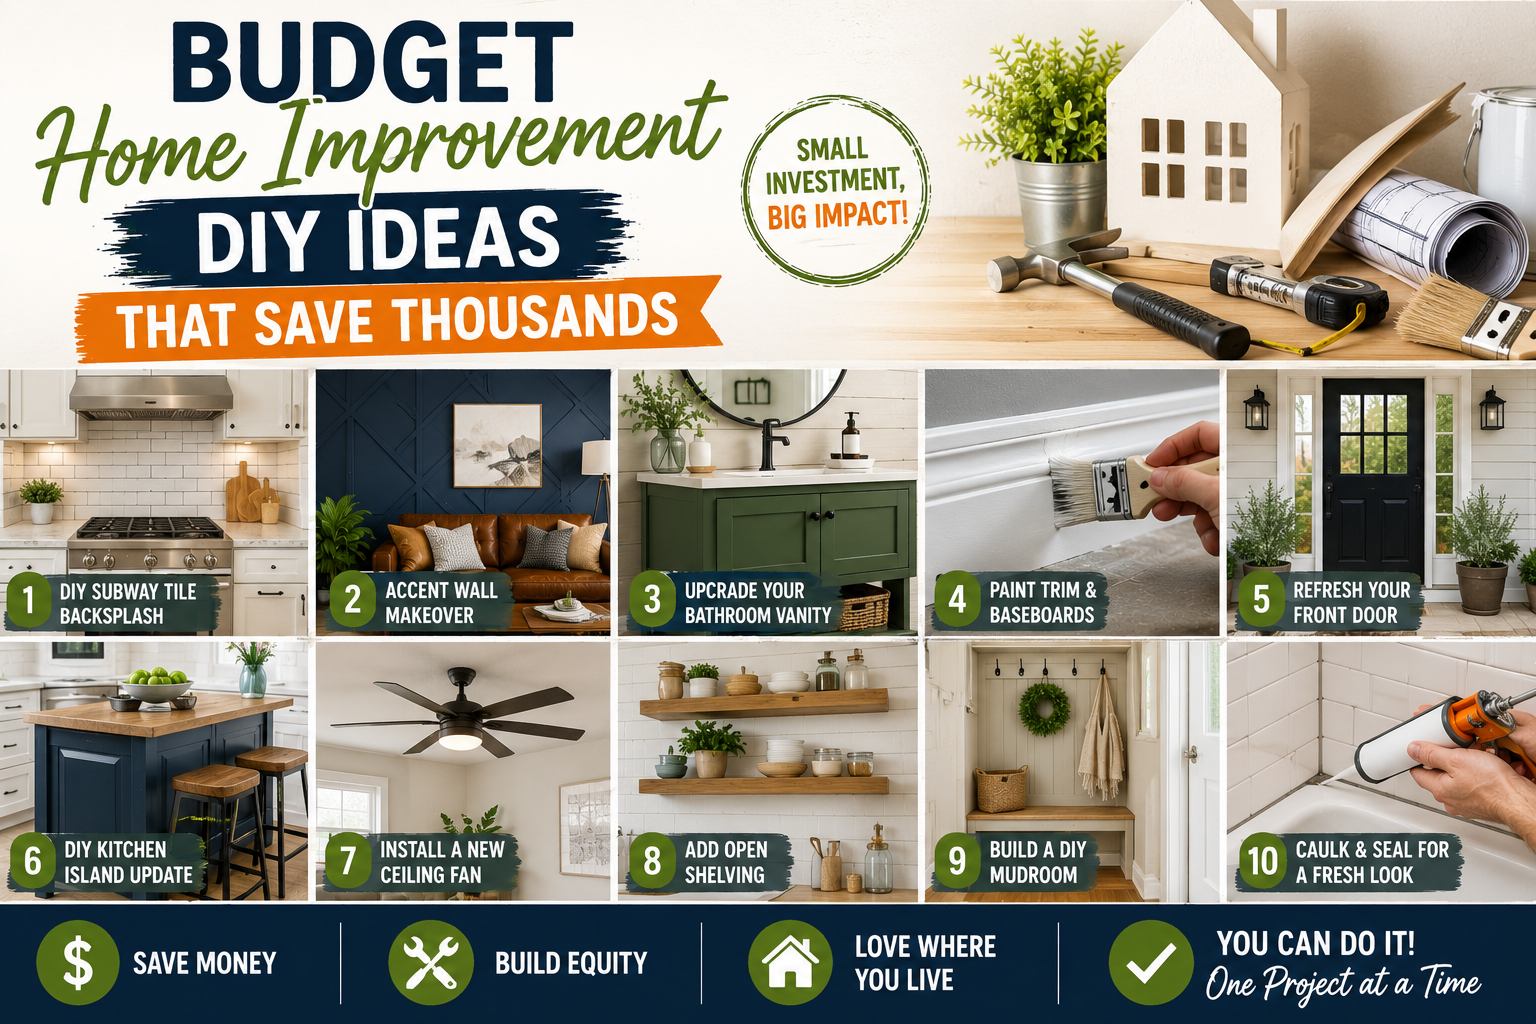
The joint compound technique gives the brick panels a rustic, worn look that makes them look remarkably like real brick. I’ve used this same method on another wall in my home and it holds up really well over time. It’s one of my favorite faux finish techniques and I’d highly recommend it over painting if you want realistic texture. For more budget-friendly finish ideas, take a look at my roundup of Budget Home Improvement DIY Ideas That Save Thousands.
Step 9: Building and Installing the Mantle
With the brick paneling done and the joint compound dried, the next major step was building the mantle. I sized the mantle to match the full width of the fireplace structure — I just felt like that proportion looked the most intentional and finished. Before cutting anything, I took careful measurements of the fireplace width so the mantle would sit flush and level across the top.
The mantle is really the crown of the whole build — it’s what pulls the eye upward, gives you a shelf for decorating, and creates that classic fireplace look. Even if you’re building a faux fireplace with no actual firebox, a well-proportioned mantle makes the whole thing feel authentic. Take your time on this piece; it’s the one that people will look at first when they walk into the room.
Step 10: Planning for Built-In Bookcases on Either Side
One of the things I love most about a faux fireplace build is that it opens up so many possibilities for the surrounding wall. My plan from early in the project was to add built-in bookcases on either side of the fireplace — and I still intend to do that. For now, I decided to live with the fireplace as-is for a few weeks before committing to the bookcase build, just to make sure I’m happy with the overall layout and scale before adding more structure.
There are a few practical reasons to wait before jumping into the flanking bookcases. First, you want to make sure the fireplace height and proportions feel right in the room before you build permanent elements around it. Second, the bookcases will need to be designed around both the fireplace dimensions and the TV placement, so getting all of those measurements confirmed first makes the planning much easier. If you’re interested in built-in storage ideas, my guide on Built-In Bookshelves Home Office Storage has a lot of great detail on how I approach those builds.
Tips and Best Practices for Your DIY Faux Fireplace Build
After going through this entire build, here are the most important takeaways I’d share with anyone tackling this project:
Measure before you frame. Use a tape measure and mock everything up with foam board or cardboard before nailing anything in place. Visualizing the proportions ahead of time saves a ton of rework.
Account for stud placement early. If your studs don’t cooperate, use horizontal boards anchored to studs and run your vertical boards into those. It’s a solid workaround that still gives you a very secure frame.
Cut your grout lines for seamless panels. This single step is what separates a professional-looking result from a clearly DIY one. Don’t skip it. Use a jigsaw and take your time on the cuts.
Clean your panels before applying joint compound. The red dust from cutting the faux brick will yellow your compound if you don’t wipe it down first. A pack of old rags works perfectly and costs next to nothing.
Use the right joint compound. Plaster of Paris can yellow — I learned that the hard way. Stick with a pre-mixed joint compound from a trusted brand for consistent, clean results.
Add a backer board behind panel seams. Without it, your joint compound will fall through the grout gaps. Build this into your framing plan before you hang the panels.
Don’t rush the height decision. The fireplace insert height is one of the hardest things to change once the build is done. Spend extra time getting this right before you start framing, and factor in space for both the mantle and the TV above it.
Frequently Asked Questions
How much does it cost to build a DIY faux fireplace?
My build came in at a very manageable cost. The electric fireplace insert was $250 with a coupon, faux brick panels were about $43 per sheet, and lumber and supplies from the hardware store added to the total. Overall, a basic faux fireplace build like this one can be done for well under $500, depending on the size and materials you choose.
Do I need to find studs to build a faux fireplace?
Ideally, yes — anchoring into studs gives you the most secure frame. But if your studs don’t line up where you need them (like mine didn’t), you can run horizontal boards into studs and then attach your vertical boards into those. It’s a solid workaround that I used successfully on this build.
What kind of joint compound should I use for faux brick panels?
I recommend using a pre-mixed joint compound — the DAP brand worked great for me. Avoid Plaster of Paris for this application, as it can turn yellow when it dries. Pre-mixed compound goes on smoothly, dries to a nice matte finish, and creates a very realistic-looking grout texture when applied correctly.
Can I add a TV above a faux fireplace?
Absolutely — and it’s one of the most popular reasons people build faux fireplace walls in the first place. The key is planning for the TV mount bracing during the framing stage, before the brick panels go up. I used a cardboard box mock-up to visualize where the TV would sit relative to the mantle, which helped me position the mount bracing at exactly the right height. Just make sure you’re leaving enough space between the mantle top and the bottom of where the TV will hang so it doesn’t feel cramped.
Ready to Build Your Own Faux Fireplace?
This project was one of the most rewarding builds I’ve taken on — not because it was easy (it definitely wasn’t), but because the end result is something I absolutely love walking into every day. A faux fireplace wall completely transforms a living room, and the combination of the electric insert, the faux brick texture, and a custom mantle makes it look like something that cost far more than it actually did.
If you’re feeling inspired but want to start with something a little simpler first, check out my list of 8 DIY Home Improvement Projects on a Budget That Transform Your Space — there’s something on that list for every skill level. And when you’re ready to go big like this, come back to this guide. You’ve got everything you need to make it happen.
Drop your questions in the comments below — I’d love to hear what you’re planning to build, and I’ll do my best to help you troubleshoot anything that comes up along the way. Happy building!