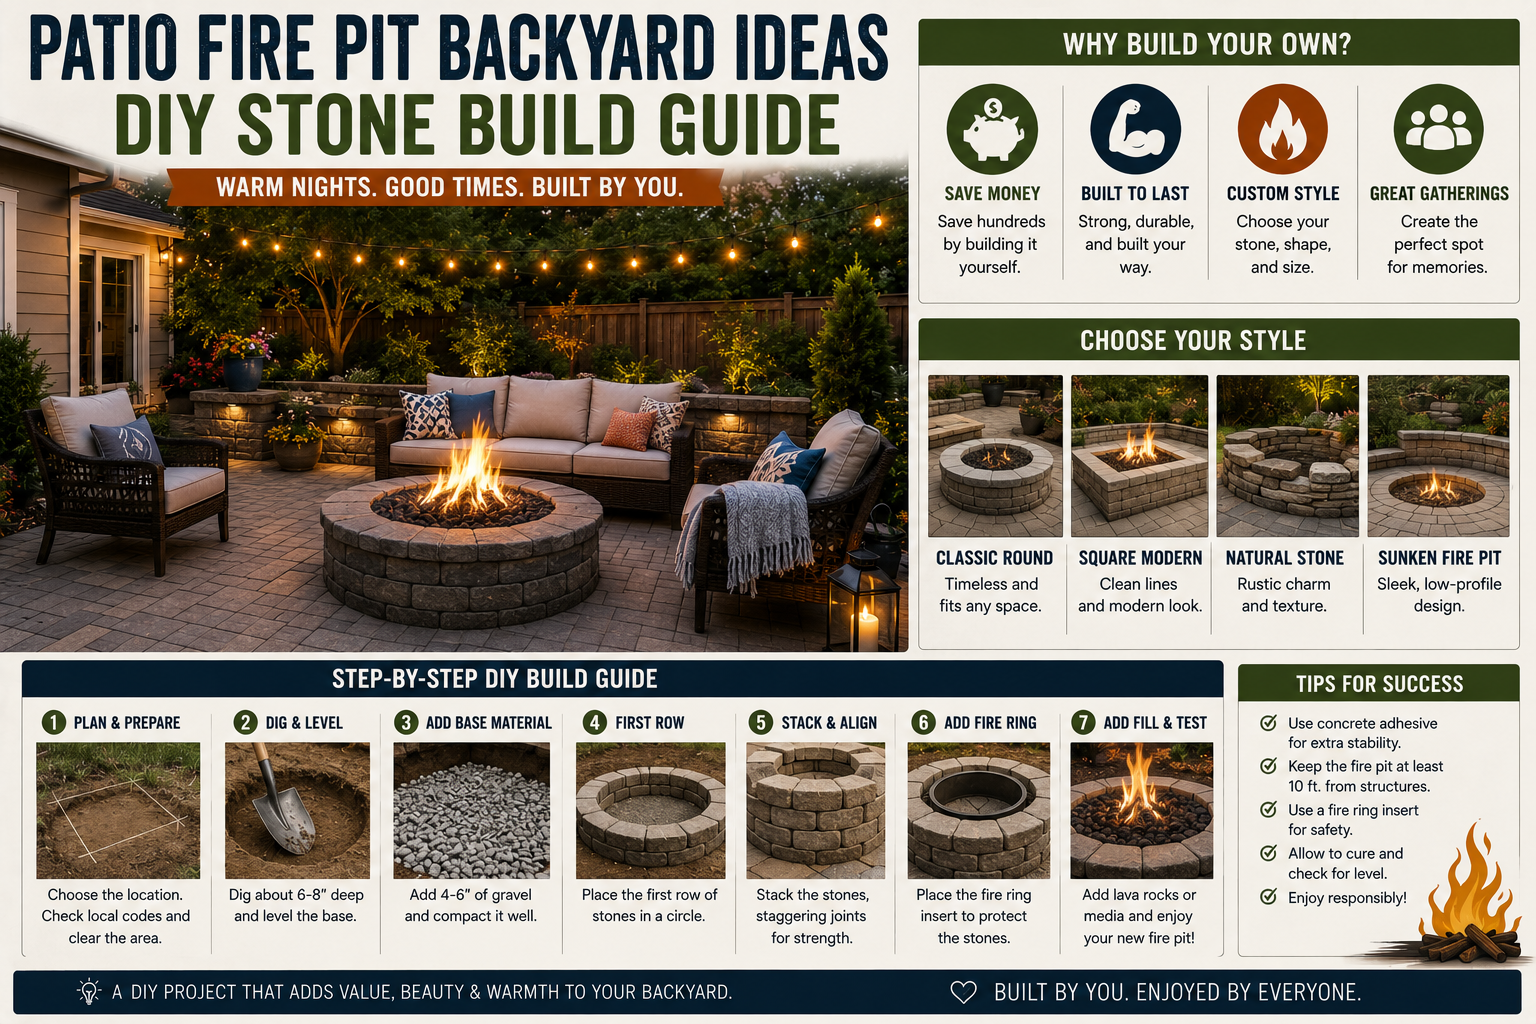
If you’ve been searching for patio fire pit backyard ideas that go way beyond a simple store-bought bowl stuck in the grass, you’re in the right place. I’m Michael, and this is easily one of the most ambitious backyard projects I’ve ever tackled — a fully custom concrete and stone fire pit, matching stone benches, stamped concrete tops, and a flagstone patio with RGB LED lights glowing up through tempered fire glass in every crack. Yes, it’s as over the top as it sounds, and yes, I loved every painful minute of it.
My parents have had the same tired fire pit for as long as I can remember, and with the stone hot tub, sauna, and other projects I’ve already built out there, it was time to finally bring this space up to the same level. I had no experience casting concrete fire pits, laying flagstone, or stamping concrete — so I genuinely figured it out as I went. If you’re looking for a full walkthrough from ground prep to glowing patio lights, this is it. I also put together a DIY smokeless fire pit concrete build guide if you want to go deeper on just the fire pit portion.
Let me walk you through every single step of this build so you can steal every idea for your own backyard.
Step 1: Planning the Layout and Digging Out the Patio Bed
The first thing I did was figure out exactly where this patio was going to live and how big it needed to be. To mark a perfect circle, I took a 14-foot board, put a bolt through the center, and rotated it around like a giant compass — that gave me a perfect circle with a 7-foot radius. I marked the edge with some line paint, then eyeballed a connecting walkway from the existing patio. Simple and effective.
For the digging, I’ll be honest — there was a time I would have done this entirely by hand. But I’m nearly 30 with a shoulder and neck that have been complaining all year, so I brought in an excavator to do the heavy lifting. The whole patio bed needed to come down about 6 to 7 inches. I started hauling material with a wheelbarrow but quickly upgraded to a dump trailer from my dad’s shop, which made the process dramatically faster. Once the excavator had most of the material out, I went around the perimeter with a shovel to clean up the edges so they were crisp and I wouldn’t need to do any grass touch-up later.
Step 2: Installing Landscaping Fabric and the Gravel Patio Bed
With the whole bed dug down to a consistent 7 inches, the next move was laying down industrial-grade landscaping fabric across the entire surface. This is a step a lot of people skip, but if you don’t want weeds pushing up through your patio two years from now, don’t skip it.
After the fabric was down, it was time to build up the drainage base. I first put in about 3.5 to 4 inches of 3/4-inch clear gravel — “clear” meaning no fines or sand mixed in, so water drains through it freely. On top of that went 2 inches of High Performance Bedding (HPB), which is a similar clear aggregate but closer to 1/4 inch in size. I used a longboard and a 2×4 to screed this layer flat with about a 1.5-inch drop for drainage. If you live somewhere without hard winters, you can get away with much less base prep — but in a cold climate with frost heave, this thick drainage base is what keeps your patio from shifting and cracking over time.
Step 3: Building the Concrete Fire Pit Mold
This is where things got really fun. To cast the concrete body of the fire pit, I needed to build a mold with an inner and outer ring. I started with a scrap piece of OSB, marked the center point, and used a thin strip of wood screwed into that center point to scribe my inner and outer radius — basically the same rotating-board compass trick I used for the patio layout. I cut both circles out with a jigsaw, then cut a bunch of even-length 2×4 pieces to be the height of the fire pit (about 12 to 14 inches) and screwed those into the OSB rings as studs.
For the skin of the mold — the part that actually holds the concrete — I used 8-inch strips of MDF with a white melamine coating. The melamine coating is key because it releases from cured concrete really cleanly. I ripped these into strips and bent them around the inner and outer frames, screwing them into the studs. Before pouring, I also cut four lengths of 1.5-inch steel tubing and fed them through holes in the outer mold wall. These become the air intake ports for the smokeless fire pit design — more on that in a bit. I made small wooden fingers to hold the tubing in position while the concrete was poured around it.
Step 4: Pouring and Curing the Concrete Fire Pit Body
For the concrete, I used crack-resistant Quikrete, which has fiberglass fibers mixed in for added structural strength and heat resistance. You could use standard Quikrete bags and probably be just fine — these were only a few dollars more and seemed worth the insurance. My brother scooped the concrete into the mold while I worked around it with a smaller shovel and a dowel, vibrating it to eliminate air pockets. We used about seven bags total and intentionally stopped a couple of inches from the top of the mold so the final height would be right.
After a few days of curing, I came back and pulled the mold apart. The melamine-coated MDF popped right off the concrete, and the steel air intake tubes held their position perfectly. My only regret is not using slightly larger diameter tubing for better airflow — but that’s a lesson learned for next time. The concrete body of the fire pit came out clean and solid.
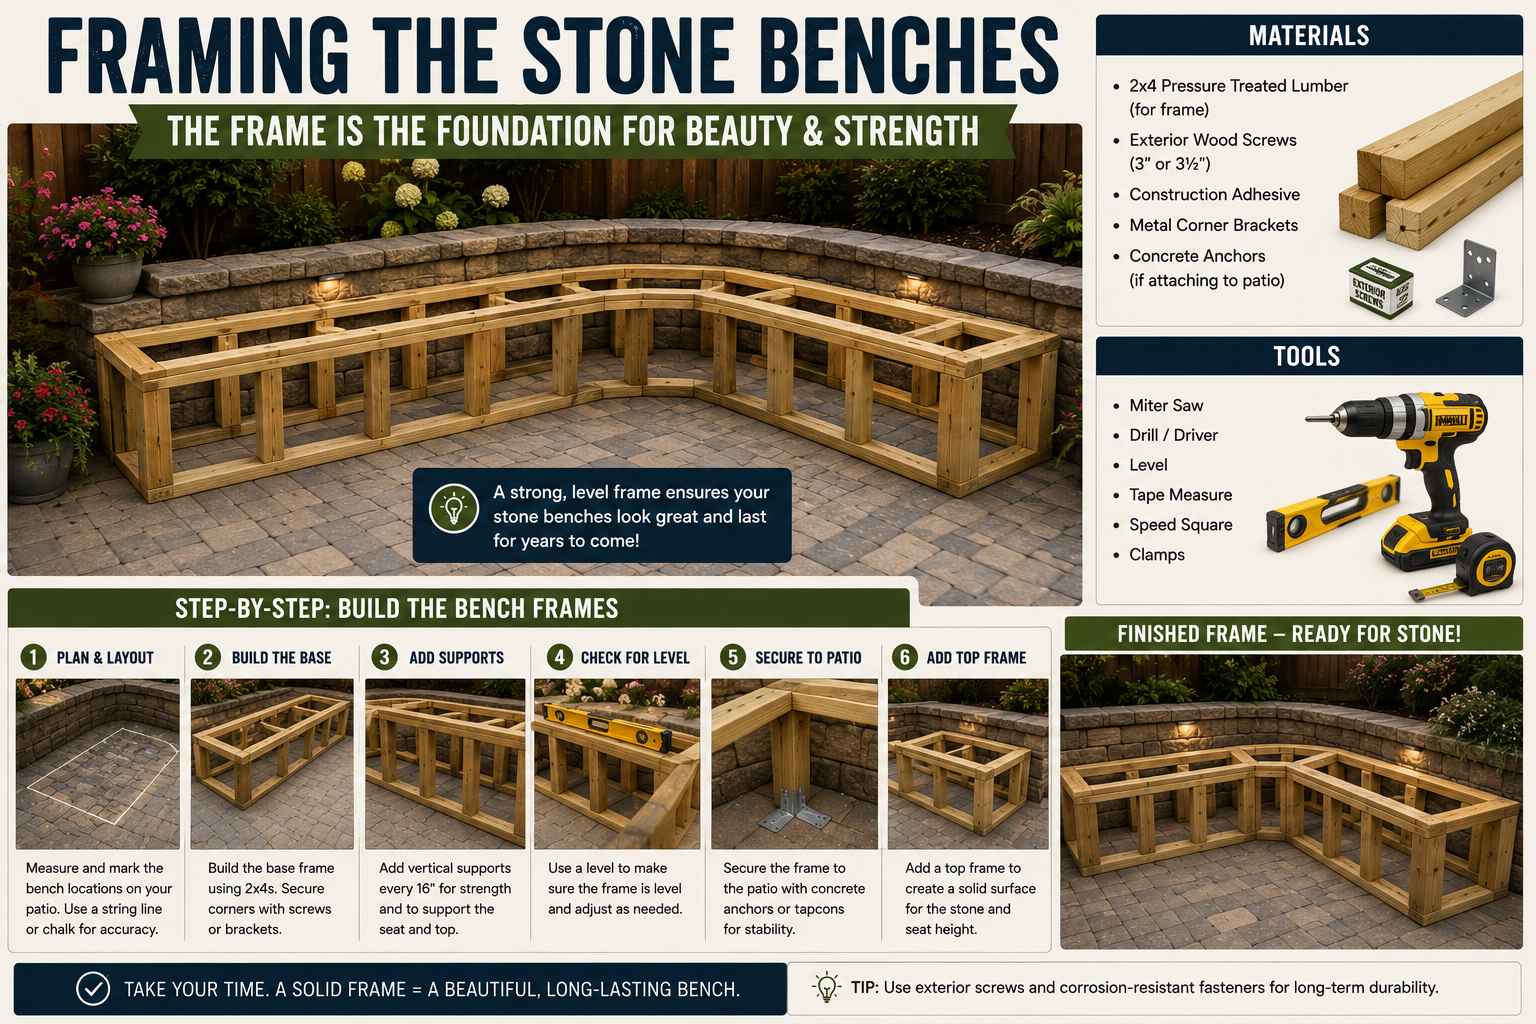
Step 5: Framing the Stone Benches
With the fire pit body curing, I moved on to building two curved benches that would flank the fire pit and eventually be covered in the same stone veneer. The trickiest part here is matching the curve to the radius of the patio, so I used the same compass trick — a spare 2×4 screwed in at the far end of the bench as a pivot point, then measured out the inside and outside radius to trace the curves onto laminated cedar boards.
I used 2×8 cedar for the top and bottom plates — pressure treated would have been cheaper, but I had cedar on hand. I glued three lengths together using wood glue and then drilled pocket holes with a pocket hole jig along the inside edges, pulling them together with pocket hole screws for a strong mechanical connection. After cutting the curves with my jigsaw, I cut a bunch of even 2×4 studs and screwed them between the top and bottom plates using 3-inch deck screws. One bench also has a slightly elevated section to serve as a side table. These frames are genuinely overbuilt — they’ll hold the weight of stone and concrete tops easily and should last 50 years.
Step 6: Wrapping the Frames in Cement Board
Before the stone veneer can go on, the wooden frames need a surface the mortar can actually bond to — and that’s cement board. I wrapped the entire exterior of both bench frames in half-inch cement board, scoring it with a sharp knife and snapping it along the score line rather than cutting all the way through (much less dust that way). The cement board has just enough flex to bend around the 6 to 7-foot radius curves, and I fastened it every 6 inches along each stud with cement board screws. This gives you a rigid, moisture-resistant substrate that stone veneer mortar loves.
Step 7: Applying the Stone Veneer to the Fire Pit and Benches
I sourced my stone veneer from a local supplier for around $2,000 — it’s real limestone that’s been saw-cut to about 1 inch thick, making it much lighter and easier to work with than full stone while still looking completely authentic. I also finally broke down and rented a cement mixer for this phase because there were a lot of bags of veneer mortar (and later concrete) to mix, and my neck was not thanking me for manual mixing.
The installation process is pretty intuitive: back-butter each stone with mortar, wet down the surface being adhered to, press the stone into place, and use your finger to clean up any squeeze-out. Because I was going around curved surfaces, I needed a bit more mortar than you would on a flat wall to fill the gaps. The curved corners got special corner pieces — pre-made stone corners that wrap the edge perfectly. It took a couple of days of piecing together this stone puzzle until both benches and the fire pit body were fully veneered. If you enjoy this kind of project, check out my full guide on DIY backyard patio and fireplace builds for more stone work inspiration.
Step 8: Casting and Stamping the Concrete Tops
For the tops of the fire pit and both benches, I cast custom stamped concrete slabs to look like natural stone. I built forms out of melamine-coated sheet goods and scrap 2×4 cutoffs, with decorative edge liner forms that give the perimeter a natural rock profile. Before pouring, I dusted the inside of the forms with stamp release powder to prevent sticking and add color depth.
I poured the crack-resistant concrete, added fiberglass rebar for structural integrity during transport, and smoothed the surface with a trowel. About an hour or two later — when the concrete was firm but still impressionable — I dusted more release powder on top and pressed a rubber slate-textured stamp across the entire surface. This is exactly how large stamped concrete patios and driveways are done, just scaled down. The result after a day of curing was slabs that genuinely look like quarried stone. The release powder and stamp tools were the priciest part of this phase (a few hundred dollars), but once you have them, each slab only costs about $20 in concrete materials.
Step 9: Installing the Smokeless Fire Pit Ring and Setting the Tops
Before the concrete tops went on, I installed a smokeless fire pit ring inside the concrete fire pit body. This kit came from Amazon and consists of eight pieces that bolt together into a 30-inch diameter ring. My concrete inner diameter was 32 inches, leaving a 1-inch air gap all the way around. That gap is the key to the smokeless design — air drawn in through the exterior steel intake tubes travels underneath the steel ring to feed the fire, but a portion also travels up behind the ring and exits through holes at the top, releasing preheated oxygen that burns off the smoke before it escapes. I glued the ring to the concrete with construction adhesive, then set the stamped concrete top in place with a bed of mortar, measuring carefully to make sure it was centered. The bench tops went on with a zigzag bead of polymer construction adhesive since mortar won’t bond well to wood.
Step 10: Grouting the Stone Veneer
With the tops set, the last step on the fire pit and benches was grouting between all the stones. I mixed gray-colored grout to a fairly watery consistency and loaded it into a grout bag — basically a pastry bag for masonry. The watery mix is important because it lets you squeeze it into the joints like caulk. I worked my way around every joint until all the gaps were filled, then came back a couple of hours later once the grout had set up enough to hold its shape but wasn’t fully hard yet. Using a brick jointing tool, I packed and shaped each joint, then finished with a brush to smooth and clean everything up. It’s a solid forearm workout, but the results are worth it.
Step 11: Laying the Flagstone Patio
Now for the patio itself. I chose large oversized flagstone — 2 inches thick — for two reasons: the extra thickness creates a deeper gap between stones (important for hiding LED lights later), and the larger size means fewer joints overall, which means less light strip needed and a cleaner look. Before laying any stone, I installed edge guard around the full perimeter of the patio bed to keep grass out and create a clean visual border between patio and lawn.
Almost every stone needed cutting to some degree. I used a 9-inch concrete saw, going about halfway through the thickness — a big cut took maybe 30 to 60 seconds — then snapped the excess off with a hammer or just stomped on it. Setting each stone meant laying it, checking it against the neighboring stones, lifting it back up, adjusting the bed, and repeating — sometimes several times. These stones ranged from 50 to 300 pounds each, so after three or four days of this, my body was definitely feeling it. But the end result — a stunning natural stone patio — was absolutely worth every aching muscle.
Step 12: Adding Jointing Compound Between the Stones
Before the LED lights could go in, I needed to partially stabilize the smaller stones so they wouldn’t shift around. Normally you’d fill the joints completely with jointing compound, but since I needed space for the lights and tempered glass, I only put in about half an inch of compound — just enough to lock the smaller stones in place without eliminating the gap I needed. Once it was filled, I blew out the dust with a leaf blower and wet the compound down according to the bag directions. This gave me enough rigidity to work over the patio without accidentally kicking a stone out of position.
Step 13: Running the LED Strip Lights Through the Patio Joints
Here’s the step that makes this patio genuinely unique. I used Govee RGB Pro LED lights — the kind normally meant for decks or house exteriors — and ran them through all the cracks between the flagstones. I used three boxes total, each containing three 33-foot strips that connect end-to-end. I chose these specifically because they’re fully encased in silicone (making them weatherproof), they contain both RGB and true white diodes (so you can dial in any color or any white temperature, not just that bluish RGB fake white), and they’re controllable through a phone app.
I unrolled the strips roughly along all the joints, then fastened them to the bottom of the trenches using landscape staples — one every foot or so, pressed in just enough to hold the cable down without stressing it. This is the kind of creative thinking that takes a good patio to a jaw-dropping one, and it’s honestly one of my favorite hacks I’ve come up with. If you enjoy unconventional outdoor builds like this, my DIY paver patio installation guide covers a lot of complementary techniques.
Step 14: Filling the Joints with Tempered Fire Glass
The final touch — and the visual payoff for the entire project — was filling the joints over the LED strip lights with tempered fire glass beads. I ordered about 25 bags from Amazon and specifically chose a product with no sharp edges so it’s safe to walk across in bare feet. I poured the beads into the joints over the lights, and the glass diffuses the LED glow beautifully, scattering the light through the entire surface of the patio.
For now I’m leaving the beads loose in case I need to access the lights, but once I’m confident everything is dialed in long-term, I’ll use mulch glue to bond the beads in place so they don’t shift around over time. The combination of glowing fire glass joints, the stone fire pit flickering in the center, and the stamped concrete tops is exactly the backyard vibe I was going for — and it looks even better in person than I imagined.
Tips and Best Practices for This Build
A few things I learned the hard way that’ll save you time and pain. First, rent a cement mixer if you’re doing any significant concrete or mortar work — mixing by hand is brutal and slow, and the rental cost is nothing compared to the time and physical toll. Second, the stamp tools and release powder are a worthwhile investment — they’re the most expensive part of the concrete tops, but once you own them, you can cast professional-looking slabs for about $20 each. Third, use larger air intake tubing than you think you need — my 1.5-inch steel tubing worked, but I’d go bigger next time for better airflow in the smokeless design.
Fourth, oversize your flagstone selection if you’re planning to run LED lights through the joints — the extra thickness gives you the depth you need to hide the strips and the glass. Fifth, plan your drainage base based on your climate — if you’re in a frost zone, don’t cheap out on the gravel depth. That 6-inch drainage bed is the difference between a patio that lasts decades and one that shifts and heaves every spring. Finally, take your time with stone veneer placement — it doesn’t have to be perfect, but matching stone edges and minimizing large grout gaps makes a huge difference in how natural and cohesive the finished product looks.
Frequently Asked Questions
How much does a DIY stone patio fire pit like this cost?
The biggest single expense in my build was the stone veneer at around $2,000 from a local supplier. The stamp tools and release powder ran a few hundred dollars, and the flagstone, gravel, concrete, and LED materials added up from there. All in, a build like this could range anywhere from $3,000 to $6,000+ depending on the size of your patio, local stone pricing, and how much equipment you already own. That said, hiring this out would easily cost $15,000 to $25,000 or more, so the DIY savings are massive.
Does the smokeless fire pit design actually work?
Yes, the double-burn air intake design genuinely reduces smoke significantly compared to a standard open fire pit. The steel ring inside the concrete body creates a secondary air chamber — cold air enters through the exterior steel tubes, some feeds the primary combustion from below the grate, and some travels up behind the ring where it heats before being released through holes at the top. That preheated air re-burns particulates (smoke) before they escape. It’s not 100% smoke-free in every condition, but the difference is very noticeable.
Are LED strip lights safe to put under a flagstone patio?
As long as you use fully waterproof LED strips — specifically ones encased in a continuous silicone sleeve rather than just having a conformal coating — they can handle outdoor moisture exposure. The LED lights I used have a full silicone encasement rated for outdoor and wet conditions. They won’t be in standing water, just in the joints between stones, so the splash-proof rating should be more than adequate.
Can I do this build without heavy equipment?
Absolutely, though it will take longer and be harder on your body. The excavation can be done by hand with a shovel and hauled away with a wheelbarrow — I started that way before switching to a dump trailer. The flagstone work is definitely a multi-person job regardless, since many of these stones weigh up to 300 pounds. For the concrete mixing, a rented cement mixer is well worth it, but a drill-powered mixing paddle in a large bucket will work for smaller batches.
Wrapping It Up
This has been one of the most rewarding backyard projects I’ve ever taken on — and that’s saying something given everything I’ve built back there. From digging out the patio bed and building custom concrete molds, to laying hundreds of pounds of flagstone and finishing the whole thing off with glowing LED joints, every step of this build pushed me to learn something new. The end result is a completely one-of-a-kind outdoor space that I’m genuinely proud of.
If this inspired you to tackle your own version of any of these patio fire pit backyard ideas — whether it’s just the smokeless fire pit, the stamped concrete tops, or the full glowing flagstone patio — I’d love to see what you build. Drop a comment below or tag me on social. And if you want more backyard and outdoor project ideas, check out my post on 5 DIY outdoor curb appeal projects you can do this weekend for some quicker wins while you plan your big build.