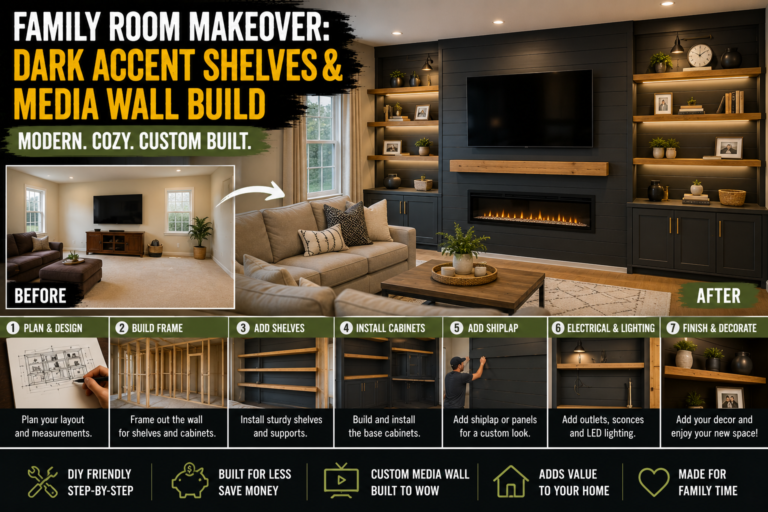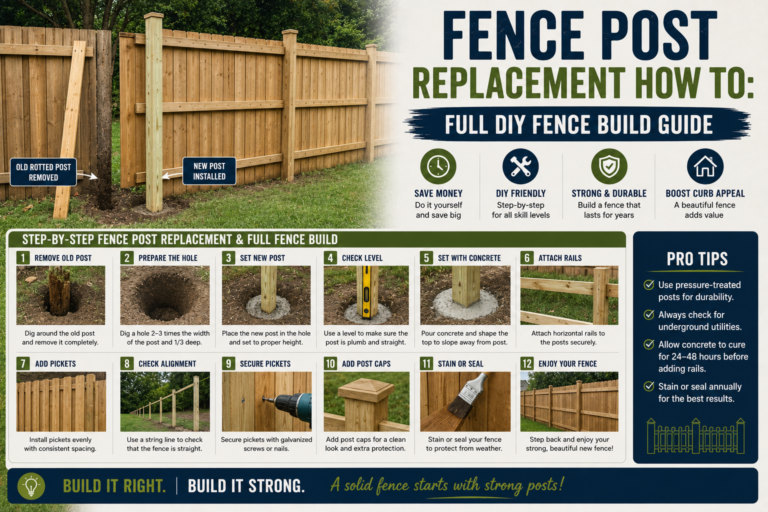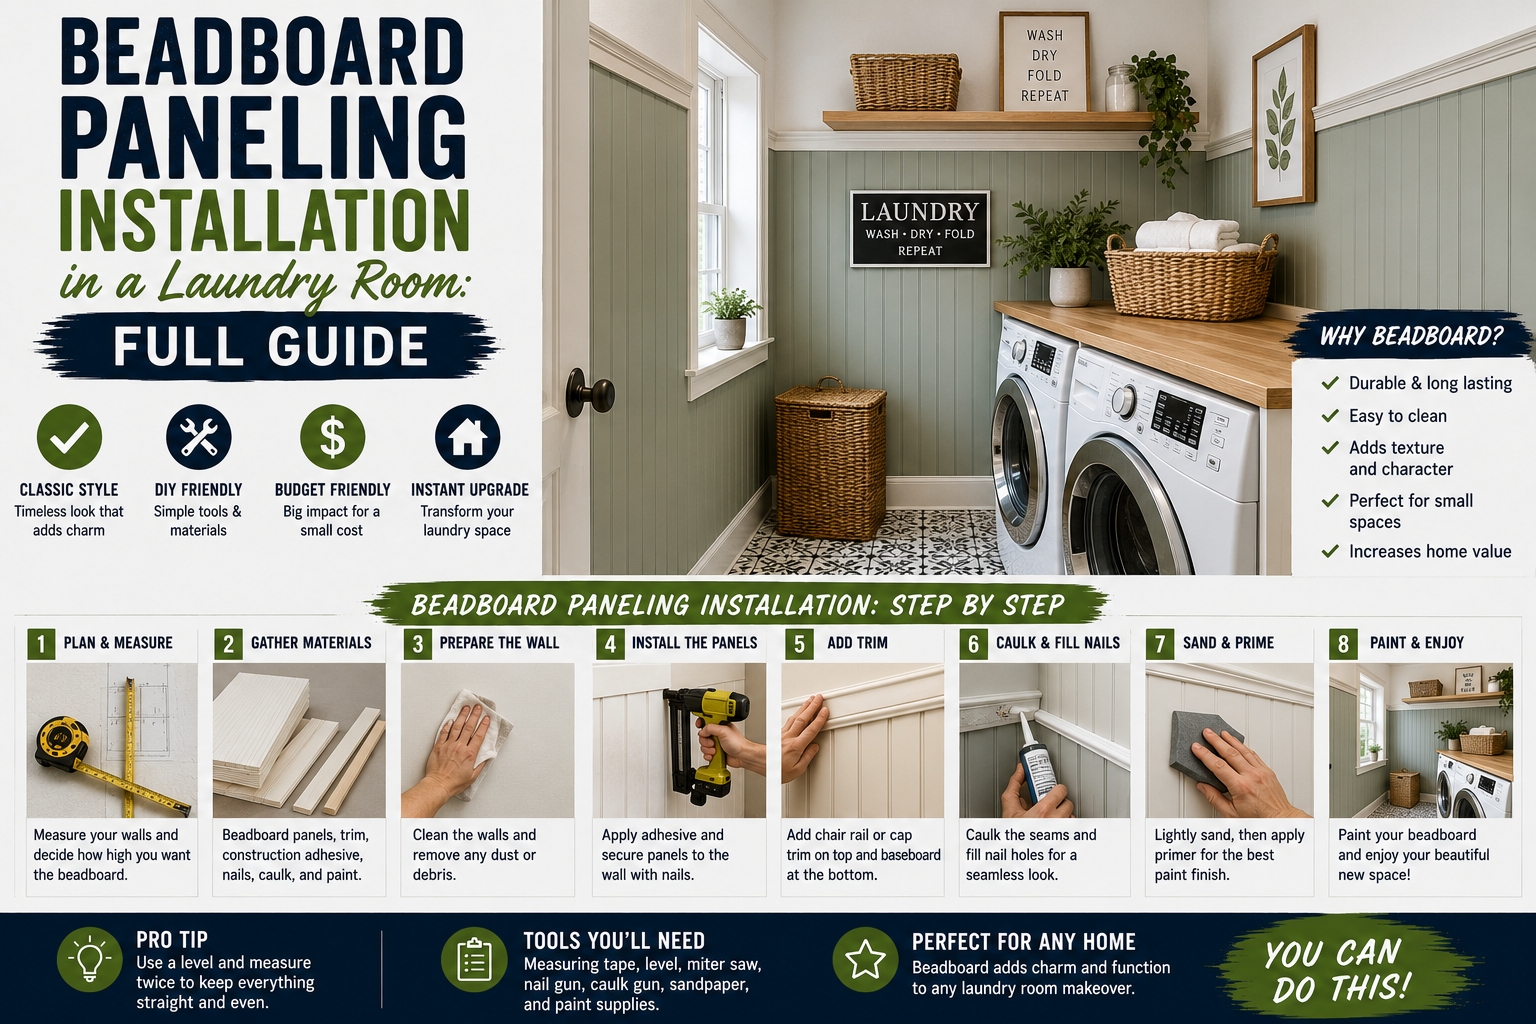
If you’ve been wanting to add some character and charm to your laundry room, beadboard paneling installation is one of the best DIY projects you can tackle. It’s beginner-friendly, budget-conscious, and the results look like something out of a home design magazine. I’ve done this in my own laundry room and I’m walking you through every single step so you can do the same thing with confidence.
The whole process — from buying the panels to the final coat of paint — is very manageable for a DIYer of any skill level. You don’t need a ton of specialty tools, and the materials are easy to find at your local Home Depot or Lowe’s. Whether your laundry room is a small closet or a dedicated space, beadboard adds texture, warmth, and a finished look that completely transforms the room. If you’re looking for more inspiration before diving in, check out my post on home improvement renovation project ideas for mudrooms and laundry makeovers — it’s packed with ideas to get you motivated.
In this guide, I’m covering every step of the process I followed: choosing and transporting the right panels, marking studs, cutting for outlets and windows, dealing with imperfect corners, installing trim molding, filling holes, caulking, and prepping for paint. Let’s get into it.
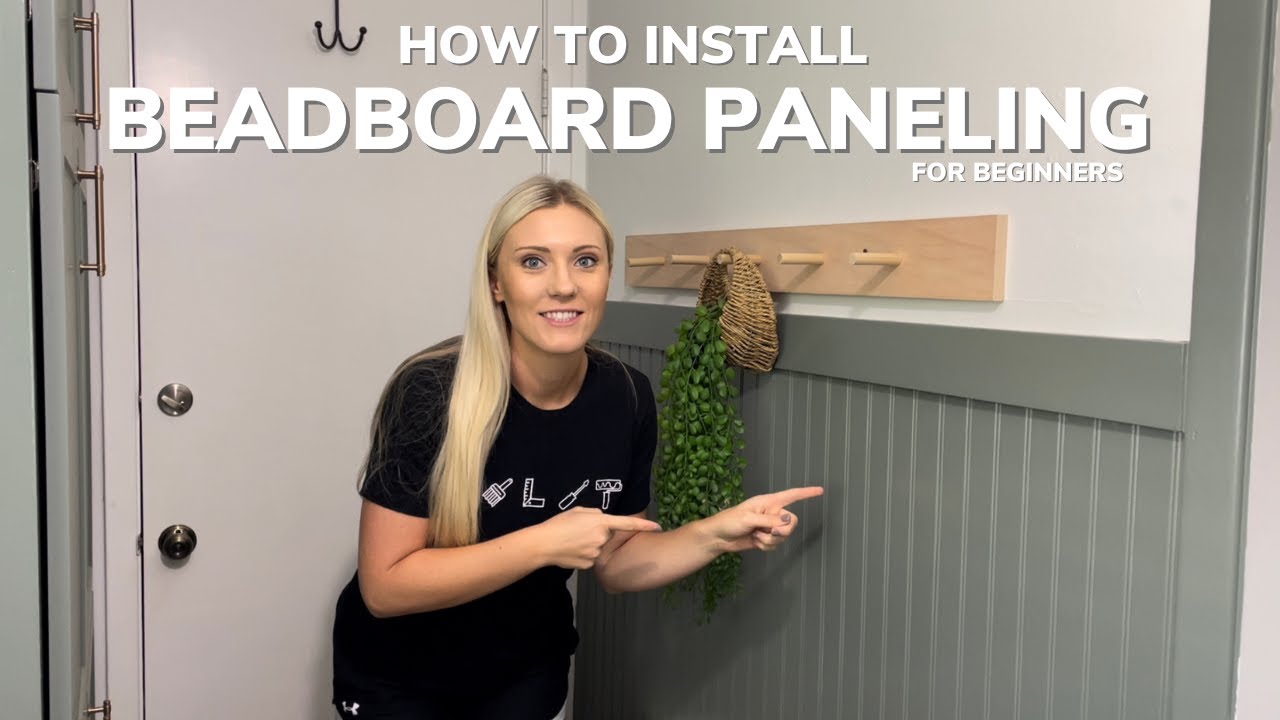
Choosing the Right Beadboard Panels and Getting Them Home
For my laundry room, I went with the 4-ft by 8-ft sheets of beadboard paneling — these are sold at Home Depot and Lowe’s and they are hands-down the most economical option. The full sheets give you the most material for your dollar, and you can cut them to whatever height you need for your specific wall.
Here’s the thing though — a 4×8 sheet is big. It won’t fit in a car, it’s a tight fit in most SUVs, and depending on your truck bed, it might not even fit there. My solution was to ask the store employees to cut the sheets right down the middle for me. That gave me two 48-inch pieces per sheet, which happened to be the exact height I wanted for my laundry room walls. It also made transport a non-issue. Beyond the full sheets, Home Depot and Lowe’s also sell beadboard in smaller packs if you have a tighter budget or a smaller space — so check those options out too depending on your situation.
One more tip before you buy: if you’re planning to replace your baseboards, do that before you install the beadboard. The beadboard simply sits on top of the baseboard, so having those in place first makes your installation much cleaner and easier.
Understanding the Panel Design and Pattern Matching
Before I started nailing anything up, I took a few minutes to really look at the detail on these panels — and I’m glad I did, because it made the whole installation go much more smoothly. The beadboard has these little ribs running vertically across its surface. On one side of the panel, the edge ends with a rib. On the other side, the edge is flat.
This design is intentional. When you butt one panel up against the next, the flat edge of the new panel meets the ribbed edge of the previous one and the pattern continues seamlessly. It’s a clever system that makes the seams virtually disappear once everything is painted. Take a moment to study your panels before you start cutting and installing — understanding which edge is which will save you from making cuts that break the pattern.
Choosing Your Attachment Method: Brad Nailer vs. Hammer and Nails
There are two main ways to attach beadboard paneling to the wall, and I want to walk you through both so you can decide what works best for your setup. My preferred method — and what I used for this project — is an 18-gauge brad nailer with brad nails. It’s fast, consistent, and drives the nails flush every time. For this project I used 2-inch, 18-gauge brad nails — that length is important because the nail needs to pass through the panel, through the drywall, and still have enough length left to drive into the stud and actually hold everything.
If you don’t own a nail gun, you can absolutely use a good old-fashioned hammer and finishing nails — the small white finishing nails available at any hardware store will work. It’ll take longer and require a bit more patience, but it gets the job done. One thing to watch for with either method: if your nails are sticking out and not going all the way in, that’s a sign your nails are too long. Try going down a quarter to a half inch in size, but never go so small that the nail can’t reach the stud.
Locating Studs and Installing the First Panel
Before I brought a single panel to the wall, I used my stud finder to locate all the studs and marked them with small pieces of masking tape above the beadboard line. This step is critical — your nails need to hit studs to actually hold the paneling securely. Don’t skip it or guess on stud locations.
With the studs marked, I set my first panel on top of the baseboard, lined it up flush with the corner, and drove my brad nails right into those pre-marked stud locations. The first panel goes up quickly, and from there you’re just working your way around the room one panel at a time. Using a laser level can help you confirm everything is sitting straight before you commit with the nails.
Measuring and Cutting Panels to Fill Gaps
Once my first full panel was up, I had a gap left over that needed a custom-cut piece. This is completely normal — most rooms aren’t going to work out to perfectly even panel widths. I grabbed my tape measure and pencil, measured the gap (mine was 14 and 5/8 inches), and marked that measurement on my next panel. The key here is to remember the pattern: if the edge of the installed panel ends with a flat section, the cut edge of the new panel needs to start with a rib so the design continues correctly.
I used my table saw for these cuts because I could set the fence to my exact measurement and get a perfectly straight, repeatable cut every time. If you don’t have a table saw, you can draw your cut line with a straight edge and cut along it with a circular saw or a jigsaw. Either way, take your time with the measurement and the cut — a clean edge here makes a big difference in the final look.
Dealing with Imperfect Corners
Here’s something nobody tells you until you’re standing there with a panel that doesn’t quite fit: most homes do not have perfectly square 90-degree corners. I ran into this myself, and it’s something you need to plan for rather than fight against. When a corner isn’t perfectly square, you’ll end up with a small gap either between the door trim and your panel, or between the baseboard and your panel.
My recommendation is to push your panel tight against the door trim and let the gap fall at the baseboard. The reason is simple — that gap at the baseboard will be filled in later with caulk and will disappear completely. Trying to get the panel to sit perfectly flush at both ends usually just makes things worse. Work with the wall, not against it, and let the caulk do its job.
Cutting Panels to Height for Windows
My laundry room had a window, which meant I needed a panel that was shorter than the standard 48 inches in that section of the wall. The process is straightforward: I measured the distance from the top of the baseboard up to the bottom of the window, marked that measurement on my panel, and used my table saw to rip it down to the correct height.
The key is taking an accurate measurement and double-checking it before you cut. Measure twice, cut once — it’s a cliché because it’s true, especially when you’re working with panels that cost money. Once you’ve made your height cut, dry-fit the panel against the wall before nailing it in to make sure everything looks right.
Making Unusual Cuts Around Window Corners
The trickier cut came when I had to work around the corner of the window — this required an L-shaped cutout in the panel rather than a simple straight cut. I broke the measurement process down into three separate measurements: the total width of the panel from the cabinet on the right to the edge of the previous beadboard, the height from the baseboard to the underside of the window sill (to know where the cutout needed to start), and the depth from the edge of the previous beadboard to the outside of the window sill (to know how far into the panel the cutout needed to extend).
I made the full-width rip cut on the table saw first, then transferred all my measurements onto the panel with a pencil and used a jigsaw to cut out the corner notch. After the cut, I did a quick dry fit to make sure everything was snug before nailing it into place. Taking the time to do a dry fit on complex cuts like this is absolutely worth it.
Cutting Out Openings for Electrical Outlets
Outlets are one of those things that can feel intimidating the first time you work around them, but there’s a really clever trick that makes marking the cutout location almost foolproof. I started by removing the screws from the outlet cover plate but left it loosely in place against the wall. Then I folded masking tape back on itself to create a makeshift double-sided tape, and applied it to the outside edges of the outlet cover.
With the tape in place, I held my panel up to the wall and pressed it firmly against the outlet cover so the tape bonded to the back of the panel. When I carefully pulled the panel away, the outlet cover came with it, still stuck to the back of the panel — giving me a perfect template of exactly where to cut. I traced the inside of the cover plate onto the panel and used a multi-tool to cut out the opening (a drill and jigsaw works too). Before installing, I turned off the breaker and safely removed the outlet from the wall, installed the panel with brad nails, and then added a metal extension ring to bring the outlet box flush with the new panel surface — this is a building code requirement when you add paneling over an existing wall. If electrical work makes you nervous, don’t hesitate to call a professional for this part.
Installing the Top Trim Molding
Once all the beadboard panels were up, I added a top trim molding to give the installation a clean, finished edge. For my laundry room, I chose 1×4 primed pine — but there are plenty of options out there depending on the style you’re going for. You could also use crown molding for a more decorative look.
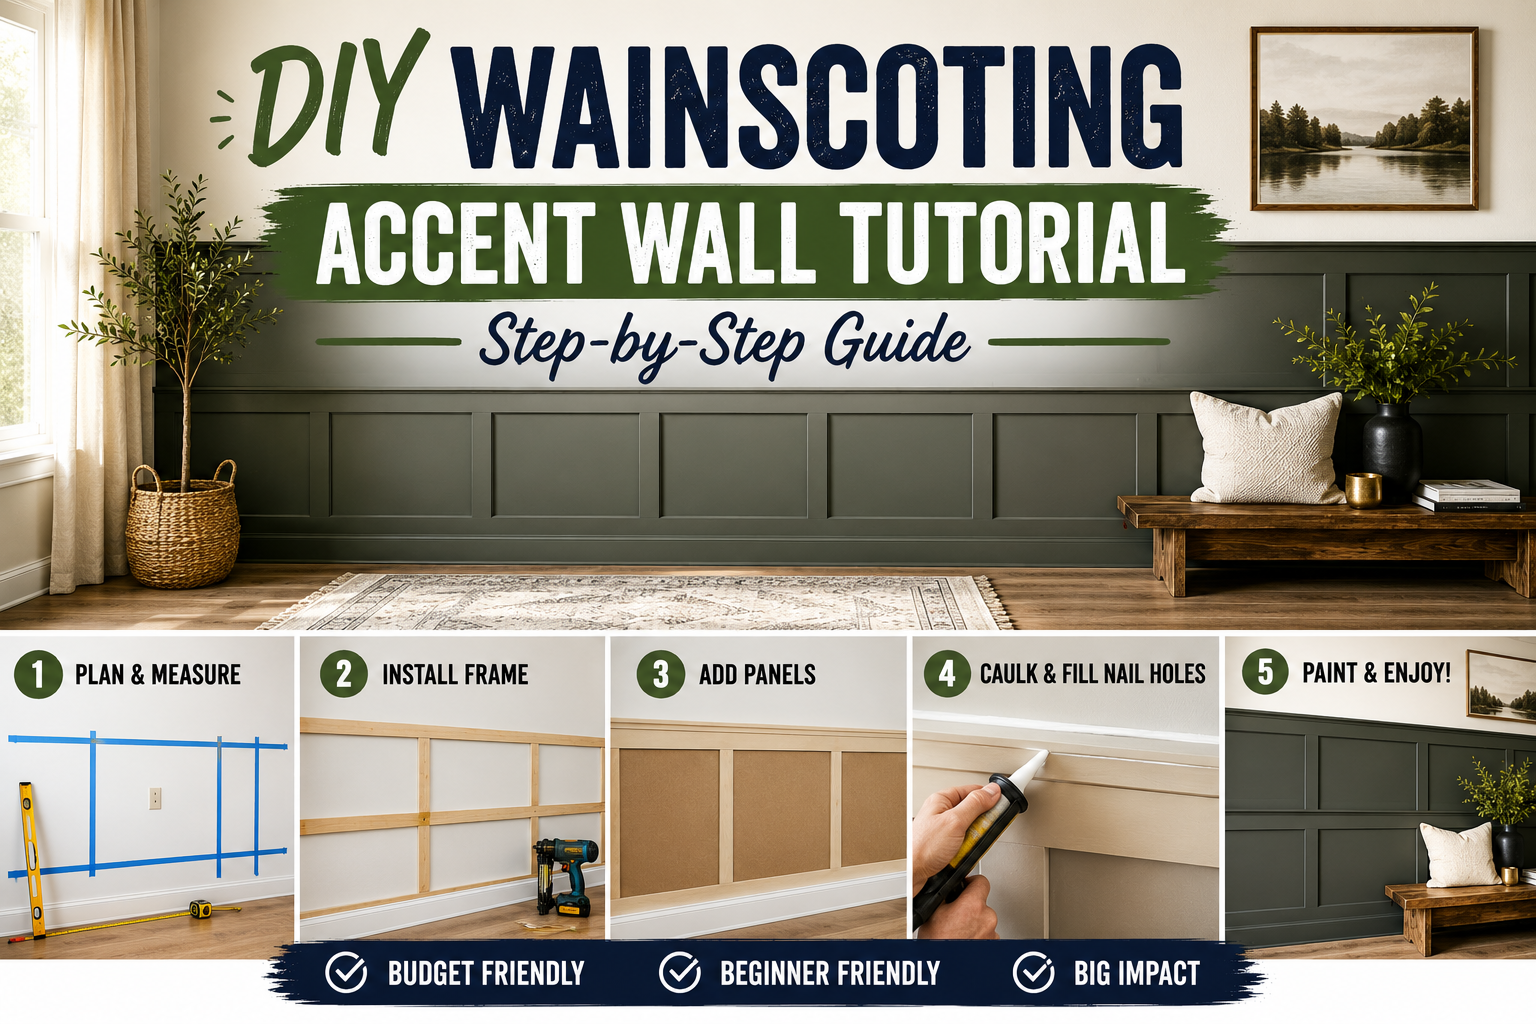
The process is simple: take careful measurements for all your cuts, use a miter saw to make the cuts (especially for any corners), and then nail the molding into place with brad nails driven into the stud locations. Accurate measurements are everything here — take your time and don’t rush the cuts. A clean, tight-fitting trim line is what separates a professional-looking install from an amateur one. For more accent wall inspiration that pairs beautifully with this kind of trim work, my DIY wainscoting accent wall tutorial is a great companion read.
Filling Nail Holes with Spackling
With all the paneling and trim in place, it was time to start the finishing work — and the first step is filling every nail hole. I prefer Drydex spackling for this because it’s easy to work with, dries fast, and is ready to sand in a short amount of time. The application is simple: take a small dab on your fingertip and push it firmly into each nail hole. You can also use wood filler if that’s what you have on hand — either works fine.
Once the spackling is dry, sand it smooth with 220-grit sandpaper or a sanding block. I like to hold a rag under the area while I sand to catch the dust and keep cleanup easy. Work through all your nail holes systematically so you don’t miss any — a nail hole that doesn’t get filled will show right through your paint.
Caulking All Seams, Gaps, and Corners
Caulking is what takes a good beadboard installation and makes it look truly seamless and professional. I used DAP Alex Flex crown molding caulk with a caulk gun for this step, and I applied it to every seam, corner, and gap throughout the room — including those imperfect corner gaps I mentioned earlier.
A few tips for getting a clean caulk line: don’t cut the tip of the caulk tube too large — a big opening leads to a messy, uncontrolled bead of caulk that’s hard to work with. Move the caulk gun along the seam at a steady, consistent pace. If you struggle with caulk application, apply masking tape to both sides of the seam before you caulk, smooth the bead with your finger, and then pull the tape away while the caulk is still wet — it gives you a perfectly clean edge every time. This one technique alone is a game-changer if you’ve ever ended up with messy caulk lines before.
Priming, Painting, and Final Finish
Here’s the great news about these beadboard panels: they come pre-primed, which means you can go straight to your topcoat without needing to apply a separate primer. Any interior paint will look great over these panels once your spackling and caulk are fully dry and sanded smooth.
I’d recommend using a quality paint like Sherwin Williams paint or Benjamin Moore for the best coverage and durability — especially in a laundry room where humidity and moisture are factors. Use a paintbrush to cut in around the edges, trim, and corners, and an extendable roller stick with a roller for the flat panel surfaces. Two coats will give you a rich, even finish that really makes the beadboard pop. If you want more painting advice to go along with this project, my full guide on how to paint like a pro covers every skill you need.
Tips and Best Practices for Beadboard Paneling Installation
After going through this entire process myself, here are the most important lessons I’d pass along to anyone tackling this project:
Always do a dry fit before nailing. Whether it’s a straight cut, a height cut, or a complex corner notch, always test the fit before you commit. It saves panels and saves frustration. Mark your studs before anything goes up on the wall — use tape above the panel line so your marks are visible the whole time. Don’t cut your caulk tip too large. A smaller opening gives you much more control. Let your spackling fully dry before sanding — rushing this step means you’ll be sanding wet material and making a mess. Use the outlet cover transfer trick for marking outlet locations — it’s genuinely one of the most useful tricks in this whole project. And finally, plan your panel layout before you start so you understand how the pattern will flow around the room and where your seams will land.
Frequently Asked Questions
Can I install beadboard paneling over existing drywall?
Yes, absolutely — in fact, that’s exactly what I did in my laundry room. The panels nail right over the existing drywall. Just make sure you’re driving your nails into studs and not just into drywall alone. The only adjustment you’ll need to make is adding metal extension rings to any electrical outlet boxes so they remain flush with the new panel surface, which is a building code requirement.
Do I need to use adhesive in addition to nails?
I didn’t use any adhesive on my project — just brad nails into the studs — and everything held perfectly. Some installers like to add a bead of liquid nail construction adhesive to the back of each panel for extra holding power, especially if the wall surface is uneven. It’s an optional step but not strictly necessary if your nails are hitting studs.
What height should I install beadboard in a laundry room?
This comes down to personal preference and the overall proportions of your room. I went with 48 inches, which is exactly half of a standard 8-foot sheet — making it cost-effective since I got two panels from each sheet. Chair rail height (around 32–36 inches) is also popular, as is going all the way to the ceiling. The 48-inch mark tends to look really balanced in most laundry rooms and smaller spaces.
What kind of paint should I use on beadboard paneling?
Since these panels come pre-primed, you can use any quality interior paint directly on them. I’d recommend a satin or semi-gloss finish for a laundry room — both are more moisture-resistant and easier to wipe clean than a flat finish. Brands like Sherwin Williams paint and Benjamin Moore both offer excellent interior paints that will hold up beautifully in a high-humidity space.
Ready to Transform Your Laundry Room?
Beadboard paneling installation is one of those projects that punches way above its weight — the results look dramatic and intentional, but the process is completely approachable even if you’ve never done anything like this before. From choosing the right panels at the store to the final coat of paint, every step builds on the last, and the finished product is something you’ll genuinely love walking into every day.
If you found this guide helpful, I’d love to know how your laundry room turns out — drop a comment below and share a photo if you can! And if this has you in a DIY mood, check out my post on DIY panel wall with sconces for another beginner-friendly accent wall idea that pairs beautifully with beadboard. Now go grab those panels and get started — you’ve got this.