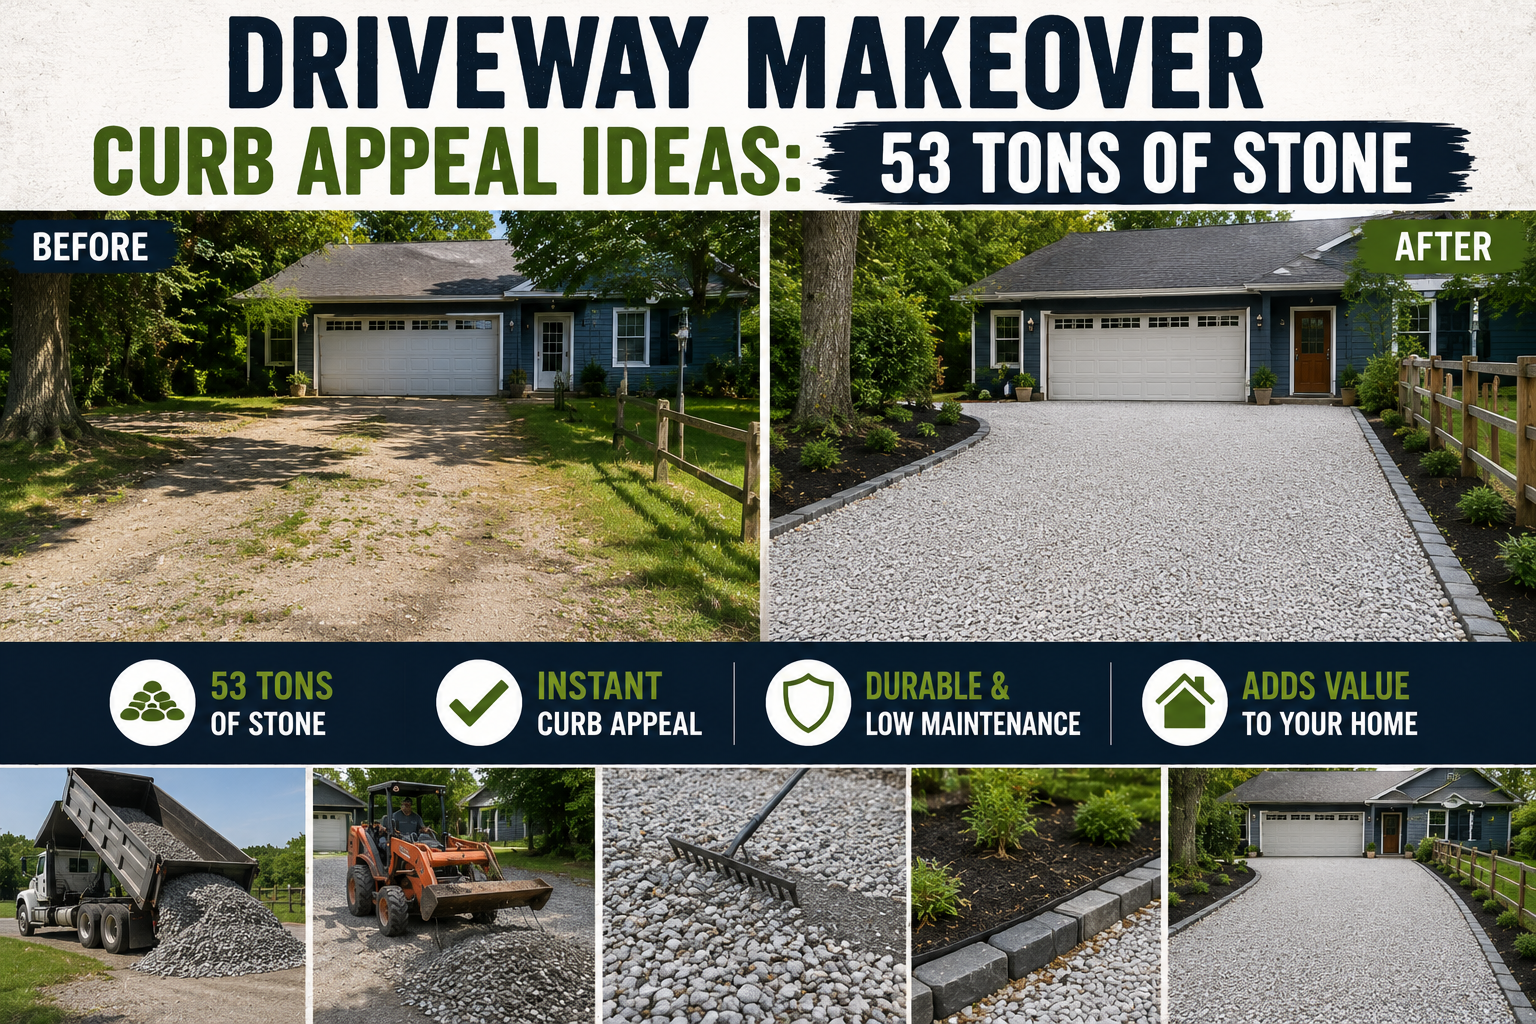
If your driveway has become the one thing you try not to look at when you pull up to your own house, you are not alone. After five years of neglect, contractor damage, rocks spreading into the lawn, and weeds taking over every crack, our driveway had officially become an embarrassment. I finally hit my limit and decided to go all in — 53 tons of stone, a rented skid steer, boulder edging, and a few clever tricks that I really wish I had known from day one.
This post walks you through every single step of this driveway makeover curb appeal project, from marking out the new edges to laying the final gravel and sealing it all together. Whether you’re dealing with a gravel driveway that’s falling apart or you’re just tired of the sad first impression your home gives, these ideas will give you a game plan. And yes — I’m also sharing the two tips that would have prevented this entire mess in the first place.
The total material cost came in at around $5,500, which sounds like a lot until you compare it to the $35,000 quote we got for concrete. So grab a cold drink, and let’s get into it.
Step 1: Mark Out the New Driveway Edges and Plan Your Layout
Before a single rock gets moved, you need to know exactly where your new driveway is going to live. I grabbed some marking spray paint and walked the entire length of the driveway, spraying the new boundary lines I wanted. The goal was to soften the curves and also widen the driveway by a couple of feet so that large delivery trucks would have enough room to maneuver without driving over the lawn.
I even sent up a drone to get a bird’s-eye view of the lines, which I’d highly recommend if you have one available. It’s incredibly easy to miss a curve that’s off when you’re standing at ground level. From above, you can see the whole shape at once and adjust before you’ve committed to anything. Take your time here — the layout is the foundation for everything else.
Step 2: Cut the Edging Lines with an Edging Tool
Once the lines were sprayed, I used a dedicated edging tool to cut clean lines along every boundary. You simply walk the tool down the painted line and let it do the work. It’s one of those satisfying, almost meditative tasks — at least for the first 50 feet. After that, you’re just grateful the delivery truck showed up when it did.
Don’t skip this step. Clean, defined edges are what separate a driveway that looks intentional and polished from one that just looks like someone dumped rocks and walked away. Sharp edges also help contain the gravel later on, which is one of the core problems we were trying to solve from the start.
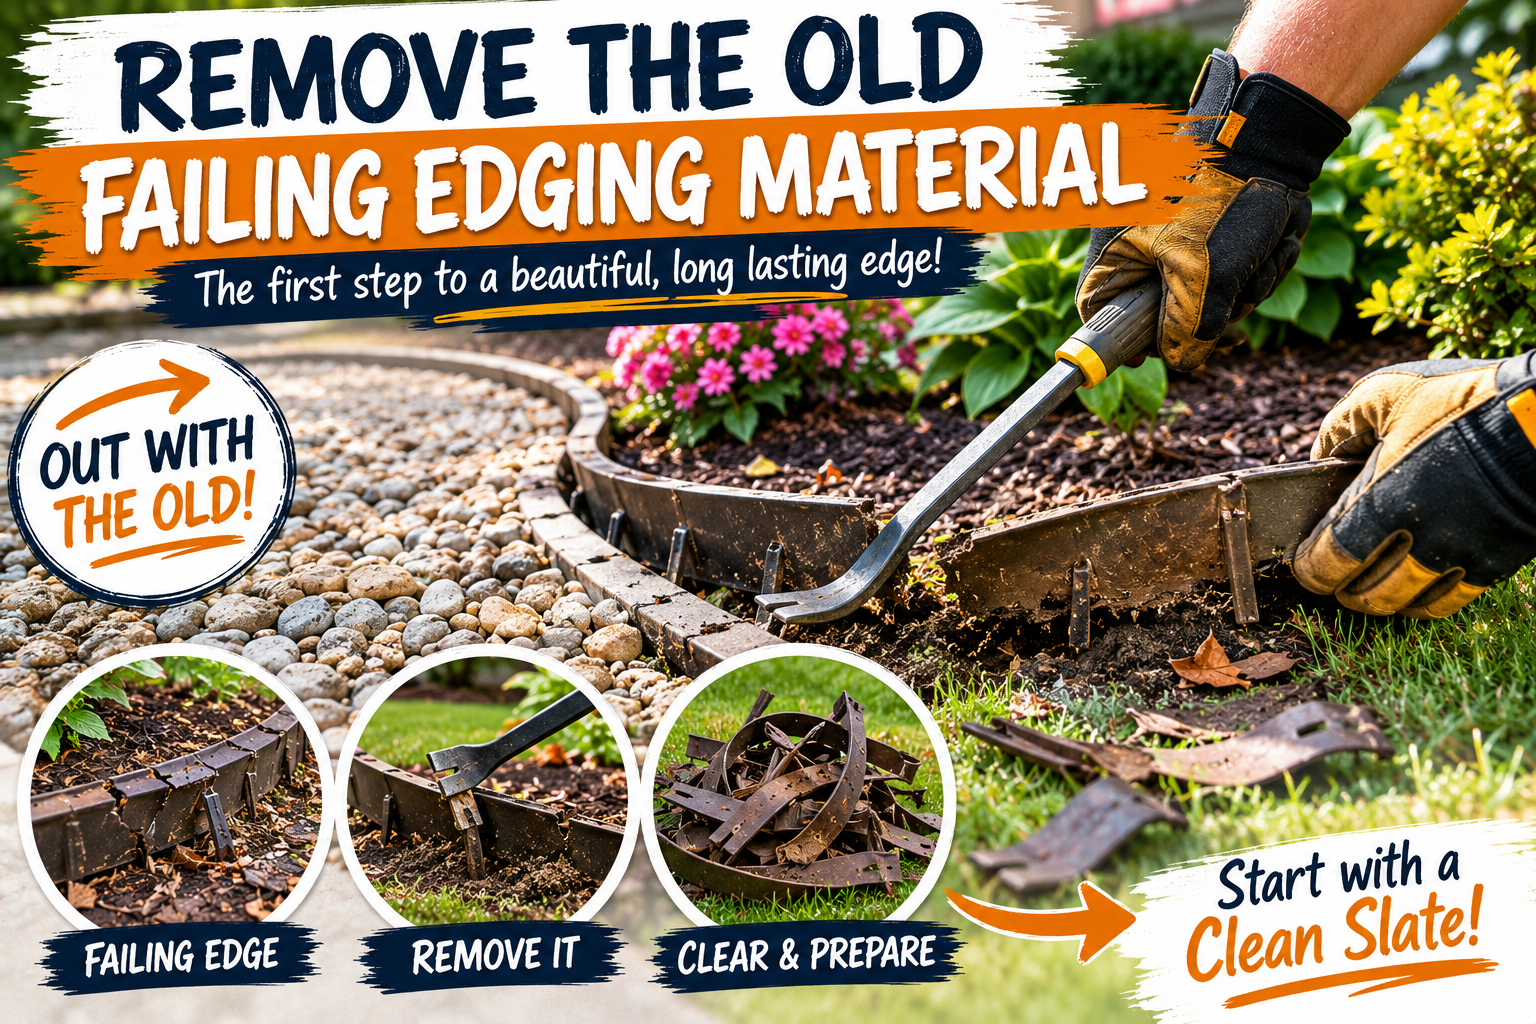
Step 3: Remove the Old Failing Edging Material
Here’s where things got messy — in the best possible way. The original landscapers had installed 2×6 lumber as edging, but over the years it had sunk so far into the ground that in some spots it was a full 6 inches below the surface. It was completely buried and useless. Then a contractor doing our home addition demolished what little was left with his heavy equipment and left before finishing the job. Classic.
All of that old material needed to come out before we could start fresh. I used the rented skid steer (technically a compact track loader, but let’s not split hairs) to rip it out and load it into the truck. Getting rid of this old edging was genuinely one of the most satisfying parts of the whole project — like pulling a splinter you’ve had for five years. Once it was gone, the path forward was clear.
Step 4: Rent a Skid Steer to Move Heavy Materials
Let’s talk about the most important equipment decision of this project. I had 36,000 pounds of stone showing up and exactly zero desire to move it by hand. My small tractor wasn’t going to cut it either. The solution was renting a compact track loader (skid steer) with both forks and a bucket attachment. If you’re doing any kind of large-scale driveway or landscaping project, this piece of equipment is an absolute game changer.
Fair warning: if you’ve never operated one before, budget some time to get comfortable. I’m not going to pretend I looked like a professional on day one. But by the time the job was done, I had the hang of it, and there is genuinely nothing more satisfying than watching a machine do in 20 minutes what would have taken your back three days to accomplish. If you want to keep your weekend curb appeal projects manageable, renting the right equipment is everything.
Step 5: Use Boulders to Line the Driveway Edges
This is the feature that completely transforms the look of the driveway from “gravel road” to “intentional and designed.” I ordered 18 tons of one-man boulders and used them to line both sides of the entire driveway. The boulders average about 12 inches each, and I stacked them roughly five levels high to create a solid, permanent border that will hold the smaller gravel in place for decades.
Measuring the linear footage of the driveway first (we had about 266 feet) helped me calculate how many boulders I’d need, and I want to be honest — I was a little nervous about whether I’d ordered enough. But it worked out beautifully. The boulders also add a natural, landscaped look that makes the whole property feel more polished and intentional. This is the kind of detail that makes neighbors slow down and stare.
Step 6: Lay a Compactable Base Layer (GAB / Crusher Run) First
Here’s one of the two tips I mentioned at the top that would have saved me all of this trouble in the first place. You cannot just dump gravel on top of dirt and expect it to stay put. Over time, the rock slowly sinks into the soil, disappears, and spreads out in every direction — which is exactly what happened to our original driveway.
The solution is to put down a layer of GAB (Graded Aggregate Base), also called crusher run first. It’s a mix of rock and different aggregate materials that compacts down into a firm, stable surface. Think of it as the foundation under your foundation. Once this layer is compacted, you have a solid surface to put your finish gravel on top of, and everything stays where you put it. Don’t skip this step — it’s the difference between a driveway that lasts 10 years and one that lasts 100.
Step 7: Buy Your Gravel from an Asphalt Supply Company, Not a Landscape Supplier
This is the second tip that could save you serious money, and I genuinely cannot believe more people don’t know this. I was originally going to order my number 57 gravel from a landscape supply company, and the quote was $99 per ton plus $500 for delivery. The guy I bought my boulders from pointed me to an asphalt supply company instead.
Final price? $53 per ton and $270 for delivery. On 35 tons of gravel, that price difference is enormous. The material is the same — number 57 rock is number 57 rock, the most commonly used gravel in all of construction. The only difference is where you buy it. Make a few phone calls before you order, and don’t assume the first quote you get is your only option.
Step 8: Spread the Gravel with the Skid Steer
Once the crusher run base was compacted and the boulder edging was in place, approximately 35 tons of number 57 gravel were delivered and it was time to spread it. The dump trucks weren’t thrilled about spreading it on the way down, so they just dropped it in piles and I spread it with the skid steer bucket. This is where having that machine really pays off — doing this by hand with a rake would have taken days.
Take your time spreading evenly and getting consistent depth throughout. Pay extra attention to the areas near the boulder edging and the pathway areas where foot traffic is heaviest. Even coverage makes the finished product look intentional and clean rather than haphazard.
Step 9: Integrate Stepping Stones and Pathway Rock
Part of the project involved redoing the pathway from my mom’s section of the house out to the driveway. The plan was to remove the existing grass, pick up the stepping stones, lay rock underneath, and then reset the stepping stones on top of the gravel. This creates a cleaner, lower-maintenance surface that doesn’t require mowing or weeding.
We also transplanted the grass we removed rather than tossing it — the tractor came in handy for moving it to another part of the property where it could be reused. Little details like a properly finished pathway make a huge difference in how the overall driveway project reads from the street. It ties everything together rather than leaving one area looking half-finished.
Step 10: Apply Rock and Mulch Glue to Lock Edging Areas in Place
Along the areas where the rock meets pavers or other hardscape surfaces, I used a product called rock and mulch glue to lock the stones in place and prevent them from creeping onto the pavers over time. This is a targeted solution — you wouldn’t apply it across your entire driveway surface, but it’s perfect for the transition zones where rocks have a history of migrating somewhere they shouldn’t be.
My sprayer clogged midway through the application and I had to switch to a watering can, which used more product than I would have liked. So use a proper sprayer if you can. The proof was in the pudding though — it rained hard the very next night after application, and the rocks stayed put. Worth every penny.
Step 11: Make a Natural, Pet-Safe Weed Killer
One of the biggest ongoing problems with our old driveway was the constant battle against weeds and grass growing up through the rock. I didn’t want to use commercial herbicides because our dogs and chickens have access to that area, so I came up with a simple natural solution that actually works.
Mix together 1 gallon of white vinegar, 1 cup of salt, and 1 tablespoon of dish soap. That’s it. Spray it directly on any weeds or grass that pop up through the rock, and it takes them out without any concern about pets getting into something toxic. Keep a sprayer of this mixed up in the garage so it’s ready whenever you need it. It won’t prevent weeds from coming back, but it handles them quickly and safely when they do.
Step 12: Trim Hedges and Landscaping While You’re Out There
While waiting for the gravel delivery, I took the opportunity to give the hedges a trim and shape up the ornamental trees out front. These spiral-style bushes we planted five years ago had gotten impressively wide (though not much taller), and they were starting to look a little cartoonish. A good trim brought them back in line with the overall aesthetic.
This is a good reminder that a driveway makeover doesn’t happen in isolation. The landscaping along the driveway contributes just as much to curb appeal as the surface itself. If you’re going through the effort of redoing your driveway, take an afternoon to clean up the surrounding plants and hedges. You’ve already got your tools out — use a quality weed eater and pole pruner to get everything looking sharp while you’re in the zone. A pair of yard tools will make this part go fast.
Tips and Best Practices for Your Driveway Makeover
Always lay a compactable base (GAB/crusher run) before your finish gravel. Skipping this step is the number one reason gravel driveways fail over time. The finish rock needs something stable to sit on, or it will sink and spread.
Call an asphalt supply company for your gravel, not just landscape suppliers. The price difference can be staggering — in our case it was nearly half the cost per ton. Always get multiple quotes before ordering bulk materials.
Use boulder edging or a solid physical barrier to contain your gravel. Pretty landscaping edging won’t hold up to vehicle traffic or frost heave. Go with something substantial that will still be doing its job in 20 years.
Use rock and mulch glue at transition zones where gravel meets pavers or other surfaces. It’s a small investment that prevents a chronic maintenance headache.
Keep your natural weed killer mixed and ready. Weeds in gravel are inevitable — the key is responding quickly so they never get established. The vinegar-salt-soap formula is effective, safe, and costs almost nothing.
Rent the right equipment for large jobs. A skid steer rental might feel like an extravagance until you’re staring at 36,000 pounds of stone and remembering what your back felt like last Monday. For projects of this scale, it’s not optional — it’s smart. You might also want to keep a good shovel and a post pounder on hand for the detail work.
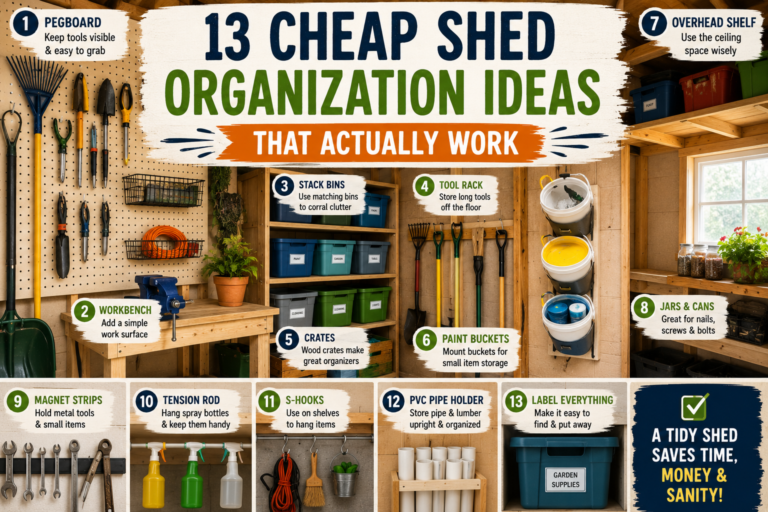
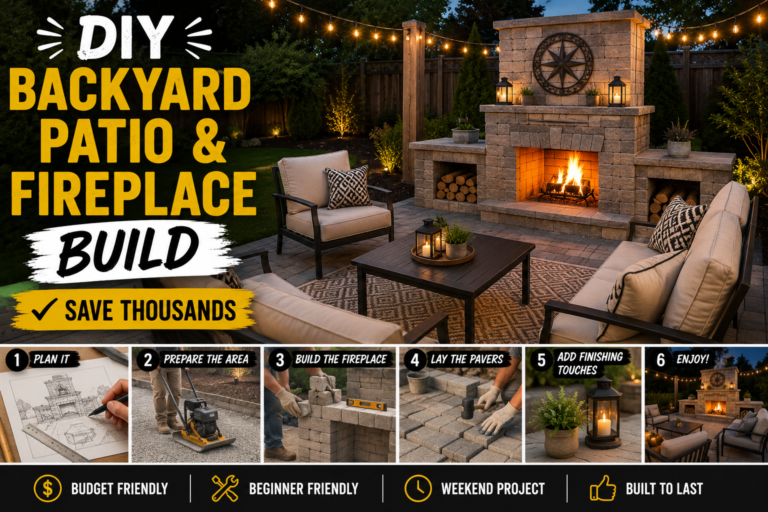
If you love tackling big outdoor projects, you’ll also want to check out our guide to building a DIY backyard patio and fireplace — another project where the right planning and materials make an enormous difference in the finished result. And if garage storage has been nagging at you, our post on garage organization ideas on a budget is a great companion read once the driveway is done.
Frequently Asked Questions
How much does a gravel driveway makeover cost compared to concrete?
In our case, the gravel driveway makeover came in at approximately $5,500 in materials, including boulders, crusher run base, finish gravel, and supplies. A concrete driveway of the same size was quoted at $35,000. That’s a savings of nearly $30,000 for a result that, honestly, looks better and more natural than concrete would have in our setting. Gravel also handles drainage better and is far easier to repair if something goes wrong down the line.
What type of gravel is best for a long-lasting driveway?
The winning combination is a GAB (crusher run) base layer compacted down firmly, topped with number 57 rock as your finish surface. Number 57 gravel is the most widely used construction aggregate in the industry for good reason — it drains well, compacts reasonably, and holds up to vehicle traffic. The base layer is what gives the whole system its longevity, so don’t skip it even if budget is tight.
How do you keep gravel from spreading into the lawn?
The two most effective strategies are solid physical edging and rock glue at transition zones. For our driveway, we used large boulders as the primary edging — they’re heavy enough that they don’t shift, and they create a visual border as well as a physical one. At the areas where gravel meets pavers or walkways, we applied rock and mulch glue to lock the surface stones in place. Traditional plastic landscape edging won’t survive the weight and movement of a gravel driveway, so go with something substantial.
What’s a safe, pet-friendly weed killer for gravel driveways?
The DIY solution that worked great for us is a simple mix of 1 gallon white vinegar, 1 cup salt, and 1 tablespoon dish soap. Shake or stir it together in a garden sprayer and apply directly to weeds. It’s effective, inexpensive, and — unlike most commercial herbicides — safe around dogs and chickens once it dries. It won’t create a lasting barrier, so keep a sprayer mixed up and treat weeds as soon as you see them before they get established.
Ready to Transform Your Driveway?
This project took real effort, a rented skid steer, and a whole lot of rock — but the result is a driveway we’re genuinely proud of, one that’s built to last a century and cost a fraction of what concrete would have run us. The curb appeal improvement alone was worth every bit of it. Our UPS driver agrees.
If you’re planning a driveway makeover of your own, start with the two non-negotiables: lay a compactable base first, and price your gravel through an asphalt supply company before you commit to anything. Those two decisions alone could save you thousands of dollars and years of frustration.
Have questions about your own driveway project? Drop them in the comments below — we love hearing from you. And if you’re hungry for more budget-friendly transformation ideas, check out our roundup of budget home improvement ideas you can do in 30 minutes for even more ways to level up your home without emptying your wallet.