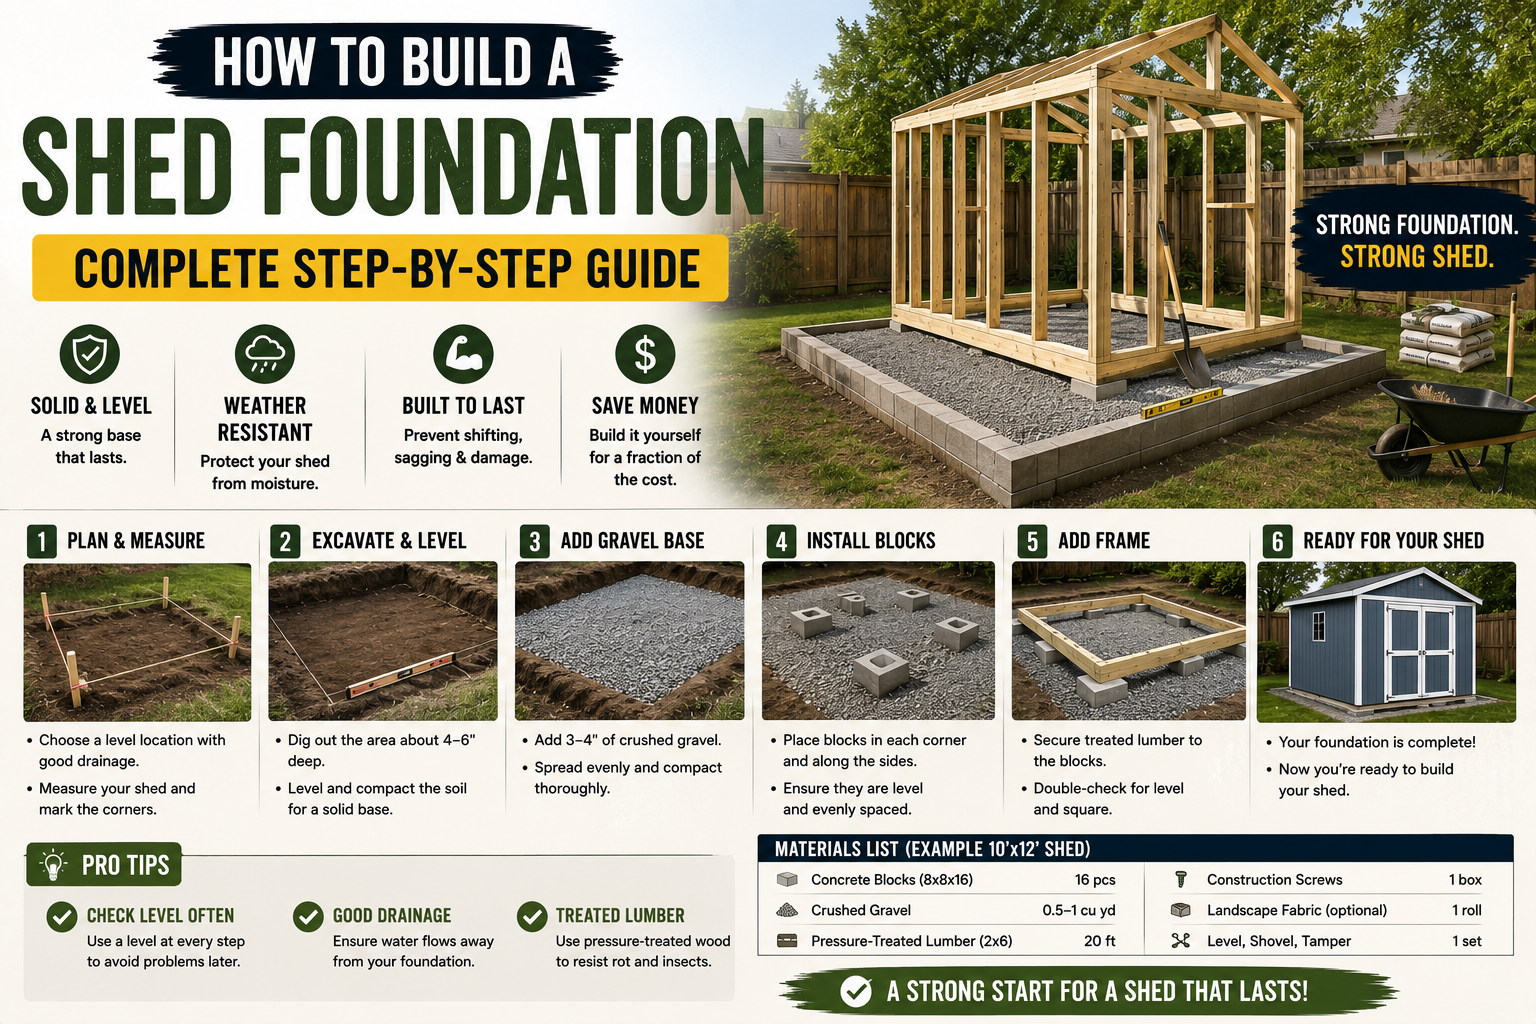
If you’re planning to build a shed, the foundation is the most important part of the entire project — and it’s also the part most people rush through or skip entirely. I’ve learned that getting this right from the start saves you a massive headache down the road. A solid foundation means better drainage, a level structure, and a shed that will last for decades instead of shifting, rotting, or settling unevenly after just a few years.
I recently built a 10×12 shed and documented every step of the foundation process, from selecting the right site to laying the final piece of sheathing. The whole process took a few days of work spread across several sessions, and I’m going to walk you through everything I did — including the mistakes I made so you don’t have to repeat them. Whether you’re a seasoned DIYer or this is your first big outdoor project, this guide will give you everything you need to get started with confidence.
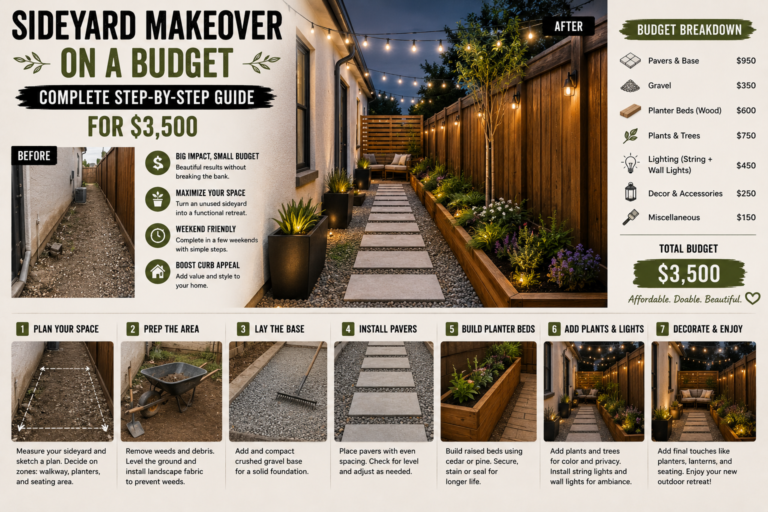
If you’re also thinking about what to do with the inside of your shed once it’s built, I’ve got a full post on 13 cheap shed organization ideas that actually work that pairs perfectly with this build. But first, let’s get that foundation right.
Step 1: Choose the Right Site
Site selection is everything when it comes to a shed foundation. I cannot stress this enough — the flatter the ground you start with, the less work you’ll have to do and the less material you’ll need. For my 10×12 shed, I laid out the foundation footprint at 14 feet by 12 feet, giving me a 1-foot overhang on each side of the shed for added weather protection.
Before you commit to a spot, walk it with a laser level or a long spirit level and check the slope in multiple directions. On my site, I found about a 5.5 to 6 inch total drop across the footprint. That’s close to the limit — and here’s the key rule: you really don’t want your site’s elevation change to exceed the height of the timber you’re using. I was using 4×6 timbers on edge, which gives me 5.5 inches. If your drop is greater than that, you’ll need to bring in additional timbers to compensate, which adds cost and complexity. The flatter your site, the better.
Step 2: Mark and Measure the Footprint
Once I settled on a location, I used spray paint to mark the corners of the foundation directly on the ground. I also ran string lines so I had a visual reference for level throughout the whole build. This is one of those steps that feels tedious but pays off enormously — every measurement, every cut, and every adjustment later in the process references back to these string lines.
Use your string lines to check for level across the entire site. I found my site not only sloped downhill but also had a hump in the middle, which made leveling even more interesting. Set your strings as close to the surface as possible at the highest point of the site — that way you minimize how much fill or buildup you need at the lower end. Take the time to do this carefully with a tape measure and a good level before you dig a single shovelful.
Step 3: Call 811 Before You Dig
This one is non-negotiable. Before you pick up a shovel, call 811 — that’s the national “Call Before You Dig” number in the US. They’ll send someone out to mark any underground utility lines on your property for free. Hitting a gas line, water line, or electrical conduit is a serious safety hazard and could cost you thousands in repairs. Don’t skip this step.
A couple of other digging tips I picked up the hard way: it’s much easier to dig when the ground is moist, so if you’ve had rain in the past few days, that’s the ideal time to start. Dry, compacted soil is brutal to dig through, especially for the trenches you’ll need for the perimeter timbers. If the ground is very hard, consider renting a earth drill or auger to break things up faster.
Step 4: Remove the Grass and Vegetation
Before any leveling happens, I stripped all the grass from the entire foundation footprint. This is important for two reasons: first, dead grass compresses over time, which can cause your foundation to settle unevenly. Second, any organic material left under your foundation will eventually decompose, creating voids and instability beneath your shed floor.
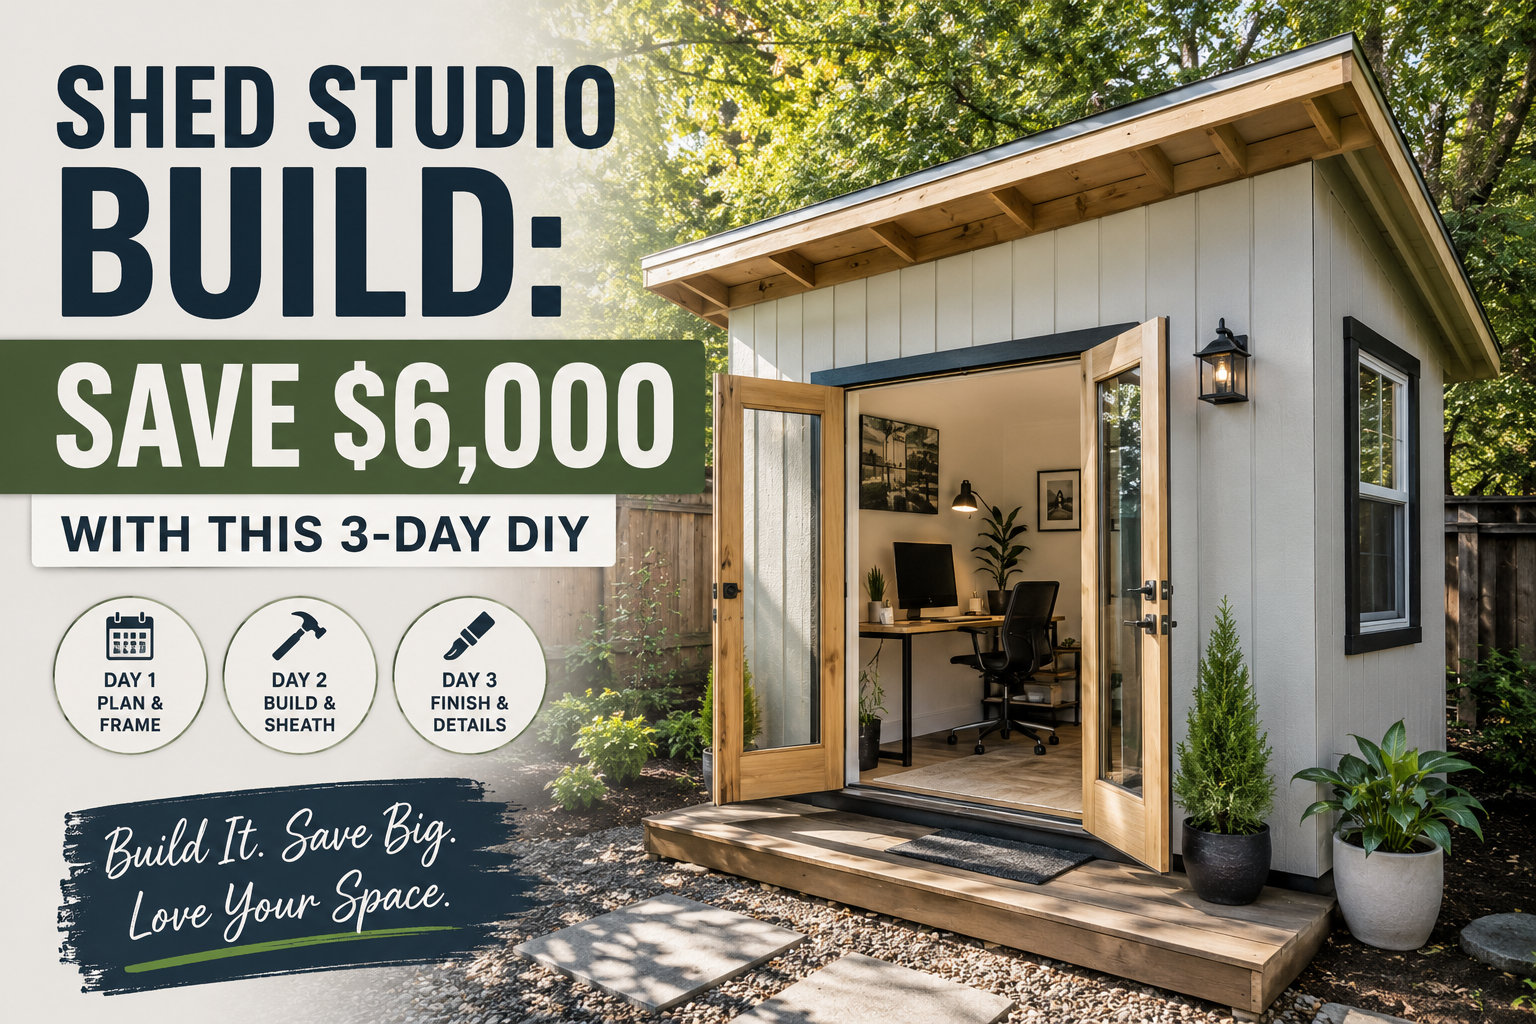
Don’t rush this part. Get every bit of sod and roots out of the area. A flat shovel works great for cutting under sod and peeling it back in strips. Once the grass is gone, you’ll have a much clearer picture of what the actual ground contour looks like and how much leveling you need to do. Once your foundation is done, you’ll want to check out my guide on how to save $6,000 on a shed studio build to make the most of your new structure.
Step 5: Dig the Trenches for the Perimeter Timbers
For my foundation, I dug trenches for the outer frame timbers — specifically, I dug down 7.5 inches from the string line. That depth accounts for 2 inches of gravel underneath plus the 5.5-inch height of the 4×6 timber sitting on edge. The goal is to have the top of the timbers flush with or just slightly above the finished grade at the highest point of the site.
As the yard slopes away, the trench naturally gets shallower because the ground is lower. Once the ground drops more than the timber height (5.5 inches in my case), you’ll need to bring in an additional timber to fill that gap and create a retaining wall effect. I also used a 2×6 as a stand-in during gravel work — since 4x6s are heavy and awkward to move repeatedly, using a lighter board to check your gravel depth before bringing in the real timber saves a lot of effort.
Step 6: Choose the Right Gravel
This is a detail that makes a huge difference, and I want to make sure you get it right. Not all gravel is created equal for this application. What you want is called 3/4-inch clean gravel — it’s also sold as #56 or #57 stone depending on your region. The key characteristics are that it’s angular (not rounded) and it doesn’t include fines or dust.
Angular gravel locks together under pressure and compacts into a stable, load-bearing base. It also drains extremely well, which protects your timbers from sitting in water. Avoid pea gravel, river rock, or any rounded stone — those don’t interlock and will shift under weight. Also avoid compacted base material like crusher run for this layer, because it retains too much moisture. The right concrete-friendly drainage gravel is the foundation of your foundation, so to speak.
Step 7: Order the Gravel at the Right Time
Here’s probably the biggest practical lesson from my entire build, and I want you to really hear this: do not order your gravel delivered until after your timber frame is in place. I ordered too early and the delivery truck had to dump the load out in the yard — nowhere near the foundation site. That mistake cost me somewhere around 30 to 50 trips with a dump cart to move it all. Don’t repeat that mistake.
Get your form built first, then have the gravel dumped directly inside the foundation frame or as close as possible to where it’s needed. For a typical 10×12 foundation with a 2-inch gravel layer, plan on roughly 2 cubic yards. A dump cart (I use a Gorilla Cart and it’s excellent) still helps for spreading and adjusting, but keeping the delivery pile close cuts your work dramatically.
Step 8: Install the Perimeter Timber Frame
With the trenches dug and a gravel base layer in place, it’s time to set the 4×6 pressure-treated timbers. I started with the longest piece on the low side of the slope and worked my way around. To cut through a 4×6, you’ll need to make two passes with a circular saw — the blade isn’t deep enough to get all the way through in a single cut, so flip the board and finish the cut from the other side.
I drilled holes through the timbers for half-inch rebar using a 9/16-inch auger bit, drilling from both the top and bottom since the bit isn’t long enough to go all the way through in one pass. Once the timber is in position and level, drive the rebar through it and into the ground to anchor it. Use your string lines constantly to check position, and check for level with every piece before you commit. On the corners and ends where rebar isn’t practical, I used 6-inch deck screws — one through the end and one down into the piece below — to lock everything together.
Step 9: Level the Interior Soil and Install Landscaping Fabric
Once the perimeter frame was in, I leveled the interior soil to sit about 4 inches below the top of the timbers. That 4 inches is where the gravel goes. I marked 4 inches down on the inside face of all the timbers with a chalk line so I had a clear visual target — trying to eyeball it without that reference is surprisingly hard. Move soil from the high spots to the low spots, and use a tamper to compact every inch or two of fill as you go. Loose soil will settle under the weight of gravel, stone, and a full shed — compact it properly now so you don’t deal with settling later.
After the soil is level and compacted, roll out landscaping fabric over the entire interior. This serves two purposes: it keeps weeds from growing up through your gravel, and more importantly, it prevents the gravel from slowly sinking into the soil over time. Overlap your seams by at least 6 inches. For a 12-foot-wide interior, plan ahead — a 4-foot roll requires careful piecing. You can hold the fabric in place with a little gravel while you work instead of using landscape staples, which saves time.
Step 10: Fill and Level the Gravel
Now fill the interior with your 3/4-inch clean gravel to the top of the timber frame, aiming for that full 4-inch depth. I recommend tamping in two stages — tamp after the first 2 inches, then add the remaining 2 inches and tamp again. Trying to tamp 4 inches of gravel all at once is less effective than doing it in layers. Once it’s all in, use a long straight board (I used a 16-foot 2×4) to screed across the top of the timbers and push the gravel level, filling in any low spots as you go.
Take your time with this step. A truly level gravel base means your 4×4 skids and floor frame will sit flat without shimming or adjustment. It’s worth an extra 20 minutes of checking with a level in multiple directions to get this right before moving on.
Step 11: Set the 4×4 Skids
With the gravel base level, I set four 4×4 pressure-treated skids running the 12-foot width of the shed, spaced evenly across the 10-foot length (roughly 3 feet 4 inches apart). Skids let you build a floor frame that theoretically could be moved if needed — though after all this foundation work, moving it is the last thing I’d want to do.
Before setting the skids, I cut a 45-degree bevel on each end. This bevel sheds water away from the end grain of the timber rather than letting it pool, which dramatically extends the life of the wood. It’s a small extra step that’s absolutely worth doing. Once the skids are positioned and level — check them in both directions — you’re ready to build the floor frame on top.
Step 12: Build the Floor Frame
For the floor frame, I used 2×6 pressure-treated lumber for both the perimeter band boards and the interior joists. I ran the two 12-foot boards as the front and back of the frame, then laid out my interior joists at 16 inches on center, making sure the layout would land joist edges at the 4-foot and 8-foot marks so my plywood seams would always fall on a joist. This is critical — plan your joist layout before you start screwing things together, or you’ll have floating plywood seams that will flex and squeak.
To connect everything, I used 3-inch deck screws. If you have a framing nailer, that’s faster, but screws work just as well and a box only runs $35–40 at the hardware store. I also added blocking between the joists using off-cuts from trimming my 12-footers down to 10 feet — this bracing straightens out any crowned or warped joists and adds rigidity to the whole floor system. Some of my joists had a noticeable bow, and the blocking kept them in line. When installing joists, always orient the crown — the slight curve — facing up. The weight of the floor will press it flat over time.
Step 13: Check for Square
Before fastening the frame to the skids, I checked it for square by measuring the diagonals corner to corner. If both diagonal measurements are equal, the frame is square. If they differ, tap the long-diagonal corners closer together until they match. In my case, I had about a half-inch difference and adjusted the frame until both diagonals came in at 187.5 inches. It’s tempting to skip this, but a frame that’s even slightly out of square makes every subsequent step — sheathing, wall framing, door and window placement — more difficult.
Once square, I drilled countersunk holes and drove screws down through the frame into the skids to lock everything in place. The countersunk holes pull the screw head flush and give the fastener much more holding power than surface screwing alone.
Step 14: Install the Floor Sheathing
For the floor sheathing, I used 3/4-inch RTD plywood (similar to CDX). It’s an exposure-rated panel, meaning it can handle some moisture during construction without delaminating — but you do want to get the shed dried in as soon as possible rather than leaving the floor exposed to repeated rain cycles. I laid the sheets perpendicular to the joists, starting at one corner and working my way across.
Fastening schedule matters here: screw every 6 inches along the perimeter edges of each sheet, and every 12 inches along the interior joists. Snap chalk lines over the joists so you know exactly where to drive your screws — hitting a joist every time instead of guessing keeps everything tight and squeak-free. Stagger your seams so no two joints line up in a row, which adds strength to the overall floor panel. Butt the second sheet tight to the first, snap your chalk line, and cut the overhang flush with a circular saw using the previous sheet as your guide.
Tips and Best Practices for Building a Shed Foundation
Here are the key lessons I’d pass on to anyone tackling this project for the first time. First, don’t underestimate site selection — spending an extra hour finding the flattest spot on your property can save you a full day of digging and leveling. Second, always call 811 before breaking ground, no exceptions. Third, use pressure-treated lumber for everything that contacts or comes near the ground — it’s not optional, it’s what keeps your foundation from rotting in a few years.
Fourth, order your gravel after your frame is set, not before — that’s the single biggest time-saving tip in this entire build. Fifth, tamp your soil and gravel in layers, not all at once, for proper compaction. Sixth, always check for square by measuring diagonals before locking your frame in place. And seventh, orient your joists crown-up so the load flattens them over time rather than increasing the bow. Follow these principles and your shed foundation will be solid, level, and built to last.
Frequently Asked Questions
What is the best foundation type for a small shed?
For most backyard sheds in the 10×12 to 12×16 range, a timber frame on a compacted gravel base is one of the best options. It provides excellent drainage, requires no concrete, and keeps the shed slightly elevated off the ground. Using 4×6 pressure-treated timbers as the perimeter frame with 3/4-inch clean gravel fill gives you a stable, long-lasting foundation that drains well and resists rot. If you want the option to relocate the shed someday, building on 4×4 skids inside the frame gives you that flexibility.
How much gravel do I need for a shed foundation?
For a 10×12 foundation with a 4-inch gravel depth, you’ll need approximately 1.5 to 2 cubic yards of 3/4-inch clean gravel. Use a simple volume calculation: length x width x depth (in feet) divided by 27 to convert to cubic yards. Always order a little extra — you can always use leftover gravel for drainage elsewhere in your yard, but running short mid-project is frustrating. Order it delivered inside your timber frame if possible to avoid hauling it manually.
Do I need a permit to build a shed foundation?
Permit requirements vary by municipality, county, and state. Many areas don’t require permits for sheds under a certain square footage (commonly 120 or 200 square feet), but you should always check with your local building department before starting. Even if a permit isn’t required for the structure, there may be setback requirements from property lines, easements, and utility areas that affect where you can legally place your shed. Call 811 before digging regardless of permit status.
Can I build a shed foundation on a slope?
Yes, but the more level your site, the easier and cheaper the build. As a general rule, try not to choose a site where the elevation change across the footprint exceeds the height of your perimeter timber. For 4×6 timbers on edge, that’s 5.5 inches. Beyond that threshold, you’ll need to add additional timber courses to compensate for the elevation difference, which adds material cost and complexity. If your only option is a sloped site, spend extra time on string lines and consider bringing in fill dirt to pre-level the area before you start building.
Ready to Build Your Shed Foundation?
Building a solid shed foundation is one of those projects that rewards patience and careful planning more than almost anything else in DIY construction. Every hour you spend getting the site level, the timbers square, and the gravel compacted is an hour that pays dividends for the life of the structure. Take it one step at a time, don’t skip the preparation work, and you’ll end up with a foundation you can be genuinely proud of.
If you’re thinking about adding power out there, my shed electrical wiring guide for beginners walks you through everything you need to know without needing to pull permits. Happy building!