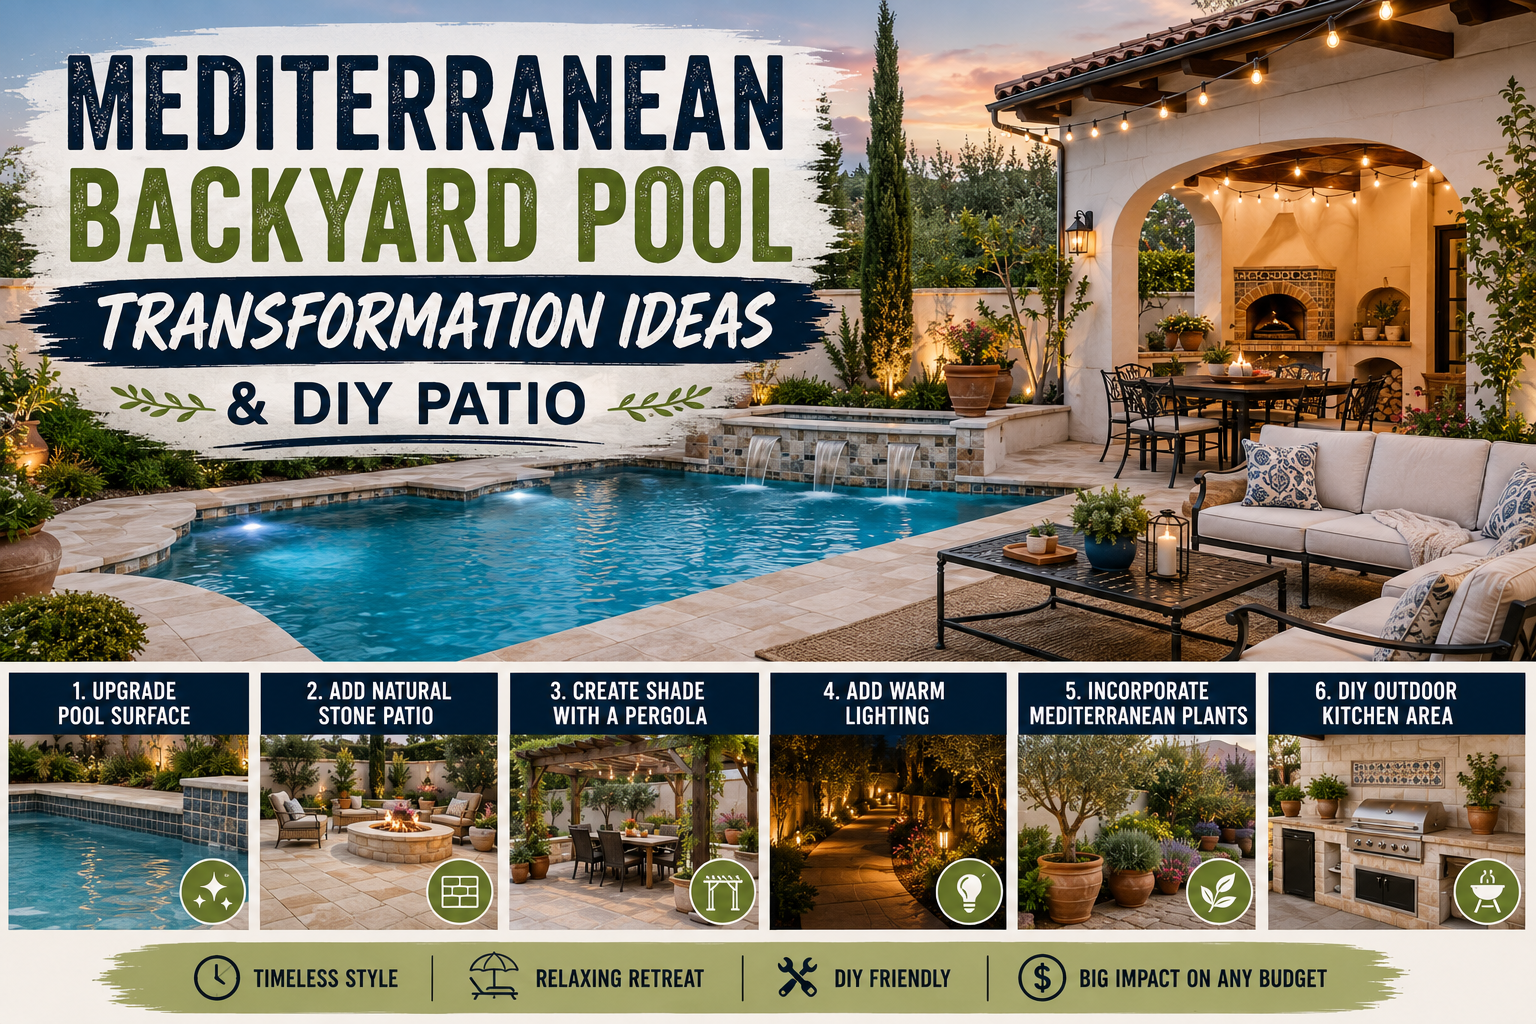
If you’ve been dreaming of turning your backyard into a relaxing Mediterranean escape, I’m here to tell you it is absolutely possible — even if you’re doing most of the work yourself. Six months ago, my backyard was a blank, uninspired space surrounding a brand-new pool. Today, it looks like something out of a Spanish resort magazine, and I couldn’t be prouder of how it came together. I want to walk you through every single step of this extreme patio makeover, from the very first shovelful of dirt to the last hanging lantern.
This project was a true labor of love. I won’t sugarcoat it — it was physically demanding, it took longer than I expected, and there were moments when I seriously questioned my life choices. But the result is a stunning flagstone patio, a charming pearl gravel dining area under a gorgeous tree, winding stepping stone pathways, and a fully furnished outdoor living space that feels like a getaway every single time I step outside. If you’re ready to tackle your own backyard resort build and save serious money doing it yourself, keep reading.
I also have several other videos covering how I designed the pool, built the wall, and added landscaping — so definitely check those out too. But today’s focus is the full patio makeover from start to finish, including every detail on how I pulled together that relaxing, rustic European feel I’d been envisioning since the day I first toured this house.
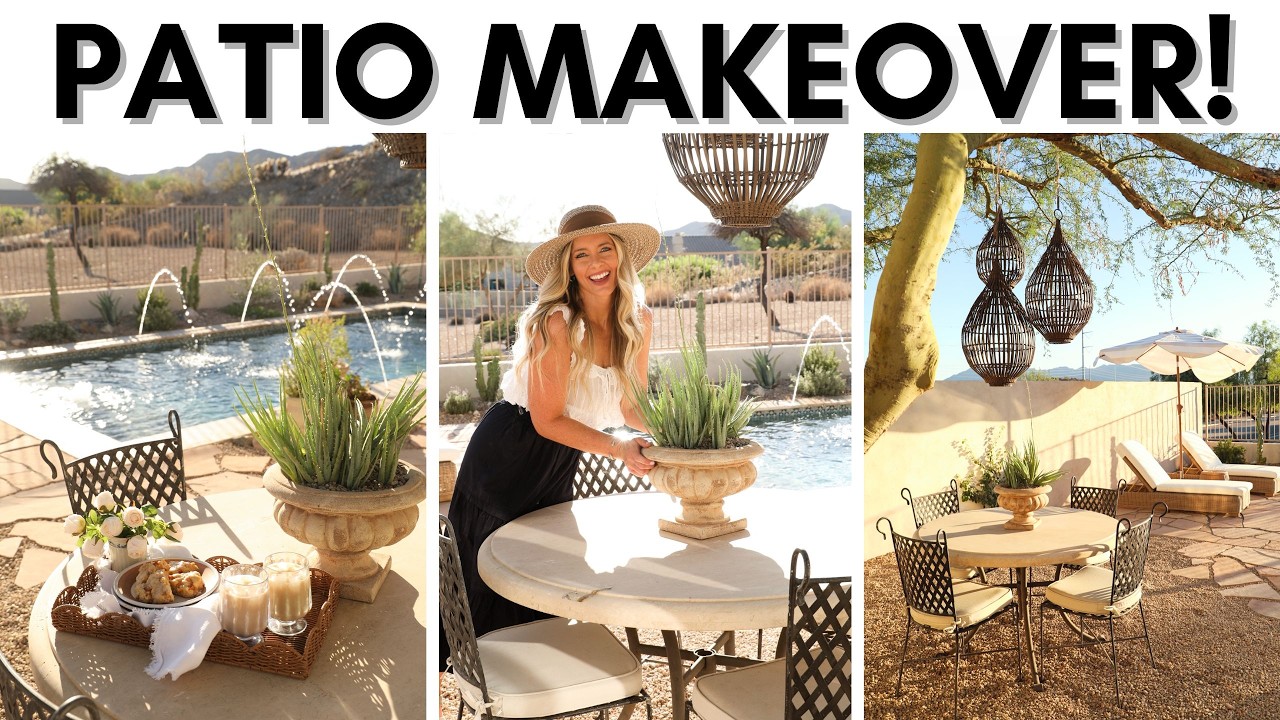
Starting Point: Planning the Mediterranean Patio Layout
When I first looked at the space, I knew exactly the vibe I was going for — flagstone and pearl gravel, rod iron accents, and lush greenery that made it feel like you were dining somewhere along the Spanish coast. The existing patio on the property already had beautiful natural flagstone, which I absolutely loved, so my plan was to extend that aesthetic and tie the whole yard together into one cohesive Mediterranean-inspired retreat.
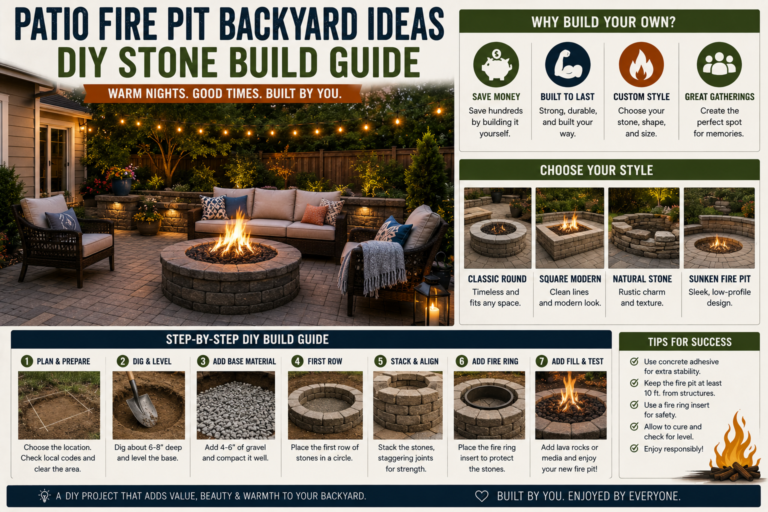
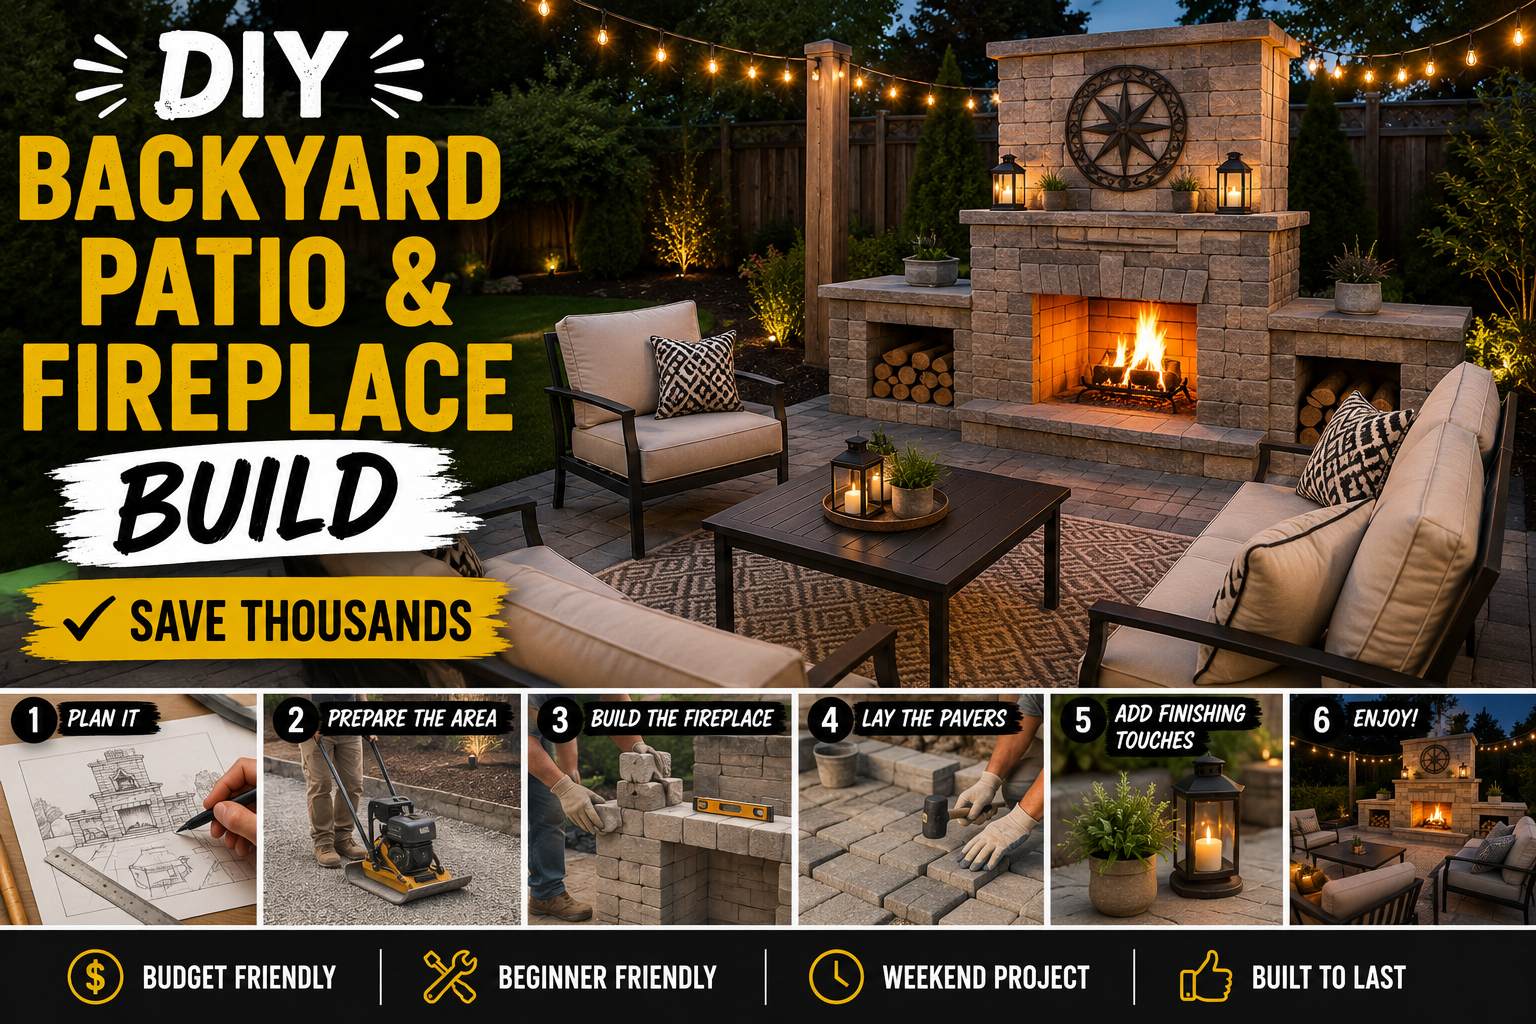
The big-picture layout had three zones: a main flagstone patio adjacent to the pool, a stepping stone pathway to connect the old and new patio areas, and a pearl gravel dining nook tucked underneath a stunning overhanging tree. Each zone had its own personality but was designed to flow naturally into the next — exactly the kind of layered, intentional design you see in those dreamy European courtyards. If you love this kind of layered outdoor approach, you might also enjoy my guide on DIY backyard patio and fireplace builds for even more inspiration.
Digging Out the Base: The Hard Work Nobody Talks About
Before a single stone could go down, I had to dig out the entire patio area to a depth of about 6 inches. This sounds straightforward until you’re actually out there in the heat with a shovel, realizing just how compacted desert soil really is. This step alone took me an entire weekend, and it was exhausting. I want to be honest with you here — the time-lapse in my video makes this look fast and easy, but it is anything but.
Once I had the area excavated, I ordered ABC gravel delivered — a mix of crushed stone and sand that compacts down into a solid, load-bearing base. Moving wheelbarrow after wheelbarrow of this material across the yard was genuinely humbling. I used a wheelbarrow for all of it, and I’m convinced my arms grew two sizes that month. The effort was worth it, though, because doing the base right means the patio will last for decades without shifting or sinking.
Compacting the Gravel Base Properly
Once all the ABC gravel was in place, it was time to compact it. I had flashbacks to a previous project where I used a hand compactor on a smaller pea gravel patio — and that was brutal. This time, I made the smart call to rent a plate compactor, which cut the physical labor down dramatically and gave me a much more uniform, solid result.
For the tight spots along the edges and over the pool plumbing, I did switch back to the hand compactor just to get into those corners without risking any damage to the pipes. I also set up a string level system at this stage — one string perfectly level with the pool coping and a second string set to the desired slope of 1/8 inch per foot, so that rainwater would naturally run away from the pool. Getting this slope dialed in before the stones go down is one of those details that makes a huge difference long-term.
Sourcing Flagstone That Matches Your Existing Patio
Here’s something I didn’t anticipate: flagstone is not easy to find. It’s not a trendy material right now, so many suppliers in my area simply didn’t carry it. I couldn’t find anyone willing to deliver it either, which meant I had to rent a van, load it up myself, haul it home, and unload it — and then do the whole thing again when I ran out. Yes, I ran out. Always, always buy more material than you think you need.
The color matching was actually my biggest concern, since I wanted the new flagstone to blend seamlessly with the existing patio. I was relieved when I found a batch that was a great match. My pro tip: grab a piece of your existing stone and physically hold it up next to the pieces you’re considering at the supplier. Photos and memory are unreliable when it comes to natural stone color.
Dry Fitting the Flagstone: The Giant Puzzle Phase
My plan was to treat the flagstone layout like a tile job — dry fit everything first, get it arranged exactly how I wanted, then go back and set each piece permanently. This sounded brilliant in theory. In practice, it was the most time-consuming part of the entire project by a wide margin. Flagstone is essentially a giant irregular puzzle, and getting pieces to fit together with tight grout lines is a genuine craft that takes patience and skill.
I used an angle grinder to cut pieces to shape, and after burning through battery after battery in the summer heat, I switched to a plug-in corded grinder — the right call. Temperatures were hitting 95 to 100 degrees daily, so I shifted my work schedule to early mornings and 30-minute sessions in the evening after the sun dropped. The border went in relatively quickly, but those small filler pieces in the interior? Each one required cutting on all four sides to fit just right. One piece cracked in half on the final cut, and I just turned it into two pieces and moved on. That’s flagstone life.
Setting the Flagstone with Quickrete
After lots of research and watching other landscape installation videos, I decided to use Quickrete as my leveling material rather than traditional setting sand. The goal was permanent results without pouring a full slab, and Quickrete delivers exactly that once it activates with water and cures hard as a rock.
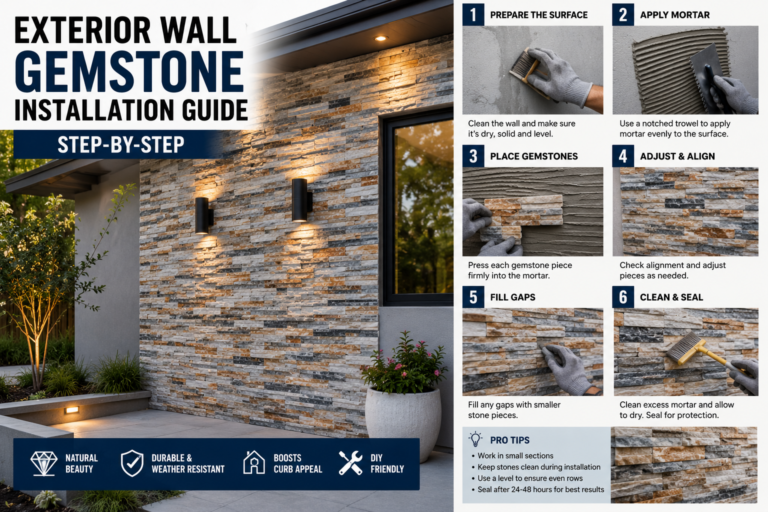
The process involved lifting each dry-fit stone section by section, adding more ABC base if needed, then laying down about 2 inches of Quickrete and carefully leveling each piece to match both the existing patio height and my slope grade lines. Every single stone required fine-tuning — they’re heavy, they shift when you press on them, and hollow spots under the stone are a constant issue. Mike and I were meticulous with the level on every single piece. One important note: you cannot use water in the area while working with Quickrete or it will activate prematurely, so we were racing against the clock (and our sprinkler system) the whole time. Also — pro tip — if you have long hair, wrap it up before working with Quickrete. The fine dust settled into my ponytail the first time and it was a mess.
Filling the Gaps with Polymeric Sand
Once all the Quickrete had cured and I washed the stones down (they get a grayish film that rinses right off — don’t panic when you see it), it was time to fill in all the gaps between the stones with polymeric sand. Unlike the rest of this project, this step was actually pretty simple and deeply satisfying.
I grabbed a couple of bags of poly sand designed for larger grout lines that doesn’t require compaction. I poured it into the cracks, spread it around with a brush, blew off the excess with a leaf blower, and then lightly misted the whole surface with a hose to activate it. I also mixed a small batch with water and used it to plug any edges where sand might spill out. Once activated and cured, poly sand locks hard, which means it resists erosion, blocks weed growth, and keeps insects from burrowing in. It’s the perfect finishing touch for a flagstone surface.
Adding a Stepping Stone Pathway to Connect Both Patio Spaces
One of my favorite design decisions in this entire project was the stepping stone pathway. My goal was to make the new flagstone patio feel like it had always been part of the yard — like both patios were designed together from the beginning rather than added years apart. A winding pathway connecting the two spaces does exactly that.
I used leftover flagstone pieces as the stepping stones, which kept costs down and ensured a consistent look throughout the yard. The installation process was identical to the main patio — set in Quickrete, leveled carefully, then rinsed and activated. In any beautiful garden space, winding pathways draw your eye through the landscape and invite you to explore. This pathway does exactly that, and it cost me almost nothing beyond the extra time to install it.
Creating a Cottage-Style Planter Border with Leftover Rocks
While working on the stepping stones, I noticed the small planter bed nearby looked a little undefined. I had planted lavender there earlier in the season, hoping to establish it before the heat hit — and while the ones I planted along the pool wall were thriving, these guys were struggling in the intense afternoon sun. That’s desert gardening for you: sometimes things just have to survive the summer looking a little sad and then bounce back in the fall.
To give the bed some structure and visual charm, I used leftover rocks from when the pool was excavated to create a cottage-style stone border around the planter. In my previous home, I had defined a pea gravel patio with a similar natural stone border and absolutely loved the fairy-tale, whimsical feel it created. I wanted to recreate that here, then fill the interior with pea pebble gravel to finish the look. It’s the kind of small detail that makes a space feel intentional and designed rather than thrown together.
Setting Up the Pearl Gravel Dining Nook Under the Tree
From the very beginning of this project, I fought to keep the beautiful tree that shades one corner of the yard. Everyone wanted it removed, but I knew it was going to be the heart of the outdoor space — providing shade in the brutal desert heat and serving as a natural canopy for a dining area. My vision was to tuck a round stone table and rod iron chairs underneath it, turning the natural shade into an intentional outdoor room.
I found an incredible deal on Facebook Marketplace — a travertine and rod iron table for just $75. The top is solid travertine with a honed finish (not shiny), which gives it that natural, organic feel that fits perfectly in a Mediterranean-style space. The legs have a beautiful curved silhouette that adds elegance without being fussy. Sourcing secondhand pieces for outdoor spaces is one of my favorite ways to get high-quality, durable materials at a fraction of retail cost. If you love budget-friendly outdoor transformations, check out my post on cheap backyard landscaping ideas that wow for more ideas like this.
Hanging Lanterns from the Tree for a Whimsical, Resort-Like Feel
The overhanging branches of that tree were practically begging for lanterns, and I had always envisioned them swaying gently in the breeze overhead. I scored a set of vintage Pottery Barn teardrop lanterns on Marketplace that were absolutely perfect — they have a slightly Moroccan feel to them, which adds an extra layer of exotic charm to the Mediterranean vibe I was going for.
I hung them using natural twine so the hanging hardware would blend right into the tree and feel organic rather than staged. I staggered them at different heights intentionally, which creates visual movement and draws your eye upward into the canopy. It is such a simple addition, but it completely transforms how the dining nook feels. When a breeze moves through and the lanterns sway, this corner of the yard genuinely feels like a resort patio in the south of Spain.
Choosing and Styling the Pool Lounge Furniture
If there’s one area where I’m willing to spend a little more money in an outdoor space, it’s the lounge furniture. I brought in woven chaise lounges in a durable resin woven material that holds up beautifully to weather, UV exposure, and heavy use. The texture of the woven material adds warmth and visual interest that plain metal or plastic furniture just can’t match, and it fits perfectly with the natural, earthy aesthetic of the Mediterranean style.
For the supporting pieces — the patio umbrella and the woven storage side table — I kept costs very low. The umbrella came from Aldi for under $50, and the side table was a Marshalls find for a similar price. That table is one of my favorite pieces because it’s made from the same durable woven material as the lounges, has storage inside for pool toys, towels, and games, and looks stylish while being completely practical. Hiding clutter in plain sight is a hallmark of great outdoor design.
Tips and Best Practices for Your Mediterranean Backyard Pool Transformation
After going through this entire process myself, here are the lessons I’d want every DIYer to know before starting a project like this:
Always buy more material than you think you need. I had to make multiple trips for flagstone, and it would have been much easier to have a surplus from the start. Natural stone especially is hard to color-match after the fact, so err heavily on the side of too much.
Rent equipment when it makes sense. The plate compactor rental saved me hours of brutal hand compaction. Don’t let a small rental fee talk you into doing things the hard way. A shovel and a wheelbarrow will get you far, but power tools and rental equipment are worth every penny on large-scale projects.
Work in manageable time blocks during extreme heat. I shifted to 30-minute evening sessions when summer temperatures hit triple digits. Protect yourself from heat exhaustion — the project will still be there tomorrow.
Dry fit everything before committing. Whether it’s flagstone or tile, arranging everything before setting it permanently lets you catch problems early and get a layout you’re genuinely happy with.
Secondhand sourcing is your best friend for outdoor furniture. Marketplace, thrift stores, and estate sales are gold mines for quality outdoor pieces. My travertine table at $75 would have cost several hundred dollars retail. Patience pays off.
Use stepping stones to unify separate spaces. If you have existing hardscape and are adding new areas, a connecting pathway makes everything feel intentional and designed from the start.
Don’t underestimate the power of small details. Hanging lanterns from a tree, using natural twine, staggering heights for visual interest — these zero-cost or low-cost details are what make a space feel like a resort instead of just a backyard.
Frequently Asked Questions
How long does a DIY flagstone patio project take?
Honestly, longer than you think. My project took over three months of working on spare weekends. The digging and base prep alone took a full weekend, and the flagstone puzzle-fitting phase took several more weeks. If you have two people working consistently, plan for at least 8–12 weekends for a medium-sized patio, especially if temperatures make daytime work difficult.
Is flagstone a good choice for a pool patio?
Yes, flagstone is an excellent choice for a pool patio. It’s a natural, slip-resistant material that stays relatively cool underfoot, drains well, and gets more beautiful as it ages. It’s also very durable and holds up well to pool chemicals and moisture. The main challenges are sourcing it (it’s not as widely available as pavers) and the skill required to lay it attractively.
What’s the best way to set flagstone without pouring a full concrete slab?
I used Quickrete as a leveling bed under each stone, which creates a permanent, rock-hard base once it activates with water. The process involves laying a compacted gravel and sand base, adding about 2 inches of dry Quickrete, placing and leveling each stone, then misting with water to activate. Once cured, the stones are locked in place solidly. Finish with polymeric sand in the joints to prevent weeds and erosion.
How do I create a Mediterranean backyard feel on a budget?
Focus on natural materials like flagstone, travertine, and woven textures. Source furniture and décor secondhand on Marketplace for a fraction of retail prices. Add whimsical details like hanging lanterns using inexpensive twine. Use a winding stepping stones pathway to make the space feel intentional and layered. Add landscaping fabric under gravel areas to prevent weeds without ongoing maintenance costs. And don’t remove trees — mature trees provide irreplaceable shade and serve as natural canopy structures for outdoor rooms.
Ready to Create Your Own Mediterranean Backyard Oasis?
This project was one of the most physically demanding things I’ve ever taken on, but standing in this space now — sipping coffee under lantern-lit tree branches, surrounded by natural stone and warm textures — I would do every single weekend of hard work all over again. The key is breaking it into phases, working smart, sourcing materials creatively, and not rushing the details that make the difference between a nice patio and a truly magical outdoor space.
If this inspired you, I’d love to see what you create. Drop a comment below and share your own Mediterranean backyard pool transformation ideas, or tag me in your progress photos. And if you want even more backyard and outdoor DIY inspiration, explore my full guide on DIY paver patio installation — it’s packed with tips that will save you thousands. Now get outside and start building your dream space. You’ve got this.