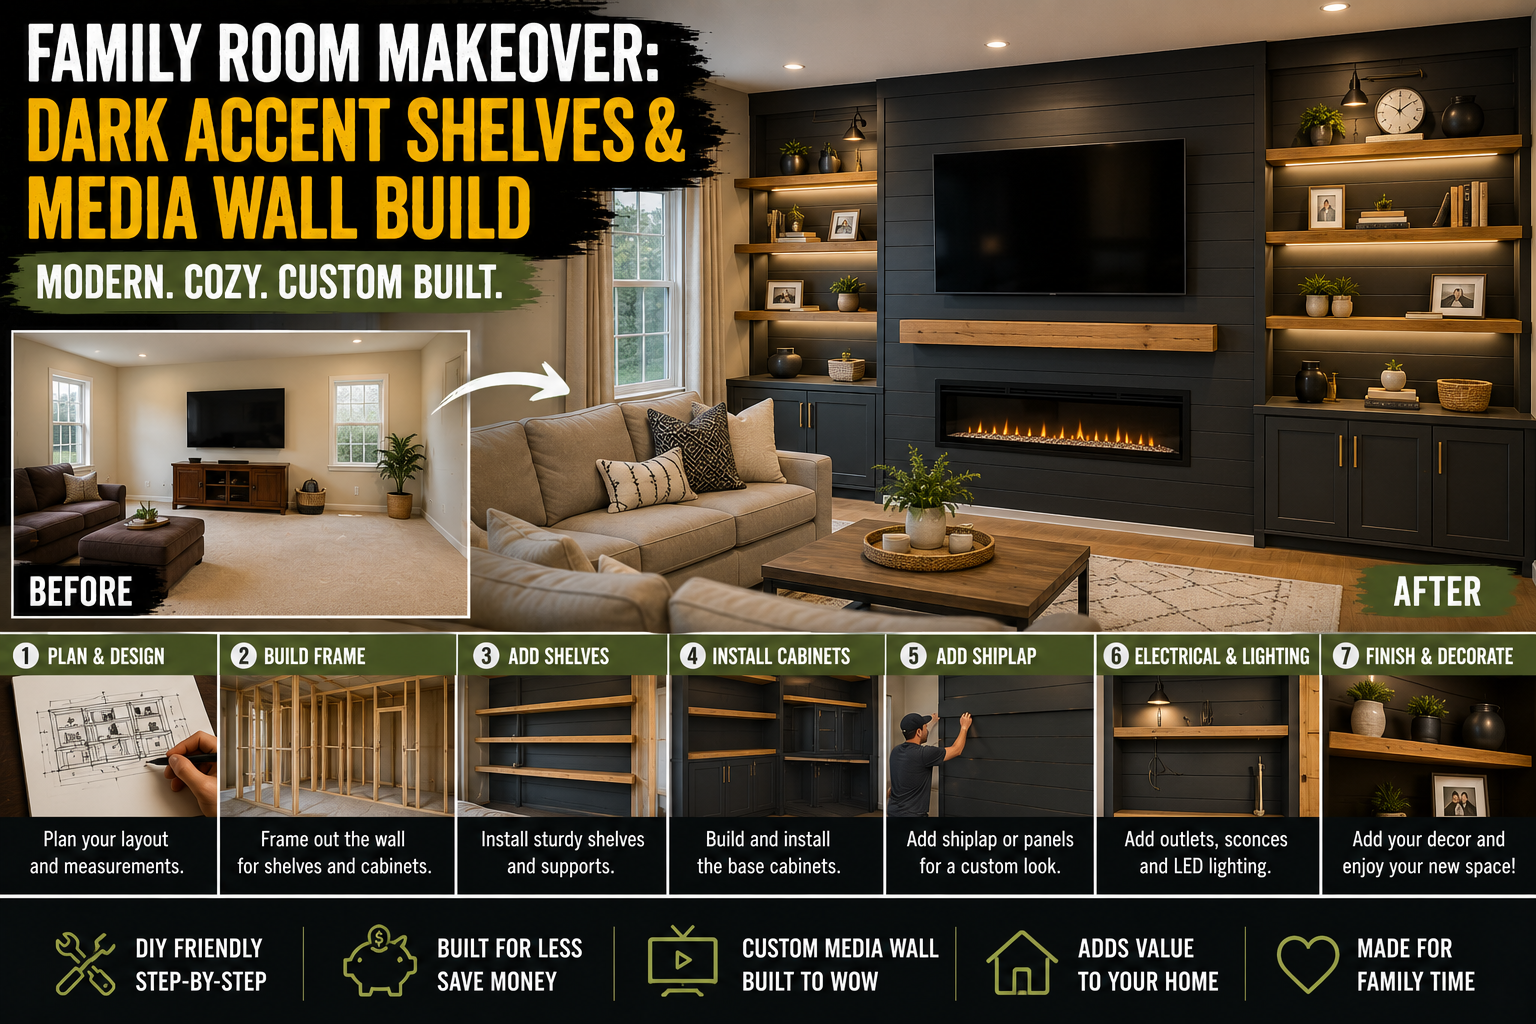
If you’ve been staring at a dated, wallpaper-covered family room wondering where to even start, I’ve been exactly where you are. This project completely transformed a bland, tired space into a moody, custom-looking media wall with dark accent shelves, a 21-foot countertop, built-in LED lighting, and a slat wall that looks like it belongs in a high-end home — not a DIY weekend project. And the best part? I did it without custom cabinetry taking up an entire year of my life.
The design concept centered around a darker color scheme, floating wood shelves flanking the TV, and LED lights layered throughout to give the whole wall a dramatic, polished glow. I used IKEA Besta cabinets as the backbone of the build and made them look like one seamless, built-in unit. Throughout this post, I’m walking you through every step — from the electrical rough-in all the way to the finishing coats on the shelves. Let’s get into it.
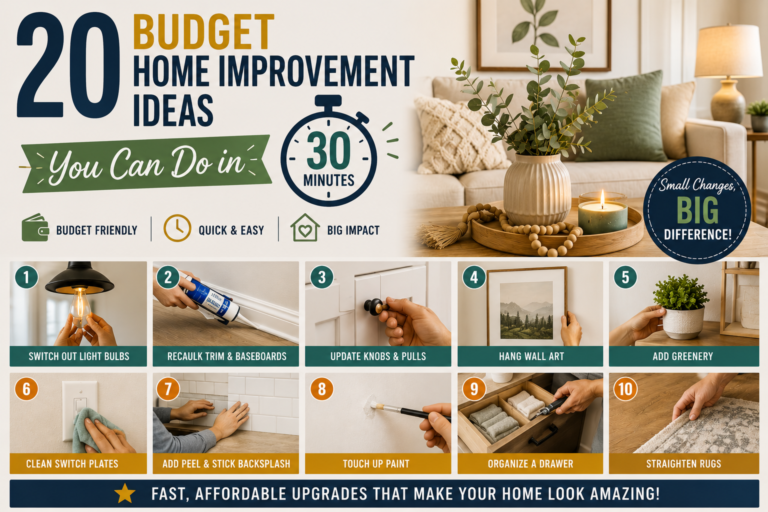
Fair warning: this is a big build. If you’re looking for smaller weekend wins to complement a project like this, check out my post on home improvement projects that make a big impact fast — there’s some great low-effort, high-reward ideas in there that pair perfectly with a larger room refresh.
Step 1: Planning the Design — Dark Tones, Floating Shelves, and a 21-Foot Countertop
Before I touched a single tool, I spent time planning this out in SketchUp. The vision was clear: a darker color palette with floating wood shelves, a long custom countertop running the full width of the wall, and LED lighting integrated into every layer of the build. Getting the design locked in before you start cutting or buying materials saves a ton of headaches — and money.
I decided early on that the countertop would be 21 feet wide and 17 inches deep, built from 1×12 and 1×6 boards glued up in sections. The shelves would flank both sides of the TV — three on each side — with each shelf built from oak plywood and solid oak trim. The whole wall was designed around a black-on-black slat wall behind the TV, which I knew would be the visual anchor of the entire room.
Step 2: Running the Electrical Before Mounting Anything
Before any cabinets went on the wall, I ran all the electrical. I installed a surge-protected recessed outlet behind the future TV location — this is a detail I always recommend because it keeps cords completely hidden and gives you a safe, clean power source. It also has a built-in pass-through for HDMI cables, which made routing the cable management incredibly easy.
I also cut into the drywall to run speaker wire for a 5.1 surround sound setup. Yes, opening up drywall feels destructive, but when you know it’s all getting covered up by cabinets and slat wall panels, it’s a non-issue. Doing the electrical rough-in now — before anything is mounted — is the right call every single time. Don’t skip this step and try to fish wire after the fact.
Step 3: Mounting the IKEA Besta Cabinets in a Perfectly Level Line
I used five IKEA Besta cabinets for this build, and the goal was to make them look like one continuous, seamless unit. To pull that off, I set up a laser level across the entire wall before mounting anything — this was absolutely essential. Even a slight variance from one cabinet to the next would be painfully obvious once the doors were on.
The IKEA mounting hardware surprised me. I wasn’t sure about its weight capacity going in, but once the first cabinet was on the wall it felt genuinely solid. I installed all five, then went back and added shims behind the cabinet boxes to get them as flush with each other as possible. From there, I adjusted the hinges starting from the center cabinet and worked outward, making sure all the door gaps were consistent so you couldn’t tell where one cabinet ended and the next began.
Step 4: Covering the Wallpaper and Exposed Drywall With Ucab Board
Rather than ripping out the old wallpaper and replacing the drywall underneath the cabinets, I took the smarter route — covering it with 3/8-inch Ucab board cut into 10.5-inch strips. This stuff cuts cleanly, looks like drywall once it’s painted, and saved me a significant amount of demo time. I glued and nailed the strips into place, cutting around any outlets as needed.
The key trick here was nailing one strip low (it gets covered by the baseboards) and one high where it won’t be visible. Once it was all painted the same wall color as the rest of the room, you genuinely could not tell it wasn’t standard drywall. This is a great shortcut when you’re working with older homes that have layers of wallpaper you just don’t want to deal with.
Step 5: Filling the Gaps — Custom Filler Panels Between Cabinets and Walls
Five Besta cabinets don’t go wall to wall — there were gaps on both sides that needed to be addressed. On the open wall side, I cut a filler panel from an extra cabinet door and attached a perpendicular board using Pocket hole joinery so it could screw directly into the wall stud. On the other side near the door, the angle was trickier because of the door frame, so I used a scrap piece of black cabinet door material behind the panel to block any light gaps.
These filler panels are what make the difference between a built-in look and an IKEA look. Taking the time to measure, cut, and fit these panels flush with the rest of the cabinet run is what gives the whole wall that custom, cohesive appearance. It’s tedious detail work, but it pays off visually.
Step 6: Building the 21-Foot Custom Wood Countertop
This was the most technically demanding part of the whole project. I built the countertop from 1×12 and 1×6 oak boards, gluing them up in sections to reach the full 17-inch depth and 21-foot width. To keep the glue joints aligned during assembly, I added biscuits along all the edges in addition to Pocket hole joinery — this combination made a huge difference in keeping everything flat and tight.
The boards weren’t perfectly straight (that’s the reality of buying hardwood at a big box store), so some of the glue-ups required creative clamping. I used scrap boards as clamping cauls to swing the joints into alignment before nailing them in place. I also staggered the seams — one long 12-foot board in the center, with shorter pieces on each side — to make the countertop structurally stronger and less visually obvious where the joints were.
One wall was significantly bowed, so instead of scribing the entire countertop to fit, I cut away some of the drywall behind it and slid the counter directly into the wall cavity. That gave me a perfectly flush fit without compromising the oak. Once the glue-up was complete, I added a 1.5-inch thick front edge piece to give it that chunky, substantial look — this detail alone makes it look a lot more like custom furniture than a DIY build.
Step 7: Sanding and Finishing the Countertop With Water-Based Polyurethane
After the glue-up was complete, I sanded the entire countertop up to 220 grit, paying extra attention to the seam lines. I chose a water-based satin polyurethane specifically because oil-based finishes tend to yellow over time, and I wanted the oak to stay true to its natural color. The satin sheen was the right call — not too glossy, not too flat.
I applied three coats total, sanding lightly between each coat, and the result was a buttery smooth, consistent finish across the entire surface. I also tested the finish on a scrap piece first and compared it against the floor color to make sure they’d complement each other. Three coats is the minimum I’d recommend for a surface that’s going to see daily use — don’t shortcut the finishing process.
Step 8: Mounting the TV and Positioning the Slat Wall Layout
With the countertop in place and the room cleared out, it was time to mount the TV. I got the wall mount secured and used the TV’s actual position on the wall to finalize the width of the slat wall. After seeing the TV and speakers together on the wall, I decided to widen the slat wall by 4 inches on each side beyond my original SketchUp plan — a decision I’m really glad I made because it frames the TV much better.
To mark out the stud locations for the slat wall installation, I put blue tape on top of the countertop at each stud position and used my laser level to strike a perfectly straight horizontal reference line across the entire wall. This meant I could drive fasteners quickly and confidently, hitting a stud every single time without having to re-check.
Step 9: Cutting, Priming, and Painting the MDF Slat Wall Strips
The slat wall is made from MDF cut into 10-inch strips using a table saw. Before installation, I sanded all the nail holes on the Ucab board backing, then protected the oak countertop by sliding thin paper underneath the panel edges — this made it possible to get a clean masking tape line right at the countertop edge without taping directly on the wood.
I applied primer first, then painted all the MDF strips and the Ucab board backing the same black color before installation. Painting everything before it goes up is so much easier than trying to cut in around installed slats — highly recommend this approach for any slat wall project. The black-on-black look, where the backing and slats are the same color, gives a really deep, layered effect that reads as much more premium than it actually is.
Step 10: Installing the Slat Wall Strips From Center Out
I started the slat installation at the center of the wall and worked outward in both directions. Starting from the center is critical — if you start from one edge and something drifts slightly, you’ll end up with a very obvious uneven gap on the opposite side. The first slat has to be perfectly level because every board after it references off that one.
I nailed each slat at the top, bottom, and middle to keep any bow from showing. I used my laser level to double-check every few boards — errors compound fast when you’re covering a wall this wide, and catching a slight drift early is much easier than correcting it at the end. The speaker wire ended up landing right in the middle of a slat, but I solved it by drilling a hole through the side of the slat so the wire could exit cleanly — it disappeared completely once everything was in place.
Step 11: Building Six Floating Oak Shelves to Flank the TV
The floating shelves are the element that really makes this family room makeover with dark accent shelves come together. I built six total — three on each side of the TV — each made from two pieces of 3/4-inch oak plywood with a solid oak 1×2 glued and nailed along the front edge. Using a 23-gauge pin nailer kept the nail holes nearly invisible, which matters a lot on a finished oak surface.
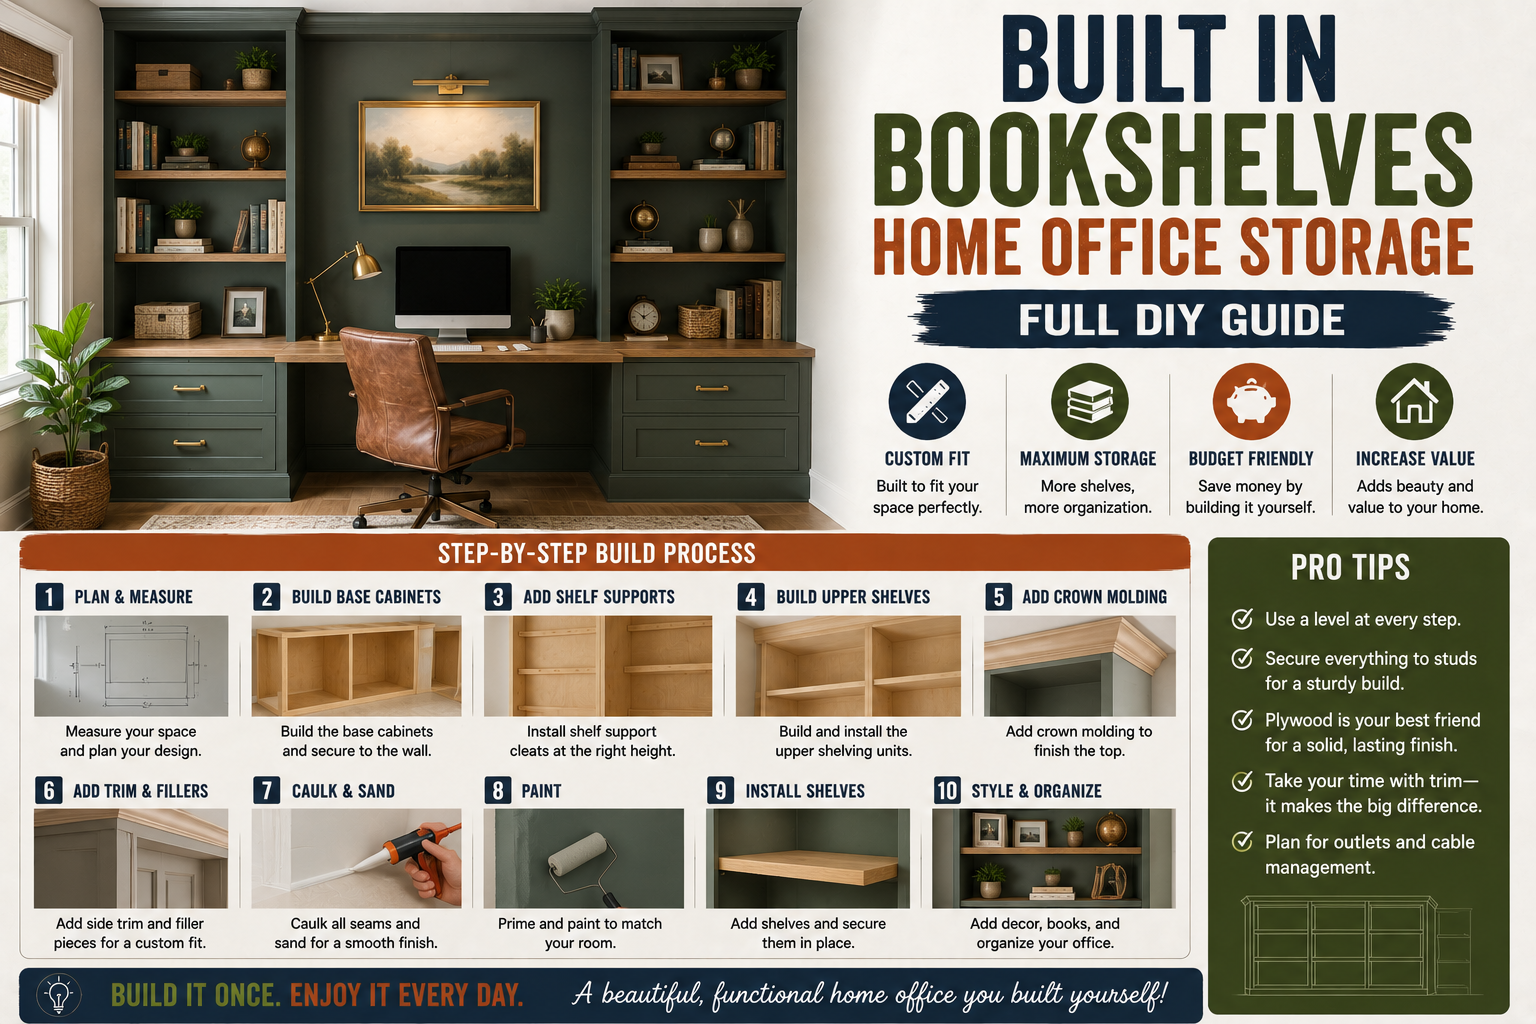
Because each shelf is essentially a hollow box with no sides or back, I cut internal plywood spacers to the exact interior width of each shelf and glued them in place for rigidity. Without these, the shelves would flex over time. I also left all the boards long during the glue-up and trimmed them to final width afterward — this gives you perfectly clean, square ends even if things shifted slightly during assembly. I made a diagram of each board’s grain pattern so I could place the most attractive grain where it would be most visible. Small detail, big visual payoff. If you enjoy building shelving like this, my post on built-in bookshelves for home office storage covers a lot of the same joinery techniques in more detail.
Step 12: Mounting the Floating Shelves on a Hidden Perimeter Frame
Rather than using traditional shelf brackets, I mounted each shelf by building a hidden perimeter frame on the wall — essentially a U-shaped cleat that matched the back and side profile of the shelf. The shelf then slides over the cleat and sits flush against the wall with no visible hardware at all. This mounting method is clean, strong, and gives a true floating look that you just can’t achieve with standard brackets.
Getting the cleats level and at the right height relative to each other required careful measurement and a lot of checking with the laser. I spaced the shelves to leave room for decor and the LED lighting that would be routed into each one — which I’ll get to in the next section. The result is shelves that feel incredibly solid with zero wiggle, and no visible means of support.
Step 13: Routing LED Light Channels Into Each Shelf
This was the step I was most nervous about on the entire project. I used a router with an edge guide to cut a channel into the underside of each shelf to recess the LED lights strip. I practiced on a scrap piece of MDF first to dial in the depth and width of the cut before touching any of the finished oak shelves — I strongly recommend doing the same. Routers are intimidating tools, but when you take your time and use a guide, the results are worth it.
The recessed channel means the LED strip sits below the shelf surface, casting light downward and outward without the actual strip being visible from normal viewing angles. This is what gives the shelves that upscale, built-in look. I worked through all six shelves one by one, then applied three more coats of the same water-based polyurethane to seal and protect the routed channels along with the rest of the shelf surfaces.
Step 14: Installing LED Lighting in Three Locations Throughout the Media Wall
The LED lights went in three distinct locations, each serving a different visual purpose. The first run went underneath all five IKEA Besta cabinets, running edge to edge across the full width of the media center to create an ambient glow at counter level. I used adhesive-backed LED strips and used my laser level to keep the entire run perfectly straight before pressing it into place.
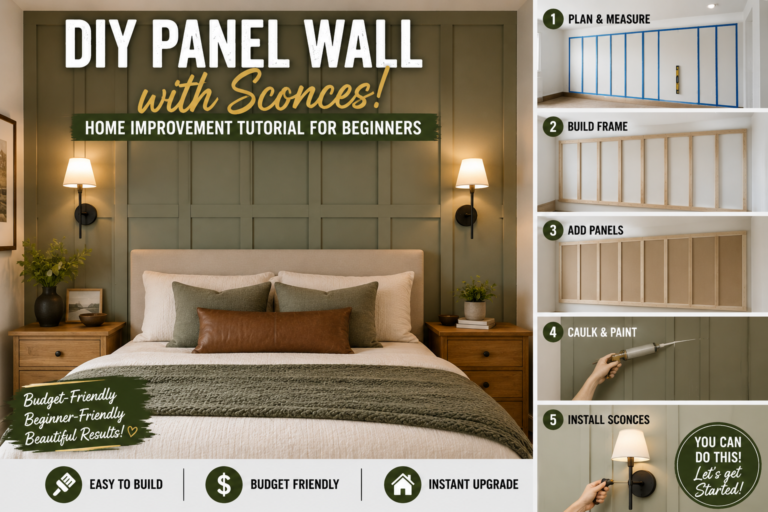
The second location was behind the TV — I built a simple border frame from scrap material and ran the LED strip along the inside edge facing outward, creating that backlit halo effect that reduces eye strain in a dark room and looks fantastic on camera. The third location was the routed channels in each of the six floating shelves, wired back to a single power supply. All three zones together — under-cabinet, behind-TV, and in-shelf — layer the light in a way that makes the whole wall feel intentional and architectural rather than just lit up. For more ideas on how lighting transforms a room, take a look at my post on DIY panel wall with sconces.
Step 15: Finishing the Side Panels — Choosing a Wall Treatment Over Wallpaper
The final step before calling this build complete was deciding what to do with the Ucab board panels on either side of the slat wall — the sections behind the floating shelves. I searched for a wallpaper that had the right texture and sheen to complement the dark tones of the rest of the wall, and while I found one I liked, after stepping back and looking at it in context, it wasn’t the right fit. Rather than forcing it, I pivoted to a different wall treatment option that would be easier to apply and a better color match.
Sometimes the best design decisions happen when you’re willing to scrap your original plan and try something different. The key is standing back and evaluating with fresh eyes — what looks good on a sample card or in a product photo doesn’t always read the same way in your actual space with your specific lighting and surrounding materials. Trust your eye over the plan.
Tips and Best Practices for a Family Room Makeover With Dark Accent Shelves
Run all electrical before anything goes on the wall. Recessed outlets, HDMI pass-throughs, and speaker wire need to be in place before cabinets or wall panels go up. Doing it after is a nightmare.
Use a laser level for every horizontal reference line. On a build this wide, even small errors compound. A laser level is the single most important tool for keeping a media wall looking professional.
Paint your slat wall boards and backing before installation. Trying to cut in paint after slats are installed wastes hours and never looks as clean.
Always start slat wall installation from the center. Working outward in both directions keeps the layout balanced and prevents drift from compounding over the width of the wall.
Use water-based polyurethane on oak surfaces if you want to preserve the natural wood tone. Oil-based finishes add warmth but yellow over time — not ideal for a darker, moody aesthetic.
Build internal plywood spacers into hollow floating shelves. They add rigidity without adding visible bulk, and they make the shelves feel solid rather than flimsy when loaded with decor.
Practice router cuts on scrap material first. Especially when routing into finished wood — set your depth on MDF before you ever touch the real piece.
Layer your LED lighting in multiple zones. Under-cabinet, behind-TV, and in-shelf lighting all serve different visual purposes and together create a depth of light that a single strip can never achieve.
Frequently Asked Questions
How do I make IKEA Besta cabinets look built-in?
The key is three things: shimming the cabinet boxes so they’re all perfectly flush with each other, adding custom filler panels between the cabinets and walls, and adjusting all door hinges so the gaps are consistent across every cabinet. Once you address the gaps and level everything out, they genuinely look like custom cabinetry — especially with a countertop sitting on top and a slat wall above.
What type of wood should I use for floating shelves?
For this build, I used 3/4-inch oak plywood for the top and bottom of each shelf with a solid oak 1×2 on the front edge. Oak is a great choice because it takes stain and polyurethane beautifully, it’s widely available, and the grain is attractive enough to leave natural. The plywood core keeps the shelves stable while the solid wood edge gives a finished, furniture-grade look.
How do I hide the LED strip wires on floating shelves?
Routing a channel into the underside of each shelf keeps the LED lights strip recessed and out of sight. From there, run the wire along the back of the shelf mounting cleat and down the wall inside the wall cavity or along a painted channel that matches the wall color. Planning the wire path before you mount the shelves makes this much cleaner than trying to hide it after the fact.
Do I need a permit for a DIY media wall build?
In most US jurisdictions, adding a recessed outlet or running new wiring to an existing circuit requires a permit. The carpentry side of the build — cabinets, countertop, slat wall, and shelves — typically doesn’t. Check with your local building department before starting any electrical work. When in doubt, hiring a licensed electrician for just the rough-in portion is a reasonable middle ground that keeps everything code-compliant.
Final Thoughts
This family room makeover with dark accent shelves is one of the most satisfying builds I’ve put together. The combination of the seamless IKEA cabinet run, the 21-foot custom oak countertop, the black slat wall, and the layered LED lighting completely transformed the space — and it’s all DIY-able with basic woodworking skills and some patience. The biggest lessons: plan everything before you cut, run your electrical first, and don’t rush the finishing steps on the wood surfaces.
If this project inspired you to tackle your own space, check out my full guide on IKEA Billy vs. custom built-in bookcases — it covers a lot of the same decisions around when to use off-the-shelf solutions versus going fully custom. Drop any questions you have in the comments below, and let me know what room you’re planning to tackle next.