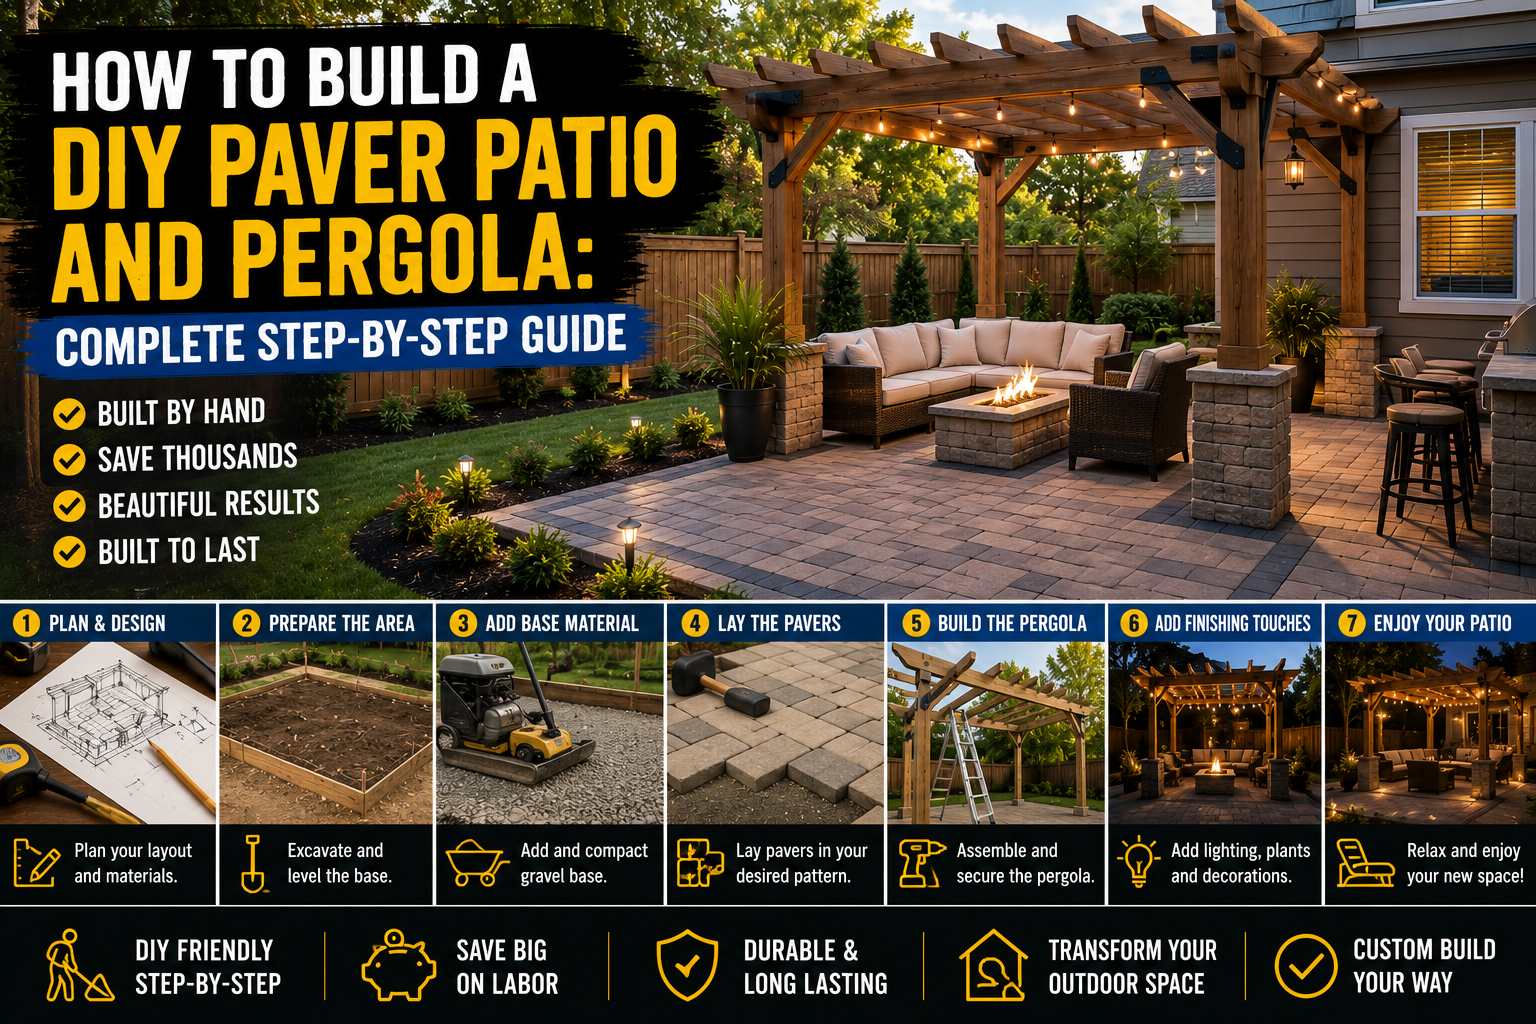
If you’ve been dreaming about a backyard patio but dreading the cost of hiring a contractor, I have good news — this is absolutely a project you can tackle yourself. I recently completed a full paver patio build from scratch, and I want to walk you through every single step, including the frustrating parts, the lessons learned, and the moments where everything finally clicked into place. The foundation of any great patio build starts with one critical skill: setting up your deck building layout string line correctly. Get that wrong and everything else is off. Get it right and the whole project flows.
This wasn’t a quick weekend project. It took real sweat, a couple of trips back to the hardware store, some problem-solving on the fly, and a few laughs along the way. But the end result — a beautiful, level paver patio with a professional finish — was completely worth every sore muscle. If you’ve ever tackled a project like my DIY Paver Patio Installation Guide, you know that preparation and layout are everything. Let me show you exactly how I did it.
Here’s a full breakdown of the process, from the very first stake in the ground all the way through the final coat of gravel glue. I’ll cover every step so you have a complete roadmap before you ever pick up a shovel.
Step 1: Setting Up the Layout with a String Line and Stakes
The first thing I did was gather all my materials and then set up the layout using a string line and stakes. This is the most important step in the entire build — if your layout is off, everything that follows will be off too. I used stakes driven into the ground at the corners of the planned patio area, then ran string between them to define the perimeter. The goal is to get that string line perfectly parallel to any existing structure, like a house or existing deck.
Fair warning: I had to redo this more than once. I accidentally pulled a stake out of the ground instead of just checking the string tension, which meant starting that section over. It’s a good reminder to work slowly and deliberately during the layout phase. Once I had my string lines set and confirmed they were in line with each other — and they actually were — I felt that satisfying moment of “okay, we’re really doing this.” A laser level can make this step even more precise if you want to invest in one, and I’d strongly recommend it for larger patio areas.
Step 2: Moving Mulch and Cutting Landscape Fabric Before Digging
Before any digging could start, I had to deal with the existing mulch and landscaping fabric covering the area. Since I wanted to save the mulch for use elsewhere in the yard, I loaded it all into a wheelbarrow — and I specifically got one with two wheels, which made it much more stable when hauling heavy loads across the yard. That two-wheel design was genuinely a game-changer for balance on uneven terrain.
Once the mulch was relocated, I cut through the landscape fabric underneath. At this point, I also realized it made more sense to just remove the fabric entirely rather than try to work around it. This made the subsequent excavation much cleaner and easier to manage. Don’t skip this prep work — trying to dig through old landscape fabric is a nightmare.
Step 3: Excavating the Area (The Real Hard Part)
Now came the manual labor that truly tests your commitment to DIY. I used a shovel to excavate the entire patio area, which took about two and a half days spread across multiple sessions. I worked in early morning hours when possible to beat the heat — temperatures were hitting 87–93°F, and working in that kind of heat with a shovel is no joke. The gym did not prepare me for this kind of full-body workout.
For dirt disposal, I filled the back of a pickup truck and hauled the loads to a local yard waste site. One load had more rock mixed in than the other, which made it significantly heavier and harder to move. If you’re planning a project like this, I’d recommend researching your local yard waste disposal options ahead of time — it saves a lot of scrambling mid-project. And trust me, the volume of dirt that comes out of the ground always looks much more than you’d expect.
Step 4: Grading and Leveling the Excavated Surface
Once all the dirt was out, I needed to grade and level the surface. I started with a metal rake, but quickly discovered the ground was too hard and compacted for that to work effectively. My solution was to use the shovel to flatten the high spots, then drag a straight 2×4 across the surface to identify any remaining humps. I repeated that process — shovel down the humps, drag the 2×4, check again — until the entire surface was reasonably flat.
This is one of those steps that sounds straightforward but eats up serious time. I was dripping in sweat after just 10 minutes outside in that heat, constantly taking breaks, but it’s crucial to get this right. A level base is what prevents your pavers from rocking or shifting over time. Take your time here — rushing the grading stage is one of the most common mistakes in DIY patio builds.
Step 5: Installing Landscape Fabric Over the Graded Surface
With the ground leveled, I laid down new landscaping fabric across the entire excavated area. I ran it long on purpose, leaving some excess around the perimeter — that extra material becomes important later when you wrap it up and over your edging panels to lock in the sand layer. I used stakes to pin the fabric down as I went so it didn’t shift around while I worked.
I also upgraded to a higher-quality landscape fabric than I might normally reach for, and it was worth it. Cheap fabric breaks down faster, lets weeds through more easily, and generally just causes problems down the road. Since you’re doing all this work anyway, don’t cheap out on the fabric layer.
Step 6: Using Geo-Panels Instead of Deep Gravel — A Smarter Excavation Approach
Here’s one of the biggest tips I can share from this entire build: I used specialty geo-panels (sometimes called paver panels or paper panels) that dramatically reduced the amount of excavation required. Traditional patio installation requires excavating 7–8 inches deep, then adding about 3 inches of gravel followed by 3 inches of sand. With these panels, I only needed to excavate 3–4 inches and use a half-inch layer of sand. That’s a massive reduction in labor and material cost.
Each panel costs around $10–$11, but when you factor in the savings on gravel, the reduced excavation time, and the sheer physical effort saved, the math works strongly in favor of using them. I found these after doing extensive research on the best methods for patio construction, and I won’t be going back to the traditional approach. If you’re building any kind of ground-level patio, look into these panels before you start digging.
Step 7: Leveling the Sand Layer with Screed Pipes
Once the geo-panels were down, it was time for the sand layer. To get a perfectly flat surface, I laid down half-inch diameter pipes across the area and used them as rails to screed a straight 2×4 across the top of the sand. The pipes act as a consistent height reference, so when you drag the 2×4 across, you get a uniformly level sand bed.
This was actually the part I was most nervous about going in, but it worked better than expected. It went faster than I anticipated, and the results were clean. I did run slightly short on sand near the end, but one additional bag covered it. After screeding, I filled in the channels left by the pipes and tamped everything down — which is specifically required when using these geo-panels, unlike traditional installations where you don’t tamp the sand before paver placement.
Step 8: Laying the Geo-Panels in a Staggered Pattern
With the sand level and tamped, I removed the temporary paver weights I’d used to protect the work from incoming rain, then started placing the geo-panels permanently. I worked from one corner outward in a staggered stair-step pattern — similar to how you’d lay brick or tile — to maximize stability and avoid continuous seams running in one direction.
The panels do shift around a bit as you work since they’re just sitting on sand, so you have to be deliberate about keeping them aligned. I planned a 6-wide by 8-wide layout, which used exactly 48 panels — the amount I had purchased. Having the right count come out perfectly was one of those small victories that makes a long project feel worthwhile.
Step 9: Planning and Placing the Pavers — and Dealing with a Major Setback
Here’s where things got interesting. I had purchased what I believed were 24×24 inch pavers from Home Depot for the center diamond pattern, along with smaller pavers for the soldier-course perimeter. When I started laying them out and my measurements didn’t add up, I investigated and discovered the pavers were actually 20×20 inches — they had been mislabeled in the store.
All that work loading them into the cart, onto the truck, driving them home, and moving them into the backyard was for nothing. However, Home Depot did make it right by sending the correct 24×24 pavers, though two arrived broken. The lesson here: always verify your paver dimensions before hauling them home. A quick measurement in the store parking lot would have saved me an entire extra day of labor. It’s frustrating when it happens, but knowing that stores will sometimes correct these errors is at least reassuring.
Step 10: Installing Plastic Edging and Wrapping the Landscape Fabric
Once all the pavers were cut to fit and positioned correctly, I locked the perimeter in with plastic edging strips. At the same time, I wrapped the landscape fabric up and over the edge of the geo-panels and tucked it under the edging. This double-locks everything in place — the edging holds the pavers, and the fabric holds the sand from washing out underneath.
The plastic edge strips made a huge visual difference. The perimeter went from looking rough and unfinished to clean and professional in just a few minutes of work. This is one of those finishing details that separates a good DIY patio from a great one. Don’t skip the edging, and make sure you’re using a quality Edging Material that’s rated for outdoor ground contact.
Step 11: Filling the Gaps with Pea Gravel
With all the large pavers locked in place, I filled the open spaces between them with pea gravel. This was loaded into the wheelbarrow and distributed around the patio, then spread into the gaps by hand and with a brush. The pea gravel adds texture, handles drainage well, and gives the whole patio a finished, intentional look.
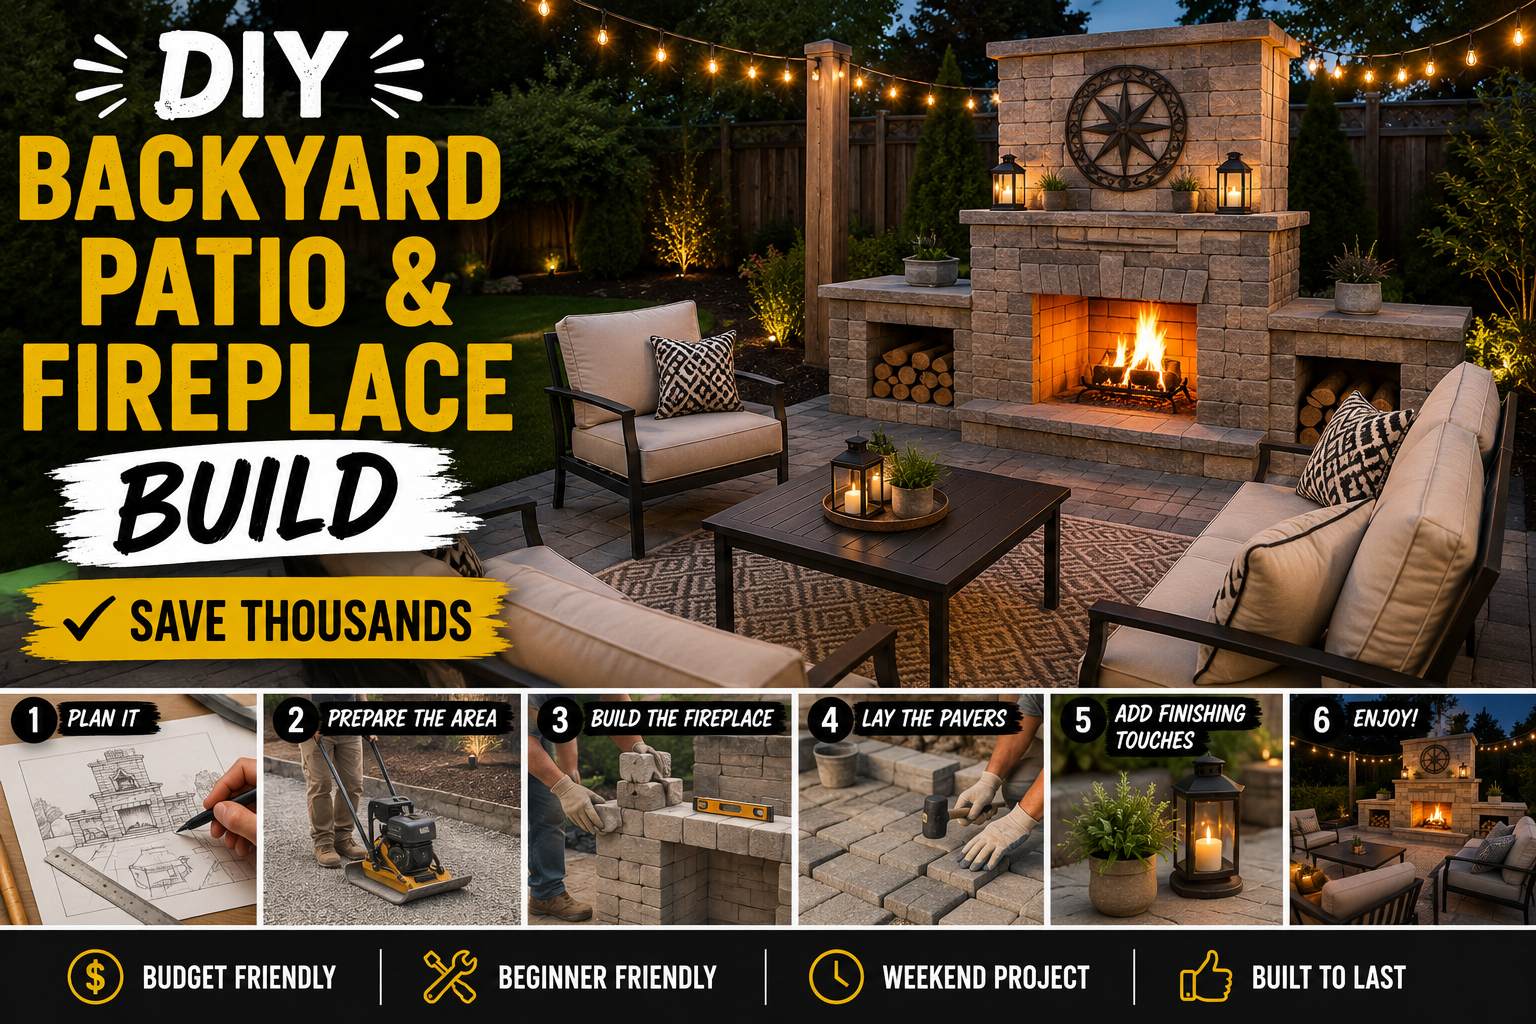
It’s one of those steps that comes together quickly compared to everything else in this build, but the visual payoff is big. The contrast between the large concrete pavers and the smaller rounded gravel really brings the design together. If you want a similar aesthetic on a smaller scale, check out my guide on DIY Backyard Patio & Fireplace Build for more outdoor design inspiration.
Step 12: Adding Mulch Around the Perimeter
Around the outer edge of the patio, I added a fresh layer of mulch to clean up the transition between the patio and the surrounding yard. This step is mostly cosmetic, but it makes a significant difference in how polished the finished project looks. It also helps suppress weeds along the perimeter and gives the whole space a landscaped, intentional feel rather than just a slab sitting in the middle of your yard.
This is also where all that mulch I saved at the beginning of the project came in handy. If you’re doing a similar build, save your mulch — you’ll almost certainly find a use for it by the time you’re done.
Step 13: Applying Polymeric Sand to the Perimeter Pavers
For the soldier-course pavers around the perimeter, I used polymeric sand to lock them in place. Since I only had a small amount of perimeter to cover, I measured out just what I needed, put it in a zip-lock bag, cut the corner off, and used it like a piping bag to apply it precisely into the joints. I also used a rubber mallet to tap each paver as I applied the sand to make sure it worked all the way to the bottom of the joint.
Important safety note: always wear a mask when working with polymeric sand. There are fine particles in it that you absolutely don’t want to breathe in. It’s a small precaution that makes a big difference for your lungs over the course of a project like this.
Step 14: Gluing Down the Pea Gravel with Stone Glue
The final step was applying stone adhesive glue to lock the pea gravel in place. This is especially important if you have pets or kids who might kick or scatter the gravel, or if it’s in a high-traffic area. Before applying the glue, I made sure the gravel was level and evenly distributed across all the open sections.
The glue goes on blue and dries completely clear, leaving a slight sheen that actually looks great — like a wet stone look that adds a subtle polish to the surface. I applied it using a pump sprayer (the product technically recommends electric sprayers to avoid clogging, but I made a manual sprayer work by being careful and working in sections). The plan was three coats over several days, waiting 24 hours between each application. Once fully cured, the gravel stays put regardless of rain, foot traffic, or curious pets running through.
Tips and Best Practices for Your Patio Build
Always verify paver dimensions in the store before loading them into your cart. A quick measurement with a tape measure can save you an entire wasted day of hauling. Work in the early morning during hot weather — temperatures in the 90s make outdoor labor genuinely dangerous, and you’ll accomplish more in two cool hours than five hot ones. Use half-inch screed pipes with a straight 2×4 to level your sand — it’s faster and more accurate than trying to eyeball it. Save any existing mulch before you start excavating — you will almost certainly need it somewhere else on the property by the time you’re done.
Don’t skip the geo-panels if you can source them — the labor and material savings over traditional gravel-base installation are significant. Tamp your sand before placing geo-panels, but not before traditional paver installation — the process differs. Plan your paver pattern on paper first with exact square footage so you order the right amount and don’t end up with costly extras or a shortage mid-project. Wear a mask when handling polymeric sand, and always wear gloves when handling concrete pavers — the edges are surprisingly sharp. You can also check out my full guide on building a floating deck with no concrete for another approach to outdoor surface builds.
Frequently Asked Questions
How deep do I need to excavate for a DIY paver patio?
Traditional paver installation requires excavating 7–8 inches and adding 3 inches of gravel followed by 3 inches of sand. However, if you use geo-panels or paver support panels, you only need to excavate 3–4 inches with a half-inch sand layer. This is a significant reduction in labor and material cost, making it a great option for DIYers tackling this project without heavy equipment.
Why is the string line layout so important in patio and deck building?
Your deck building layout string line defines the entire shape and alignment of your project. If that line is off — even by a small amount — every row of pavers, every panel, and every edging piece will be slightly wrong. Taking the time to get your string lines perfectly parallel to your house or existing structure is the single most important investment of time at the start of the project. A laser level can help you dial in precision on larger areas.
Do I need to tamp the sand before placing pavers?
It depends on your installation method. In traditional paver installation, you typically do not tamp the sand — you screed it level and place pavers directly on top. However, if you’re using geo-support panels (the kind that reduce excavation depth), you do need to tamp the sand first before placing the panels. Always check the manufacturer’s instructions for whichever system you’re using, since the process varies.
What’s the best way to keep pea gravel from scattering on a patio?
The most effective solution is a stone adhesive glue applied in multiple thin coats. It soaks into the gravel, bonds everything together, and dries completely clear with a subtle sheen. Apply it with a pump sprayer, let each coat dry for 24 hours, and plan for at least two to three coats total. Make sure the gravel is level and clean before applying the first coat, and always level any disturbed sections before each subsequent application.
Wrapping Up
Building a paver patio from scratch is one of the most rewarding outdoor DIY projects you can take on as a homeowner. Yes, it’s a lot of physical work. Yes, there will be setbacks — wrong paver sizes, rain delays, ground that’s harder than expected. But the result is a permanent outdoor space that you built with your own hands and saved thousands of dollars compared to hiring it out. Getting your deck building layout string line right at the start sets the whole project up for success, and every step after that builds on that foundation.
If this build has you fired up to tackle more outdoor projects, I’d love for you to explore some of my other guides on The DIY Journey. Whether you’re looking at 5 DIY Outdoor Curb Appeal Projects You Can Do This Weekend or planning something bigger, there’s always a next project waiting. Drop your questions in the comments below — I read every one of them and love hearing how your builds are going. Now get out there and build something great.