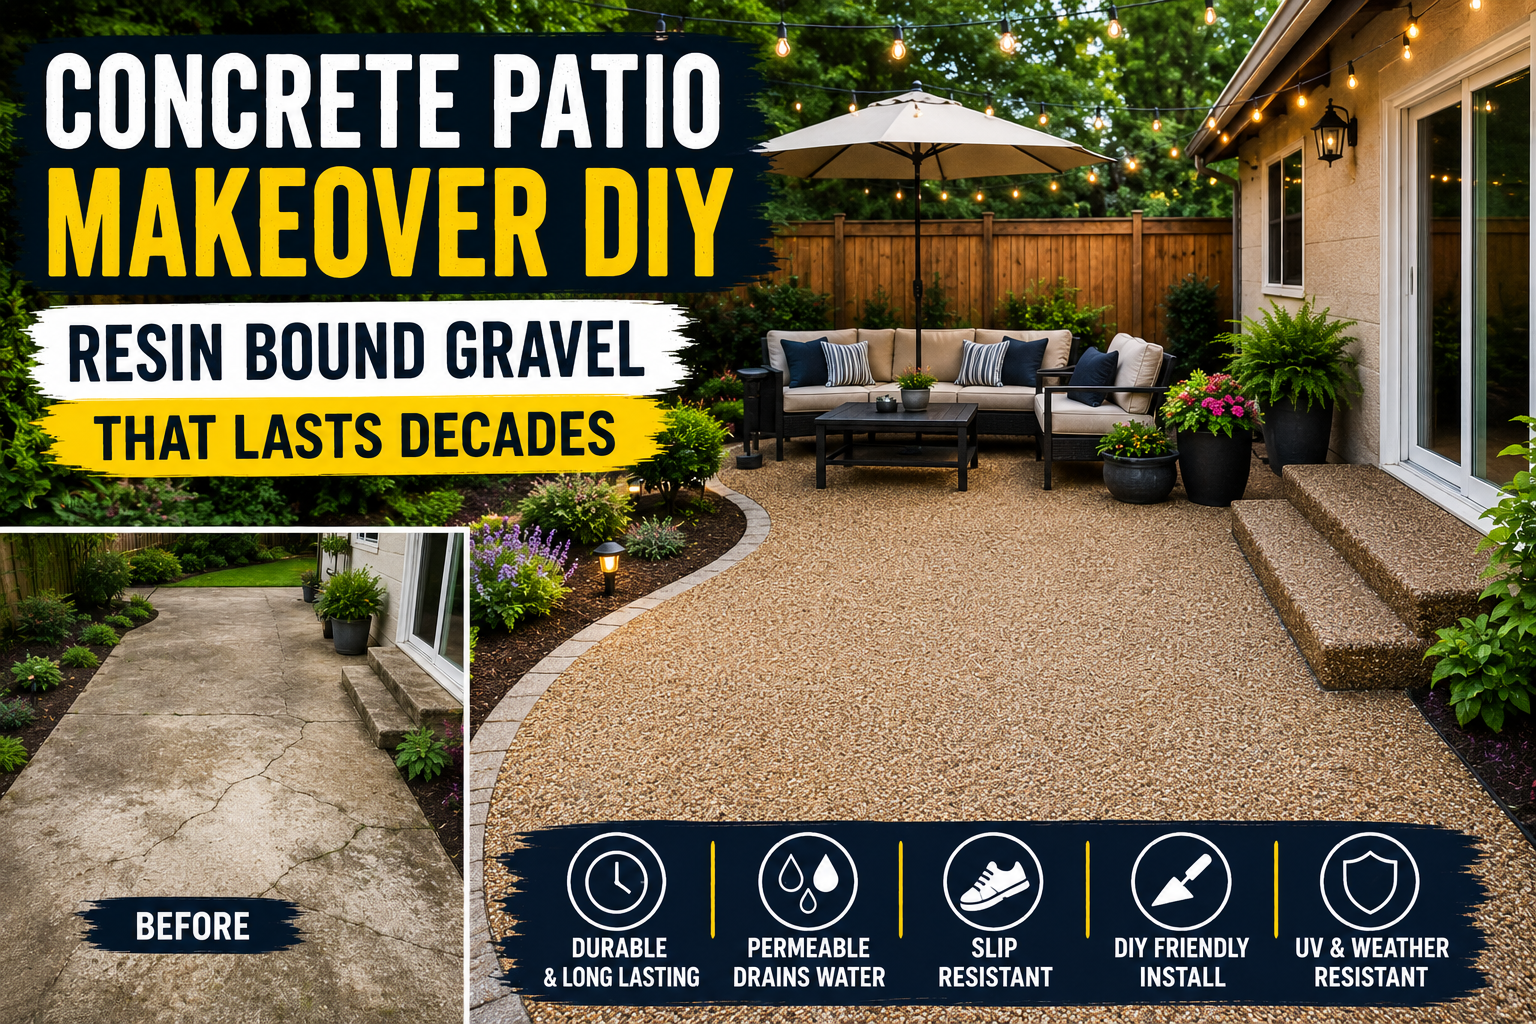
If your concrete patio is cracked, stained, or just plain embarrassing, you’ve probably already thought about resurfacing it. But here’s the problem: resurfacing concrete is basically just delaying the inevitable. The cracks come back, the stains return, and you’re right back where you started. I know this firsthand — after making a mess of my back porch with a stain that went completely sideways, I started looking for a real, permanent solution that didn’t involve tearing everything out and starting over.
That’s when I stumbled onto something most American homeowners have never heard of: resin bound gravel. It looks incredible, it’s surprisingly DIY-friendly, and it can literally be driven over. I spent a ton of time researching this method, tested it on a practice patio first, and then tackled my actual back porch. The results blew me away — and I want to walk you through everything I learned so your project goes even smoother than mine did.
If you love budget-friendly outdoor upgrades, you might also want to check out my guide on DIY paver patio installation that saves $10,000+ for another approach to transforming outdoor concrete spaces. But today, we’re going deep on resin bound gravel — what it is, how to apply it, and all the lessons I picked up along the way.
What Is Resin Bound Gravel (And Why It Beats Concrete)
Before I get into the how-to, I want to make sure you understand what resin bound gravel actually is — because it’s easy to confuse it with the cheap stone-and-mulch glue products you might have seen at the hardware store. Those temporary glues are designed for very light foot traffic and wear off quickly. Resin bound gravel is a completely different animal. It uses a two-part epoxy system to permanently bond kiln-dried, pre-washed stone together into a surface that’s solid enough to drive on and built to last decades.
Here’s what makes it stand out compared to standard concrete. First, it’s permeable — water passes right through the stone matrix, so you never get puddles sitting on the surface after rain. Second, it has more flex than rigid concrete, which means it’s far less likely to crack over time. Third, the stones stay locked in place unlike loose gravel, so you won’t be raking rocks out of your lawn every week. And fourth, it just looks genuinely beautiful — natural, textured, and way more interesting than a plain gray slab. For a concrete patio makeover DIY project, it checks every box.
Choosing the Right Resin Bound Epoxy Product
When I started researching this, I found almost nothing for the DIY crowd. There were plenty of videos of professional crews doing large commercial installs, but essentially zero guidance for a homeowner wanting to tackle this on a weekend. After digging through hours of online research, I found a product on Amazon called McKinnon Stone Bound Epoxy. It’s not heavily marketed toward DIYers, but the specs matched exactly what I was looking for.
The epoxy kits come in a 3:1 ratio — three parts resin to one part curing agent. For a small test area, the 1-gallon kit works well and calls for three 50-lb bags of gravel. For a larger porch or patio, you’ll want to order multiple 4-gallon kits. My back porch required several 4-gallon kits, which put me at 24 bags of stone total. Make sure you order the pre-washed, kiln-dried gravel that’s specifically designed for resin binding — using random gravel from a landscape supplier won’t give you the same results because moisture content and dust on the stone can interfere with the epoxy bond.
Always Do a Test Pour First
I can’t stress this enough: don’t skip the test pour. Before I touched my actual back porch, I tested the entire process on a deteriorating practice patio. The concrete there was in rough shape anyway, so I had nothing to lose. This test run was invaluable because it let me work out the mixing ratio, practice spreading technique, figure out the form setup, and understand the working time before I risked making a mess of my main project.
For the test, I pressure washed the concrete thoroughly and let it dry completely before doing anything else. A clean, dry surface is non-negotiable — any moisture or debris under the epoxy will compromise the bond. If you’re applying resin bound gravel over existing concrete like I did, that prep step is the most important thing you can do for a successful result.
Building the Form and Using Form Release Wax
If you’re applying the resin bound gravel to a flat surface where you don’t need defined edges, you can skip the form entirely. But in my case, I wanted the material to wrap the edges of the patio and create a clean, finished border — so I built a simple wooden form around the perimeter. The key thing I learned here is that you must apply a generous coat of form release wax (sometimes called Partall paste) to any wood that will contact the epoxy. If you’ve ever forgotten release agent when pouring concrete, you know how painful form removal can be — but epoxy is even less forgiving than concrete. I went over every surface of my form generously before screwing it together.
I used roofing screws with built-in washers to assemble the form, which kept the screw heads from sinking in too far. My form height was set to approximately half an inch above the existing concrete surface, which is the target thickness for the resin bound layer. You don’t need to screed this material level the way you would concrete — just aim for a consistent depth and smooth it out by hand.
Honoring Expansion Joints in Your Existing Concrete
If your existing concrete patio has expansion joints or relief cuts — and most do — you need to honor those when you apply the resin bound gravel. Expansion joints exist to let the concrete move with temperature changes without cracking. If you just pour resin bound gravel straight over them without any accommodation, you’re essentially bridging that joint and eliminating its function, which means cracks can telegraph right up through your new surface.
My solution was simple and worked really well: I used a tile termination strip placed directly over the expansion joint, running down the center of the porch. These come in different heights — 3/8 inch, 1/2 inch, 3/4 inch — so pick one that matches your target thickness. I used 1/2 inch to match my pour depth. After gluing the strip down, I waxed just one side of it. This way, each half of the pour can move independently just like the original concrete was designed to do.
Choosing the Right Mixing Container
Here’s something I learned the hard way: epoxy doesn’t stick to polyethylene. This matters a lot when you’re picking your mixing container. I used a poly wheelbarrow for my test pour and it worked great for cleanup. For the main porch project, I stepped up to a 9-cubic-foot mixer with a poly drum for the same reason — no sticking. If you’re renting a mixer locally, ask specifically about the drum material. If you buy or rent one with a metal drum, you’ll need to clean it frequently and work fast to prevent buildup on the paddles.
For small projects, you can absolutely mix resin bound gravel by hand or with a mixing paddle on a drill. But for anything larger than a small walkway section, a mechanical mixer is going to save you a lot of time and effort and give you a more consistent mix throughout the batch.
The Mixing Ratio and How to Scale It Up
The McKinnon Stone Bound Epoxy uses a 3:1 ratio — 3 parts resin to 1 part curing agent. So in a 4-gallon kit, you’ve got 3 gallons of resin and 1 gallon of curing agent. Each gallon of mixed epoxy calls for three 50-lb bags of stone. That means a 4-gallon kit requires 12 bags of stone total. If you’re splitting a kit across multiple batches (which I had to do), you’ll need to measure your resin and curing agent proportionally for each smaller batch — don’t just eyeball it, because the cure depends on the correct ratio.
For my full back porch, I ordered multiple 4-gallon kits and ended up using 24 bags of stone. My total material cost came out to: two 4-gallon epoxy kits at $437.80, 24 bags of stone at $290.40, and a gallon of trowel slick at $60.50 — bringing the grand total to $788.70. Not the cheapest DIY project I’ve done, but for a transformation this dramatic and a surface that should last decades, it’s genuinely worth it compared to hiring it out.
Spreading and Smoothing — Tools and Techniques
Once you’ve mixed your epoxy and stone together, you need to get it spread and smoothed out fairly quickly. For the test pour, I dumped the whole wheelbarrow out at once and spread it with a concrete trowel. That worked fine for the small area. For the larger porch, I initially tried being clever by leaving the mix in the wheelbarrow and scooping it out as needed — do not do this. Epoxy generates heat as it cures, and when it’s sitting in a pile on top of itself in the wheelbarrow, it heats up faster and starts setting up much sooner than it would if spread thin on the slab. Get it out of the mixing container and onto the surface as fast as possible.
For spreading, a potato rake flipped upside down works surprisingly well for the initial distribution across a large area. Then switch to a concrete trowel for smoothing. I found that applying a product called trowel slick to the trowel face made a big difference — without it, the trowel drags and pulls at the stone surface. With it, the trowel glides across smoothly and makes finishing much easier. It’s not strictly necessary, but I’d definitely recommend it for a cleaner result.
Working Time, Heat, and Managing Multiple Batches
This is probably the most important practical lesson from my project: resin bound epoxy has a limited working time, and heat accelerates the cure. In direct sun, you might have less time than you think. On my back porch, when I left a batch sitting in the wheelbarrow too long while trying to be strategic about scooping it out, it started hardening in the container before I could get it all spread. This is stressful and can leave you with uneven thickness or gaps in coverage.
The fix is simple once you know it: mix a batch, dump it out immediately, spread it, then mix the next batch. Don’t try to have multiple batches in progress at the same time, and don’t let mixed material sit while you take a break. Also be careful about cleaning your mixer between batches — if you use trowel slick to clean it and don’t let the drum dry before the next mix, it could potentially affect the new batch. Let everything dry thoroughly before starting the next round.
The Durability of Resin Bound Gravel
I was curious about just how tough this material really is, so I tested a sample piece I’d poured in a small pan. The stone locked together beautifully, water passed right through it, and the surface held up to serious pressure. According to the product specs, on a properly prepared base, this material can handle vehicle traffic — driveways, not just patios. My test sample survived some serious weight and came out completely intact.
The permeable nature is one of the features I appreciate most. There’s no standing water after rain, no ice pooling in winter, and no hydrostatic pressure building under the surface the way it can with solid concrete. For anyone in a region with freeze-thaw cycles, that permeability is a major long-term durability advantage over standard concrete or pavers. If you want to compare this against other outdoor surface options, my post on DIY backyard patio and fireplace builds covers some of the alternatives in more detail.

Demold and Cure Time
I waited 18 hours before removing the forms on my test pour, and the surface was fully cured and solid. Removing the wooden form took a little persuasion — even with the wax applied, there was some sticking at a few points. A rubber mallet or pry bar with a protective block will get the form free without damaging the edge. Take your time on this step and work around the perimeter gradually rather than trying to pop the whole thing off at once.
One thing I was initially worried about was whether the cured surface would separate cleanly from the existing concrete underneath if I ever needed to remove it. The good news is that while the resin bound layer bonds well enough to stay put under normal use, the existing concrete surface itself acts as the substrate and the bond can be broken with enough mechanical force if needed. For most homeowners, though, this is a permanent installation — plan it that way.
Honest Assessment: Is the Finished Result Perfect?
I want to be real with you here. For a first-time install, my results were genuinely impressive — the porch looked completely transformed and the material cured beautifully. But it wasn’t flawless. There were a few rough spots where the depth wasn’t perfectly consistent, a couple of areas where I’d have liked slightly more material packed in, and a few high spots that were noticeable to the touch. None of these are structural issues, and from any normal viewing distance the surface looks amazing. But if you go in expecting contractor-level perfection on your first try, you might nitpick yourself to death.
The honest takeaway is this: the imperfections are minor, they don’t affect durability or drainage, and they fade into the overall appearance of the surface. After all the research I did finding essentially zero DIY resources on this method, I’m genuinely proud of how it turned out. Anyone with basic DIY skills, the right materials, and a willingness to work quickly can pull this off.
Tips and Best Practices for Resin Bound Gravel Projects
Pressure wash and fully dry your concrete before starting — any moisture under the epoxy can compromise adhesion. Give it at least 24 hours after washing before you begin.
Always do a small test pour before committing to your main surface. It costs very little in materials and teaches you everything about the working time, spreading technique, and form behavior specific to your conditions.
Use a poly mixing container — epoxy won’t stick to polyethylene, which makes cleanup dramatically easier and prevents the drum or wheelbarrow from becoming a permanent art installation.
Get mixed material onto the surface immediately — don’t let it sit in the container. The heat generated by the epoxy reaction accelerates cure time, especially in warm or sunny conditions.
Honor existing expansion joints with a tile termination strip rather than bridging over them. This protects your surface from cracking as the concrete below continues to move seasonally.
Apply trowel slick to your finishing trowel — it makes smoothing dramatically easier and produces a better finished surface without dragging or pulling the stone.
Order pre-washed, kiln-dried stone specifically formulated for resin binding. Don’t substitute landscaping gravel — dust and moisture on the stone surface will interfere with the epoxy bond.
Plan for enough material — running short mid-pour is one of the worst things that can happen because you can’t easily blend a new batch into an area that’s already starting to set. Calculate your square footage, multiply by your target depth, and order 10–15% extra.
For more outdoor project inspiration, check out my full guide on 5 DIY outdoor curb appeal projects you can do this weekend — there are some great companion projects for a patio makeover.
Frequently Asked Questions
Can I apply resin bound gravel directly over existing cracked concrete?
Yes — this is actually one of the best use cases for resin bound gravel. As long as the existing concrete is structurally sound (not actively heaving or crumbling), you can apply the resin bound layer directly over it after thorough cleaning and drying. The new layer essentially encapsulates and hides the old surface. Just make sure to honor any expansion joints with a termination strip so the underlying movement doesn’t telegraph through your new surface.
Do I need concrete underneath, or can I apply this to a different base?
You don’t need concrete as a base. Resin bound gravel can be applied over a properly compacted and prepared aggregate base, which means you could use this material for new pathways, patios, or driveways without pouring a concrete slab first. The key word is “properly prepared” — loose or unstable base material will lead to settlement and surface failure over time. If you’re going over bare ground, compact a layer of crushed stone base material before applying the resin layer.
How long does resin bound gravel take to cure before it can be used?
Based on my experience, 18 hours was enough for the surface to be fully cured and ready for foot traffic. However, cure time can vary based on temperature, humidity, and the specific product you’re using. In cooler conditions, give it a full 24 hours before walking on it. For vehicle traffic, wait at least 48–72 hours to be safe. Always check the specific cure time recommendations on the epoxy product you choose.
What’s the total cost for a resin bound gravel patio makeover?
My back porch project came in at $788.70 total, covering multiple 4-gallon epoxy kits, 24 bags of pre-washed stone, and trowel slick. The exact cost will depend on the size of your surface and current material pricing. For comparison, hiring a professional crew to do this kind of install typically runs several thousand dollars. As a DIY project, you’re looking at a fraction of that cost with a result that’s just as durable. It’s not the cheapest weekend project, but for a truly permanent transformation it’s hard to beat the value.
Final Thoughts: Is Resin Bound Gravel Worth It?
After going through this entire process — the research, the test pour, the full porch install, and all the mid-project problem-solving — I can say without hesitation that resin bound gravel is one of the most impressive concrete patio makeover DIY ideas I’ve ever tackled. The finished surface looks genuinely beautiful, drains perfectly, and should hold up for decades without the cracking and staining problems that come with standard concrete.
Is it easy? Mostly yes, with a few important caveats around working time and heat management that I hope this post made crystal clear. Is it worth the roughly $800 in materials for a back porch? Absolutely — especially compared to the cost of hiring it out or tearing out and replacing the concrete entirely. If you’ve got a cracked, ugly, or stained concrete surface that you’re tired of looking at, this is the fix. Give yourself a full weekend, do your test pour first, and I think you’ll be just as amazed at the results as I was.
Ready to tackle more outdoor DIY projects? Check out my complete guide to building a DIY smokeless fire pit with concrete for another great way to level up your backyard space.