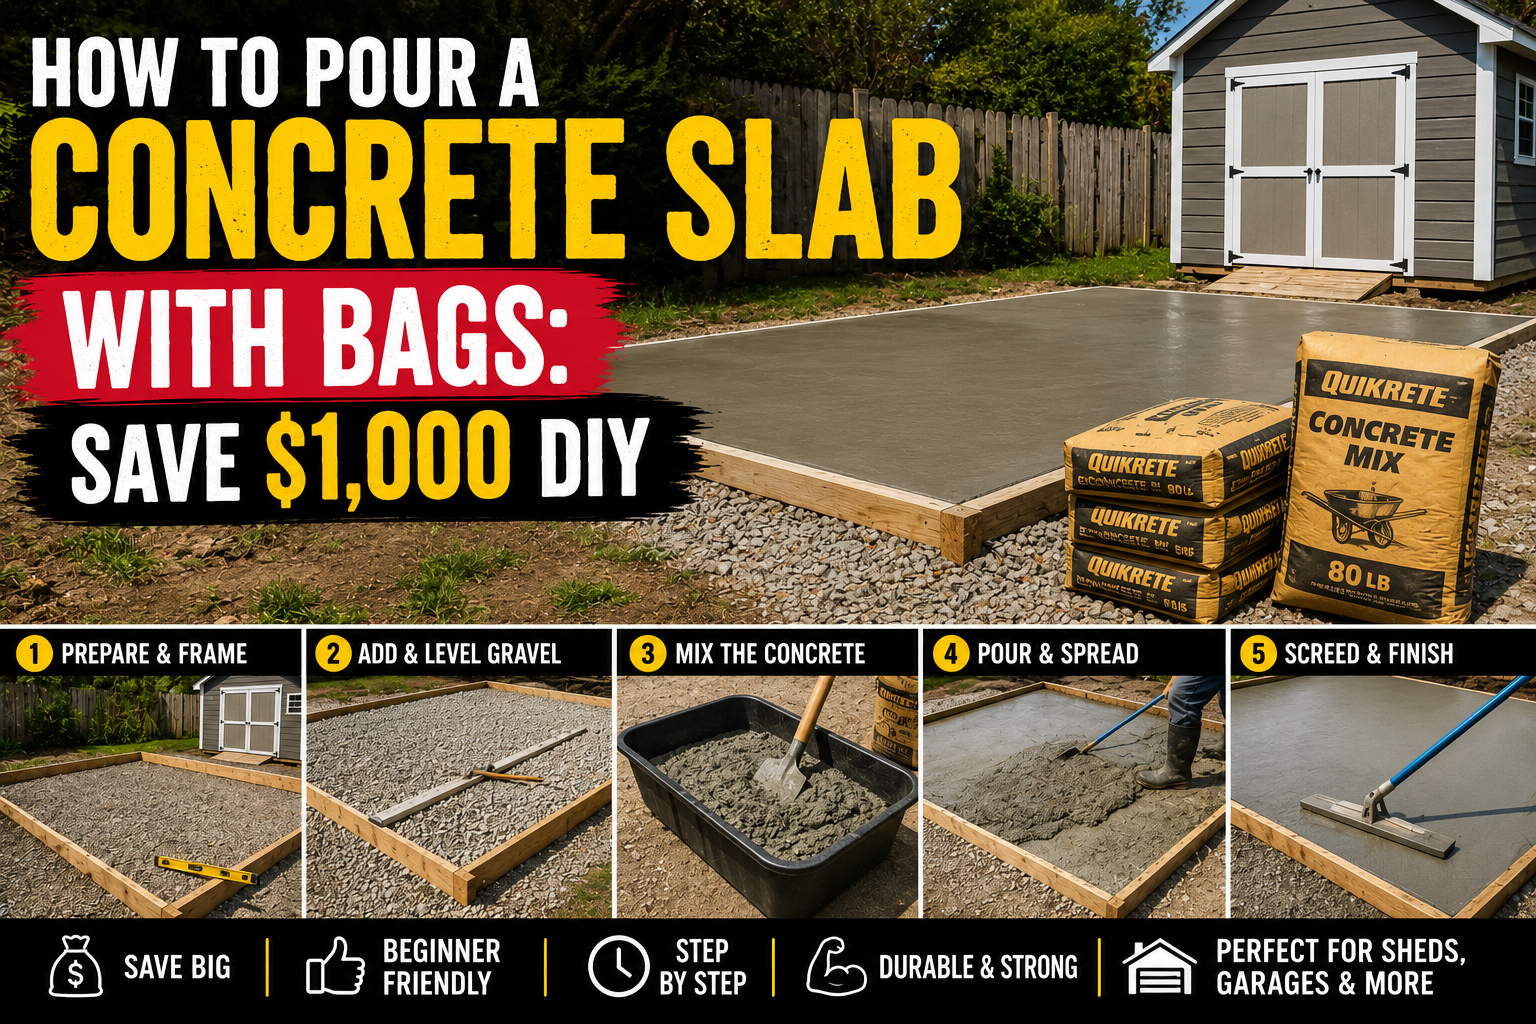
If you’ve been putting off adding a concrete slab to your property because you think it’s too complicated or too expensive, I’m here to tell you it doesn’t have to be either. I recently tackled one of the biggest dry pour concrete slab bags projects I’ve ever attempted — 84 bags, over 6,000 pounds of concrete, and a 10×16 slab built almost entirely without water until the very end. The result? A solid, level slab and roughly $1,000 saved compared to hiring it out.
The dry pour method is one of those techniques that sounds almost too simple to work, but once you understand the process, it completely changes how you think about concrete projects. No mixing, no rushing, no rental equipment. Just bags, a form, some rebar, and a little patience. I’m going to walk you through every step of what I did so you can replicate it on your own property with confidence.
Whether you’re building a shed foundation, a small patio slab, or a utility pad, this guide covers everything I learned — including the secret ingredient that made the finish come out looking surprisingly smooth. If you’re interested in more outdoor builds like this, check out my guide on how to build a shed foundation for additional foundation options that work great for backyard structures.
Step 1: Build and Square Your Concrete Form
Before a single bag of concrete hits the ground, you need a solid form. For this project, I was working with a 10×16 footprint, so I laid the boards out to that dimension and squared everything up against an existing fence line to use as a reference point. Getting this step right matters — a form that’s even slightly out of square is going to give you headaches when you try to screed and level later.
Once the boards were in place, I staked them into the ground to lock them in position. Take your time here. I double-checked every corner with a tape measure and made sure everything was tight before moving on. A few extra minutes at the form stage saves a lot of frustration later. A good tape measure is essential for this — measure diagonally corner to corner both ways to confirm the form is perfectly square.
Step 2: Level Out the Ground Inside the Form
With the form built, the next task is getting the ground inside as level as possible. I ran a string line across the top of the form and used a straight board as a gauge to check the dirt underneath. Wherever the board had a gap, I added dirt; wherever it was high, I used a hoe to knock it down. It’s a rinse-and-repeat process — or I guess just repeat, since this is a dry pour and there’s no rinsing happening yet.
After leveling, I packed the dirt in firmly. I used an inverted bucket to tamp it down in a pinch, but if you have a tamper bar available, use it. A tamper will get the job done much faster and give you a more consistent, compacted base. Don’t skip the compaction — loose soil underneath will cause settling and cracking down the road. Fair warning: this step is a genuine workout, so pace yourself.
Step 3: Install Rebar for Reinforcement
A lot of people skip rebar on small slabs, but I’d rather be safe than sorry. I placed rebar on approximately 2-foot centers across the slab area. This adds meaningful structural strength, especially if you’re planning to park equipment on it, set a shed on it, or subject it to any real load.
Here’s where the dry pour method gets interesting: because you’re working with dry powder and not wet concrete, you have options for how you handle the rebar. I started with the rebar resting near the bottom of the form, then after getting enough dry concrete powder poured in, I lifted the rebar up through the material to position it more toward the middle of the slab depth. It takes a little extra work but helps get the rebar where it needs to be for maximum strength rather than sitting along the bottom.
Step 4: Pour and Spread the Dry Concrete Bags
This is the part that looks the most intimidating on paper — 84 bags of concrete is over 6,000 pounds of material. I brought in 42 bags at a time from two pallets and started busting them open and spreading the dry powder across the form. Having a helper makes this significantly easier, but the good news is that with dry pour, you don’t have to race against a clock. You can take breaks, clean out leaves and debris (especially an issue in fall), and work at a comfortable pace.
One of the biggest advantages of using dry pour concrete slab bags is exactly this flexibility. If it’s not going to rain overnight and you need to stop, you can stop. I cleaned sticks and leaves out of the dry mix multiple times during this phase — something you absolutely cannot do once you’ve added water to traditional wet concrete. Spread each bag as evenly as you can and use a rake to distribute the material, keeping an eye on your depth across the entire form.
Step 5: Screed and Level the Dry Mix
Once all the bags were emptied and spread, I used a long straight board to screed across the top of the form — the same technique used with wet concrete. You drag the board back and forth in a sawing motion across the tops of your form boards, letting the excess material push ahead of it and filling any low spots as you go.
This was honestly the hardest part of the entire project. Screeding 84 bags of dry concrete powder while trying to maintain a level surface and keep everything in bounds was exhausting — your arms will feel it. But the dry pour method works in your favor again here: if you push too much material in one direction, you can work it back. You don’t have that grace period with wet concrete. After screeding, I lightly packed the surface to eliminate any voids or air pockets, paying attention to the areas around the rebar.
Step 6: Shape the Edges With an Edge Tool
Before adding any moisture, I wanted to give the slab nice rounded edges rather than hard, sharp corners that are more prone to chipping. I used a hand edge trowel to work around the perimeter of the form, angling it to create a slight bevel along each edge.
I’ll be honest — doing this with dry powder instead of wet concrete is tricky. The material doesn’t cooperate the same way. You have to work carefully, keeping the back of the tool slightly lifted on the return pass so you’re not digging into the surface. It won’t be perfect, but it’s noticeably better than leaving a raw square edge. The key is being patient and making multiple light passes rather than trying to force the shape in one go.
Step 7: Apply the Secret Ingredient — Portland Cement Top Layer
Here’s the tip that genuinely surprised me with how well it worked: before adding any water, I spread a layer of pure Portland cement powder over the entire top surface of the slab. I used about one full bag for the 10×16 area — not even quite a full bag. This creates a smoother, denser finish layer that responds much better to troweling and gives the slab a cleaner, more professional appearance compared to leaving the standard mix exposed on top.
If I were doing this again, I’d aim for about a full inch of Portland on top rather than a thinner skim layer. The Portland cement finish is much easier to smooth and holds its shape better when you add water. It also fills in small surface imperfections left by the dry mix underneath. This is the “secret weapon” that takes a dry pour slab from looking rough and DIY to looking like a legitimate finished concrete surface.
Step 8: Roll and Smooth the Surface Finish
With the Portland layer down, I used a paint roller on an extendable roller stick to smooth the entire surface before adding water. Rolling the dry surface compresses the powder slightly, brings any high spots down, and gives you a more uniform base for the misting step. I went back and forth across the entire slab, cleaning the roller when it got clogged with powder by tapping it out.
I spent about 45 minutes on this step, working methodically from one end to the other. The roller technique is one of those things that seems unnecessary until you see the difference it makes. It’s much easier to get a smooth finish by rolling the dry material than trying to trowel wet concrete — especially for someone who doesn’t do this professionally. Take your time here because this is your final finish before water goes on.
Step 9: Mist the Surface With Water
Now comes the part that officially turns dry powder into a concrete slab. The goal is to apply water gently — you want a fine mist, not a direct stream that will blast channels into your carefully smoothed surface. I used a garden hose nozzle set to the widest, gentlest pattern I could get and applied the water from a distance to keep the impact as soft as possible.
The dry pour method works because moisture eventually wicks down through all the layers of dry concrete powder, hydrating the entire depth of the slab from top to bottom. The bottom also picks up moisture from the ground beneath, which helps the curing process work from both directions. Keep the misting light and even — you’re not trying to flood the surface, just introduce enough moisture to kick off the hydration reaction throughout the slab.
Step 10: Let It Cure — Then Remove the Forms
After misting, I walked away and let the slab sit for 24 hours before pulling the forms. The forms came off cleanly, which is one of the nice things about dry pour — the edges tend to hold their shape well against the form boards. At the 24-hour mark, the slab was still damp to the touch but solid enough to walk on without leaving marks.
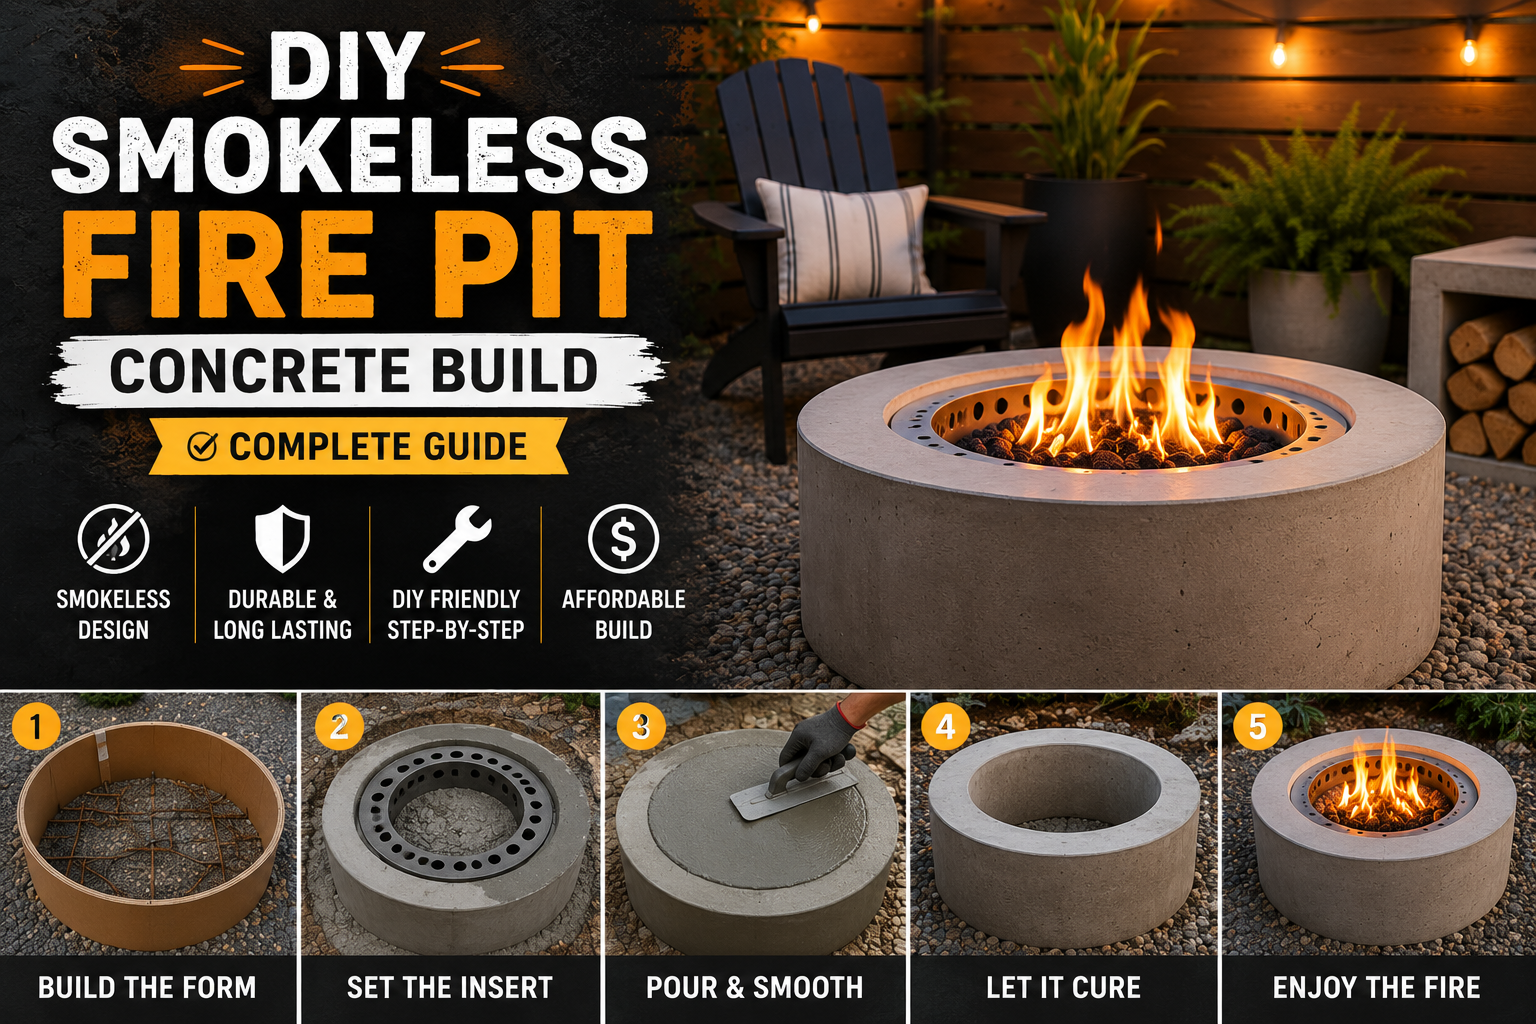
Because I was working in cooler temperatures — overnight lows in the low 40s and daytime temps around 56°F — the slab took closer to 48 hours to reach a good cure stage. Cold weather slows the hydration reaction significantly, so if you’re doing this in fall or winter, just plan for a longer cure time. Don’t rush it. I took advantage of the extended working window to knock down any remaining sharp edges and smooth the perimeter one more time while the concrete was still slightly workable. If you want to explore more about working with concrete for outdoor projects, my post on the DIY smokeless fire pit concrete build covers some great related techniques.
Tips and Best Practices for Dry Pour Concrete Slab Bags
After going through this entire process, here are the key lessons I’d pass along to anyone attempting their first dry pour slab:
Work in the right temperature range. Cool weather (50-70°F) is actually ideal for concrete work — it slows the cure just enough to give you a better bond. Avoid pouring in freezing temps or during a heat wave. Factor in fall debris. If you’re working in autumn, budget extra time to clean leaves, sticks, and debris from the dry mix before you mist. The dry pour method allows this; wet concrete does not. Use a tamper, not just your feet. A proper tamper makes a real difference in compacting the base and the dry mix — don’t skip this tool. Buy slightly more than you think you need. I ended up with just half a bag to spare out of 84 bags total. Running short on a wet pour is a disaster; running short on a dry pour just means a quick trip to the store. Still, plan your quantities carefully using a concrete calculator. The Portland cement top layer is worth it. Even if it feels like an extra step, that finish layer transforms the appearance of the finished slab. Don’t stress about perfection on edges. Rounded edges on a dry pour are harder to achieve than on a wet pour, but they’re better than nothing and they’ll protect the slab from chipping over time. Let it cure fully before loading it. Even if it feels solid, give it a full 7 days before placing heavy structures or equipment on top. And as I mentioned, combining a patio slab with an outdoor fireplace is a fantastic next project once your foundation is cured and ready.
Frequently Asked Questions About Dry Pour Concrete Slab Bags
How many bags of concrete do I need for a 10×16 slab?
For a standard 4-inch thick slab at 10×16 feet, you’ll need approximately 80-90 bags of 80-pound concrete mix. I used 84 bags for this project and ended up with just half a bag left over, so that gives you a real-world reference point. Always use an online concrete calculator and round up slightly to avoid running short.
Is a dry pour concrete slab as strong as a traditional wet pour?
When done correctly, a dry pour slab achieves comparable compressive strength to a traditional pour. The key is ensuring adequate moisture penetrates the entire depth of the slab during the curing process. Using rebar for reinforcement, compacting the base well, and allowing full cure time all contribute to a strong finished product. For utility slabs, shed pads, and similar applications, dry pour is completely appropriate.
Can I do a dry pour concrete slab in cold weather?
You can work in cool weather — I did this project with overnight temps in the low 40s — but expect a longer cure time. Concrete cures more slowly in cold conditions because the chemical hydration reaction slows down. Avoid pouring when temps will drop below freezing, as ice crystals forming in uncured concrete can damage its structural integrity. In mild cool weather like I experienced, just budget extra time and don’t rush the cure.
Do I need rebar in a small concrete slab?
Technically, small utility slabs can be poured without rebar, but I always recommend including it. Rebar is inexpensive relative to the cost of the pour and adds significant crack resistance, especially if the slab will support any weight or if there’s any chance of ground movement underneath. For a 10×16 pad going under a shed or used as a utility platform, rebar on 2-foot centers is the right call.
You Can Do This — And Save a Thousand Dollars Doing It
Pouring your own concrete slab using the dry pour method is one of those projects that looks intimidating from the outside but is genuinely manageable once you break it down into steps. I saved roughly $1,000 on just the slab alone by doing this myself — and that’s on the conservative end of the estimate. No mixer rental, no contractor, no scheduling headaches. Just bags of concrete, a well-built form, a little rebar, and a willingness to put in the work.
If you’re planning a backyard structure, a workshop pad, or any project that needs a solid foundation, give the dry pour method a serious look. The flexibility it gives you — the ability to take breaks, clean debris, adjust as you go — makes it far more beginner-friendly than traditional wet pours. Take your time, don’t skip the Portland cement top layer, and let it cure fully before you load it up. You’ll end up with a slab you’re proud of and money still in your pocket.
Have questions about your own concrete project? Drop them in the comments below — I’d love to help you plan it out.