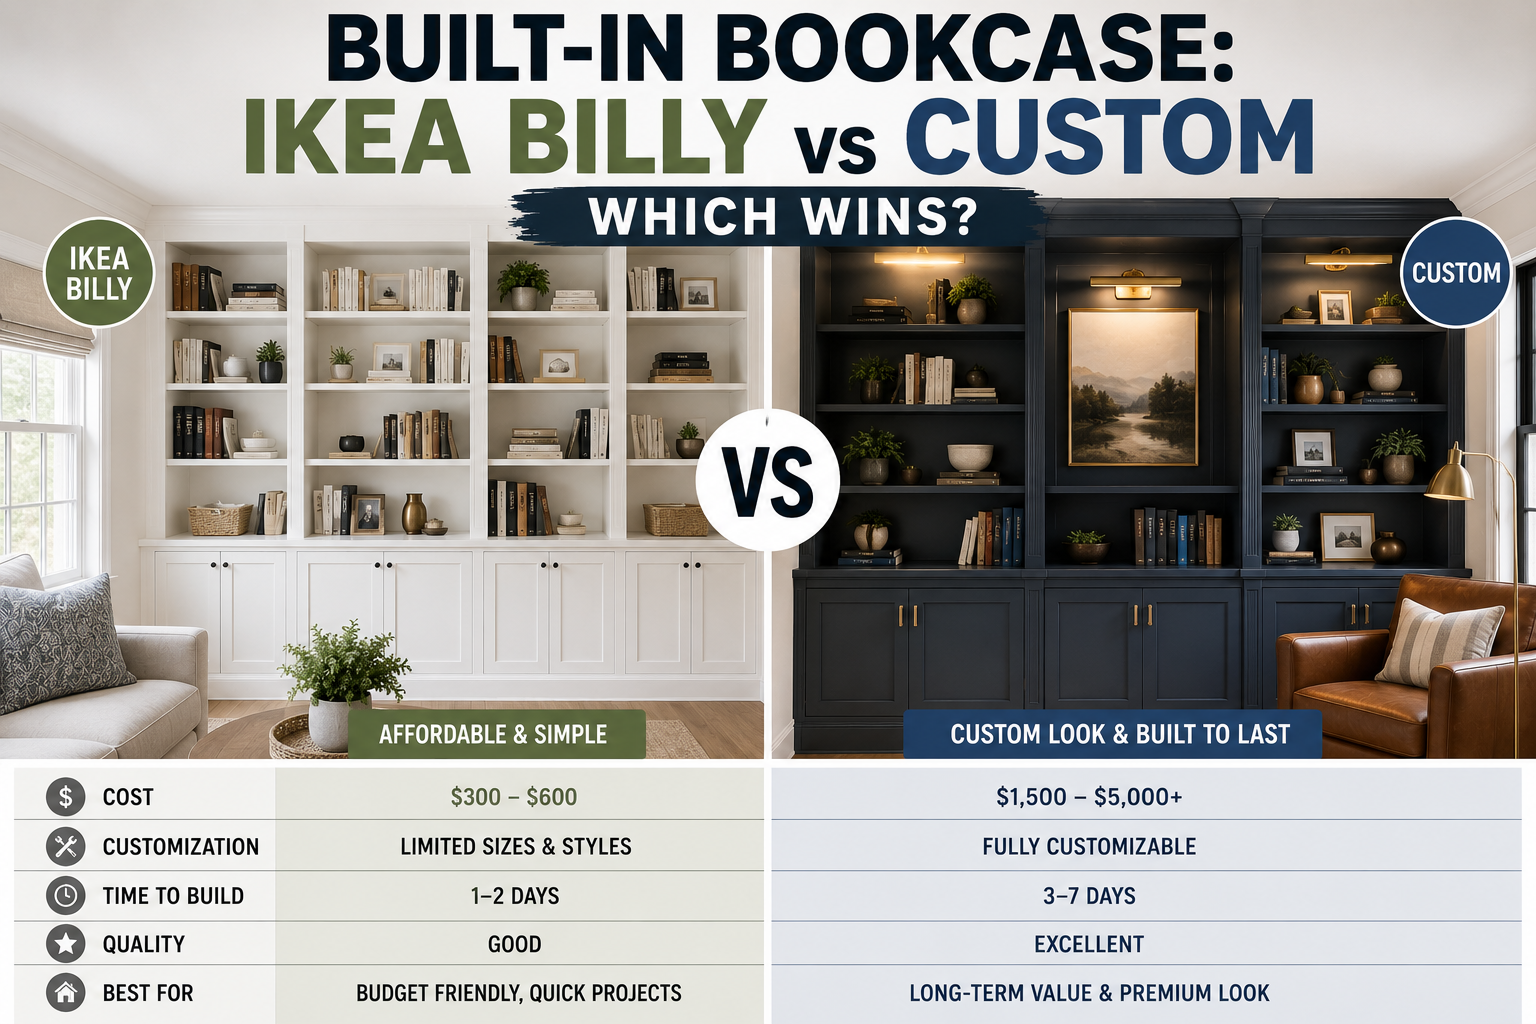
If you’ve been dreaming of a gorgeous wall of built-in bookcases, you’ve probably landed on the same big question: do you grab some IKEA Billy bookcases and hack them into built-ins, or do you build everything from scratch? It’s one of the most common dilemmas in the DIY world, and the answer isn’t as obvious as you might think.
This comparison comes from real, hands-on experience — specifically, building two full walls of floor-to-ceiling built-ins in a 1915 home with 12-foot ceilings. One wall used IKEA Billy bookcases, and the other was built entirely from plywood. Both projects are done, and the lessons learned along the way are worth their weight in sawdust.
Below, we’re breaking down every pro, every con, every surprise headache, and — the part that might genuinely shock you — the actual cost difference between the two. Whether you’re a total beginner or a seasoned DIYer, by the end of this you’ll know exactly which path makes the most sense for your project.
The Pros of IKEA Billy Bookcases for Built-Ins
There’s a very good reason IKEA Billy bookcases are the most popular choice for DIY built-in projects. They come in multiple sizes and widths, and IKEA also sells corner units and height extenders that make them incredibly versatile. If you’re working with taller-than-average ceilings — like a 12-foot situation — those height extenders are a genuine lifesaver that you’d otherwise have to engineer yourself.
Beyond the size options, Billy bookcases are relatively easy to assemble and don’t require any power tools to put together. If you’re a complete beginner who hasn’t yet invested in a drill or a saw, that’s a huge advantage. They’re also significantly less expensive than buying solid wood pre-built bookcases from a furniture store, which makes them an accessible entry point for a high-impact renovation.
The Durability Problem: Why MDF Is a Real Concern
Here’s where things get tricky. Like almost all IKEA furniture, Billy bookcases are made from MDF (medium-density fiberboard), and MDF has a well-known weakness: it struggles under heavy loads over time. Books are heavy, and Billy shelves are notorious for sagging after years of holding a full load. If you’re envisioning a built-in that looks beautiful and stays that way for decades, this is a legitimate concern you need to weigh carefully.
MDF also has a serious relationship problem with moisture. If you ever spill something — even a small amount — the material can warp and bubble in a way that’s nearly impossible to fix. You can add metal braces under each shelf to reinforce them and reduce sagging, or attach a face frame across the front of the entire unit to add some rigidity. But as honest as it gets, neither of these is a perfect solution. You’re working around a limitation rather than eliminating it.
You can try these methods when you try the Kids Bedroom Closet Built-In Organizer for Under $600.
The Folded Back Panel: A Hidden Headache
One issue that doesn’t get talked about enough is the folded cardboard-like back panel that comes standard with Billy bookcases. That fold creates a visible crease running down the back of your bookcase, and if your goal is for everything to look like solid, custom-built furniture, that crease will instantly give away the IKEA origins. It’s a small detail that makes a big visual difference.
The fix is to swap out the included back with a sheet of quarter-inch plywood, which will also help add structural stability to the unit. That’s a great solution — if you know about it before you start. If you discover the crease after everything is already installed (which absolutely can happen), you’re stuck cutting individual pieces of cardboard and gluing them over each seam to hide it. Not exactly how you want to spend your weekend.
The Face Frame Gap Problem and the Filler Fix
If you want your Billy bookcases to look truly built-in, you’ll almost certainly want to add a face frame across the front. It’s the detail that transforms flat-pack furniture into something that looks like it was built into the house. The problem is that the fronts of the Billy shelves are not flush with the sides of the unit, which creates a noticeable gap between the shelves and the face frame.
To solve this, you’ll need to rip down thin filler pieces of wood — about ⅛ inch thick — and nail them to the front of each shelf to bring the surface flush before the face frame goes on. This requires a table saw or circular saw with a rip guide, which circles back to the “no power tools needed” promise being more complicated in practice. And even after all that work, the filler pieces create a double seam on the shelf front that needs to be filled with Bondo body filler, which is notoriously smelly and difficult to sand smooth. It’s one of those problems that keeps creating more problems.
Painting IKEA Furniture: The Primer Situation
IKEA’s furniture finish is specifically designed to repel spills, which is great for cleaning up after kids — but terrible if you want to paint over it. Standard primer simply won’t bond to that surface properly, and you’ll end up with a paint job that chips and peels far too soon. You need a shellac-based primer, applied in multiple coats, just to get a surface that paint will stick to.
One trick that works even better: use spray paint as your primer rather than brushed-on shellac primer. It bonds more reliably to the slick IKEA surface and gives you a better foundation for your topcoat. It’s an extra step, but it makes a real difference in the final finish quality and longevity of your painted built-ins.
The Pros of Building Bookcases from Scratch
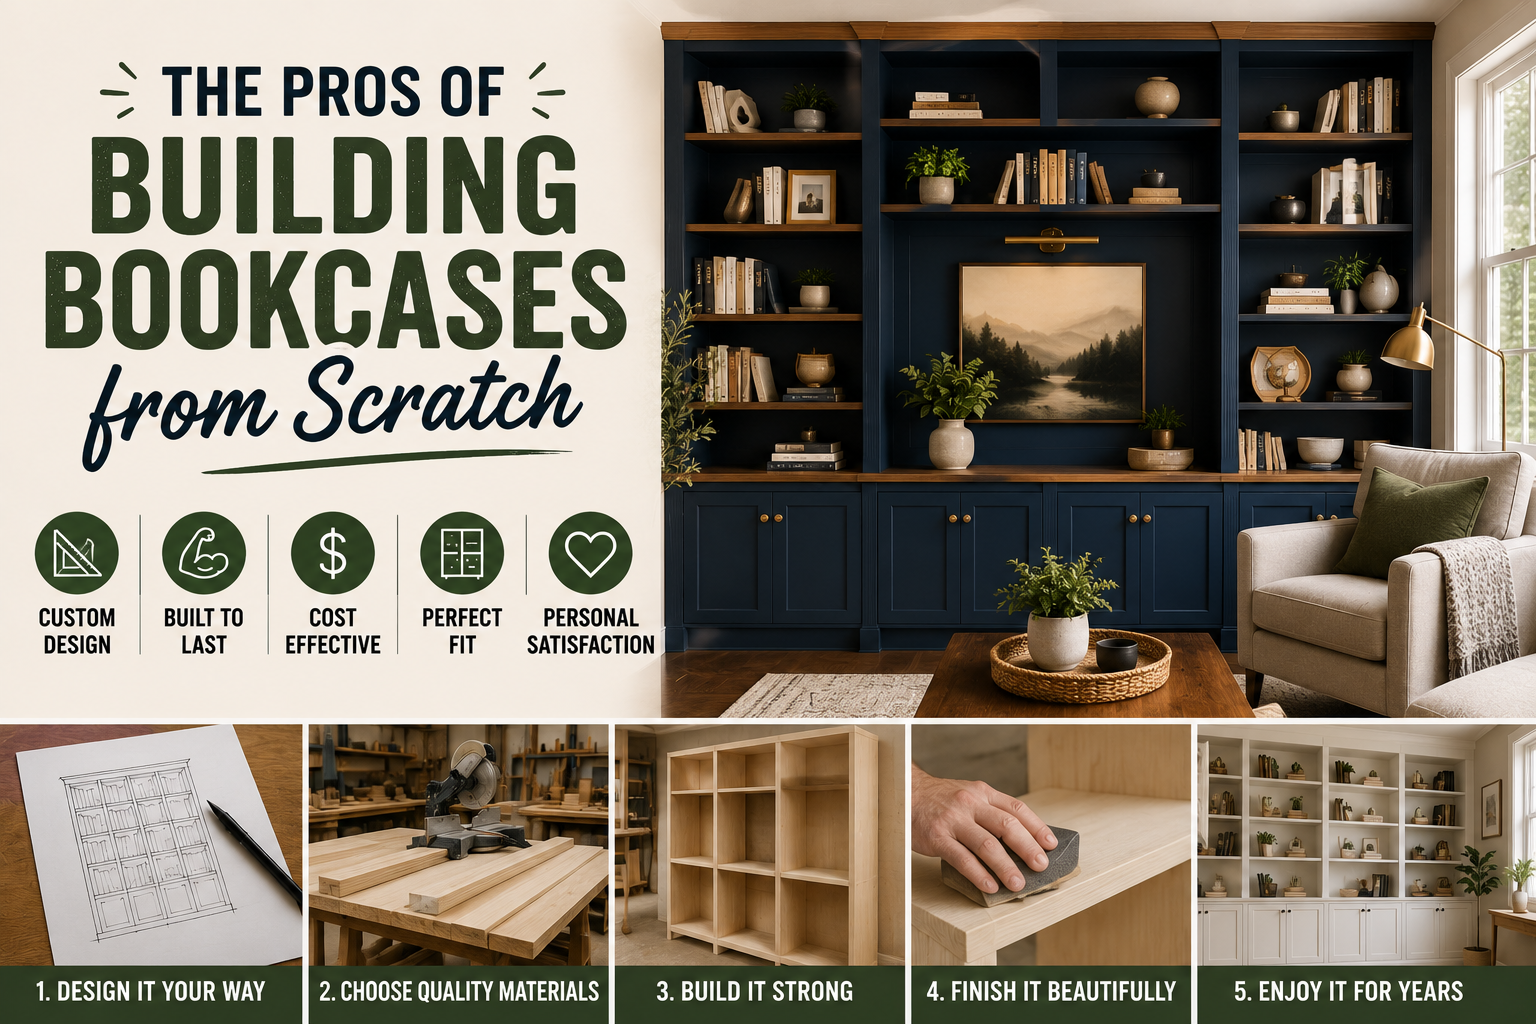
After working through all of those IKEA challenges, the appeal of starting fresh with your own plywood becomes very real. The biggest advantage is material quality: plywood is significantly stronger than MDF, holds more weight without sagging, and is far more resistant to moisture. A well-built plywood bookcase is genuinely something that can last for generations in a home.
Plywood also takes paint and stain easily and beautifully, with no special primer gymnastics required. Using birch plywood in particular gives you a smooth, fine grain that looks polished whether you paint it or stain it — which opens up design options that MDF simply can’t offer. You also have complete control over dimensions, depth, and shelf spacing, meaning your built-ins fit your space exactly rather than being adapted to standard IKEA sizing.
The Power Tools Requirement: What You Actually Need
There’s no getting around it: building from scratch requires power tools. At minimum, you’ll need a circular saw with a rip-cut guide for breaking down full plywood sheets to width, a miter saw for cutting pieces to length, a pocket hole jig for assembly, a drill, an impact driver, and a good set of clamps. If you don’t own these tools, renting them from a hardware store is an option, but buying them is a long-term investment that pays off across many future projects.
The pocket hole jig deserves a special shoutout here. It’s the tool that makes building large structures like bookcases approachable for beginners because it creates incredibly strong, easy-to-execute joints without needing advanced woodworking skills. Once you learn to use one, you’ll wonder how you ever built anything without it. And yes, a bookcase really is just a big box with dividers — pocket holes and plywood are all you need.
Check out our review of the 20 Must-Have DeWalt Tools on the Market Today.
Extending Bookcases for High Ceilings and the Racking Problem
Building for 12-foot ceilings when plywood only comes in 8-foot sheets requires a bit of ingenuity. The solution is to use a dowel jig with dowel and glue joinery to extend your side panels to the full height you need. It’s not complicated once you understand how it works, but it does add time and requires an additional tool. For standard 8 or 9-foot ceilings, this isn’t an issue at all — your plywood sheets will be plenty long.
One important lesson learned the hard way: watch out for racking. Racking is when a bookcase tilts to one side during assembly, before the back panel is attached. If you install the back while the case is racked, you’ve essentially locked the crookedness into the structure permanently — and deconstructing and rebuilding is exactly as unpleasant as it sounds. The fix is simple: attach a temporary diagonal brace across the front of the bookcase while you work on getting the back panel on. That single step would have saved hours of frustration.
The Real Cost Comparison: IKEA vs Custom
Here’s the number that surprises most people. One large Billy bookcase costs $59, and with three height extenders at $30 each plus tax, the total IKEA cost per unit comes to about $172. Building the same size bookcase from scratch, using approximately two sheets of ¾-inch birch plywood at $54 each and one sheet of ¼-inch plywood at $32, comes to roughly $152 per unit with tax.
That’s only about $20 less per bookcase to build from scratch. Not the dramatic savings some people expect. So if cost savings are your primary motivation, the math might not justify the extra effort and tool investment. The real reason to choose custom over IKEA is durability, longevity, and quality — not budget. If shelf sagging and water damage are concerns, and you either have the tools or are willing to invest in them, building from scratch is absolutely worth it. If those concerns don’t apply to your situation, IKEA is a perfectly reasonable choice.
Tips and Best Practices for Whichever Route You Choose
No matter which direction you go, a few best practices will make your built-in bookcase project go much smoother. For IKEA Billy builds: replace the back panel with quarter-inch plywood before installation, prime with shellac-based primer or spray primer before painting, add metal shelf braces to reinforce against sagging, and account for the shelf-to-face-frame gap before you start cutting face frame pieces.
For custom plywood builds: always store your cut pieces flat to prevent warping, use a temporary diagonal brace to prevent racking during assembly, work with birch plywood for the cleanest finish, and lean heavily on your pocket hole jig for strong, reliable joints. And for either method: take your time during the planning phase, measure twice (then measure again), and don’t be afraid to make mistakes — every mistake in DIY is just a lesson that makes your next project better.
Frequently Asked Questions
Are IKEA Billy bookcases strong enough for heavy books?
They can hold a reasonable amount of weight, but MDF shelves are known to sag over time when consistently loaded with heavy books. Adding metal shelf braces underneath each shelf helps, but it’s not a permanent fix. If you have a large book collection, custom plywood shelves will hold up significantly better over the long term.
Do I need a lot of tools to build bookcases from scratch?
You’ll need a circular saw or table saw, a miter saw, a pocket hole jig, a drill, an impact driver, and clamps. That’s a meaningful tool investment if you’re starting from zero, but most of these tools can be rented from hardware stores. If you plan to do more DIY projects in the future, buying them makes financial sense.
What kind of primer should I use on IKEA furniture?
IKEA’s finish is slick and repels standard primer. Use a shellac-based primer for the best adhesion, applied in multiple coats. Spray paint used as a primer coat also bonds well to the IKEA surface and can give you better results than brushed-on primer alone.
How do I prevent a DIY bookcase from racking during assembly?
Attach a temporary diagonal piece of wood across the front of the bookcase before you install the back panel. This keeps the unit square and prevents it from tilting to one side. Remove it once the back is securely in place. It’s a simple step that saves a lot of grief.
Is building bookcases from scratch a good project for a beginner?
Absolutely. A bookcase is essentially a big box with dividers, and once you learn to use a pocket hole jig, you have the primary skill you need. It’s one of the more approachable large builds in DIY, and the result is something you’ll be genuinely proud of. Start with YouTube tutorials, take it one step at a time, and don’t be afraid of making mistakes along the way.
The Verdict: Which Built-In Bookcase Option Should You Choose?
Both paths lead to beautiful built-ins — it really comes down to your priorities. If you’re a beginner without power tools, working with a tight timeline, or simply don’t want to deal with the learning curve of scratch-building, IKEA Billy bookcases are a solid choice. Just go in knowing about the back panel fix, the face frame gap, and the primer situation so none of those surprises catch you off guard mid-project.
If you have the tools (or are ready to invest in them), care deeply about durability, and want the satisfaction of building something truly custom, building from scratch with birch plywood is the way to go — and it’ll actually save you a little money in the process. The quality difference is real, and so is the pride that comes with knowing you built every inch of it yourself.
Whichever route you choose, you’ve got this. Thousands of people have tackled this exact project with zero experience and come out the other side with stunning built-ins they’re proud to show off. The best built-in is the one you actually build — so pick your path and get started. Which option are you leaning toward? Drop it in the comments below!