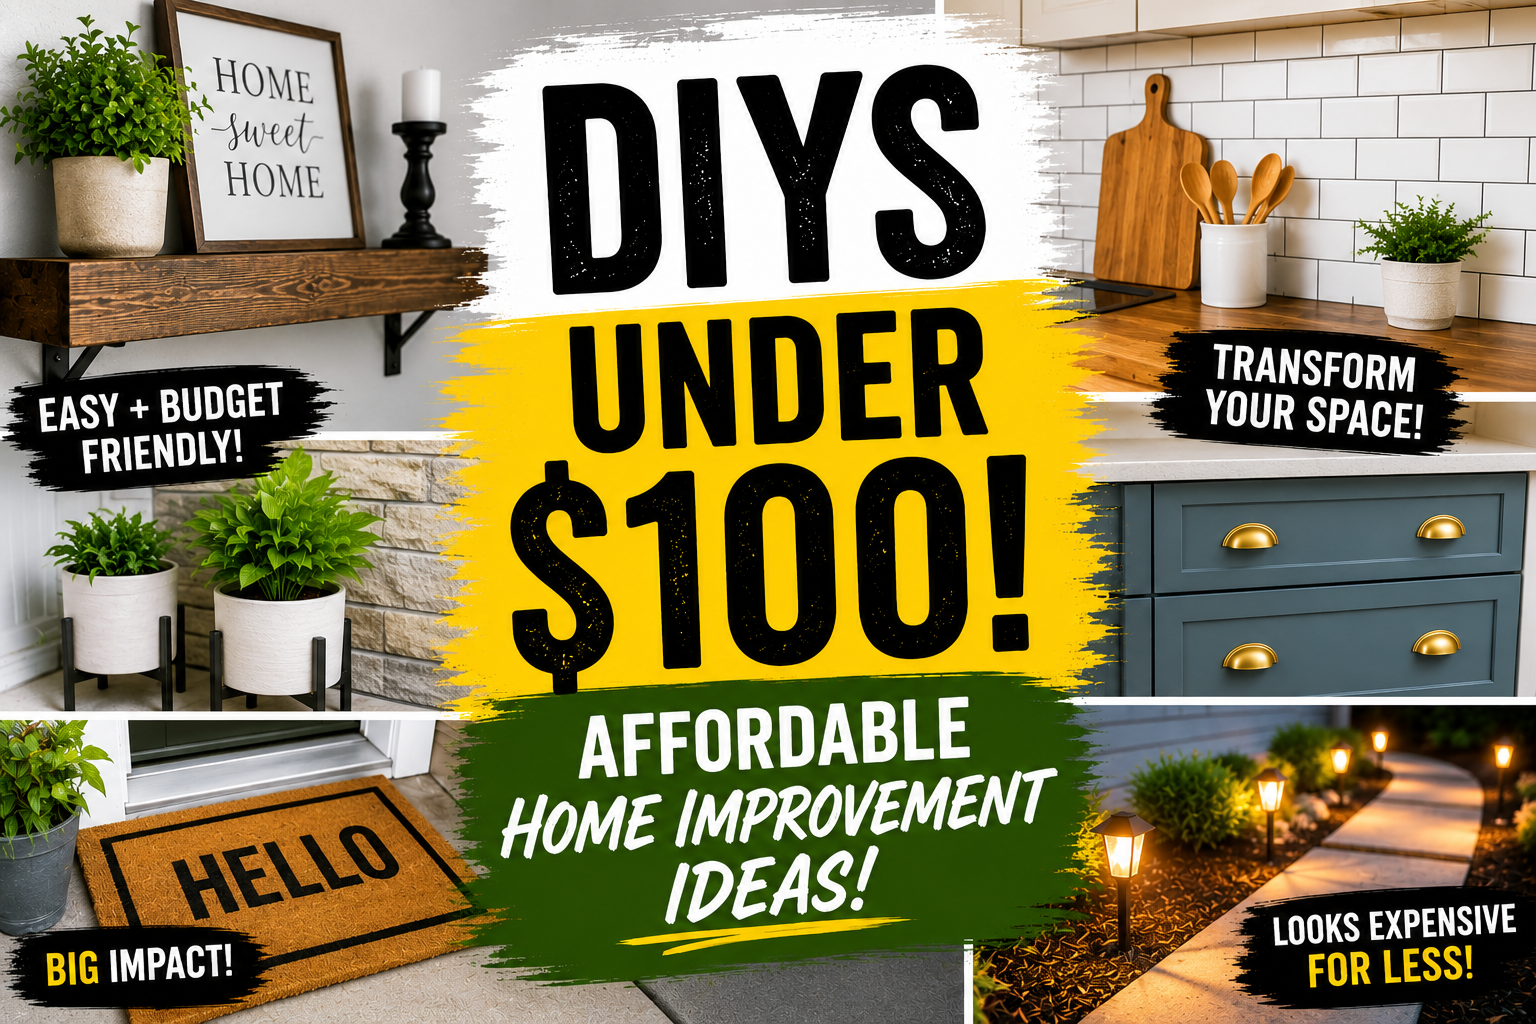
If you love getting the most bang for your buck, you’re going to want to bookmark this one. We’re sharing 10 of our favorite affordable home improvement projects under $100 — real projects we’ve done in our own home that look like they cost way more than they did. Because here’s the thing: cheap doesn’t have to mean low quality. With the right approach, a little creativity, and a willingness to roll up your sleeves, you can completely transform a space without draining your bank account.
We’ve done way more than 10 budget-friendly projects over the years, but these are the ones we keep coming back to when people ask for inspiration. Whether you’re a seasoned DIYer or just getting started, these projects are totally doable — and the results speak for themselves. Let’s get into it!
1. DIY Barn Doors
This is hands-down one of the most high-impact budget home improvement projects you can tackle. We built barn doors for our hallway, and they turned out absolutely stunning — the kind of thing guests comment on every single time they visit. Yes, there were a lot of hours involved, but as any DIYer knows, your time doesn’t count toward the budget!
The key to making a project like this manageable is having a system. Once we figured out our workflow, the process became much smoother. The materials themselves came in well under $100, which is remarkable when you consider what barn doors cost to buy pre-made or have professionally installed. We’re talking hundreds — sometimes thousands — of dollars saved.
If you’ve been eyeing barn doors for your home, don’t let the labor intimidate you. The visual payoff is enormous, and the cost savings make it one of the smartest DIY home upgrades you can do on a tight budget. Start with one door, get your system down, and go from there.
2. Thrifted Sideboard Makeover
This project is proof that treasure is hiding everywhere — including the dump. We found a solid wood sideboard for free and gave it a complete makeover by adding slats and some fresh paint. The result is one of our absolute favorite furniture pieces in the entire house. Even if you don’t score one for free, you can easily find something similar at a thrift store or on Facebook Marketplace for well under $100.
The trick here is learning to see past the surface. A beat-up piece of furniture made from solid wood is never actually garbage — it’s a blank canvas. Add the cost of some wood slats and paint, and you’re still coming in comfortably under budget while ending up with something that looks completely custom.
Don’t ever walk past a solid wood piece at a thrift store or yard sale without giving it a second look. With a little sanding, some new hardware, and a fresh finish, you can turn someone else’s castoff into a showpiece. It’s one of the most satisfying budget furniture flips you’ll ever do.
3. Built-In Desk and Floating Shelves
We built a whole desk space using scrap plywood, and it has become the most-used spot in our home — originally our workspace, now the kids’ main crafting area. Even if you have to buy all the plywood new, this project comes in well under $100. We also grabbed some small storage units from the IKEA as-is section for around $22 each, which gave the whole setup a polished, built-in look without the built-in price tag.
The real genius move here was using thin plywood sheets — the same technique we used on our shiplap wall — for both the desktop surface and the floating shelves above. It keeps material costs incredibly low while still giving you that clean, modern aesthetic. All you really need to buy is brackets and plywood. That’s it.
A dedicated workspace or homework station adds genuine function to your home, and building it yourself means you get exactly the size and configuration you need. This is one of those affordable home improvement projects under $100 that you’ll use every single day, making it one of the best returns on investment you can get.
4. Stenciled Accent Walls
If you want to add serious personality to a room without spending a fortune, a stenciled wall is your best friend. We’ve done stencil projects in the kids’ room and in our playhouse, and both turned out beautifully. For the playhouse, we created a rainbow wall using nothing more than dollar store sponges and some paint — incredibly affordable and so much fun for the kids.
You don’t need to buy expensive stencils either. You can make your own from cardstock or acetate sheets, or use painter’s tape for geometric designs. The key is working in sections and taking your time to line things up properly. A little patience goes a long way, and the finished result looks like something you’d see in a design magazine.
We’ve also used this technique for logos and custom designs — like a branded look for a kids’ space — using a combination of stencils and tape. The flexibility is what makes this one of the most fun and creative DIY wall ideas out there. A can of paint and some creativity is genuinely all you need.
Check out our article on Peel & Stick Makeover Ideas for more inspiration!
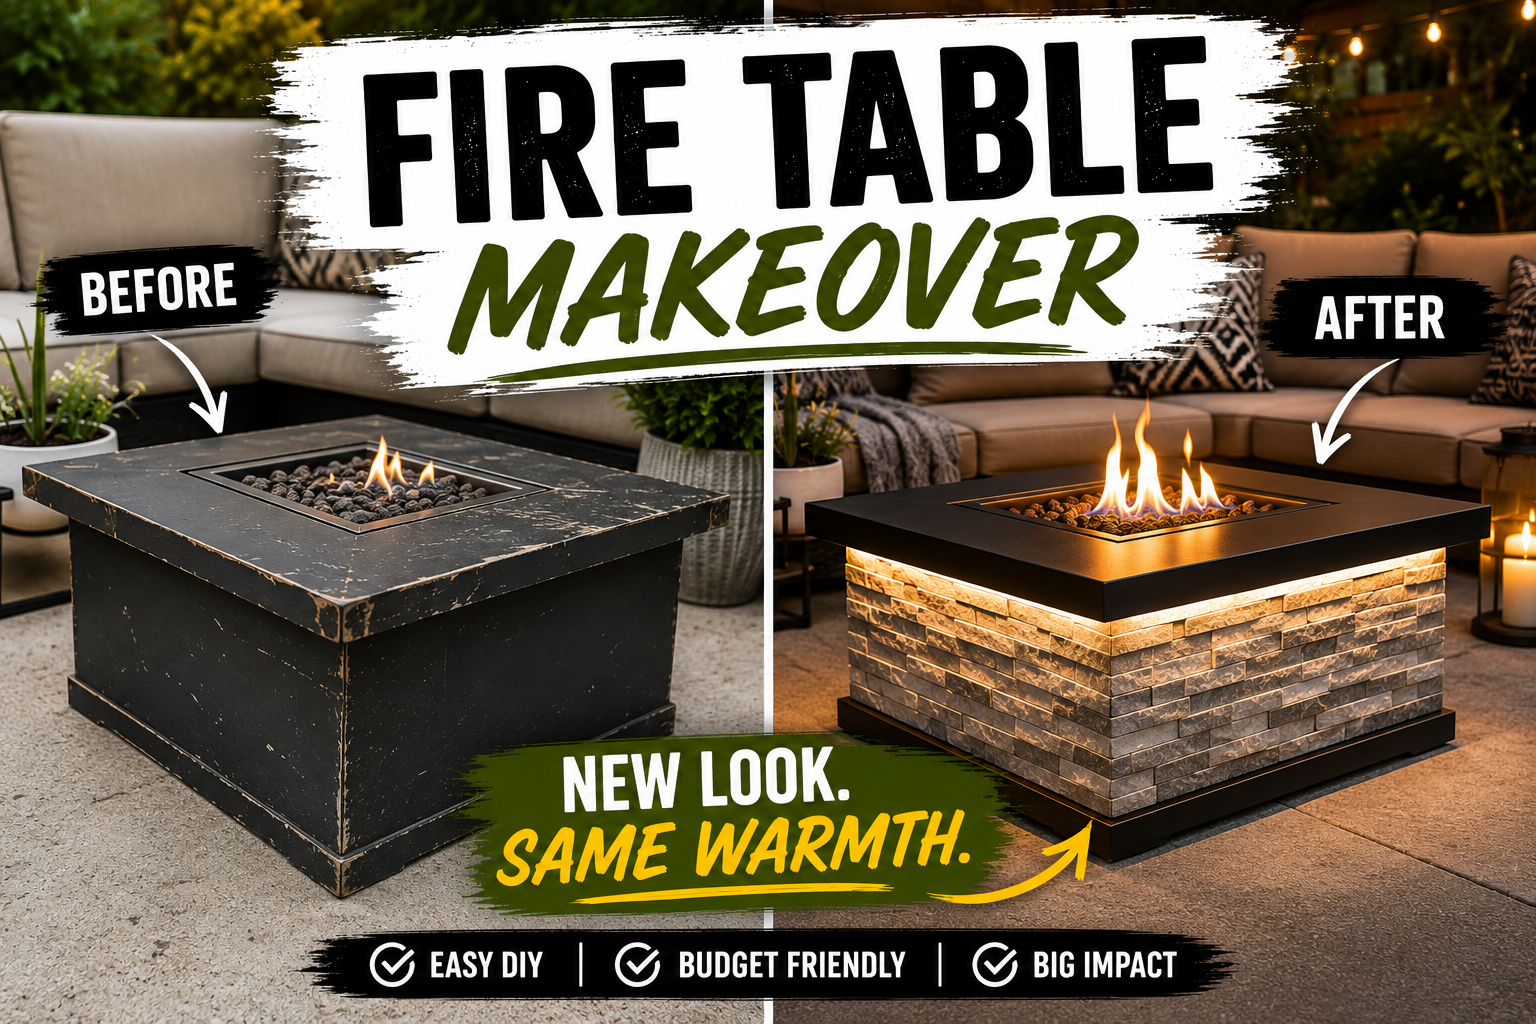
5. Fire Table Makeover
This project is a perfect example of seeing potential where others see junk. We found a fire table on Facebook Marketplace that had a huge chip out of the surface — most people would have passed right by it. But we spotted an opportunity. Using leftover tile, thinset, and grout from another project, we retiled the entire tabletop and ended up with a sleek, modern fire table that looks brand new.
The total cost came in under $100, and we’ve used that table every single summer since we made it. In fact, we like it more than anything we’ve seen in stores because we were able to customize the tile to match our outdoor style perfectly. That’s the hidden superpower of DIY — you’re not limited to what’s on the shelf.
Keep your eyes open on Marketplace, Kijiji, and at garage sales for pieces that are damaged but structurally sound. A broken surface, a missing leg, peeling veneer — these are all fixable problems that drive the price way down. One person’s trash really is another DIYer’s treasure, and furniture flipping for beginners doesn’t get much more rewarding than this.
6. Modern DIY Coffee Station
If there’s one project that gets more daily use and more compliments than anything else in our kitchen, it’s our DIY coffee station. And it could not be simpler to build. All you need are a few shelf brackets, some pine board, and a couple of long appliance-style handles. The handles are honestly the most expensive part of the whole thing, and the total still comes in well under $100.
We installed ours in front of a feature wall, which gives it extra visual punch, but this setup would look just as good against a plain white wall. Open shelving in a kitchen creates that airy, modern aesthetic that feels very intentional and design-forward — without the cost of a full kitchen renovation. Style it with your coffee maker, some mugs, and a few small plants or candles, and you’ve got yourself a focal point.
If you’ve been looking for a way to refresh your kitchen without gutting the whole thing, this is one of the best budget kitchen upgrades you can make. It adds storage, style, and function all at once — and every single morning when you reach for your coffee, you’ll feel good about building it yourself.
Tips and Best Practices for DIY Projects Under $100
The biggest mindset shift that makes budget DIY work is learning to see potential rather than problems. Before you write off a piece of furniture or a dated fixture, ask yourself: is this structurally sound? If the bones are good, almost anything can be transformed with paint, hardware, new surfaces, or creative additions. Scour thrift stores, Facebook Marketplace, garage sales, and yes — even the dump — for solid wood pieces worth rescuing.
Always check your stash before you shop. Leftover paint, extra tiles, scrap wood, and spare hardware from previous projects can make the difference between a $20 project and a $120 one. Keep a dedicated storage area for project leftovers and get in the habit of saving useful offcuts. You’ll be amazed how often something you almost threw away becomes exactly what you need for the next project.
Finally, develop a system before you start building or painting. Whether it’s laying out all your materials, dry-fitting pieces before you glue or nail, or doing a test patch of paint on the wall, a little planning upfront saves you a lot of frustration (and money) later. The best DIY home improvement tips aren’t about talent — they’re about preparation and patience.
Frequently Asked Questions
What are the best affordable home improvement projects under $100 for beginners?
If you’re just starting out, stenciled walls and open shelving projects are great entry points. They require minimal tools, the materials are inexpensive, and the results are genuinely impressive. A coffee station shelf, for example, only requires a drill, some brackets, and a piece of pine board — perfect for a first project. Furniture makeovers with paint and new hardware are another beginner-friendly win that costs very little but delivers a big visual transformation.
How do I find cheap furniture worth flipping?
Facebook Marketplace, Kijiji, Craigslist, thrift stores, garage sales, and your local dump or transfer station are all goldmines for flip-worthy furniture. Focus on solid wood pieces over particleboard — they hold up to sanding, painting, and modification much better. Don’t be discouraged by chips, scratches, or ugly finishes; those are surface-level problems. Look for sturdy joints, level surfaces, and intact structural elements. The uglier the better, honestly, because it drives the price down.
Can DIY barn doors really be built for under $100?
Yes, absolutely — especially if you’re willing to put in the labor yourself. The main costs are the wood (common pine boards work great), the barn door hardware track and rollers, and any paint or stain you choose. Shopping around for hardware deals online or waiting for sales at your local home improvement store can bring the total well within budget. The labor is significant, but for a DIYer, that’s half the fun — and the savings compared to hiring out are substantial.
What tools do I need to get started with budget home improvement projects?
Most of the projects listed here require only basic tools: a drill and drill bits, a miter saw or circular saw (or ask your hardware store to cut wood for you), a level, sandpaper, and paintbrushes. You don’t need to invest in a full workshop to get started. Many home improvement stores will cut lumber to size for free or a small fee, which eliminates the need for a saw entirely when you’re starting out. Build your tool collection gradually as your projects get more ambitious.
How do I make a DIY project look high-end on a budget?
The finishing details are everything. Taking extra time to sand surfaces smooth before painting, using a quality primer, applying two thin coats of paint instead of one thick one, and choosing hardware with a cohesive finish across a room will elevate any budget project dramatically. Consistency in your color palette and material choices also goes a long way — when everything feels intentional, the space looks curated rather than cobbled together. Don’t rush the finishing steps; that’s where the “expensive look” lives.
Budget-friendly DIY isn’t about cutting corners — it’s about being resourceful, creative, and willing to put in a little elbow grease. Every single project on this list is proof that you can make a real, lasting impact on your home without spending a fortune. So pick the one that excites you most and just get started. Your home (and your wallet) will thank you. Drop a comment below and let us know which project you’re planning to tackle first — we’d love to cheer you on!