If you’ve been dreaming of a backyard deck but dreading the idea of digging footers and mixing concrete, you’re in the right place. Building a picture frame floating deck with no concrete is absolutely doable as a DIY project — and the results look incredibly polished. The picture frame border detail gives your deck that custom, high-end finish that makes it look like a professional crew spent a week on it, even if it was just you and a weekend. In this guide, we’re walking through the entire process, from clearing the ground to nailing those satisfying miter corners.
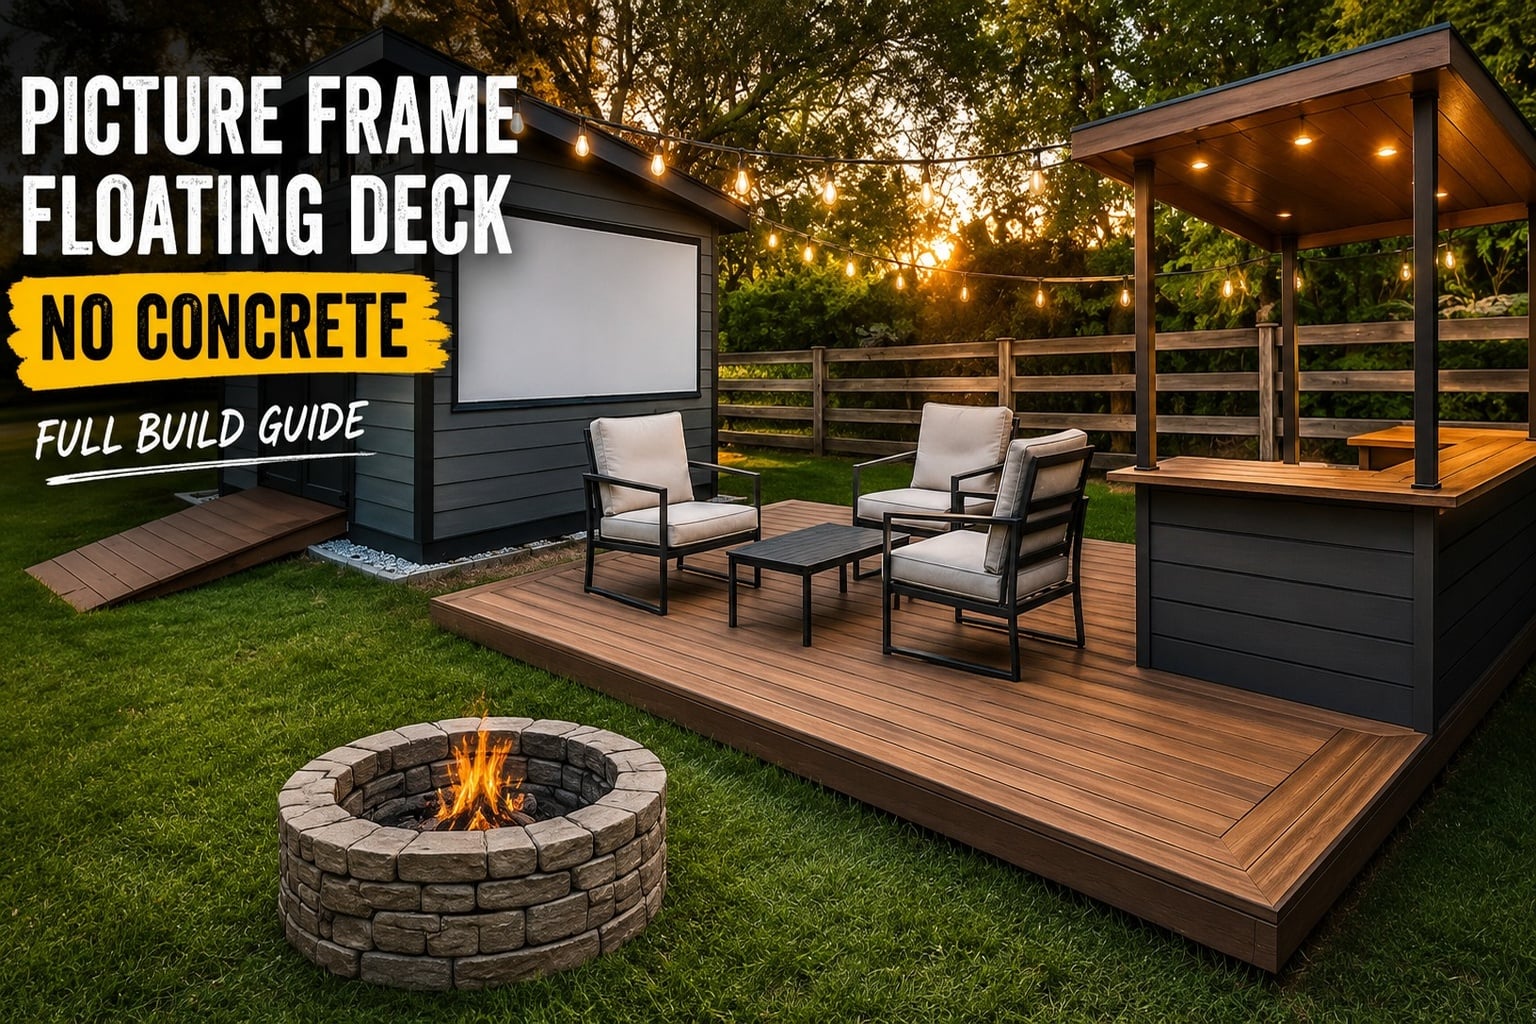
The vision for this particular build was big: a full bar deck with a fire pit, string lights, outdoor seating, and maybe even an outdoor movie theater setup down the road. But every great outdoor space starts with a solid foundation, and that foundation is the deck itself. At 12 feet wide by 10 feet deep, it mirrors the footprint of an existing shed on the property — a great way to keep your backyard layout feeling intentional and cohesive.
The best part? No concrete. No rented auger. No waiting for footings to cure. This build uses precast deck blocks (specifically Tough Blocks) set on compacted gravel, which means you can get started and make real progress in a single weekend. Let’s get into it.
Planning Your Floating Deck Layout
Before you touch a shovel, spend some time thinking through your layout. For this build, the deck needed to sit about 2 feet away from the shed wall to keep access clear to the electrical input and solar connection points. That kind of planning upfront saves you a serious headache later. Measure your space, mark your corners, and make sure you account for anything like utility access, drainage paths, or existing landscaping you want to work around.
Once you’ve got your layout marked out on the ground, trace the perimeter so you have a clear visual guide before you start digging. It doesn’t have to be perfectly precise at this stage — you’ll refine everything as you go. The goal right now is just to understand what you’re working with, including any slope or grade changes across the footprint. A little slope is totally manageable with a floating deck build, but you do need to know it’s there.
For a low-profile floating deck like this one, the target finished height was about 6 inches off the ground — just enough for a comfortable step right off the grass. That informs how deep you’ll need to dig and what your material stack will look like: gravel base, deck block, beam, and decking boards on top.
Clearing the Ground and Removing Grass
You’ll want to remove all the grass and organic material within your deck’s footprint before you do anything else. Grass left under a deck will keep trying to grow, and over time it can create moisture issues and an uneven surface. Trace your outline with a spade, then start pulling up sod. Save a few of those grass pieces off to the side — you may want them to patch the edges around the deck once everything is finished.
If you have access to a tractor or a small loader, use it. There’s no shame in working smarter, and moving dirt by machine instead of by hand is one of those quality-of-life upgrades that makes a big project feel way more manageable. Fine leveling is still best done by hand with a hard rake, but getting the bulk of the material moved quickly keeps your momentum up.
Once the grass is out, use a string line and bubble level to check how level your area is. You don’t need perfection here — within about an inch is fine. You’ll be making all the fine adjustments later when you set your deck blocks and beams. Getting roughly level at this stage just makes every subsequent step easier.
Digging Trenches and Setting the Gravel Base
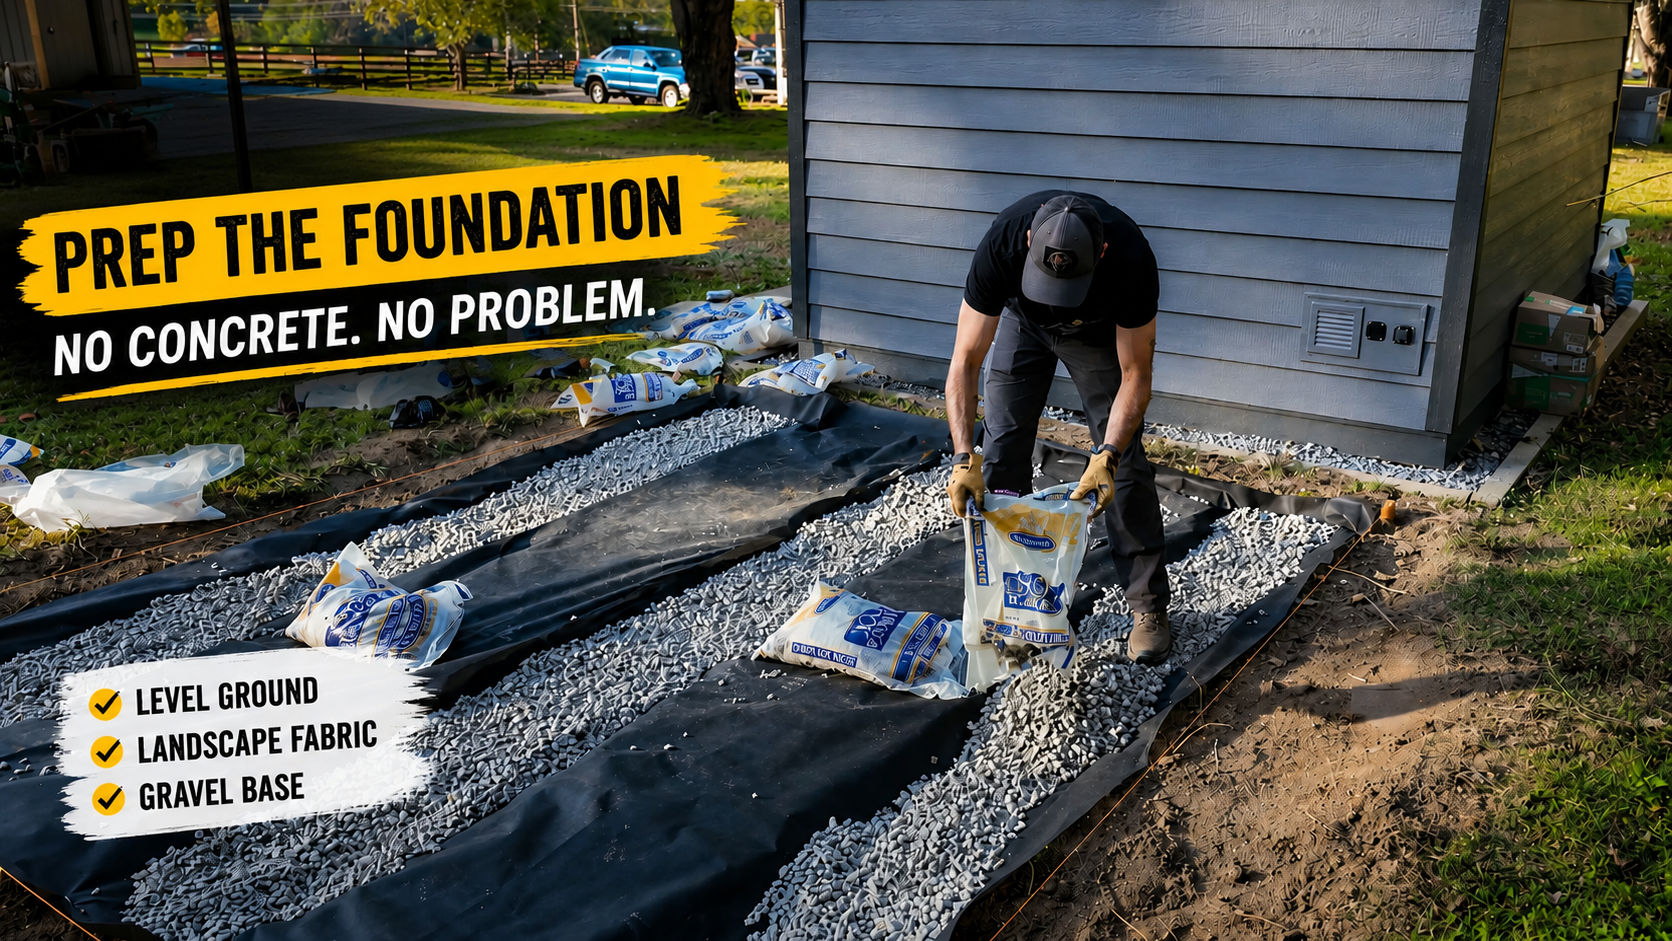
For this floating deck build, three trenches are dug across the width of the deck to hold the rows of Tough Blocks. These trenches only need to be about 2 to 3 inches deep — just enough to seat the blocks below grade so the finished deck sits at that target 6-inch height. Resist the urge to overdig. If you go too deep, you’ll just end up filling it back in with extra gravel, which is wasted material and extra work.
One key spacing rule to keep in mind: no more than 5 feet between supports. For a 10-foot-deep deck, three rows of blocks — one at each end and one in the middle — hits that mark perfectly. Spacing your support rows correctly is what keeps your decking from bouncing or flexing underfoot, so don’t skip this step or try to stretch your spacing to use fewer blocks.
Once your trenches are dug, tamp down the soil firmly to create a solid, compacted base. Then lay down weed barrier fabric before adding your gravel. The weed fabric is a small investment that pays off big over time — it keeps weeds from pushing up through your gravel and eventually into your deck structure. Add your gravel, level it out, and you’re ready to start setting blocks.
Setting Deck Blocks and Building the Frame
Tough Blocks (and similar precast deck block products) are a game-changer for floating deck builds. They’re only about 2 inches tall, they sit directly on compacted ground, and they have built-in slots to accept dimensional lumber — no fasteners required at the base. For this build, 2x4s are used as the base beams sitting in the blocks, keeping the overall height nice and low.
Set your outer blocks first, then work inward. Use a long level and your string lines constantly as you place each block — this is where you’re doing the fine-tuning that you roughed in during the ground prep stage. A block that’s slightly high or low here will telegraph all the way up through your framing and decking, so take your time. Shim with a little extra gravel or tamp down as needed until each block is sitting level and stable.
Once your blocks are set and your beams are in place, you can start building out the deck frame with your rim joists and interior joists. Keep your joist spacing consistent — 16 inches on center is standard for most decking materials. A square, level frame is the foundation of a great-looking finished deck, especially when you’re adding a picture frame border that will highlight any imperfections in your layout.
Adding the Picture Frame Detail
The picture frame border is what takes a basic floating deck and makes it look truly custom. The idea is simple: instead of running all your decking boards in the same direction, you add a border of boards around the perimeter that run parallel to the edge of the deck, framing the field of boards inside like a picture. The result is a clean, intentional look that adds a ton of visual interest.
The trickiest part of a picture frame deck is the miter corners. Each corner of the border needs to be cut at 45 degrees so the pieces meet cleanly. The key to perfect miters is a well-tuned miter saw and taking test cuts before you commit to your good lumber. Even a degree or two off will leave a visible gap at the corner, so don’t rush this step. Mark your pieces carefully and dry-fit each corner before fastening.
For spacing, you want consistent gaps between your border boards and the field boards inside. Using a set of composite deck spacers (or even a few uniform offcuts as temporary spacers) will keep everything even as you work your way across the deck. Take your time here — the picture frame detail is the first thing people notice, and getting it right is deeply satisfying.
**Don’t forget to upgrade your outdoor lighting! We show you how right here.
Tips and Best Practices
A few things that will make this whole project go more smoothly: First, always save some sod from your excavation. When you’re done, there will likely be bare soil around the edges of the deck, and having matching grass pieces to patch those spots in keeps your yard looking tidy right away. Second, keep your trench digging shallow and deliberate — overdigging is one of the most common mistakes on floating deck builds, and it just creates more work.
When it comes to the picture frame detail specifically, do a full dry layout before you start fastening. Lay out your border boards and your field boards without screwing anything down and see how everything fits together. This lets you catch spacing issues, adjust your miter cuts, and make sure your board layout works out evenly without awkward narrow rips at one edge.
Finally, don’t underestimate your weed control. Weed fabric under the gravel, and a solid gravel base, will keep your deck looking great for years. Weeds pushing up through a deck are annoying to deal with after the fact, and a little prevention at the start saves a lot of frustration later.
Frequently Asked Questions
Do I really need to remove the grass before building a floating deck?
Yes, and it’s worth doing properly. Grass and organic material left under a deck will decompose over time, which can cause your ground to settle unevenly and lead to a wobbly deck. It also holds moisture against your framing. Remove the sod, lay weed fabric, and add a gravel base — your future self will thank you.
How many deck blocks do I need for a floating deck?
It depends on the size of your deck and your joist span, but the rule of thumb is to keep supports no more than 5 feet apart. For a 10-foot-deep deck like this one, that means three rows of blocks. Calculate how many blocks you need per row based on your deck width and beam spacing, then add a few extra just in case.
What’s the best way to get perfect miter corners on a picture frame deck?
Start with a well-calibrated miter saw and make test cuts in scrap wood before touching your good decking material. Cut both pieces of each corner, hold them together, and check the fit before committing. Dry-fit every corner before fastening. A quality square and good lighting help a lot too. Taking an extra 20 minutes on your miter cuts is always worth it.
Can I build a picture frame floating deck on sloped ground?
Yes! That’s actually one of the advantages of a floating deck with adjustable deck blocks. You level each block individually, so moderate slope is totally manageable. The key is doing careful ground prep to get your area roughly level before you set your blocks, then fine-tuning each block’s height as you go. Steep slopes may require a different foundation approach, but gentle grade changes are no problem.
How high off the ground should a floating deck be?
For a low-profile floating deck, 6 inches is a sweet spot — it’s a comfortable step up from the ground, it keeps the deck feeling grounded and integrated with the yard, and it’s achievable with standard deck blocks and dimensional lumber without needing to add extra height. If you want to step directly off a door threshold, measure your door height and work backward from there.
Building a picture frame floating deck with no concrete is one of the most rewarding weekend projects you can tackle. You end up with a beautiful, functional outdoor space and the deep satisfaction of knowing you built it yourself. Whether you’re planning a simple lounging spot or (like this build) the first phase of a full backyard bar and entertainment setup, getting the deck right is the foundation for everything that comes next. Now get out there and start digging — or better yet, fire up the tractor.