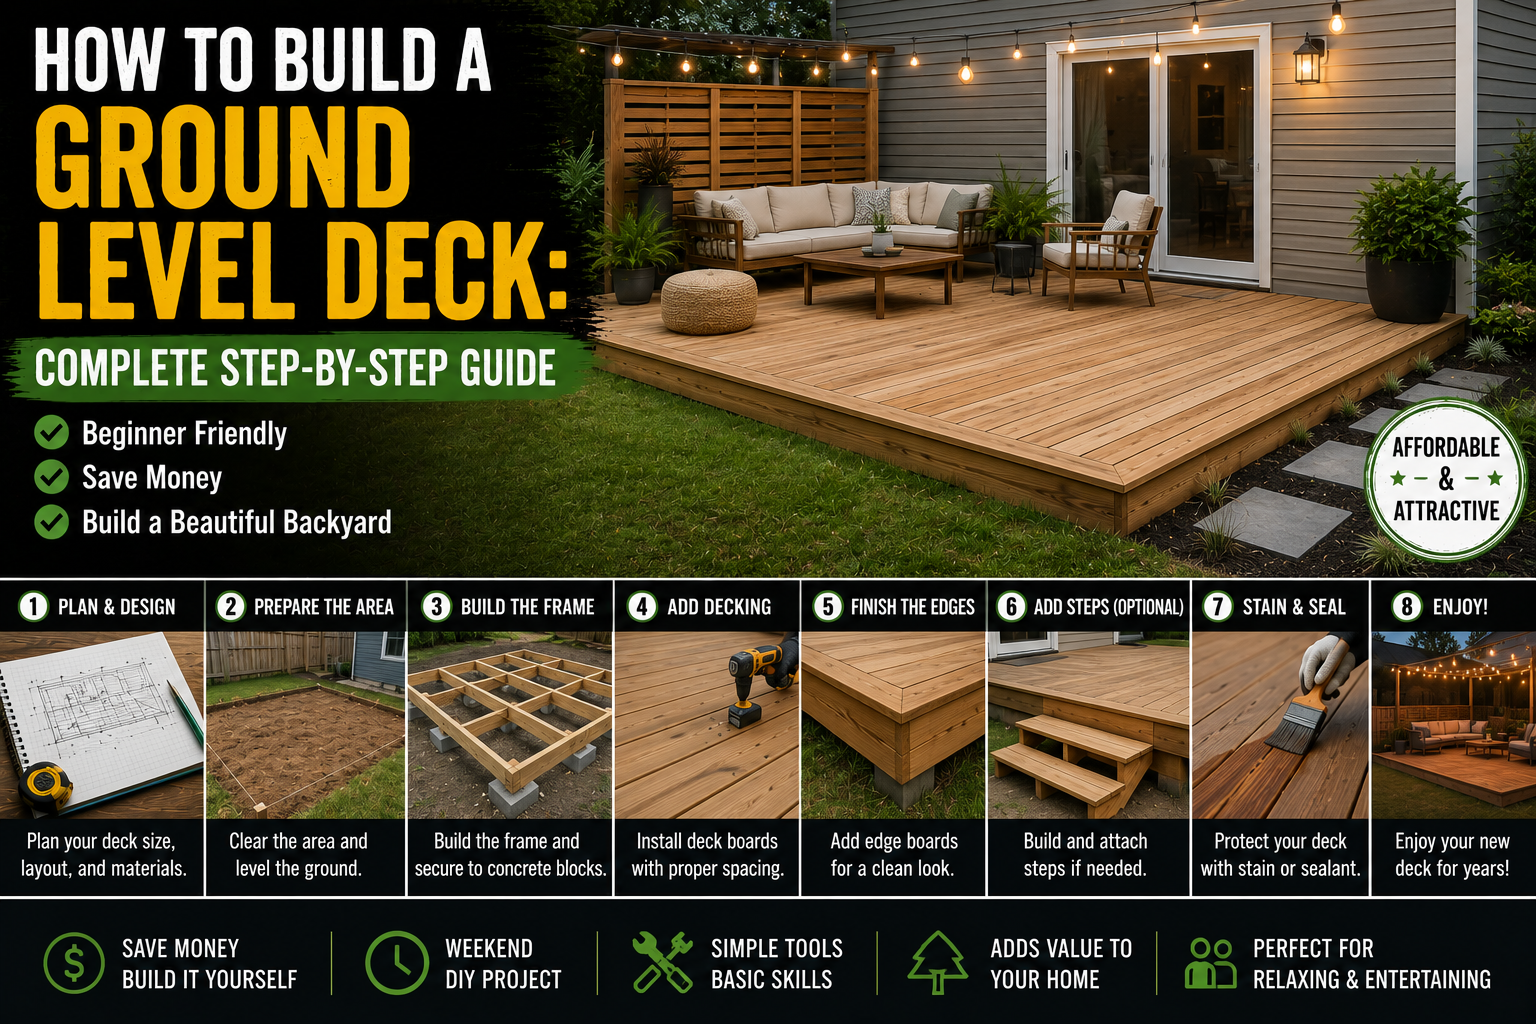
If you’ve been thinking about adding a ground level deck to your backyard, this guide is exactly what you need. I’ve put together a complete walkthrough of how to build a 12×12 floating deck that’s strong, clean-looking, and built to last — without the hassle of concrete piers or pulling permits. This is one of those projects that looks intimidating at first but once you break it down step by step, it’s completely doable on a weekend or two.
What makes this ground level deck building guide different is that I’m not just telling you how to slap some boards together. I’m showing you how to think about load transfer, framing integrity, drainage, weed control, and finishing details — all the things that separate a deck that rots in five years from one that lasts half a century. Whether you’re building a standalone platform or integrating it with a shed or structure, the same principles apply.
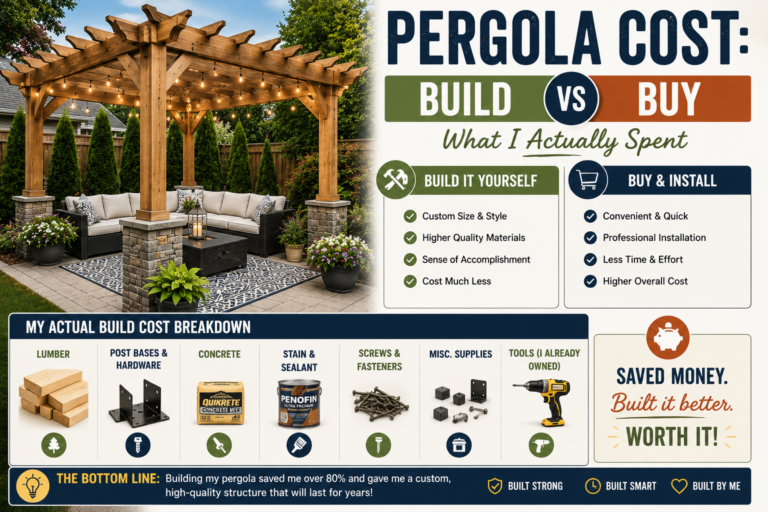
If you enjoy budget-friendly outdoor builds, you’ll also want to check out my guide on DIY backyard patio and fireplace builds that save thousands — a great companion project to a ground level deck. Let’s get into it.
Understanding the Floating Deck Concept (and Why It Matters)
The first decision you’ll make with any ground level deck is how to handle the foundation, and for most homeowners in four-season climates, a floating deck on deck blocks is the smart move. When frost hits, the ground heaves — and if your deck is anchored to concrete piers, you’ll get uneven lifting that damages the structure. With a floating deck, everything rises and settles together, so you don’t end up with a twisted, cracked frame come spring.
There’s a practical bonus too: in most areas of the US, a floating deck that stays under two feet off the ground doesn’t require a building permit. That means no inspections, no waiting, no fees. You sketch it out, order your materials, and start building. Just confirm your local code before you start — but for the vast majority of residential projects, this holds true. I always treat it as “no permit required doesn’t mean build it sloppy” — I build it like it’s ten feet off the ground, because that mindset is what makes it last.
Planning Your Layout and Identifying Block Locations
Before you dig a single hole, you need to know where your joists are going, because that determines where your blocks go. Here’s the rule: if you’re using wood decking, space your joists 16 inches on center. If you’re using composite decking like Trex, go 12 inches on center — don’t cheat on that spacing or your boards will flex. Once you know your joist layout, position your blocks so they’re not interfering with joist placement. You want your 4×4 post clear of the joist activity, not fighting it.
For a 12×12 deck, I recommend temporarily screwing your corner boards together, setting the frame on four blocks, and using that rough layout to confirm your block positions before you dig anything final. This saves you from digging holes in the wrong spots — a mistake that costs you a lot of unnecessary work.
Digging and Preparing Your Block Holes
Once your layout is confirmed, use a square-edged shovel to score the grass around each block location. This lets you cut a clean, tight hole instead of a wide, messy excavation. You don’t need a huge opening — just enough room for the block and a couple inches of base material. Dig each hole slightly deeper than the block height so you have room to add a leveling base.
For the base material, I use limestone screenings or stone dust — not large gravel. Fine screenings compact well, drain well, and let you make small leveling adjustments easily. Dump a layer in, flatten it out, set the block, and check your level. The goal is to get the top of the block flush with or just at ground level so your finished deck sits close to grade.
Squaring the Frame — the Right Way
This step trips up a lot of first-time deck builders, and it’s critical. You can’t just put a carpenter’s square on the corners and call it done — warped lumber will throw that off completely. The correct method is to measure diagonally corner to corner in both directions. When those two diagonal measurements match, your frame is square. Period.
Don’t rush this step. I’ve moved blocks multiple times on a single build to get the numbers to match up. You also need to think about what your deck is parallel to — if you have a patio edge, a fence line, or a garden bed running alongside the deck, you want your frame parallel to that reference line, not just technically square in isolation. Both things have to be true: square diagonally AND parallel to your reference. Once you nail that, mark the block positions, remove the frame, and get ready to finalize.
Using a Post and Floating Foundation System
For this build, the foundation system uses 4×4 posts cut into short sections, set through the center of the deck block, with the 2×8 rim boards mounting to the sides. This keeps the wood up off the ground and allows the block to do its job as a base without the post sitting in soil or moisture. It’s a cleaner, more durable setup than just resting boards directly on blocks.
The blocks for the interior support are positioned to carry the load at key joist spans. In basic construction, a 2×8 over a 12-foot span is the minimum you want to use — it was considered a budget option back in the 70s and you’ll notice bounce in floors and decks built with it, but for a ground level application where there’s nowhere to fall, it’s acceptable. What’s not acceptable is dropping down to a 2×6 to save a few bucks. Build it right or don’t build it.
Leveling the Frame Across All Four Corners
Once your blocks are positioned and your frame is square, the next job is getting all four corners level with each other. Start by identifying the highest corner — that one sets your baseline. Everything else gets shimmed or adjusted to match it. For small adjustments, you can remove or add screenings under the block. For larger discrepancies, you may need to move soil or recut your posts.
One thing I really appreciate about a floating deck is that leveling doesn’t have to be perfect on day one. Even after the deck is fully built, you can come back, slip a pry bar under the frame from the outside, lift slightly, and slide a shim under the block. That flexibility to re-level over time is something you completely lose with a poured concrete pier system. Work with your property, not against it — if the ground has a slight slope, address it now before framing.
Tip #1: Seal Every Cut End Before Assembly
Here’s one of the most important tips I can give you for deck longevity: never leave exposed, untreated wood ends in your frame. Every time you cut a pressure-treated board, that fresh cut exposes raw wood that isn’t protected. Moisture gets in, rot starts, and years later you’ve got a soft frame.
The fix is simple: grab a product called Cut and Seal. It’s a bucket of end-grain sealer — you literally dunk the cut end of the board in it, pull it out, and you’re done. It’s faster than painting it on and gives full coverage. Make this part of your workflow: cut a board, dunk the end, move on. Do this for every single cut during your build and you’ll dramatically extend the life of your deck frame.
Laying Out Joist Spacing with a Red-Square Tape Measure
Once your frame is square and level, it’s time to mark your joist locations. Get yourself a tape measure that has red squares marked at every 16-inch interval — these are designed specifically for framing layout. Pull the tape along your rim board and mark every red square location. That’s where the edge of each joist lands, and the “X” you mark next to it indicates which side the joist goes on.
If your block positions don’t line up perfectly with standard 16-inch spacing, don’t panic — you can go slightly less than 16 inches on a couple of bays. If you’re using a hidden fastener system (more on that in a moment), no one will ever see that your spacing is slightly irregular. The surface boards won’t reveal it. Just don’t go over 16 inches with wood decking or 12 inches with composite.
Installing Joist Hangers Correctly
Joist hangers are what connect each interior joist to the rim board, and installing them correctly matters. The process: hold a scrap piece of joist material in the hanger, line up the front edge of the hanger with your layout mark, then drive your first structural screw to tack it in place. Use a block of wood as a reference for the top edge — some boards have notches or irregular edges from the mill, and you want every joist top to be flush, not randomly high or low.
Once all your joist hangers are tacked, drop your joists in and begin final fastening. Here’s where most people do it wrong: the code-minimum approach is to fill every hole in the hanger with structural nails or screws. But a smarter approach for a long-lived deck is to also run a TimberLok screw — a 4-inch structural screw — all the way through the hanger flange and deep into the joist. This adds lateral strength, locks everything tight, and prevents the frame from bowing out over decades. For 50 cents a screw, it’s a no-brainer upgrade.
Adding Landscaping Fabric for Weed Control
Before the joists go in permanently, lay down landscaping fabric across the entire ground area under the deck. Nothing is worse than a ground level deck that sprouts weeds up through the boards. Grass and weeds will find their way up through any gap, and once a deck is built, there’s basically nothing you can do about it.
Landscaping fabric typically comes in 3-foot-wide rolls, so you’ll need to make overlapping passes across the full footprint. Aim to extend it about a foot past the perimeter in each direction so it tucks under the frame. It doesn’t have to be perfectly installed — you just want full coverage of the soil under the deck. This one step adds maybe 20 minutes to your build time and saves years of frustration.
Doubling the Rim Joists for Structural Strength
For a deck that truly carries load without flex, I double up the rim joists on the long sides of the frame. This means laminating two 2×4 or 2×8 boards together with construction adhesive and structural fasteners, turning them into a beam. This doubled rim then acts as a ridge that can carry the point loads from your posts and distribute them evenly.
This technique is borrowed directly from home construction — in a house, your floor beams sit on doubled or tripled headers that transfer load to posts and footings. The same logic applies here. When combined with a 24-inch allowable overhang from the support structure, this gives you a rock-solid frame that won’t develop bounce or sag over time. Build it like it’s 10 feet off the ground, even when it’s not.
Setting Back Blocks for a Clean Visual Finish
One detail that separates a professional-looking deck from an amateur one is where you place your corner blocks. Basic construction allows up to a 24-inch overhang from a support point. Use this to your advantage: instead of putting the block right at the corner where it’ll always be visible from outside, set it back 18 to 24 inches and let the rim beam cantilever out to the corner.
This keeps the block hidden under the deck, gives you a clean uninterrupted edge around the perimeter, and makes the whole thing look intentional and finished. Combined with a cedar fascia board capping the ends of all your joists, the exterior face of the deck will just look like one continuous plank — clean, sharp, and well-built.
Trimming Joists and Capping with Cedar for a Finished Look
Here’s a finishing trick that makes a huge visual difference: cut all your interior joists about 3 inches short of the rim, then after everything is assembled, use a reciprocating saw to trim all the ends perfectly flush at once. Then cap the entire perimeter with a full-length cedar board that spans over the doubled rim and covers all the cut ends.
From the outside, all you see is one clean cedar plank running the full length of the deck. You don’t see joist ends, screw heads, or the blocking. It looks like a finished piece of furniture, not a construction project. I always plan for this from the beginning — strength first, but appearance matters too. These two goals aren’t in conflict if you plan ahead.
Using Hidden Fasteners for a Cleaner Deck Surface
For the decking boards themselves, I highly recommend using a hidden fastener system like the Camo system rather than face-screwing through the top of each board. Hidden fasteners clip into the edge of each board and fasten to the joist below, which means zero visible screws on your deck surface. The finished look is dramatically cleaner.
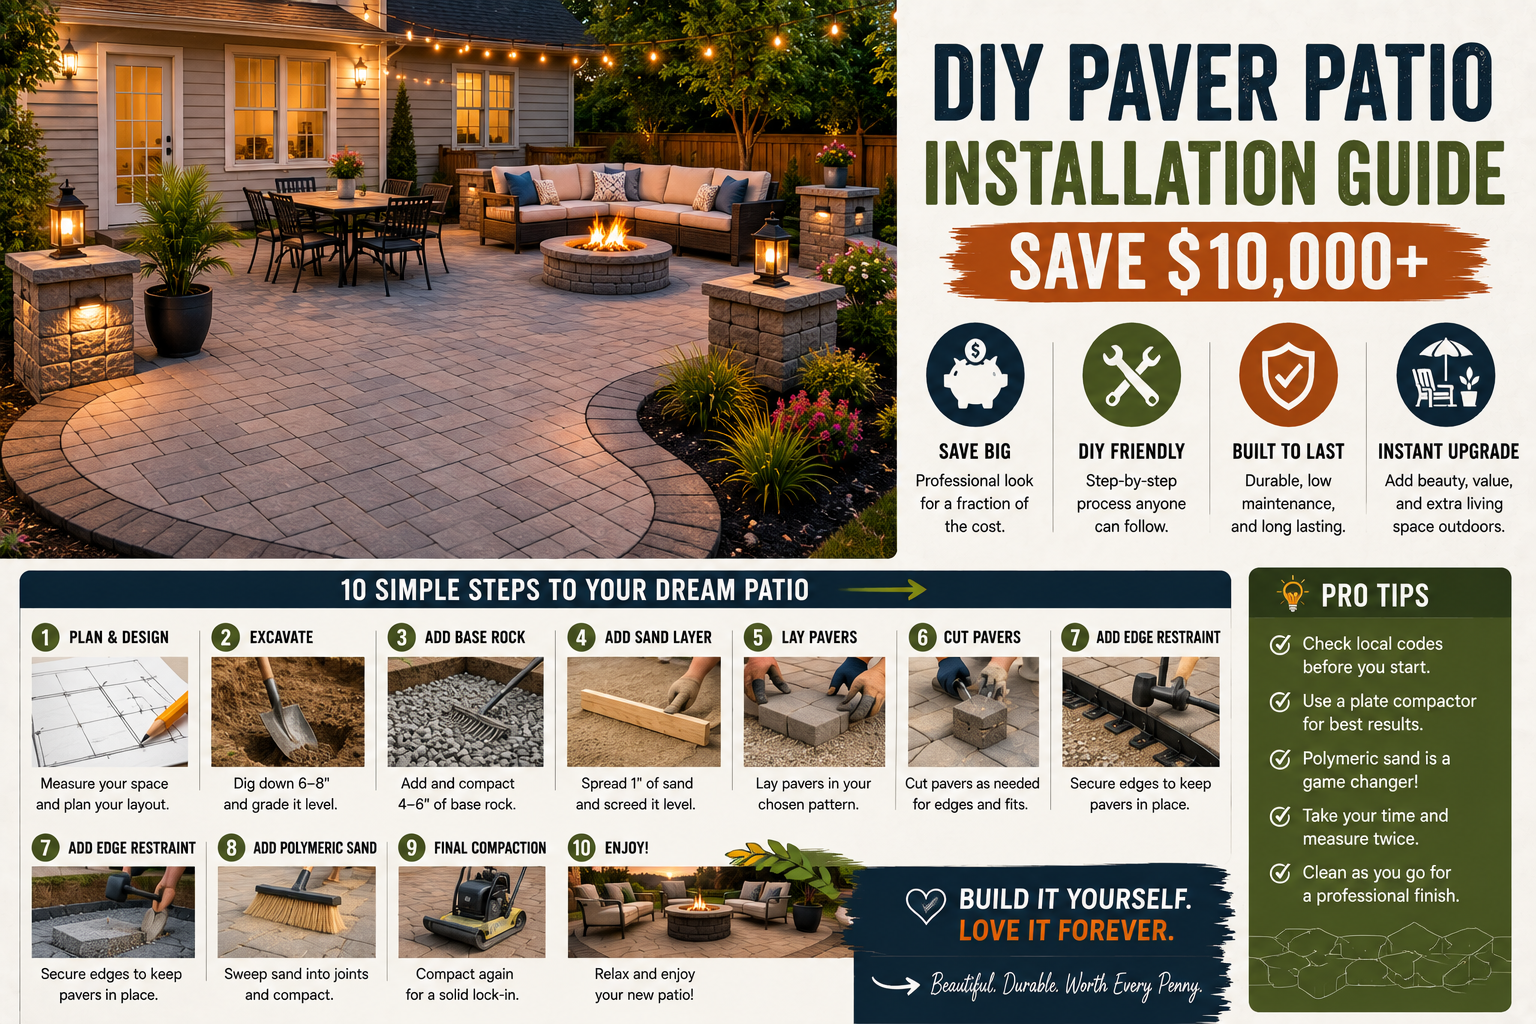
There’s a structural benefit too: if your joist spacing ends up slightly irregular in a couple of spots, hidden fasteners mean the surface won’t reveal that. The boards lay flat and clean regardless of what’s happening in the framing below. This is one of those small upgrades — a few extra dollars in fasteners — that pays off in a deck you’re actually proud to show off. For related outdoor builds, check out my DIY paver patio installation guide that saves $10,000+.
Tips and Best Practices for a Long-Lasting Ground Level Deck
Here’s a quick summary of the principles that separate a deck that lasts 50 years from one that needs replacing in 10:
Always seal cut ends with a product like Cut and Seal — never leave raw end grain exposed to moisture. Use 2×8 minimum for your framing — 2×6 is too flexible and not worth the minor cost savings. Double your rim joists with adhesive and structural screws to create a true load-bearing beam. Space joists at 16 inches on center for wood decking and 12 inches for composite — don’t deviate. Use TimberLok screws in addition to joist hanger fasteners for true lateral strength. Lay landscaping fabric before closing up the deck frame to prevent weed growth. Set blocks back from corners to take advantage of the 24-inch overhang allowance and keep the perimeter clean. Measure diagonally to confirm square — don’t rely on corner angles alone. And finally, always think about the finish from the beginning. A strong deck that looks rough isn’t a finished project — plan for cedar fascia, hidden fasteners, and clean trim from day one.
Frequently Asked Questions
Do I need a permit to build a ground level deck?
In most US jurisdictions, a floating deck that stays under two feet off the ground does not require a building permit. However, rules vary by municipality, so always check with your local building department before starting. The floating-on-blocks method also avoids the pier requirements that typically trigger permit obligations.
What size lumber should I use for a 12×12 deck frame?
Use 2×8 as your minimum for the rim boards and joists on a 12-foot span. Two-by-sixes are too flexible and will develop bounce over time. Double up your rim joists on the long sides using construction adhesive and structural screws to create a proper load-bearing beam at the perimeter.
How do I keep weeds from growing through my ground level deck?
Lay landscaping fabric across the entire ground area under the deck before closing up the frame. Overlap each pass by several inches and extend it about a foot past the perimeter. This is a simple step that takes less than 30 minutes and prevents years of weed problems.
How do I level a floating deck after it’s already built?
One of the best features of a floating deck is that you can re-level it at any time. From outside the deck, slide a pry bar under the frame, lift slightly, and slip a shim under the deck block. Lower it back down and check your level. You can do this years after the build without dismantling anything — something you can’t do with a concrete pier system.
Final Thoughts
Building a ground level deck is one of the most rewarding outdoor DIY projects you can take on as a homeowner. It’s a manageable scope, the materials are straightforward, and the result adds real usable space and value to your property. The key is not cutting corners on framing, sealing your cut ends, and thinking about the finished appearance from day one.
If you found this ground level deck building guide helpful, I’d love to hear how your build turns out — drop a comment below with questions or progress photos. And if you’re looking for your next outdoor project, check out my guide on building a picture frame floating deck with no concrete needed for another variation on this approach. Now get out there and start building.