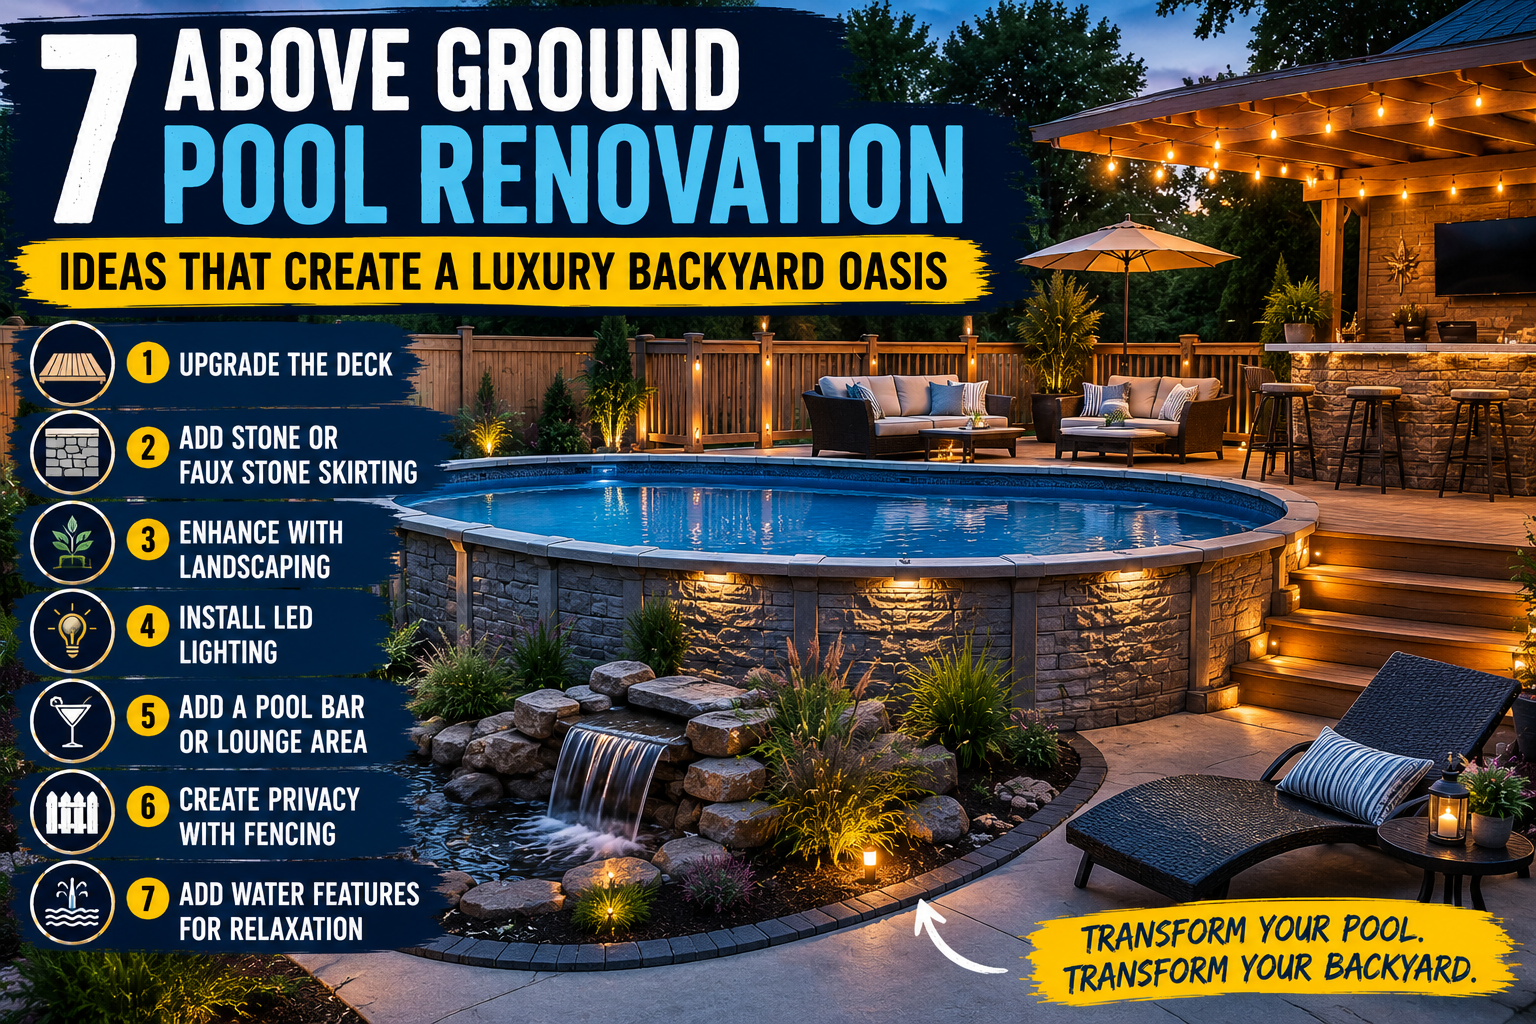
If you’ve ever driven past a neighbor’s gorgeous inground pool and thought, “there’s no way I can afford that,” I’ve got great news for you. I recently took a beat-up, rusty above ground pool I scored on Facebook Marketplace for $500 and turned it into something that genuinely looks like a luxury resort setup — complete with a massive deck, a pergola, a kitchen bar, and custom railings. The whole project took nearly four months and a whole lot of elbow grease, but the results were absolutely worth it.
The thing most people don’t realize is that above ground pools don’t have to look cheap. With the right renovation ideas layered on top of each other — grading, decking, structure, lighting, finishing details — you can create something that rivals pools costing ten times as much. In this post, I’m walking you through every stage of the build, from leveling a hillside to adding countertops, so you can steal these ideas for your own backyard project.
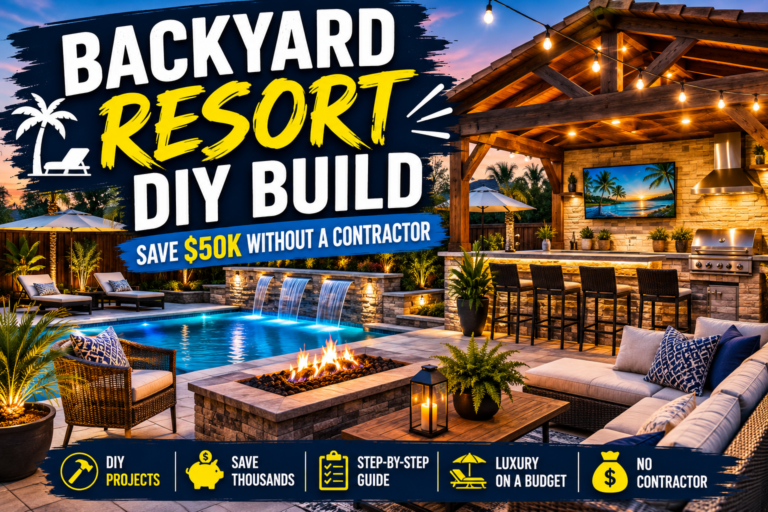
Whether you’re starting with a used pool like I did or already have one sitting in your yard looking sad, these above ground pool renovation ideas will give you a clear roadmap from bare bones to beautiful. If you love big outdoor DIY builds, you’ll also want to check out my guide on Backyard Resort DIY Build: Save $50K Without a Contractor — a lot of the same principles apply.
1. Grade and Level the Site — Even on a Slope
The first and most important step in any above ground pool renovation is getting your site level. I had a significant hill in my backyard, and rather than giving up on the location, I used an excavator to cut into the hillside and create a flat pad large enough to hold the pool. The key here is removing dirt from the high spots and filling in the low spots — particularly in corners where the ground tends to dip off.
Once you have your rough flat area, don’t assume it’s ready. Loose fill dirt will shift and settle over time, especially when you’re talking about 15,000 gallons of water sitting on top of it. I built a perfectly level rectangular frame out of lumber, filled it with gravel, scraped it flat with a long board, and tamped every square inch — twice. Getting this step right is what prevents the pool walls from buckling later. I also covered the surrounding hillside with rocks ($150 per dump truck load) and old logs and tree stumps to stabilize the slopes against erosion from rain runoff.
2. Source a Used Pool and Inspect the Legs Carefully
I found my pool on Facebook Marketplace for $500 — normally these go for around $2,000 new, so that was a solid deal. The pump worked and there were no liner leaks, which are the two things you absolutely have to verify before buying. The catch was that I had to disassemble it and haul it myself, which is a workout, but worth the $1,500 in savings.
Here’s the lesson I learned the hard way: inspect every single leg before you fill the pool. My pool turned out to be an old saltwater pool, and underneath the paint, several legs were heavily corroded with rust. When the pool filled up, those corroded legs couldn’t handle the weight and folded completely. I had to quickly drain everything, source replacement legs from another pool on Facebook Marketplace, and reinstall them — this time adding an extra support block under each leg. Every leg on my pool now has four 2×4 blocks underneath instead of three, which made a huge difference in stability. Don’t skip this step.
3. Build a Massive Wraparound Deck
Once the pool was solid and filled, the biggest visual transformation came from building a large wraparound deck. My deck ended up being nearly 60 feet long — and building it at that scale is what makes the whole thing look like an inground pool from a distance. The deck frame used 140 sixteen-foot 2×6 boards for framing lumber, and I sourced those used on Facebook for $950 instead of paying $2,500 at Lowe’s. That one decision alone saved me $1,550.
For the posts, I used landscaping timbers instead of standard 4x4s — 30 of them at $150 total versus $360 for regular posts. I drilled holes, set each post, and secured them either by pounding with a sledgehammer or pressing them in with the excavator, then concreted them in place. On the high side of the hill, I needed 16-foot 4x4s because the fill dirt required me to dig down to solid native ground before setting each post. The joists ran the full length, and I cut 16-foot boards in half to fill them in efficiently. Once all the framing was done, I added 180 sixteen-foot decking boards on top — another $2,500 investment that completely transformed how the pool looked.
4. Add a Pergola Structure to Create an Outdoor Living Room
This is the step that really separates a basic above ground pool setup from a luxury one. I built a pergola structure right next to the deck to serve as both an outdoor living room and a kitchen area. The frame went up with large posts and beams, and I cut each rafter with a decorative profile to give it a polished, intentional look rather than just plain cut lumber.
For the roof, I used metal roofing sheets — this was genuinely the scariest part of the whole build because we were working at height over the pool, and dropping a sheet would have cut straight through the liner and ended the entire project. Take your time on this part, work with a helper, and don’t rush it. The pergola structure also gave me a place to mount electrical boxes, run wire for outlets and switches, and install LED lights on the tall center poles I had planned for from the start. Planning your electrical runs before the roof goes on is critical — it’s much easier to route wire before everything is enclosed.
5. Frame a Poolside Kitchen Bar With DIY Cabinets
A poolside kitchen bar is one of the best above ground pool renovation ideas if you want that true resort feel. I built a wall for the bar inside the pergola, then had custom cabinets built and installed. For outdoor countertops, I considered granite ($3,000) and concrete (cheap but incredibly heavy — we calculated over 3,000 pounds for our countertop run, which is too much stress on a deck). Instead, I built wooden frames from plywood, coated them in cement board, and then tiled the surface. The result looks great, holds up to weather, and cost a fraction of either alternative.
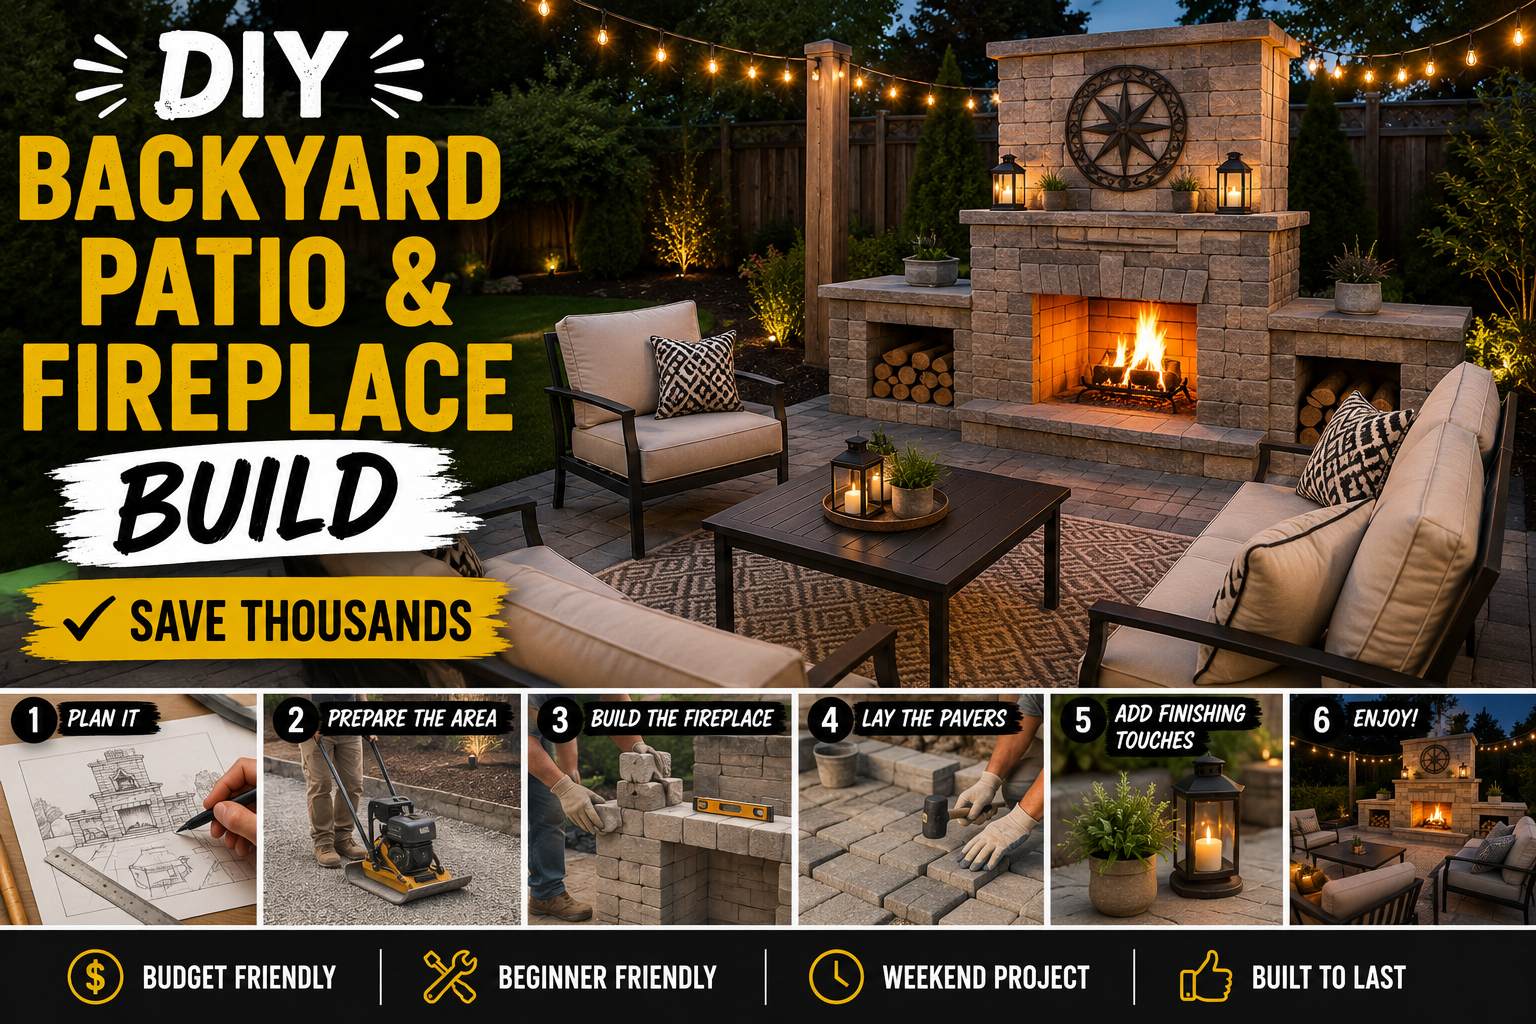
The cabinets were installed and painted to match the rest of the structure, and the front of the bar got a fresh coat of paint as well. I used fence pickets for part of the siding because they look sharp and cost very little. Having two different siding materials — sheet panels on the back wall and fence pickets on the visible sections — gives the whole structure a lot of visual texture and character. If you want more inspiration for outdoor kitchen builds, my post on DIY Backyard Patio & Fireplace Build: Save Thousands covers a lot of the same techniques.
6. Build a Proper Staircase and Safety Railings
A deck this size needs a real staircase — not a wobbly pool ladder. I built a full 12-foot staircase as the main entrance to the pool deck, which makes the whole setup feel much more like a permanent structure than a temporary above ground pool installation. The staircase planning required working around some obstacles (a pole that ended up just being relocated), so don’t be afraid to problem-solve on the fly.
For railings, I cut holes in the deck, slid 4×4 posts down through them, and lag bolted each one securely to the side of the framing. Then I ran horizontal railing boards between the posts and finished it off by threading cable through for a clean, modern look. The railing also serves a safety function — with a deck this high off the ground on the hillside side, falling off was a genuine concern during construction. Once the black paint went on the railing, it completely transformed the look. It started reminding me of those tiki bars you see at beach resorts.
7. Stain the Deck and Paint All Surfaces for a Polished Finish
The finishing detail that pulled everything together was a thorough stain and paint job across every surface. For the deck boards, I used a deck stain that supposedly protects the wood for up to six years against sun and water damage — and it went on a deep reddish-brown color that looks rich and intentional rather than raw lumber. Every square foot of that deck got stained, which took a full day of work but was completely worth it.
For the pergola and bar structure, I painted everything black — the railings, the cabinets, the structural elements. Then for the back wall of the pergola, I took a risk on a gray-green color to break up all the black, and it worked out really well. The color contrast between the dark structure and the warmer deck stain is what gives the whole setup that high-end look. Don’t underestimate paint — it’s one of the cheapest and most impactful above ground pool renovation ideas on this entire list. A can of Sherwin Williams paint goes a long way when you’re this deliberate about your color choices. I also kept a good paintbrush on hand for all the detail and trim work around the cabinets and railings.
Tips and Best Practices for Above Ground Pool Renovations
Buy used whenever possible. I saved over $1,500 on the pool itself and over $1,200 on framing lumber just by sourcing from Facebook Marketplace. The used market for pool equipment and building materials is huge — be patient and you’ll find great deals.
Inspect legs before filling. If you’re buying a used above ground pool, check every single leg for rust and corrosion, especially if it was a saltwater pool. Replace any suspect legs before you fill it — not after.
Tamp your gravel base twice. The first tamp settles the material, and the second pass gets it truly compact. Don’t rush this step. An unlevel or soft base is what causes pool wall failures.
Plan electrical before the roof goes on. Running wire through a pergola or covered structure is much easier before the roof panels are in place. Rough in all your boxes and conduit early.
Use foam under the liner. I laid foam sheets under the pool liner and taped the seams together so it acted as one continuous pad. This protects the liner from any sharp spots in the gravel and makes a huge difference in liner longevity.
Add bracing under the deck. Once the deck was framed and covered, it had a little shake to it. I added cross bracing and diagonal supports underneath until it didn’t move at all. Don’t skip this — a shaky deck is both unsafe and annoying.
Use a tape measure and pull string lines constantly. Getting a large deck perfectly level and square requires constant checking. Pull lines between posts, check levels frequently, and don’t assume something is right just because it looks right from a distance. A laser level makes this process much faster and more accurate on a build this size.
Frequently Asked Questions About Above Ground Pool Renovation Ideas
How much does it cost to renovate an above ground pool setup like this?
My total cost for the pool itself and the new replacement legs came to around $1,600. The deck framing lumber ran about $1,300 bought used (versus $2,500 new), decking boards were another $2,500, and landscaping timber posts were $150. Add in rock for hillside stabilization, electrical supplies, paint, stain, roofing, and cabinet materials and you’re looking at a total project budget somewhere in the $8,000–$12,000 range depending on your specific situation. That’s a fraction of what an inground pool with a similar deck and pergola setup would cost.
Can you set an above ground pool on a slope?
Yes, but you have to properly grade and level the site first. I used an excavator to cut a flat pad into my hillside, then built a leveled rectangular frame filled with compacted gravel. The pool sits on that pad. The surrounding slope needs to be stabilized with rock, landscaping fabric, or ground cover to prevent erosion from washing away your base over time.
What’s the best material for an above ground pool deck?
Pressure-treated lumber is the most common and budget-friendly option, which is what I used. It takes stain well and holds up to moisture when properly maintained. Composite decking is a higher-cost option that requires less maintenance over time. Whatever you choose, make sure your framing is robust — I used 2×6 joists throughout and added significant cross-bracing underneath. For more on deck building, check out my guide on How to Build a Deck: Complete Step-by-Step DIY Guide.
Do I need permits to build a deck around an above ground pool?
This varies significantly by location. In most US municipalities, decks above a certain height or size require a permit, and pools often have their own permitting requirements. I’d strongly recommend checking with your local building department before starting — especially if your deck is elevated significantly off the ground like mine was. Getting caught without permits can create major headaches when you sell the home.
Wrapping It Up
What started as a $500 rusty pool from Facebook Marketplace turned into one of the coolest outdoor spaces I’ve ever built. The combination of a properly leveled site, a massive wraparound deck, a pergola with a kitchen bar, real railings, a proper staircase, and a thorough paint and stain job is what takes an above ground pool from eyesore to luxury. None of these above ground pool renovation ideas required specialized contractor skills — just time, planning, the right materials, and a willingness to problem-solve when things don’t go perfectly (and they won’t always).
If this post gave you ideas for your own backyard, I’d love to hear what you’re planning. Drop a comment below with your pool renovation goals, and if you want more big outdoor DIY projects like this one, my post on DIY Paver Patio Installation Guide: Save $10,000+ is a great next read. Now get out there and build something awesome.