If you’ve been dreaming about a fresh new look for your home but your budget keeps putting the brakes on your plans, this is the post you’ve been waiting for. Peel and stick tiles have completely changed the DIY home improvement game, and the results can be genuinely jaw-dropping — without the jaw-dropping price tag. Whether you’re a seasoned DIYer or you’ve never picked up a tile in your life, these projects are designed for you.
The beauty of peel and stick budget makeovers is that they require almost zero special skills, minimal tools, and can often be completed in a single afternoon. You get the satisfaction of a real transformation without hiring a contractor, renting equipment, or emptying your savings account. Ready to get inspired? Here are seven amazing ways to use peel and stick tiles to wow every corner of your home.
1. Give Your Kitchen Backsplash a Brand-New Look
The kitchen backsplash is one of the first things people notice when they walk into your kitchen, and it’s also one of the easiest places to make a dramatic upgrade with peel and stick tile. That tired, dated look behind your stove or sink? Gone in an afternoon. You can choose from classic subway tile styles, bold geometric patterns, or even faux marble designs that look incredibly high-end.
The process is straightforward: clean the surface thoroughly, measure your space, peel the backing off each tile, and press it firmly into place. Most peel and stick backsplash tiles are designed to be cut easily with scissors or a utility knife, so fitting around outlets and corners is much simpler than you’d expect. No grout, no mortar, no mess.
Many homeowners are shocked at how much this single change elevates the entire kitchen. Pair a fresh backsplash with updated cabinet hardware and you’ve got a kitchen that looks like it had a full renovation — for a fraction of the cost.
2. Transform a Boring Bathroom Floor
Bathroom floors take a beating, and even well-maintained ones can start to look dull and dated over time. Peel and stick floor tiles are a game-changing solution here because they’re waterproof, durable, and available in styles ranging from classic black-and-white checkerboard to intricate Moroccan-inspired patterns that would look right at home in a boutique hotel.
Before you start, make sure your existing floor is clean, dry, and as smooth as possible — this is the key to getting those tiles to adhere properly and lie flat. Start from the center of the room and work your way outward for the most balanced, professional-looking result. Take your time with the edges and cuts around the toilet base and vanity, and you’ll end up with a finish that looks like a full tile installation.
The best part? If you’re renting, most peel and stick floor tiles can be removed without damaging the subfloor underneath, making this one of the smartest upgrades a renter can make.
3. Create a Stunning Accent Wall
Accent walls are having a serious moment in interior design, and peel and stick wall tiles make it easier than ever to create one that genuinely stops people in their tracks. Think about the wall behind your bed, your sofa, or even a home office feature wall. A few hours and the right tile pattern can completely transform the energy of the room.
3D peel and stick tiles are particularly impressive for accent walls — they add texture and depth that creates a truly custom, designer look. You can go bold with a large geometric pattern or keep it subtle with a soft, tone-on-tone design. Either way, the impact is immediate and the installation is surprisingly satisfying.
Don’t overlook smaller accent opportunities either. A tiled niche in a bookshelf, the back panel of a built-in, or even a fireplace surround can all be elevated with the right peel and stick tile choice.
We tried the peel and stick method when we worked on the affordable home projects under $100.
4. Refresh Your Laundry Room or Mudroom
These hardworking spaces in your home often get the least love when it comes to decor, but they’re actually perfect candidates for a peel and stick makeover. Adding a fun tile pattern to the floor or a fresh backsplash behind a laundry sink instantly makes the space feel intentional and put-together rather than like an afterthought.
Because laundry rooms and mudrooms tend to be smaller, you won’t need as much material — which keeps costs even lower and makes the project faster to complete. It’s also a great place to experiment with a bolder pattern or color that you might be hesitant to use in a larger, more visible room. Go for it! These are the spaces where personality really shines.
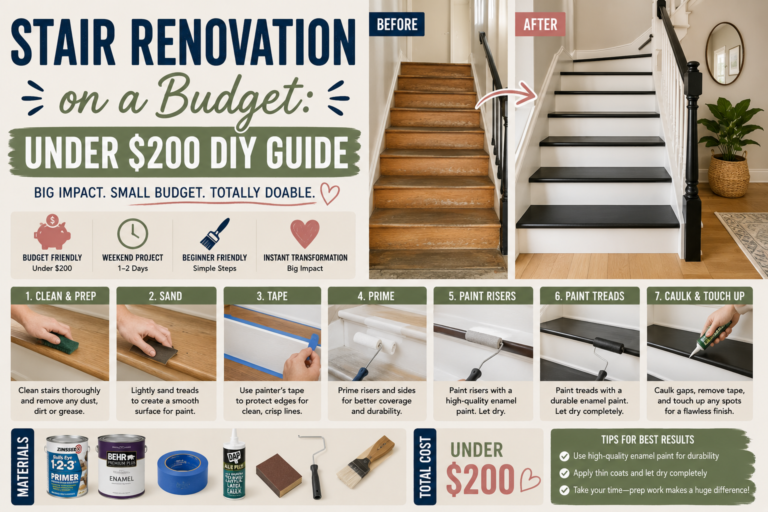
5. Upgrade a Plain Stair Riser
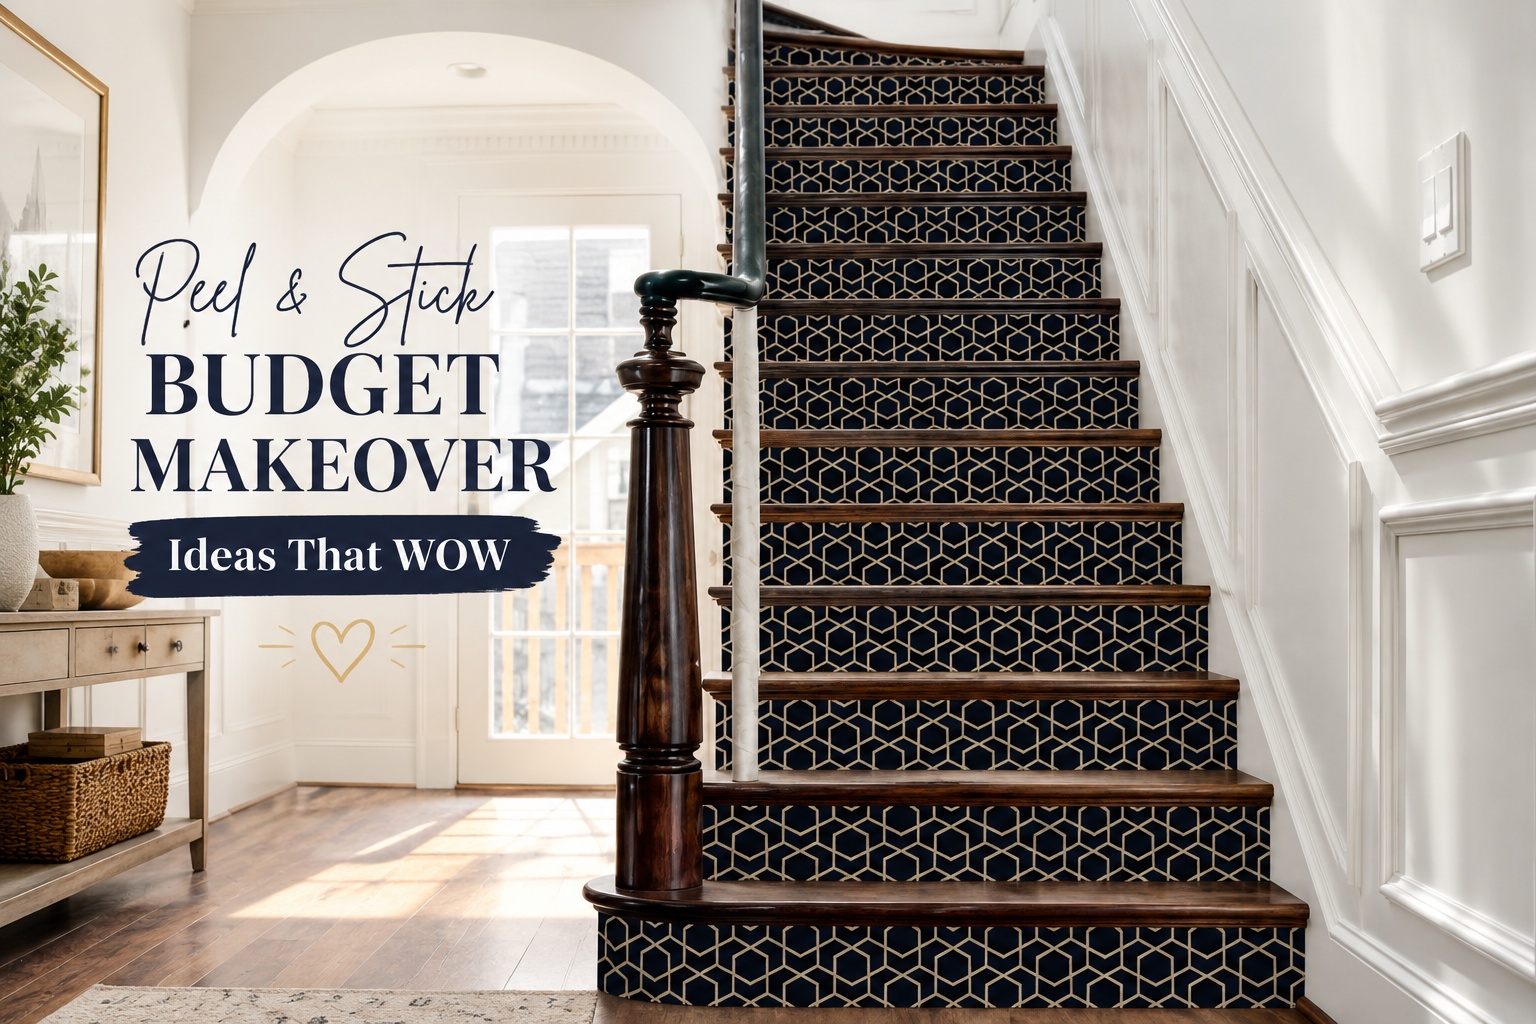
Here’s one that might surprise you: peel and stick tiles on stair risers are one of the most photographed DIY upgrades on the internet right now — and for good reason. Replacing plain white painted risers with a colorful tile pattern creates a focal point that draws the eye up the staircase in the most beautiful way.
You don’t need to do the whole staircase to make an impact. Even just four or five steps can create a stunning visual effect. Floral patterns, Mediterranean-style tiles, and simple two-tone geometric designs are all incredibly popular choices. Cut each tile to fit the riser panel, press it firmly in place, and stand back and admire what you’ve done. You’ll want to take a photo immediately.
6. Revamp a Vanity or Furniture Piece
Think beyond walls and floors — peel and stick tiles can transform furniture too. The top of a bathroom vanity, a side table, a coffee table, or even the front of dresser drawers can all get a stunning makeover with the right tile choice. This is a brilliant way to rescue a piece of furniture that’s looking tired without spending money on a replacement.
For furniture applications, look for thinner, more flexible peel and stick tile options that will adhere well to the surface and handle the occasional bump or knock. Sealing the edges with a clear caulk or sealant adds extra durability and gives the finished piece a polished, professional look.
7. Define a Kitchen or Dining Nook
If you have a breakfast nook, a cozy reading corner, or a dining area you’d love to make feel more special and intentional, peel and stick floor or wall tiles are your secret weapon. Tiling just the floor of a defined seating area creates a visual “rug” effect that anchors the space without the maintenance of an actual rug. It’s practical, stylish, and incredibly effective.
You can also add tiling to the wall behind a built-in bench seat to create a fully designed, cohesive look. Choose a tile that complements your existing color palette and the difference will feel like a professional designer visited your home. This is one of those upgrades that makes guests say “wow, did you renovate?”
Tips and Best Practices for Peel & Stick Tile Success
Getting great results with peel and stick tiles comes down to a few key preparation and application habits. First and most importantly, always clean your surface thoroughly before you begin. Grease, dust, or residue will prevent the adhesive from bonding properly, and tiles can start to lift or peel over time. Use a degreasing cleaner and let the surface dry completely — even overnight if you can.
Temperature matters more than most people realize. Peel and stick tile adhesive performs best when both the tiles and the room are at a comfortable temperature, generally between 65°F and 85°F. Avoid installing in cold or very humid conditions if you can. Once your tiles are in place, use a rolling pin or tile roller to press firmly across the entire surface — this activates the adhesive and helps eliminate any air bubbles for a flat, secure finish.
Finally, take your time measuring and planning your layout before peeling a single backing. Dry-fitting the tiles without removing the backing lets you see exactly how the pattern will fall across the space, where you’ll need cuts, and whether you want to adjust your starting point. A little planning up front saves a lot of frustration later and results in a much more polished finished look.
Frequently Asked Questions About Peel & Stick Tile Makeovers
Are peel and stick tiles really durable enough for high-traffic areas?
Absolutely — modern peel and stick tiles are much more durable than earlier generations of the product. High-quality options are designed to handle foot traffic, moisture, and daily wear in kitchens and bathrooms. The key is choosing tiles rated for the specific application (floor vs. wall) and ensuring proper surface preparation before installation. With the right product and prep, your tiles can look great for years.
Can peel and stick tiles be removed without damaging walls or floors?
In most cases, yes. One of the biggest advantages of peel and stick tile is that it can typically be removed without causing damage to the surface underneath, which makes it a popular choice for renters. However, results can vary depending on the surface, the age of the adhesive, and the specific product used. Applying gentle heat with a hair dryer while slowly peeling helps in most cases. Always test in a small, inconspicuous area first if you’re concerned.
What surfaces work best for peel and stick tile installation?
The best surfaces are smooth, clean, and dry. Peel and stick tiles adhere well to painted drywall, existing ceramic tile, laminate, and smooth concrete. Textured, porous, or uneven surfaces can cause adhesion problems and lead to tiles lifting at the edges. If your surface isn’t ideal, using a skim coat or primer can help create a smoother base for better results.
How do I cut peel and stick tiles for edges and corners?
Most peel and stick tiles can be cut with a sharp utility knife and a straight edge or with heavy-duty scissors, depending on the material and thickness. Score the tile on the face side with your knife, then snap it along the score line for a clean break — similar to cutting glass tile. For curved cuts around pipes or toilet bases, make a cardboard template first, trace it onto the tile, and cut carefully with a utility knife. Take your time with cuts and you’ll be surprised how clean the results are.
Ready to Start Your Own Peel & Stick Makeover?
There has never been a better time to dive into a peel and stick budget makeover. Whether you start with a weekend backsplash project or go big with a full bathroom floor transformation, these ideas prove that you don’t need a big budget or professional skills to create spaces that genuinely wow. Every single project on this list is something you can accomplish on your own, on your schedule, with just a few hours and a little confidence.
Pick the idea that excites you most, grab your tiles, and get started. Your home is waiting for its glow-up — and you are absolutely capable of making it happen. Share your results when you’re done, because transformations like these deserve to be celebrated!