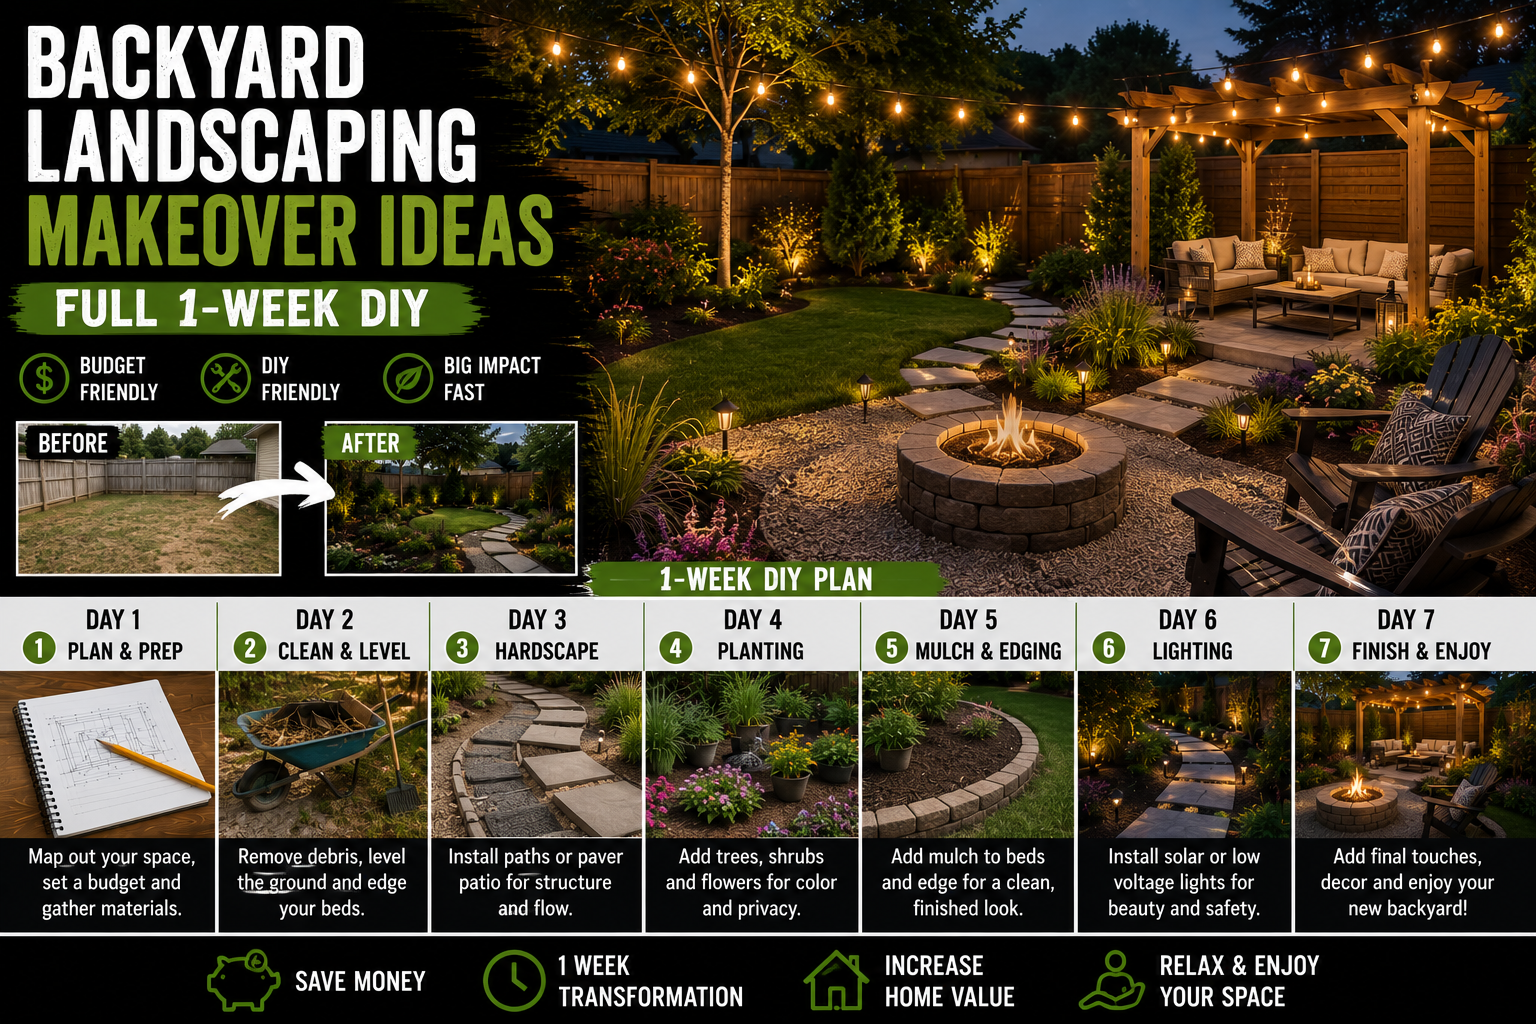
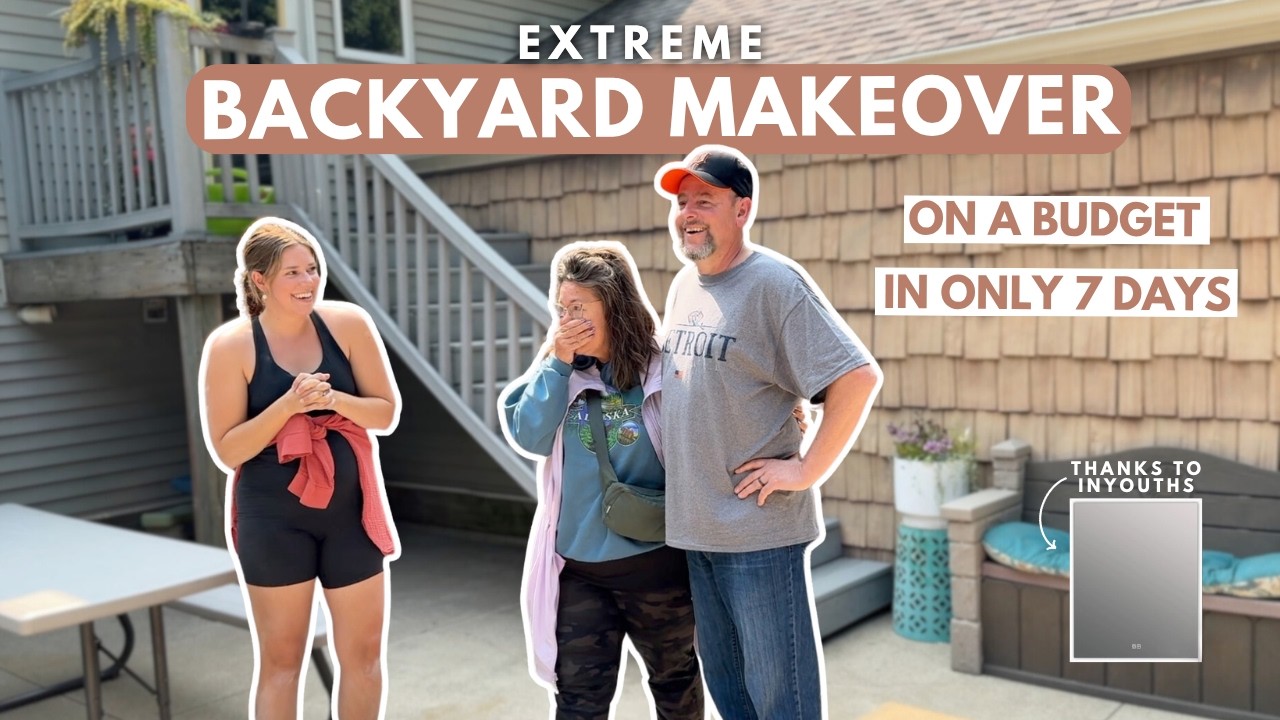
If you’ve been looking for real, actionable backyard landscaping makeover ideas that don’t require a professional crew or a massive budget, you’re in the right place. I’m Michael, and this is the story of how I transformed my parents’ overgrown, neglected backyard into a beautiful, functional outdoor space — all in just seven days, while they were away on vacation. It was part surprise, part DIY challenge, and honestly one of the most rewarding projects I’ve ever tackled.
My parents have sacrificed so much over the years, and keeping up with backyard landscaping just isn’t high on their priority list. When they left for a rare week-long getaway, I decided on a whim to pull off a massive surprise makeover — weeding, fresh mulch, stepping stones, new rocks, a hydrangea planting, and even finishing off the front of my dad’s half-built pool house with a new countertop and stone veneer. And I did it all on a tight budget, with a lot of help from family. If you love budget-friendly outdoor transformations, you’ll also want to check out my guide on DIY Backyard Patio & Fireplace Build: Save Thousands for even more inspiration.
Below I’m walking you through every single step of this backyard makeover — from the very first weed pull to the final stone installation. Whether your yard is mildly overgrown or completely out of hand, these ideas will show you exactly what’s possible with some elbow grease, a smart supply run, and a clear plan. Let’s get into it.
Step 1: Assessing the Space and Making a Plan
Before touching a single weed, I walked the entire backyard and took stock of what needed to happen. My parents’ yard had several distinct zones: a main shaded seating area, a swing area next to the pool house, the area around the fire pit, and the front face of the pool house itself. Each zone needed a different level of attention, and I knew going in that without a clear plan, I’d waste time bouncing between areas with nothing fully finished.
I quickly mapped out my priorities — weeding first, then mulch and landscaping, then the pool house countertop and stone — and mentally assigned each to a day or two of the week. Having that roadmap made the whole project feel manageable instead of overwhelming. If you’re planning a big outdoor project, I can’t stress enough how much a simple written plan helps. Even a rough sketch on paper goes a long way. For more planning inspiration, take a look at these 10 Outdoor DIY Backyard Project Ideas.
Step 2: Pulling All the Weeds (The Least Fun but Most Important Part)
I’ll be real with you — weeding is nobody’s favorite task, but it is absolutely the foundation of any successful backyard landscaping makeover. Before my family arrived on day one, my aunt and uncle had already started pulling weeds the night before. They didn’t just pull them, either — they also dug out a significant amount of dirt to prep the ground for the new landscaping materials. That head start was a huge deal.
The next day, I got in there and spent about an hour finishing the job across multiple sections of the yard. We worked in the 95-degree heat, thankfully with a tent for shade and the pool nearby for a quick cool-down. By the time we were done, we had cleared every overgrown section and the transformation was already beginning to show. A good shovel is a must for digging out compacted dirt and roots, and I’d also recommend a solid pair of Yard tools to make the process faster and easier on your hands.
Step 3: Shopping Smart — The First Lowe’s Run
Once weeding was checked off the list, I headed to Lowe’s with a very focused shopping list. My rule for this project was simple: only buy what I need, and return anything extra. I wasn’t here to browse — I was here to solve problems quickly and stay on budget. For this first trip, I needed just three things: weed block (landscaping fabric), stepping stones, and black mulch.
I found a really cool set of stepping stones that were also on sale — total win. For mulch, I went with black because I knew that’s what my dad prefers, and I grabbed 22 bags to make sure I had plenty. The entire first Lowe’s run came in at just under $200, which honestly blew me away considering the impact it would have. Loading 22 bags of mulch in 95-degree heat is no joke, but knowing the payoff was worth every bead of sweat.
Step 4: Laying Down Weed Block and Mulch Around the Fire Pit and Swing Area
With my aunt, uncle, and husband all on site, we divided and conquered. The main areas we targeted first were around the fire pit and the swing area next to the pool house — both high-traffic spots that needed the most visual attention. We laid down landscaping fabric first to suppress future weed growth, then layered the black mulch on top.
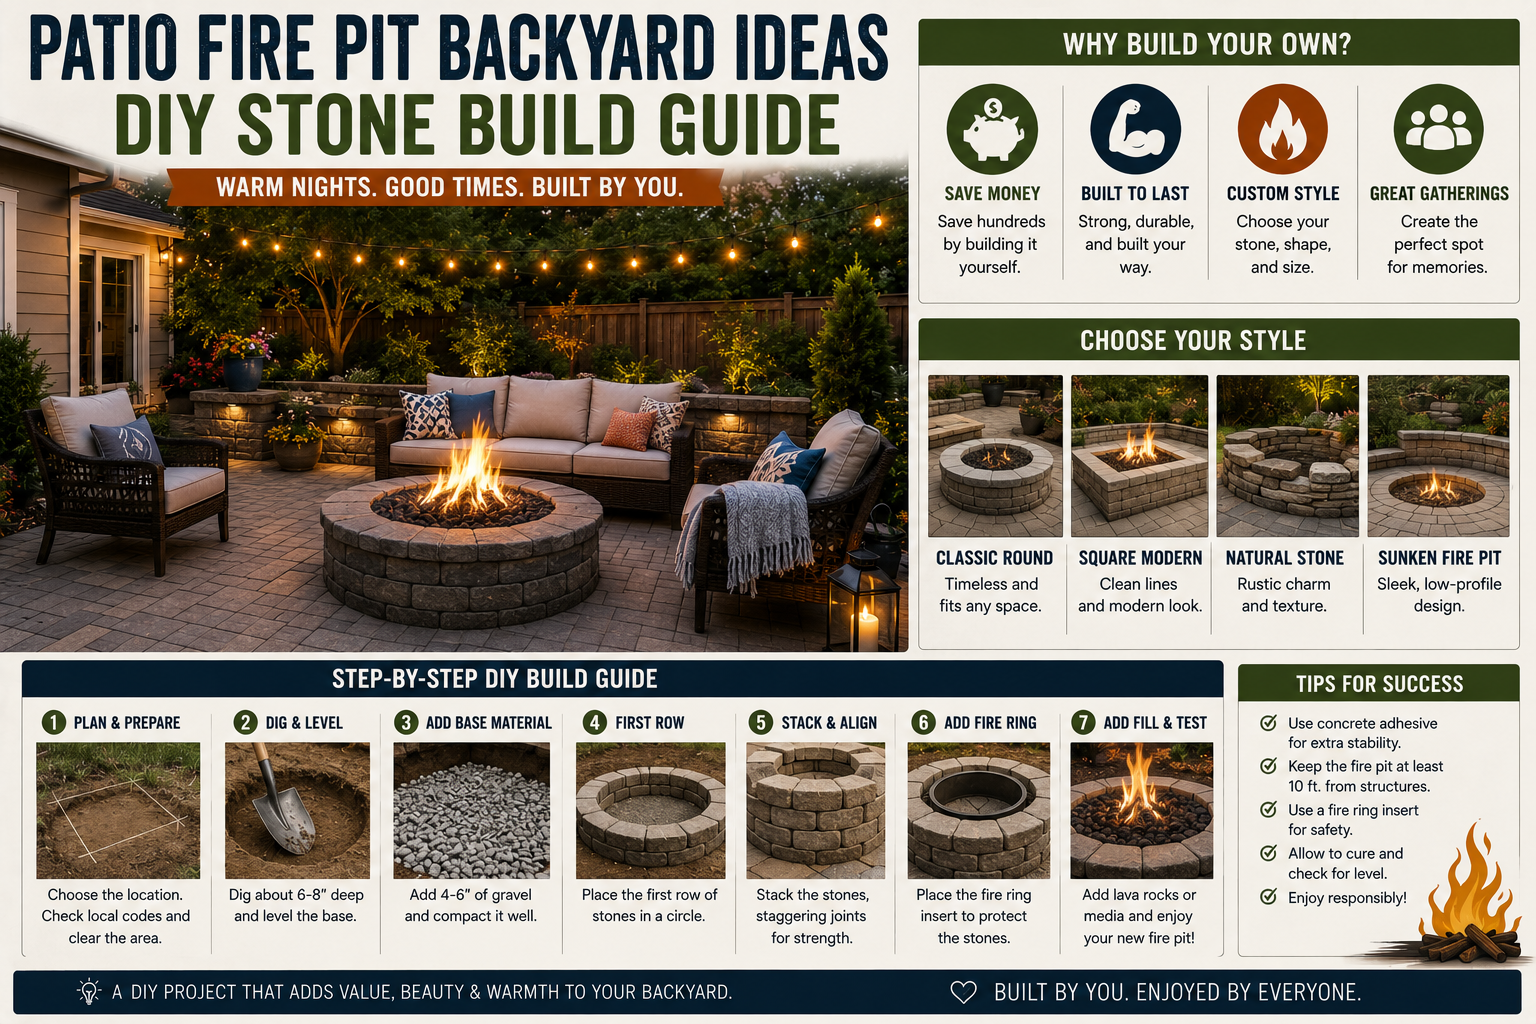
The difference was almost instant and genuinely shocking. A couple of fresh bags of wood chips and some intentional placement completely transformed the look of the fire pit area. My family is all about attention to detail, and that showed — every edge was clean, every bag was spread evenly, and the space went from chaotic to calm in just a few hours. We finished it off by staging the fire pit area with some furniture, and it looked like something out of a magazine. Check out my full guide on Patio Fire Pit Backyard Ideas: DIY Stone Build Guide if you want to take that zone even further.
Step 5: Installing Stepping Stones in the Swing Area
Once the mulch was down, it was time to install the stepping stones in the swing area. This area had started as a messy, overgrown, uneven patch of ground, and after the weeding and dirt removal my aunt and uncle had done the night before, it was ready for something beautiful. The stepping stones went in quickly and the result looked amazing — purposeful, clean, and much more functional for actually moving through the space.
After the stones were in, we moved a large potted plant into the corner to finish off the zone. I also had a new, slightly larger cushion on order for the swing itself, which I knew would make a big difference. Small finishing touches like that — a plant in the right corner, a properly sized cushion — are what take a DIY space from “okay” to “wow.” Don’t skip them.
Step 6: Trimming Back Overgrown Plants and Freshening Up Borders
Not every part of the yard needed a full overhaul. Some areas just needed a good trim and a layer of fresh mulch to look completely renewed. My aunt tackled one section while the guys worked on the swing area — she trimmed back all the plants that had gotten overgrown and then laid down fresh mulch around them. It’s the kind of job that looks deceptively simple but makes a huge visual difference.
The key thing my aunt reminded me: those plants grow back beautifully in early summer. Cutting them back now actually sets them up to thrive next season. If you’re dealing with seriously overgrown shrubs or trees, a good Chainsaw, weed eater, or pole pruner will save you hours of work. Having the right tools makes all the difference when you’re racing against a deadline.
Step 7: Planting a Quickfire Hydrangea as a Focal Point
This one was entirely my aunt’s idea and honestly one of my favorite additions to the whole project. She suggested installing a quickfire hydrangea in the swing area to give it a gorgeous, living focal point — and once it was in the ground, I was blown away. It looked like it had always been there, perfectly placed in the corner to anchor the whole space.
I never would have thought to do this on my own, and it’s a great reminder that sometimes the best backyard landscaping makeover ideas come from the people around you. A statement plant — especially something like a hydrangea that blooms dramatically — can do more for a space than any amount of hardscaping. It adds life, color, and a sense of intention that’s hard to replicate with rocks and mulch alone. I’m so glad my aunt pushed for it.
Step 8: Refreshing the Rocks Throughout the Yard
After the mulch zones were sorted, it was time to tackle the rock areas. Refreshing the decorative rocks throughout the backyard was one of those tasks I kept joking we could have stopped before and my parents would have been thrilled — but of course, we kept going. We filled in all the rock areas around the pool and the swing zone, and the difference in the overall look of the yard was dramatic.
Fresh rock has this way of making everything else look sharper and more intentional. It creates clean visual contrast against the mulch and the greenery, and it’s low maintenance once it’s in. If you’re doing a similar project, budget for more rock than you think you need — it goes faster than you’d expect and running out mid-project is frustrating. An Edging Material border around your rock zones also keeps everything contained and looking neat over time.
Step 9: Rearranging the Main Seating Area for Better Function and Flow
The main shaded seating area was the spot where the family gathers most in summer, and it didn’t need a full renovation — it needed a thoughtful rearrangement. My goal here was to make the furniture layout more functional and visually pleasing without spending money on new pieces. Sometimes the best backyard upgrade is simply moving what you already have.
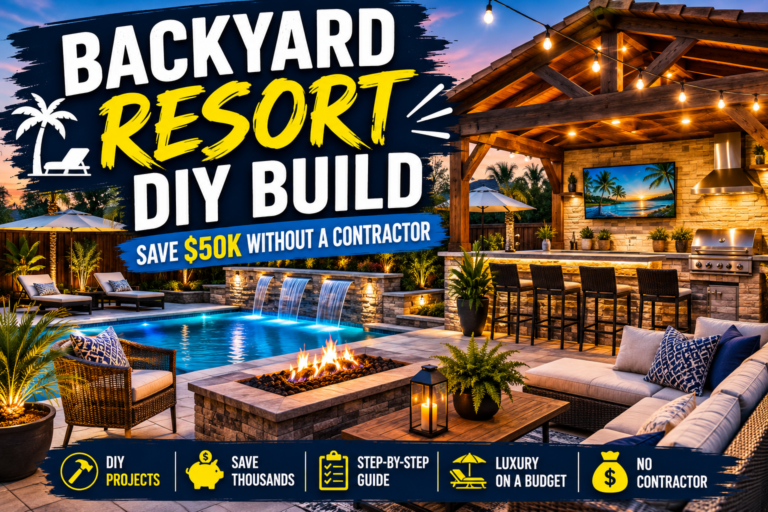
I spent some time thinking about traffic flow, sight lines, and how people naturally move through the space. A few simple furniture shifts later, and the seating area felt completely different — more inviting, more organized, and much better suited to how the family actually uses it. If you’re redoing a seating area and want to add some outdoor living upgrades on a budget, my post on Backyard Resort DIY Build: Save $50K Without a Contractor has some great ideas to layer in.
Step 10: Sourcing and Selecting a Custom Countertop for the Pool House
Now here’s where things got really exciting — and a little stressful. My dad had been building this pool house for about 15 years, slowly adding to it each summer, but the front had never been finished. His original plan was to DIY an epoxy countertop himself, and I wanted to take that vision and elevate it. I reached out to a local stone shop right around the corner and asked if they could turn around a custom countertop within a week. They said yes.
Picking out a countertop for someone else is genuinely hard. I spent hours texting photos to family members, standing in the stone yard second-guessing myself, and visiting Lowe’s to see how tile samples would look alongside different stone options. Eventually, I chose a bold, dark, funky stone that my whole family unanimously agreed was perfect for my dad’s personality — a much fancier version of what he’d been planning to do himself. Seeing it cut and polished was one of the most satisfying moments of the whole week.
Step 11: Browsing Tile Options at Lowe’s for the Pool House Interior
On my second Lowe’s run of the week, I ventured into an aisle I had genuinely never been down before: the tile aisle. I needed to figure out what tile would work for the pool house, and I had a general vision in mind — something classic and clean that would complement the bold countertop. Seeing the options in person was really helpful after spending time looking online, because the scale and texture of tile reads very differently on a screen versus in your hands.
I picked up some samples to bring back and test against the countertop scrap piece I’d taken from the stone shop. Getting physical samples side by side before committing is something I’d strongly recommend to anyone doing a similar project — it saves you from a very expensive mistake. I also browsed outdoor pillows on this trip and grabbed some options with pops of orange to add some color to the seating areas. Little accessories like that tie a whole space together.
Step 12: Ordering and Installing Stone Veneer on the Pool House Exterior
The last major piece of the pool house puzzle was finishing off the front facade with stone veneer. I found a stone supplier who not only had exactly what I was imagining but could also get it delivered by Friday — which, given our one-week timeline, was absolutely critical. Holding that sample up against the countertop scrap, I could already see how beautiful it was all going to look together.
Getting stone veneer in on time was honestly the most nerve-wracking logistical challenge of the whole project, but it came through. If you’re planning a similar exterior finish on a structure, make sure you have the right tools lined up in advance — a wet tile saw, edge trowel, masonry drill bit, and liquid nail are all things you don’t want to be hunting for mid-project. Having everything staged and ready means the actual installation goes smoothly and fast.
Tips and Best Practices for Your Own Backyard Landscaping Makeover
Start with weeding — always. It’s the least glamorous step but it defines everything that comes after. Skipping it means your mulch and rock will mix with dirt and weeds within one season. Do it right the first time.
Use landscaping fabric under mulch and rock. Landscaping fabric is inexpensive and dramatically reduces future maintenance. Lay it down before any decorative material goes on top.
Shop with a list and stick to it. It’s easy to overbuy when you’re excited about a project. I committed to returning anything unused, which kept me focused on only getting what I actually needed.
Get samples before committing to stone or tile. Bring a scrap of your countertop or existing materials to the store and hold samples up in person. Photos don’t tell the whole story.
Add a statement plant. A well-placed hydrangea, ornamental grass, or flowering shrub can anchor a landscaping zone in a way that rocks and mulch alone simply can’t. Budget for at least one.
Use edging to define your zones. Clean borders between mulch, rock, and lawn make the whole yard look more intentional and polished. Edging Material is affordable and makes a big visual difference.
Don’t underestimate rearranging. Sometimes the best upgrade is just moving what you already have. Think about function and flow before spending money on new furniture or decor.
Frequently Asked Questions
How much does a backyard landscaping makeover cost on a budget?
It depends heavily on the size of your yard and what you’re doing. In my case, the basic landscaping — weed block, stepping stones, and 22 bags of black mulch — came in at just under $200 for the first Lowe’s run alone. Adding rock, plants, and more decorative elements will increase the cost, but you can absolutely do a meaningful backyard transformation for a few hundred dollars if you shop smart and do the labor yourself.
What’s the best order to tackle a backyard landscaping project?
I’d always start with clearing and weeding, then move into any structural or hardscaping work (like stepping stones or edging), followed by laying weed fabric, then your decorative materials like mulch or rock. Save planting and staging for last — that way you’re not working around things you’ve already placed. Finishing with the decorative details makes the whole reveal much more satisfying.
What tools do I need for a basic backyard makeover?
At minimum you’ll want a good shovel, a weed eater for edges and borders, a edging tool for clean lines, and a solid set of Yard tools for general work. A wheelbarrow and a tamper are also really useful if you’re moving a lot of material or setting stepping stones.
How do I keep weeds from coming back after a landscaping makeover?
The best defense is a good layer of landscaping fabric underneath your mulch or decorative rock, combined with a thick enough layer of material on top (at least 2–3 inches of mulch). Even with fabric, some weeds will eventually push through, so plan on a light annual maintenance pull. It’s a fraction of the work compared to starting from scratch every year.
Conclusion
Seven days, one surprise, and a whole lot of family effort later — my parents came home to a completely transformed backyard. From overgrown and overwhelming to clean, beautiful, and functional, this project proved that you don’t need a professional crew or a massive budget to pull off incredible backyard landscaping makeover ideas. You just need a plan, the right supplies, and a willingness to get your hands dirty.
Whether you’re tackling a quick weekend weed-and-mulch refresh or a full outdoor makeover complete with custom countertops and stone veneer, I hope this walkthrough gave you the confidence and the roadmap to make it happen. If this inspired you, I’d love for you to share this post, leave a comment below with your own backyard before-and-after, or check out more of my outdoor project guides here on The DIY Journey. You’ve got this — now go make it happen!