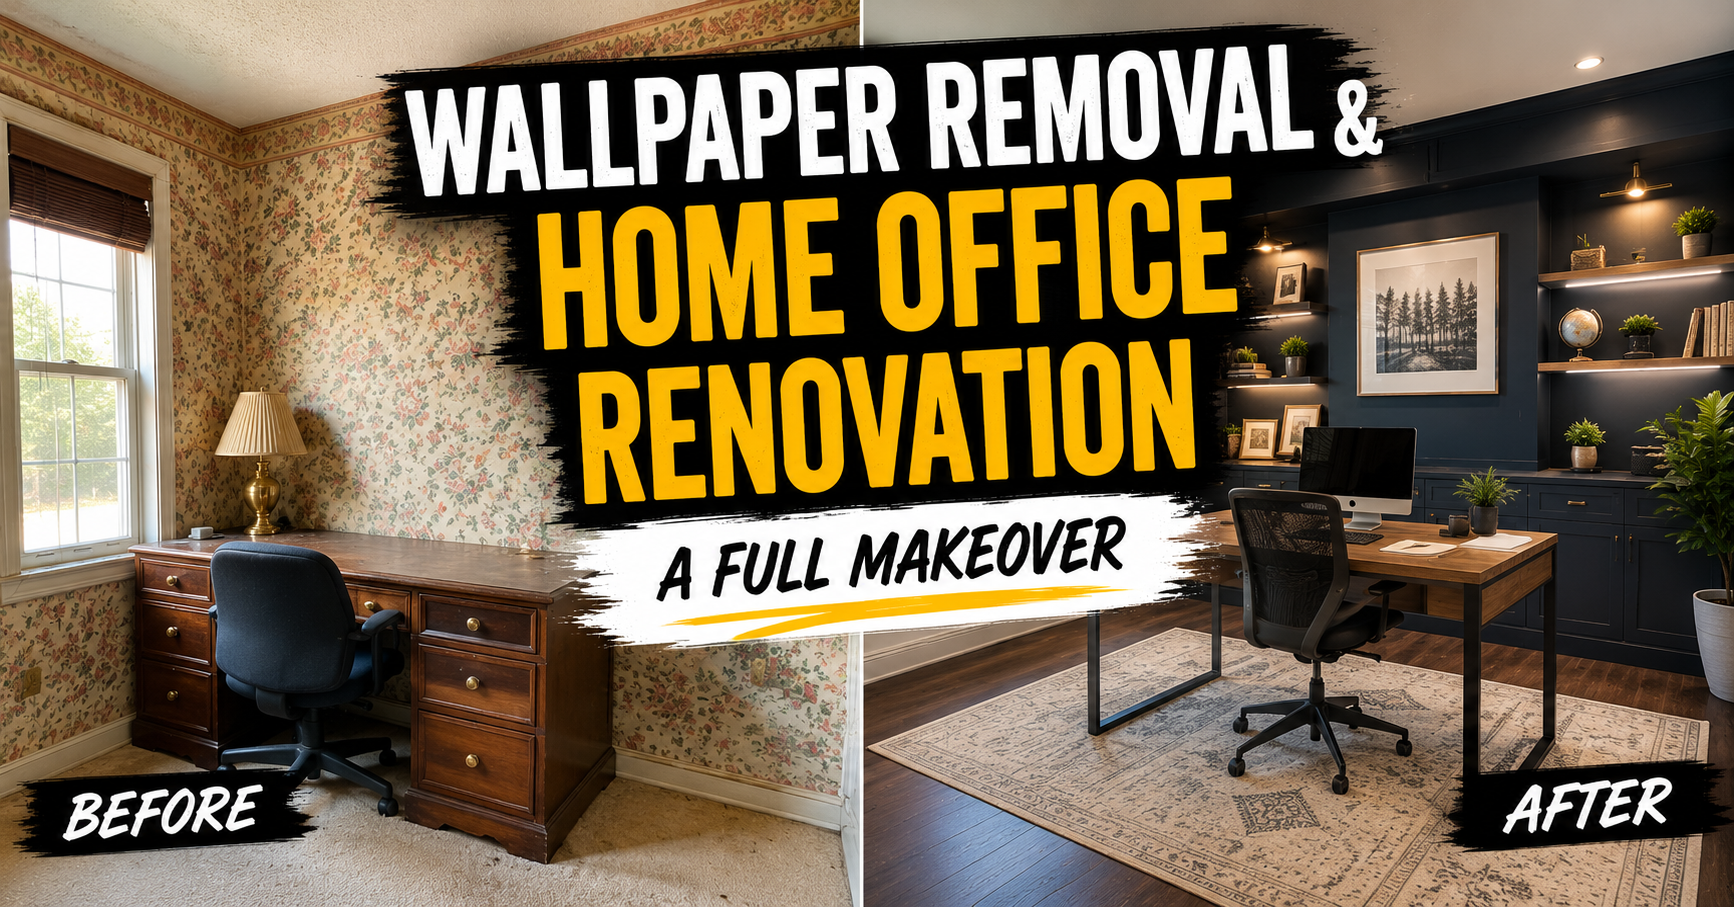
If you’ve ever walked into a room and thought, “where do I even start?”— this post is for you. This wallpaper removal home office renovation walkthrough covers a full room transformation, from pulling up carpet and tearing out old wallpaper to custom built-ins, luxury vinyl plank flooring, and a fresh coat of paint. It’s a real renovation with real decisions, and every step of the process is worth understanding before you dive in.
This particular project started as a middle bedroom destined to become a fully functional home office — a space for running a business, recording video content, editing, and yes, a solid gaming setup too. If you’re planning a similar project, buckle up. There’s a lot of ground to cover, and we’re going to walk through every single step so you know exactly what to expect.
Whether you’re just peeling off some old wallpaper or planning a complete overhaul, this guide will give you the confidence to tackle your own wallpaper removal home office renovation from start to finish.
Starting With Demo: Carpet Removal
Every good renovation starts with demo, and this one was no different. The room had carpet throughout, which turned out to be a surprisingly pleasant task compared to pulling up tile floors. If you’ve ever had to chisel out ceramic tile, you know the struggle — carpet comes up much faster and with far less effort. You basically score it, grab a corner, and pull.
Don’t underestimate how satisfying demo day can be. Ripping out old carpet gives you a clean slate and lets you properly assess the subfloor underneath, which is crucial if you’re planning to install new flooring later. Take your time here and remove the tack strips carefully along the edges so you’re not dealing with sharp surprises down the road.
Removing the Wallpaper (Yes, the Whole Wall)
The back wall of this room came with a full coverage of wallpaper — the kind that makes you question the previous owner’s taste but also quietly respect their commitment to a theme. Removing wallpaper is one of those jobs that sounds simple but can quickly become a weekend-long project depending on how many layers you’re dealing with and what’s underneath.
For a wallpaper removal home office renovation like this one, it’s worth knowing that in some cases, the best move is removing the drywall entirely rather than fighting with the wallpaper adhesive. That leads us right into the next step, which is exactly what happened here — and it turned out to be a really smart call for several reasons.
Sometimes you can use peel and stick tile to save money and time without sacrificing quality.
Removing the Drywall: When It Makes Sense
Rather than spending hours scraping and steaming wallpaper off the back wall, the decision was made to remove the drywall entirely. This opened up the wall cavity and made several other improvements possible at the same time. If you’re already deep into a renovation, opening a wall gives you access you just can’t get any other way.
One smart move: before tearing everything down, cut out a small section of the wallpapered drywall to save as a keepsake or conversation piece. It’s a fun little nod to the before state of the room, and it costs you nothing. Once the wall was open, the real upgrades could begin.
Adding Soundproofing With Rockwool Safe ‘n’ Sound
Since this wall is shared with an adjacent bedroom, soundproofing was a priority. The product used here is Rockwool Safe ‘n’ Sound, a go-to insulation for anyone who wants real acoustic separation between rooms. It’s itchy to work with — wear long sleeves and gloves — but the performance is genuinely impressive for the price.
The entire wall ran around $100 worth of Rockwool, and the sound dampening between the two rooms was well worth it. For a home office where you’re recording audio, taking calls, or just want some peace and quiet, this is one of the highest-value upgrades you can make. Don’t skip it if you have the wall open anyway — it’s a cheap insurance policy against noise complaints.
Rewiring the Room and Running Ethernet
With the wall open, this was the perfect opportunity to rewire the room and upgrade the electrical throughout the house. A home office needs outlets in the right places — not just wherever the previous owner decided decades ago. New outlets were added in this room and the one behind it, bringing everything up to modern standards.
In addition to electrical, ethernet lines were run through the wall for both the TV and the computer. If you’re building a workspace, hardwired ethernet is almost always better than WiFi for stability and speed. Running the cable while the wall is open is infinitely easier than trying to fish it through later. Future you will be very grateful.
Closing the Wall Back Up With New Drywall
Once the insulation, wiring, and ethernet were in place, it was time to button the wall back up. This involved hanging four sheets of drywall, staggered for better structural integrity and to minimize cracking along seams. It’s straightforward work, but getting the hang (pun intended) of staggering your sheets is one of those small habits that makes a real difference in the finished product.
Closing the wall back up also marked a turning point in the project — the room started to feel like a real space again rather than an open construction zone. From here, the finishing work could begin in earnest.
Tackling the Popcorn Ceilings
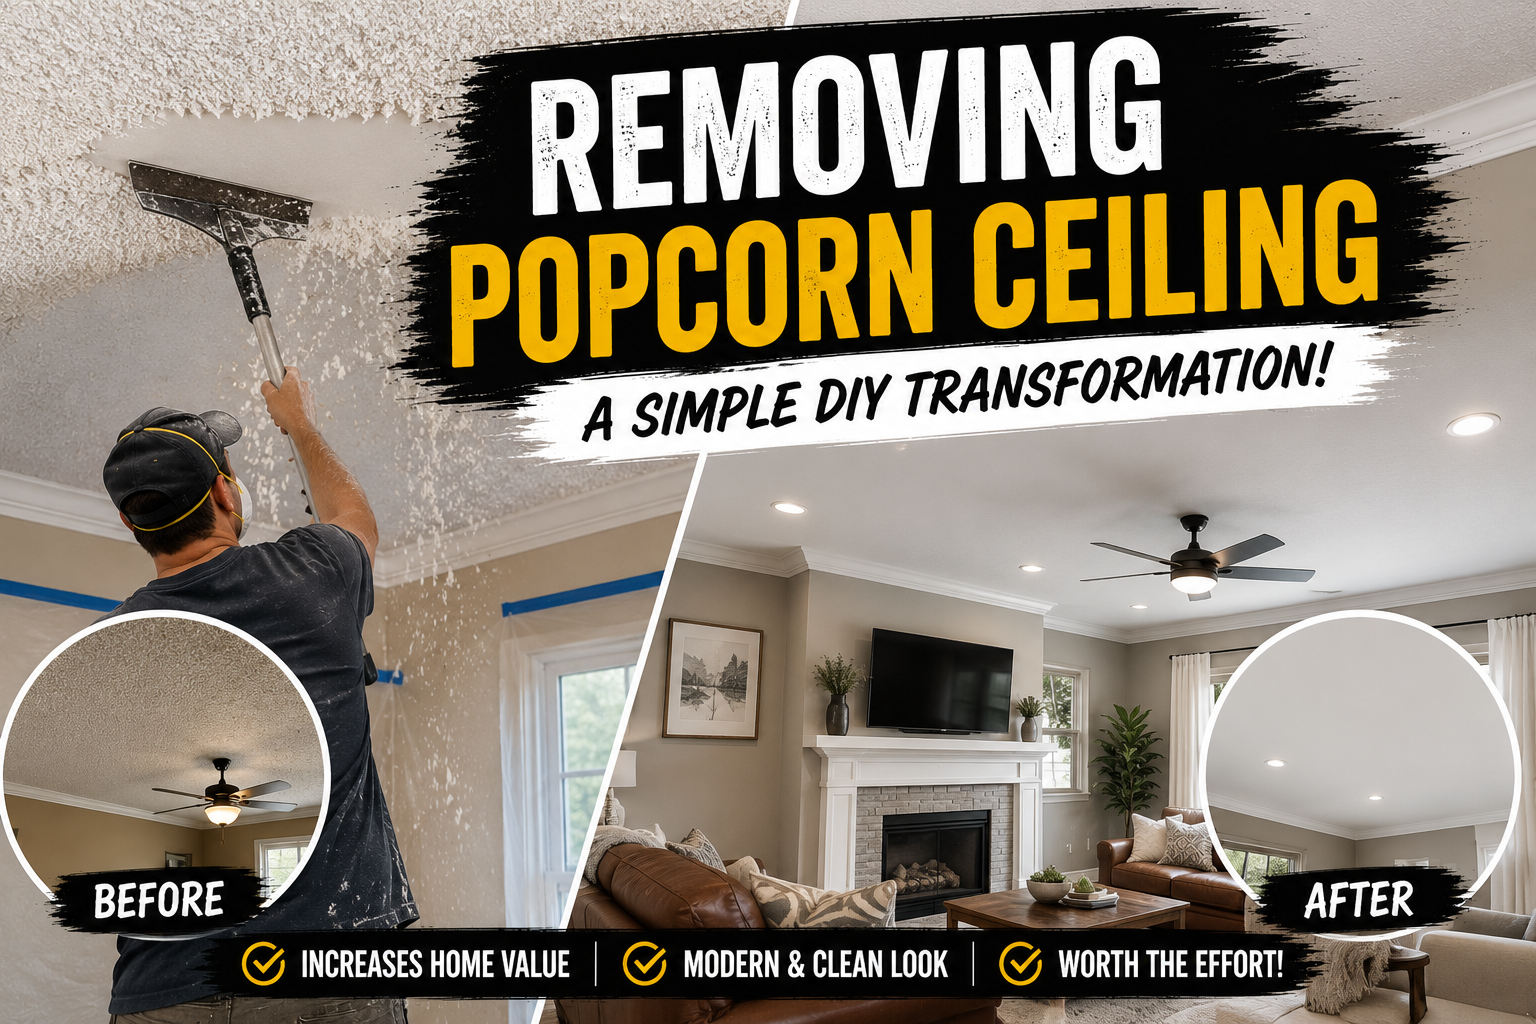
As if the wallpaper wasn’t enough, this room also featured painted popcorn ceilings. Popcorn ceilings are one of those vintage “features” that most modern homeowners are happy to say goodbye to, and removing them transforms the entire feel of a room. The method used here was 24-grit sandpaper on a Festool sander — aggressive enough to cut through the texture quickly without destroying the drywall underneath.
After sanding, the ceiling was skimmed with drywall compound to smooth out any imperfections, allowed to set, then lightly sanded again before priming. It’s a multi-step process but the result — a smooth, clean ceiling — is absolutely worth the effort. A flat ceiling makes the whole room feel more polished and modern, especially once paint goes on.
Priming Everything With Sherwin-Williams Cover Max
Before any paint color goes on, priming is essential — especially when you have new drywall, patched areas, and repaired ceilings all in the same room. The primer used here was Sherwin-Williams Cover Max, applied with an 18-inch roller to maximize coverage and efficiency. Using a wider roller on large flat surfaces is a game-changer for speed.
The moment the primer went on and the room became one unified color for the first time, it was a genuinely satisfying milestone. Going from a room with multiple paint colors, wallpaper, and popcorn ceilings to a clean white canvas is one of those renovation moments that makes all the hard work feel worth it.
Sanding the Subfloor With a Drum Sander
Since the floors were left uncovered during most of the renovation — ceiling work, painting, all of it — they needed some attention before any new flooring could go down. A rented drum sander cleaned things up nicely, removing surface grime and leveling out any roughness in the subfloor. Renting a drum sander is one of those situations where it makes way more sense than buying — you need it once, it’s heavy, and rental shops always have them.
Getting the subfloor into good shape is a step that’s easy to rush, but doing it right sets you up for a better flooring installation and a longer-lasting result. Don’t skip the prep just because it’s unglamorous — it matters more than most people think.
Painting: Alabaster and Black of Night by Sherwin-Williams
For the main walls, the color choice was Alabaster by Sherwin-Williams in the Emerald line, satin finish. It’s a warm white that works in almost any space and gives the room a clean, bright feel without being cold or stark. Applied with an 18-inch roller, it went on quickly and covered beautifully.
The accent wall — where the built-ins would eventually live — was painted in Black of Night by Sherwin-Williams, from the Gallery Series. It’s a deep, rich dark blue that reads almost black depending on the light. The Gallery Series is technically a spray-only paint, but rolling it on for the initial coat still gave a great result, with a full spray coat applied once the built-ins were in place. The contrast between the warm white and the deep navy is stunning and gives the office real personality.
Building and Installing Custom Built-In Cabinets
The back wall of the office was finished with two custom-built base cabinets made from maple. Building your own cabinets is a serious undertaking, but the result is a perfectly fitted piece that looks intentional and high-end. These were sprayed rather than brushed or rolled for a factory-smooth finish.
One honest note: the insides of the cabinets got some overspray since prep coverage on the interiors was minimal. And you know what? That’s totally fine. In your own home, you get to decide what level of perfection matters to you. Nobody is opening those cabinet doors and judging the interior finish. Focus your energy where it counts.
Installing Luxury Vinyl Plank Flooring Throughout
The flooring selected for this project is Coretec Tigua Oak Natural, a high-quality luxury vinyl plank that runs continuously through the entire house with no transition strips between rooms. That continuous flow makes the whole home feel larger and more cohesive — one of those design choices that looks intentional and elevated without costing a fortune.
The flooring held up well through the entire renovation without being covered, which speaks to its durability. LVP is a great choice for a home office because it’s comfortable underfoot, easy to clean, and stands up to chair wheels and foot traffic without showing wear quickly.
Tips and Best Practices for Your Home Office Renovation
Before you start swinging hammers, a few hard-earned tips: always open walls strategically — if you’re going to open one, take stock of everything you might want to add (electrical, ethernet, insulation) before closing it back up. Doing it twice costs twice as much time and money.
Choose your paint colors early and test them in the actual room with actual light before committing. And when it comes to flooring, run it continuously through as many rooms as possible — transition strips interrupt flow and make spaces feel smaller. Finally, don’t overlook soundproofing in shared walls, especially in a home office where you need focus and privacy.
Frequently Asked Questions
Is it better to remove wallpaper or the drywall behind it?
It depends on how the wallpaper was installed and what condition the drywall is in. If the paper was applied directly to unprimed drywall, removing it can destroy the surface. In that case, removing and replacing the drywall is often faster, cleaner, and opens up opportunities for other upgrades like insulation and wiring.
What’s the best soundproofing insulation for a shared wall?
Rockwool Safe ‘n’ Sound is one of the most popular and cost-effective options for residential soundproofing. It fits standard stud bays, is fire resistant, and provides meaningful acoustic separation between rooms. At around $100 for a full wall, it’s hard to beat the value.
Do I need to prime new drywall before painting?
Absolutely. New drywall is very porous and will absorb paint unevenly without a primer coat first. Skipping primer leads to a blotchy finish and wastes paint. A quality primer like Sherwin-Williams Cover Max will seal the surface and give you a consistent base for your topcoat.
Is luxury vinyl plank flooring good for a home office?
Yes — LVP is an excellent choice for home offices. It’s durable, comfortable underfoot, easy to maintain, and holds up well under office chair casters. It’s also more affordable than hardwood while looking just as good, especially higher-end options like Coretec.
Can you roll on spray-only paint?
Technically, you can, though you may not get the exact finish the manufacturer intended. In this renovation, Black of Night from the Sherwin-Williams Gallery Series was rolled on for an initial coat with good results, then sprayed properly once the built-ins were in place. For large feature walls, spraying will always give the smoothest finish.
Ready to Start Your Own Home Office Renovation?
A wallpaper removal home office renovation might feel like a mountain when you’re standing in a room full of dated wallpaper and popcorn ceilings, but breaking it into steps makes it completely manageable. Start with demo, work through your mechanical upgrades while walls are open, then layer in the finishes — ceiling, prime, paint, floors, built-ins. Each step builds on the last.
If this walkthrough helped you think through your own project, share it with a friend who’s got a renovation on their to-do list. And drop a comment below — we’d love to hear what room you’re tackling next on your DIY journey.